Jlink is a tool launched by SEGGER for supporting simulation of ARM core chips. I won’t discuss its history here; let’s get to the point of how to download the updated Jlink drivers. Some might say that the older version drivers are still usable, so why pursue the updated versions? As long as there is a demand, there will be updates. As an engineer, I believe that it is not just about solving problems, but also about finding better and more efficient ways to solve them. Using new technologies and tools is one way to achieve this. The emergence of new tools is certainly to solve some known problems. Since a new tool can accomplish tasks that we might need to do manually, why not choose to use the new tool?
Let’s start downloading. First, open the website www.segger.com (the official website of SEGGER). Then hover your mouse over the Downloads option, and a menu will pop up automatically, as shown in the image below:
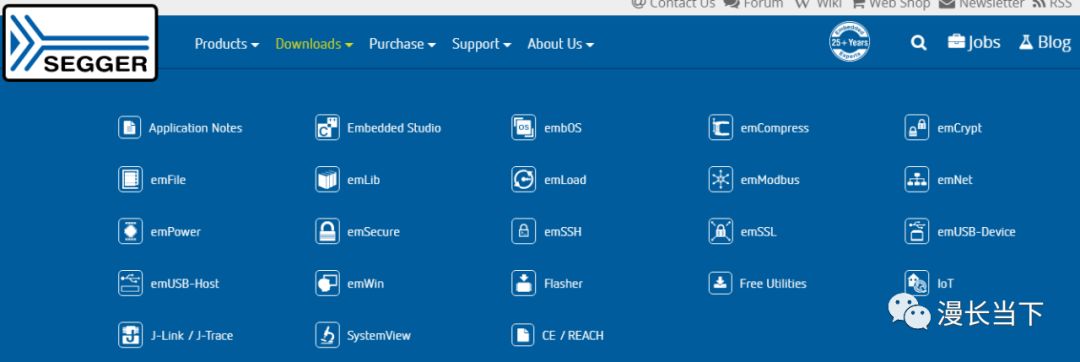
You can see various software products from SEGGER. Here we will only focus on J-Link / J-Trace. Others can be explored if you have time. Click on the J-Link/ J-Trace option to enter a new page. We will scroll down the page to see the following content:
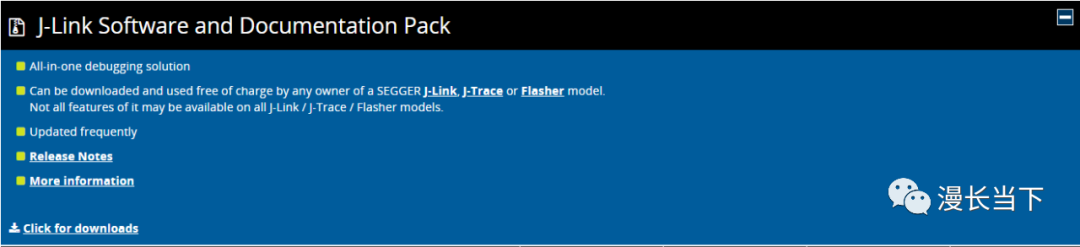
The Release Notes provide logs for each release version, which can be briefly browsed. Click on Click for downloads to enter the download page:
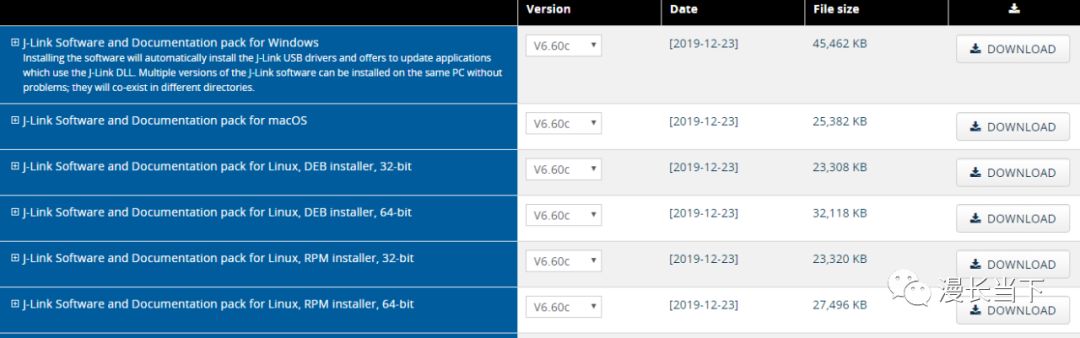
Here we can click on the version section below Version to make a selection. Taking V6.60c as an example, after selecting the version, click on DOWNLOAD. In the new page that pops up, scroll down to see the following content:

Check the two options provided and click on Download software to start the download. Since this is a foreign website, the download speed can be quite slow.
After installing the downloaded drivers, our computer will have the following software and documents:
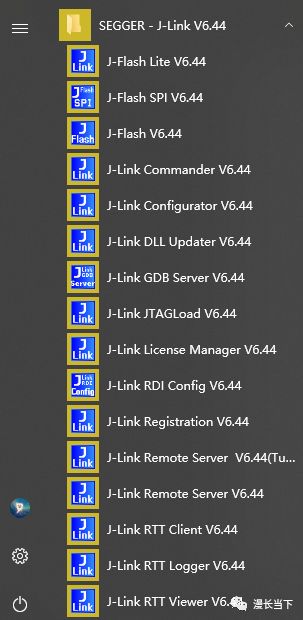
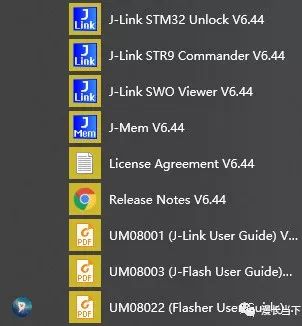
Among them, the ones I use most often are J-flash and J-link RTT Viewer. The former is used to directly download executable programs such as HEX or BIN files to the microcontroller. It can also be used to merge multiple HEX files and create a one-click burning tool. The latter is mainly used to output debugging information during the execution of the program, without consuming the microcontroller’s serial port for outputting debugging information, which is very convenient. I will discuss these in future articles, hoping they can help you.