Introduction
This article introduces how to use JFlash to read the microcontroller’s program. Learning to read microcontroller program files is not intended for cracking someone else’s program but to understand the principles of cracking, thus better protecting your own program from being cracked. I hope everyone can respect others’ labor results.
Downloading and Installing JFlash
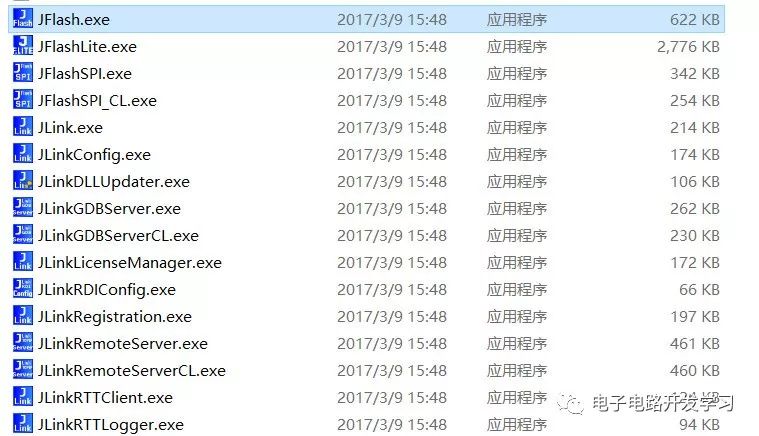
First, install the JFlash software. After installation, the JLink driver will be installed by default, which mainly includes the following tools:
-
JFlash, mainly used for program downloading and reading.
-
JFlashLite, the Mini version of JFlash
-
JFlashSPI, used for downloading programs to SPI memory, such as W25Q128.
-
JLinkGDBServer, used for third-party software debuggers. For example, when setting up the STM32 development environment with Eclipse, you need to use GDB Server for debugging.
-
JLink Command, command operation window for executing commands, erasing, downloading, running, etc.
Software Preparation
-
Jlink software, J-Flash
-
Jlink debugger, such as Jlink V9
-
Microcontroller development board, such as STM32F103RET6
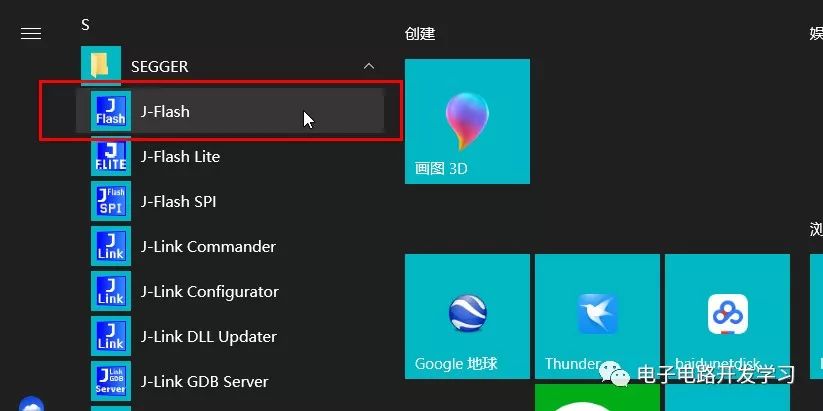
1. Open JFlash
2. Create a New Project
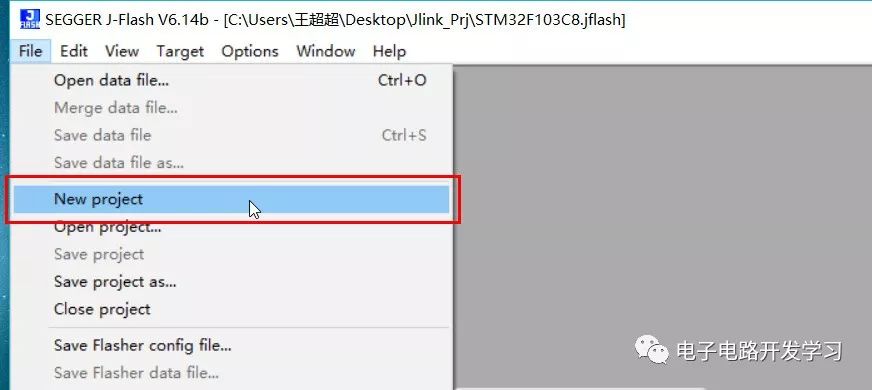
Click File->NewProject
3. Select Chip Model
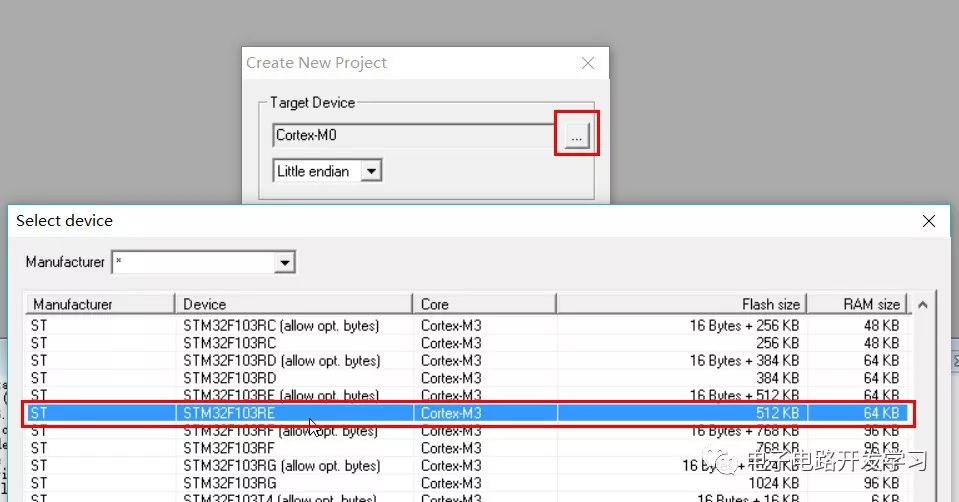
This supports many ARM Cortex core chips. Select the chip model corresponding to the microcontroller you want to read. I choose the STM32F103RE series here.
4. Connect the Chip
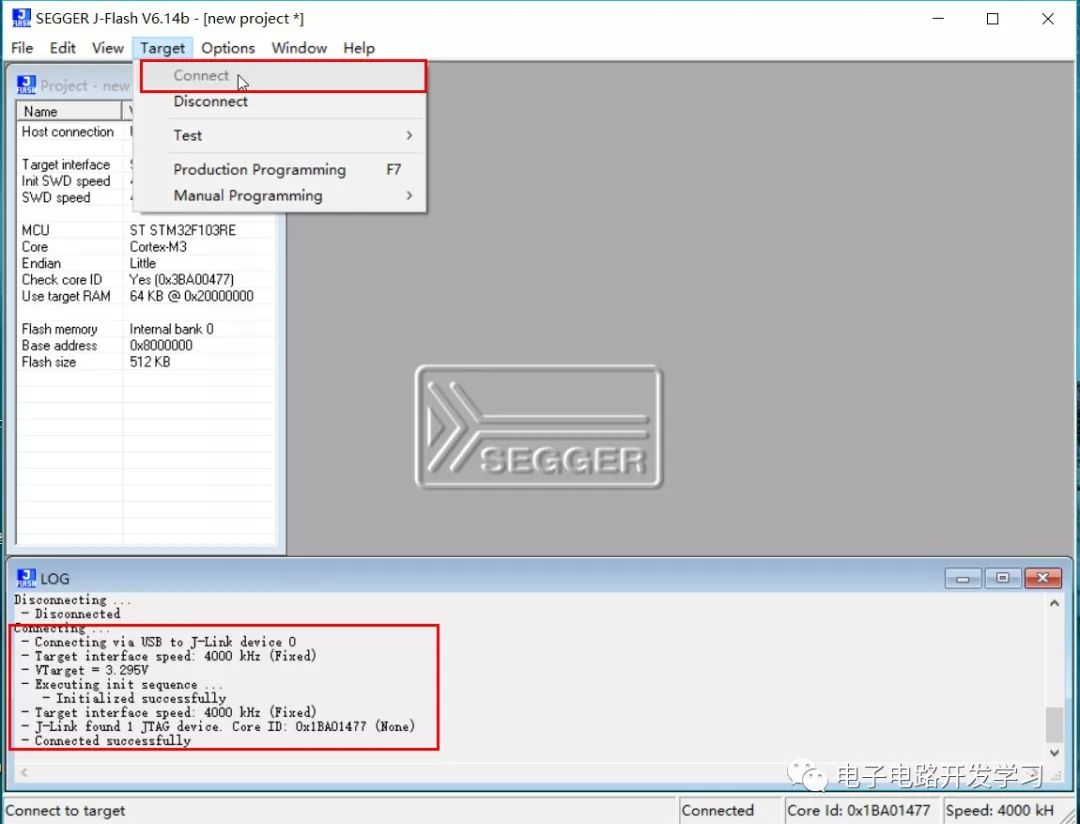
If SWD mode is selected, connect the SWDIO, SWCLK, and GND lines. After connecting, click Target->Connect. If the connection is successful, the LOG window below will display a successful connection.
5. Read the Program Inside the Microcontroller
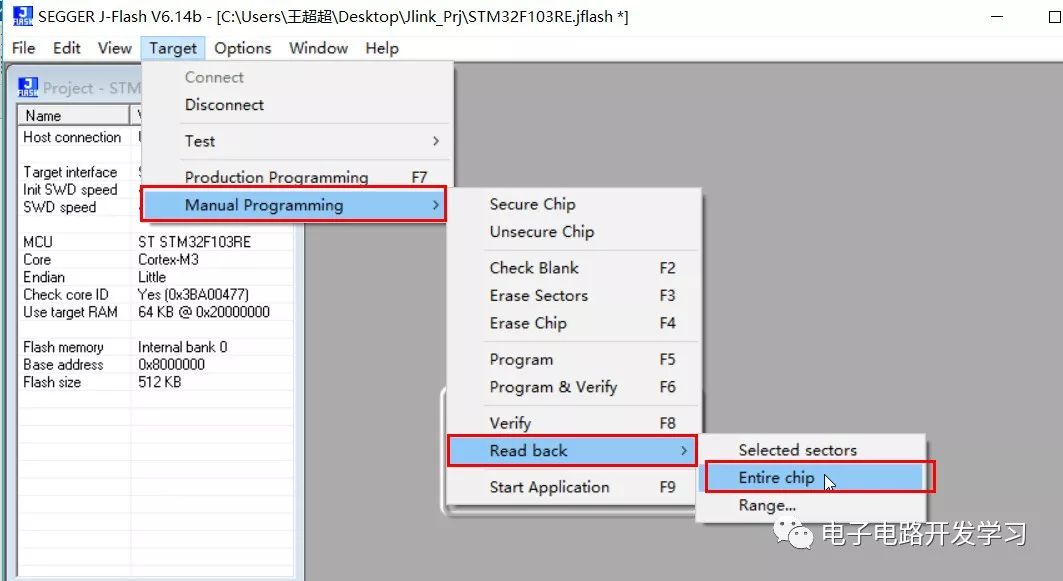
Here comes the key! Select Target->Manual Programming->Read Back. There are three options for reading different Flash address ranges.
-
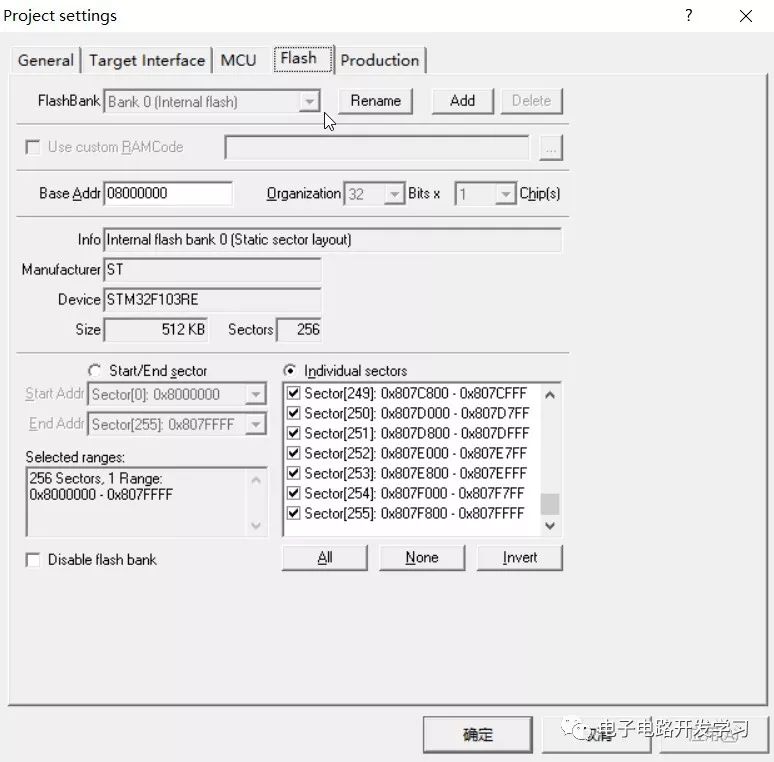
Selected sectors
The selected sectors can be viewed in the project configuration options under Project settings->Flash.
-
Entire chip
The entire Flash area, generally select this option to read the program from the entire Flash area.
-
Range
Manually specify the Flash address range to read.
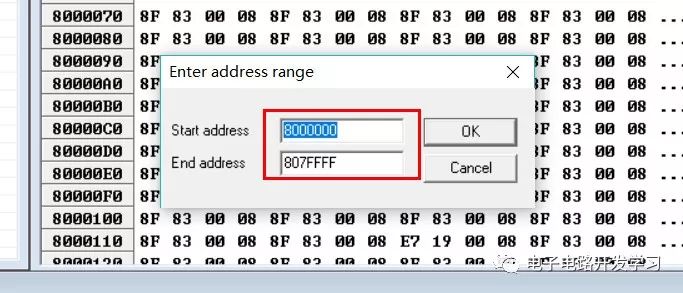
Here we can just select the Entire chip to read the entire Flash area, address range: 0x8000000~0x807FFFF
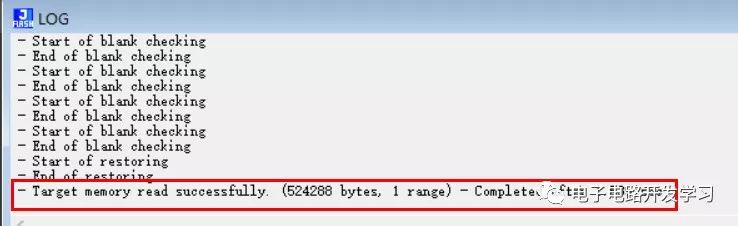
After a few seconds, you will see a success message in the bottom window.
6. Save the Read Program
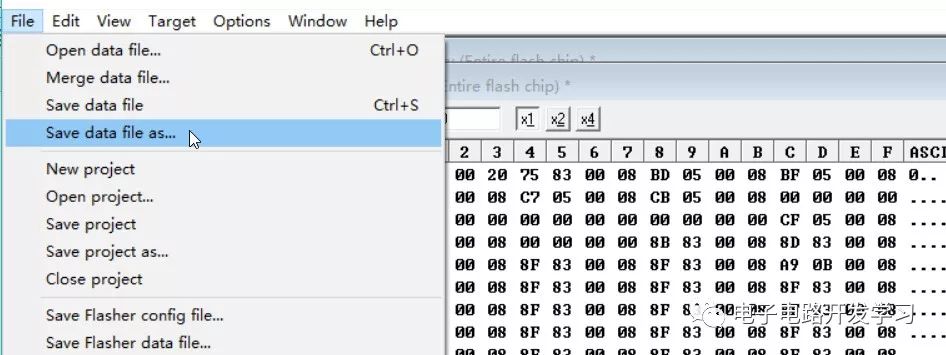
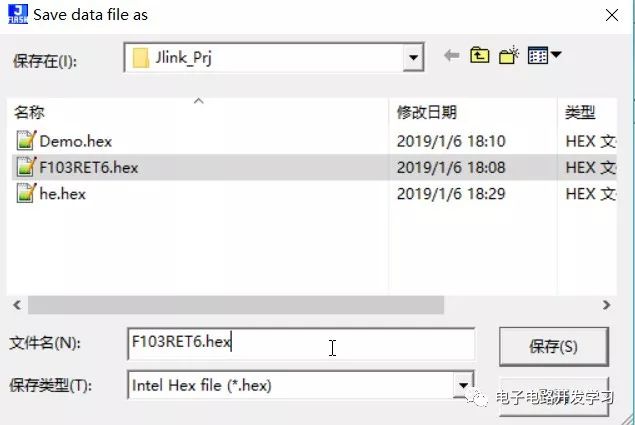
Select File->Save data file or Save data file as, choose the file type as needed, it is recommended to select Hex format, which already contains address information.
7. Program Verification
How to verify that the program read is correct? It’s simple, just rewrite it and check if the running phenomenon is the same as before.
For specific operation methods, refer to the previous Jlink series article: Jlink Tips for Downloading HEX Files to Microcontrollers
Conclusion
Since it is so easy to read the microcontroller’s program, how should we protect our own program? Obviously, we can set read protection on Flash, which is what everyone refers to as the “encryption” feature to prevent unauthorized access to Flash. This encryption is for the entire Flash area. If the read protection is set, the program can only be loaded and run normally from RAM and cannot be read out through the debugger, so others cannot crack it. Haha!
How to implement this?
Here are a few library functions related to Flash protection operations:
FLASH_Unlock();   // Unlock Flash
FLASH_ReadOutProtection(DISABLE);  // Disable Flash read protection
FLASH_ReadOutProtection(ENABLE);   // Enable Flash read protection
This function is in the firmware library stm32f10x_flash.h, and to use this feature, you need to add this library file first.
Set read protection:
void Set_Protect(void)
{
    if(FLASH_GetReadOutProtectionStatus() != SET)
    {
        FLASH_Unlock();
        FLASH_ReadOutProtection(ENABLE);
        FLASH_Lock();
    }
}
Note:
-
Once read protection is enabled, the program cannot be read or written, such as using JLink to read the program or re-download the program.
-
Therefore, before downloading the program, you need to call to disable read protection internally, which will automatically clear Flash.
-
Additionally, after the first call to the SetProtect() function to enable read protection, you cannot call the OffProtect() function to disable read protection again; you need to power cycle to disable read protection.
To disable read protection, call it when receiving a valid data or pressing a certain key:
void Off_Protect(void)
{
    if(FLASH_GetReadOutProtectionStatus() != RESET)
    {
        FLASH_Unlock();
        FLASH_ReadOutProtection(DISABLE);
        FLASH_Lock();
    }
}
The program can be implemented as follows:
int main(void)
{
    /* User code */
    if(KEY == 0)        // Key pressed
    {
        Off_Protect();
    }
    else
    {
        Set_Protect();
    }
    /* User code */
    while(1)
    {
    /* User code */
    }
}

This article is authorized for publication by the author ‘wcc149’, from the public account ‘Electronic Circuit Development Learning’.