In this article, we learned how to customize Linux using PetaLinux and created a boot file for the SD card. This issue introduces how to configure PetaLinux to generate a Linux image file that boots from QSPI Flash.
Copying the PetaLinux Project
If we want to keep the PetaLinux project that boots from the SD card but do not want to create a new one, we can copy the old project.
- In the project directory, press Ctrl + H to show hidden files, and copy
project-spec,.petalinux, andconfig.projectto a new directory as a new PetaLinux project.
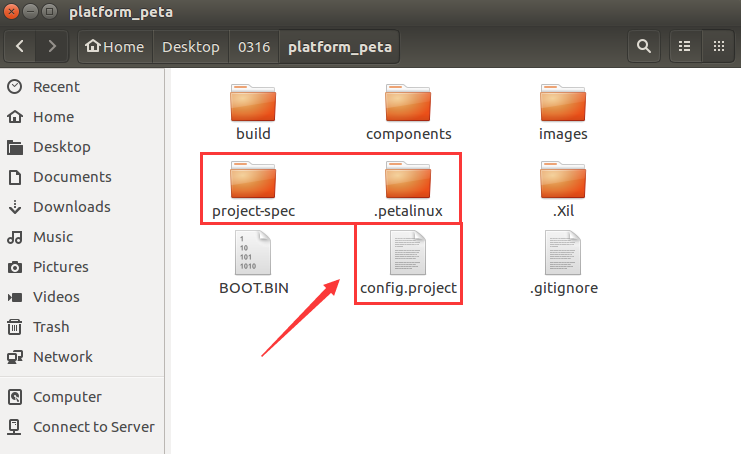
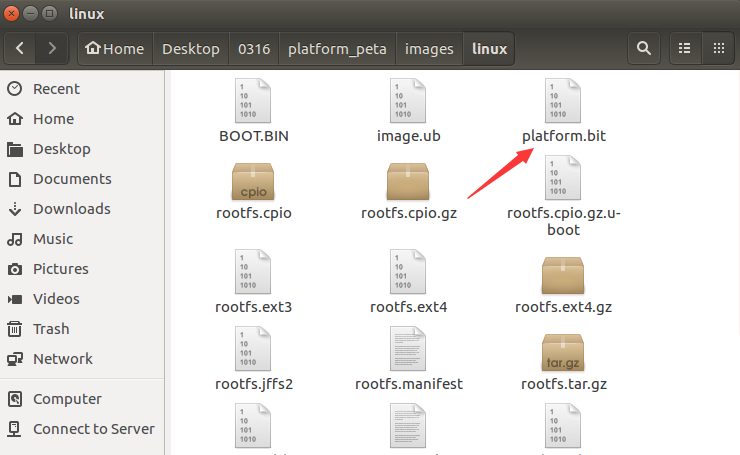
- Then copy the bit files from the
images/linuxdirectory to the new project directory for synthesizing the BOOT with PL configuration.
Reconfiguring and Compiling PetaLinux
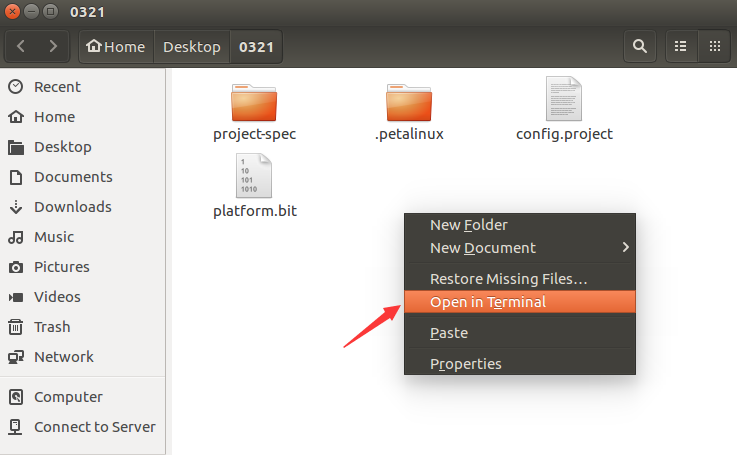
- Enter the new project and right-click to open the terminal.
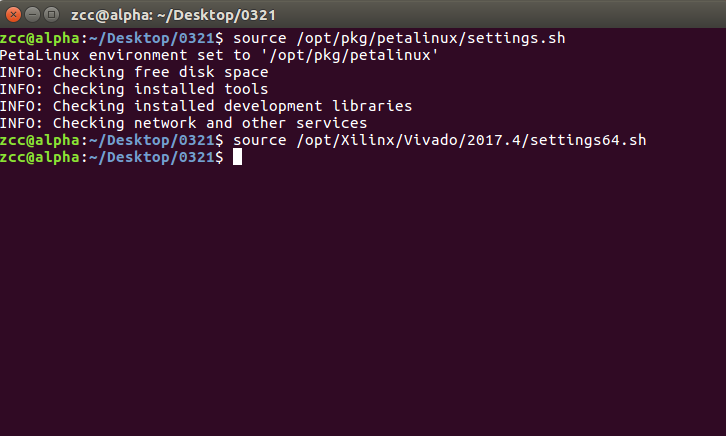
- Configure the Vivado and PetaLinux environment variables.
source /opt/pkg/petalinux/settings.sh
source /opt/Xilinx/Vivado/2017.4/settings64.sh
- Use the
petalinux-configcommand to configure the PetaLinux project.
petalinux-config
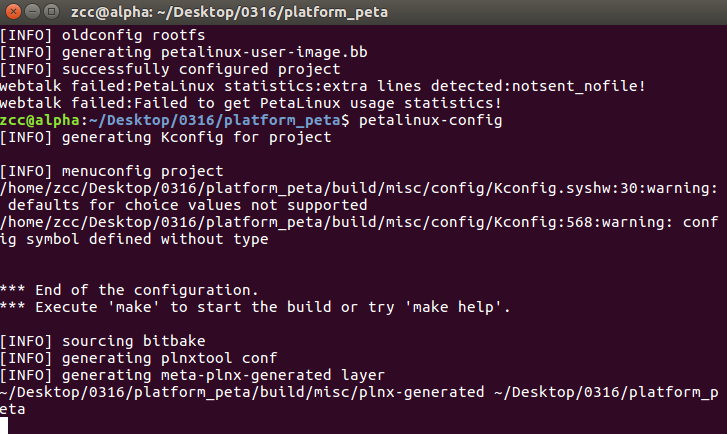
- Enter the PetaLinux configuration interface.
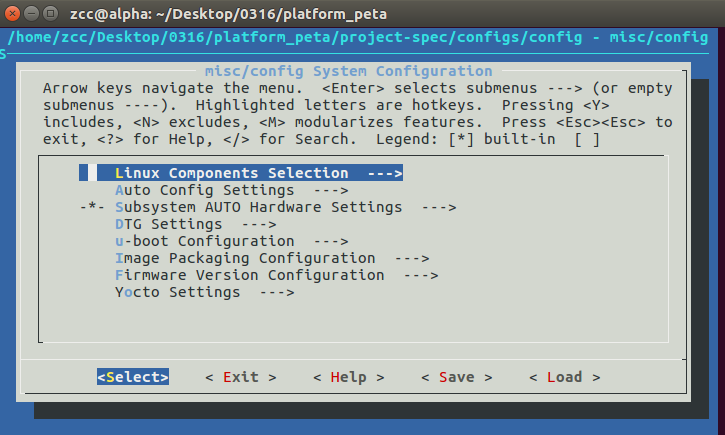
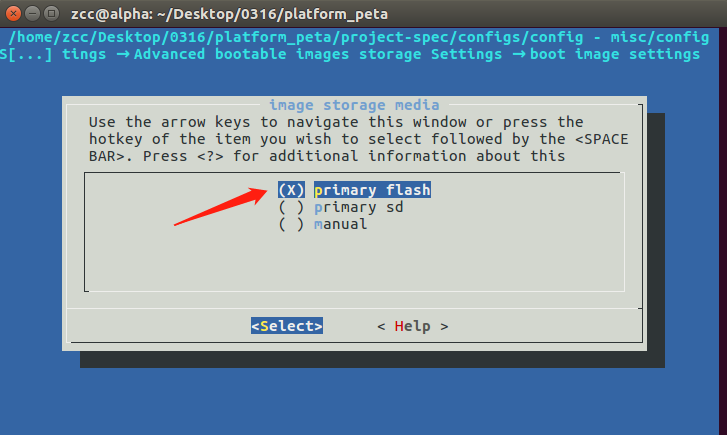
- In the
Subsystem AUTO Hardware Settings ---> Advanced bootable images storage Settings ---> boot image settings ---> image storage mediaoption, selectprimary flash.
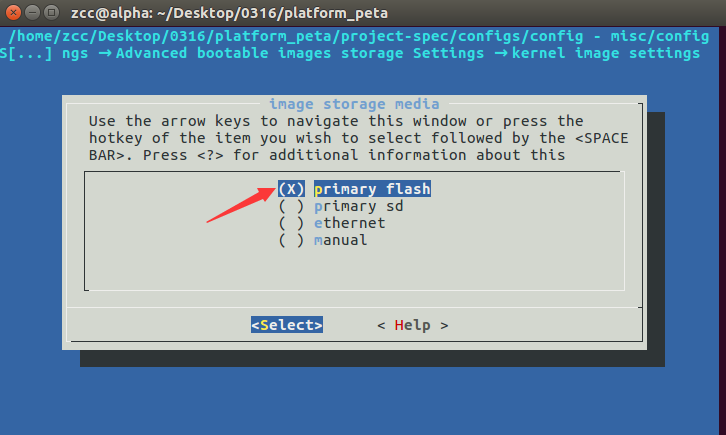
- In the
Subsystem AUTO Hardware Settings ---> Advanced bootable images storage Settings ---> kernel image settings ---> image storage mediaoption, selectprimary flash.
- In
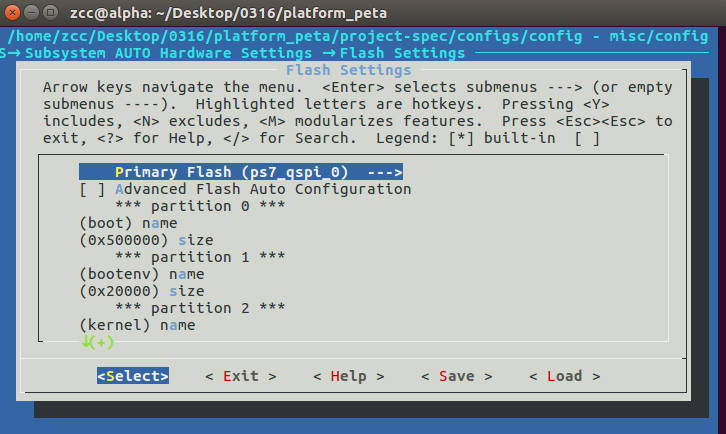
Subsystem AUTO Hardware Settings → Flash Settings, you can modify the partition ofQSPI flash. The default settings are generally usable, but if your file size exceeds the default partition size, you will need to adjust it yourself.
- In
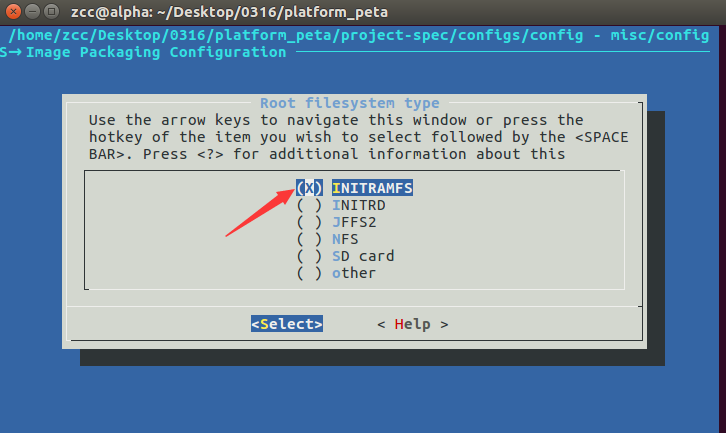
Image Packaging Configuration ---> Root filesystem type, selectINITRAMFSto use aRAMtype root filesystem, which makes it easier to package and write toQSPI Flash.
- In
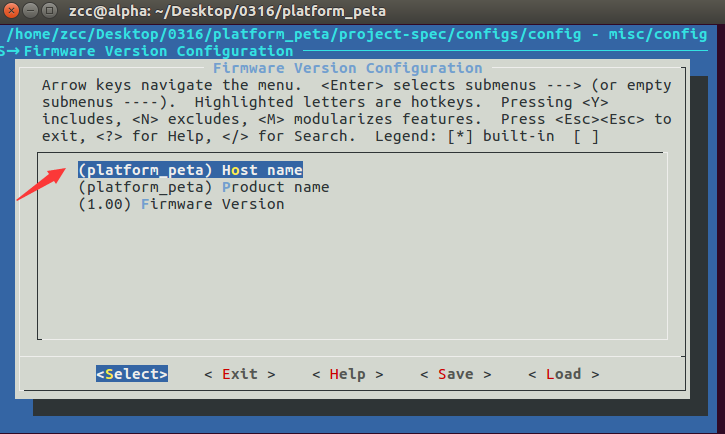
Firmware Version Configuration, you can modify information such asHost name.
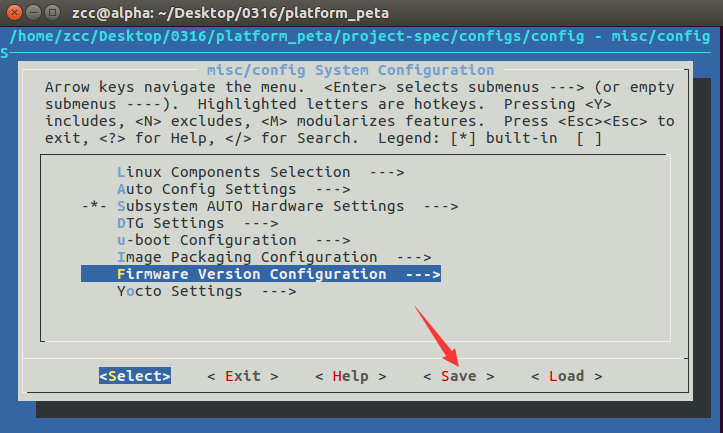
- Save the configuration and exit the PetaLinux project configuration interface.
- Use the
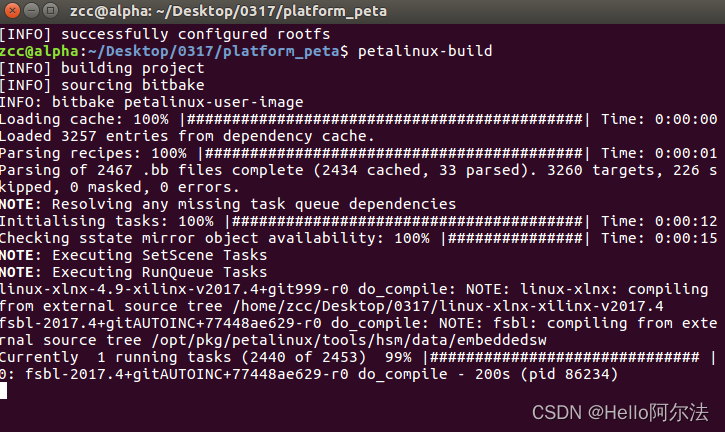
petalinux-buildcommand to compile the project.
- Use the following command to synthesize BOOT, with the difference from the previous tutorial being the addition of the
--kerneloption, which packages the kernel into the BOOT.BIN file.
petalinux-package --boot --fsbl ./images/linux/zynq_fsbl.elf --fpga ./images/linux/platform.bit --u-boot --kernel --force
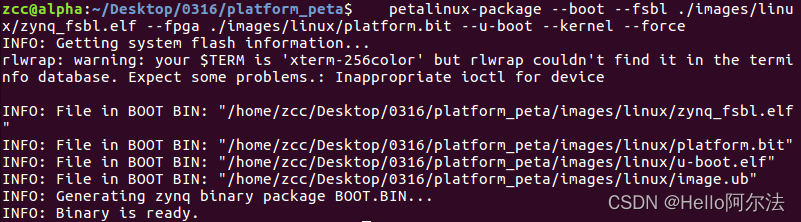
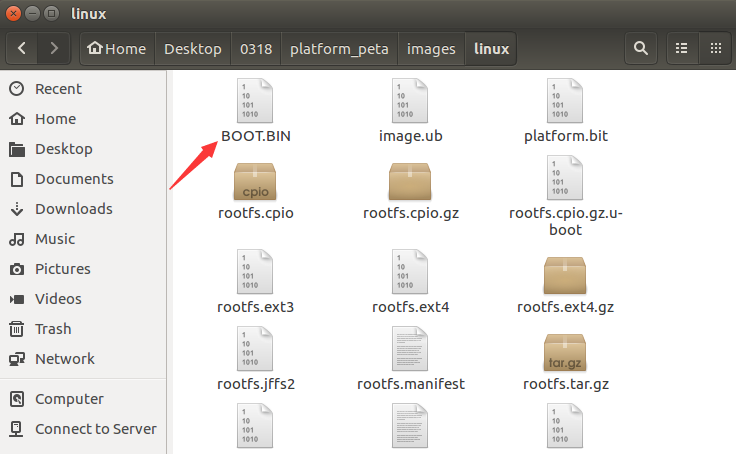
- Successfully generated the BOOT.BIN file, which is the Linux boot file that we can write to QSPI Flash.
The End

Share, bookmark, like, and follow!