 Article Overview
In this article, DigiKey introduces the process of using the Lattepanda Sigma development board to implement a voice-controlled lighting project, aiming to control the lighting switch through voice commands, showcasing the charm of the combination of voice interaction and hardware control. The Lattepanda Sigma was chosen as the core controller for its powerful hardware performance, easy-to-deploy software environment, voice interaction capabilities, and convenience in deploying AI models. The entire project demonstrates how to achieve natural language control of peripherals through modern embedded development and AI technology.
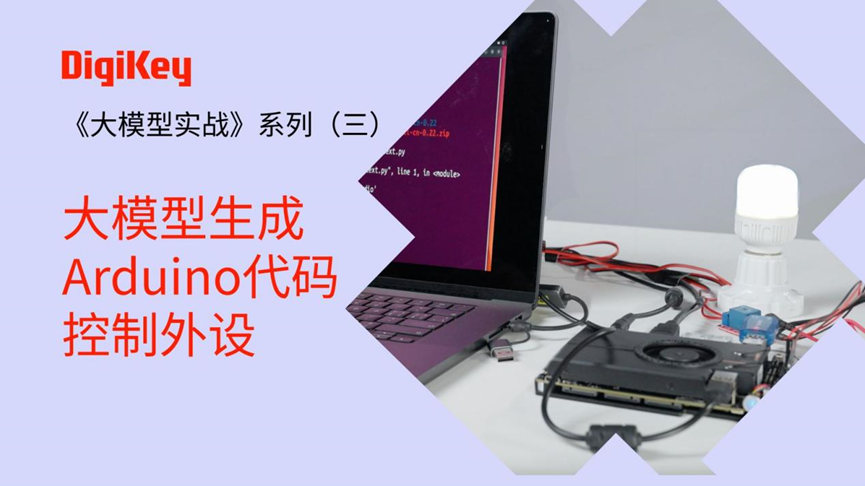
This is the third session of the “Large Model Practical” series, deploying the Lattepanda Sigma to implement voice-controlled lighting.
For related course videos, please click “Read More” at the end to watch on DigiKey’s Bilibili:
Project Background
In the current booming era of smart homes and the Internet of Things, voice control, as an efficient and natural interaction method, is gradually becoming a key technology to enhance user experience. Achieving lighting control through voice commands not only brings convenience to daily life but also expands new ideas for the development of smart devices. This project focuses on the Lattepanda Sigma development board, combining voice recognition technology and AI models to create a smart system for voice-controlled lighting, exploring innovative applications of the integration of smart hardware and artificial intelligence.
Project Overview
This project aims to utilize the powerful hardware performance and rich functional interfaces of the Lattepanda Sigma development board, combined with voice recognition technology and AI models, to achieve the functionality of controlling lighting switches through voice commands. Unlike traditional smart home devices (such as Xiao Ai), this project not only enables lighting control but also possesses high programmability and scalability, allowing developers to implement more complex control logic and functions by writing code.
Project Steps
Step 1: Use a microphone to record audio, utilizing Python libraries to control audio input.
Step 2: Convert voice to text.
Step 3: Send the obtained text to the Ollama API to get a response.
Step 4: Generate Arduino code and upload it to control the lighting.
Project Advantages
The reasons for choosing the Lattepanda Sigma as the core controller are as follows:
-
Outstanding Hardware Performance: Equipped with a high-performance processor and rich peripheral interfaces, it can easily handle complex computing tasks and peripheral control needs. Its onboard Leonardo microcontroller provides convenience for directly controlling relays and other peripherals without additional hardware support.
-
Convenient Software Deployment: Supports the Ubuntu operating system, providing developers with a stable and easily extensible development environment. Through simple system configuration and toolchain installation, a large model runtime environment can be quickly set up, enabling automation of voice interaction and hardware control.
-
Powerful Voice Interaction Capabilities: Supports USB microphone input, allowing command input through voice. Combined with speech recognition (STT) technology and AI models, it can achieve natural language control of peripherals, greatly enhancing user experience.
-
Efficient AI Model Deployment: The high-performance computing capability of the Lattepanda Sigma allows it to run large models such as Ollama and Qwen. Through simple configuration and API calls, suitable code can be quickly generated and deployed to the onboard Leonardo microcontroller for precise control of peripherals.
Project Implementation Process
Hardware Preparation
-
Core Controller: Lattepanda Sigma development board
-
Peripheral Devices:
-
USB Microphone
-
Relay Module
-
220V Light and Socket
-
Dupont Wires
-
Auxiliary Equipment:
-
Screen supporting HDMI input
-
USB Mouse and Keyboard
-
Blank 8GB or larger USB drive (for system burning)
Implementation Steps
Step 1: Hardware Assembly
-
Connect the USB microphone to the USB port of the Lattepanda Sigma.
-
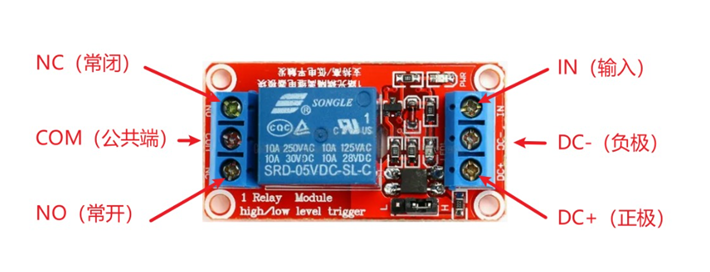
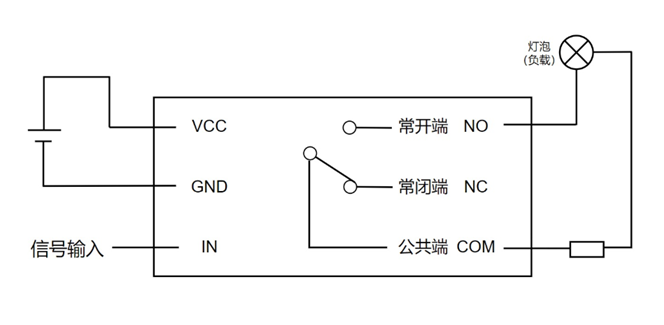
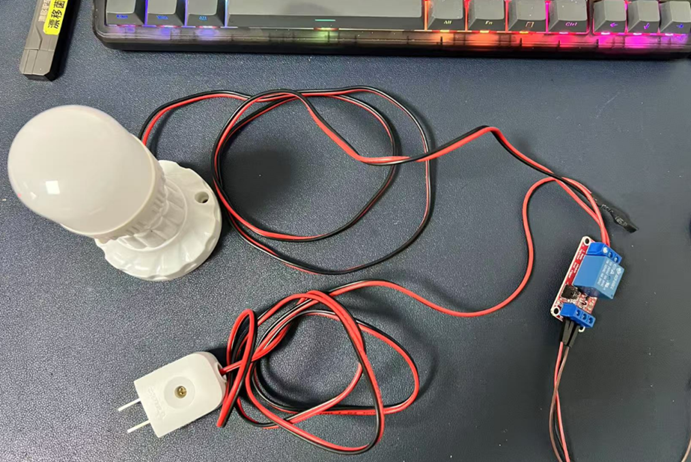
Connect a relay to the IO port of the development board, connecting one GND, one 5V, and one D11 interface to the IN interface of the relay module. The other end of the relay connects to a light.
Step 2: System Installation and Initialization Configuration
-
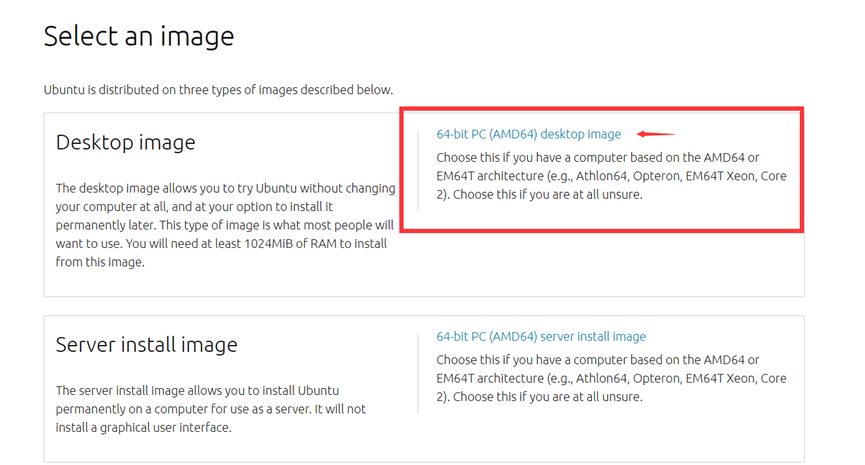
Download the System Image: According to official recommendations, download the Ubuntu 22.04 LTS version.
https://docs.lattepanda.com/content/sigma_edition/Operating_Systems_Ubuntu/
-
Download Burning Software: Choose the appropriate version to download Rufus burning software.https://rufus.ie/zh/
-
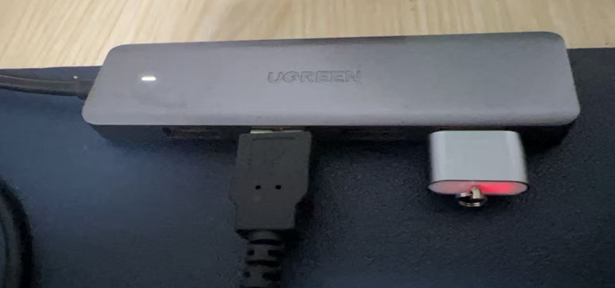
Burn the System Image: Open Rufus, find the downloaded image file, and burn it to the USB drive. During the burning process, the disk light will flash.
-
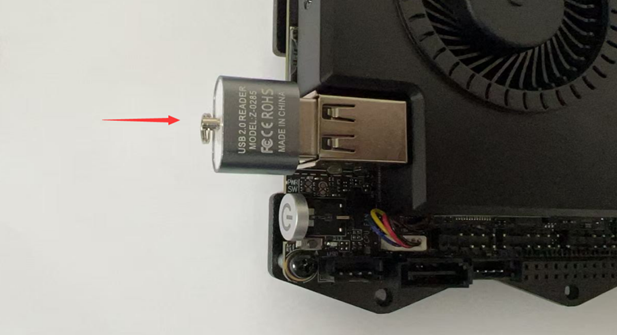
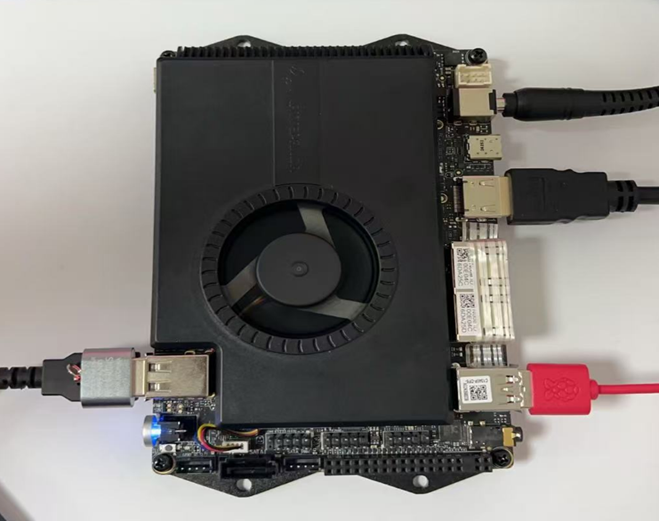
Hardware Connection: Insert the USB drive with the system image into the Lattepanda Sigma development board, connect the HDMI cable, DC power, and USB keyboard and mouse.
-
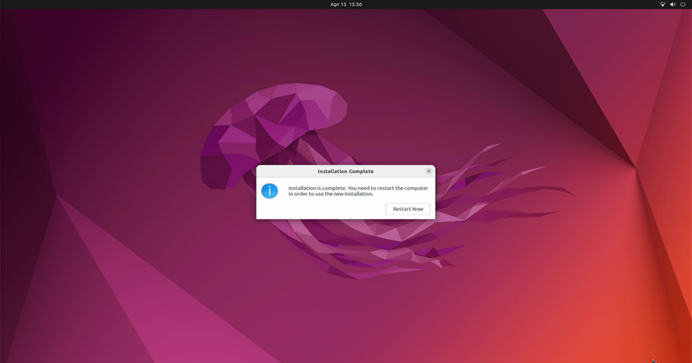
System Installation: After the above hardware connections, you can power on. After powering on, repeatedly press the F7 key to enter the boot option settings, select the USB boot device, and continue the installation until completion.
-
Initialization Configuration: After the system installation is complete, restart the device, remove the USB system installation drive, press Enter to restart the device, and enter the system.
After rebooting, it appears:
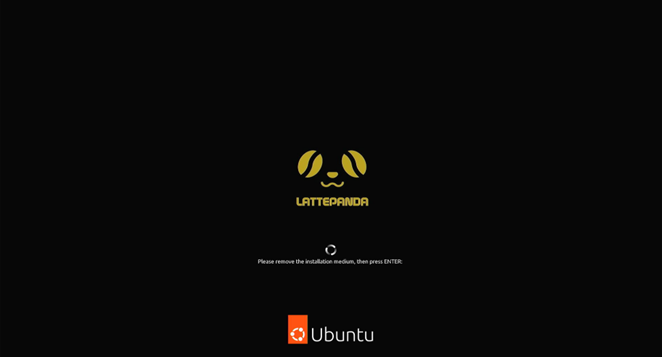
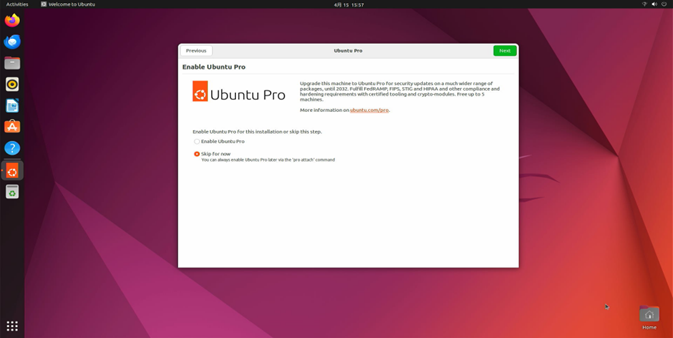
Remove the USB system installation drive, then press Enter to restart the device. The development board will enter the system:
-
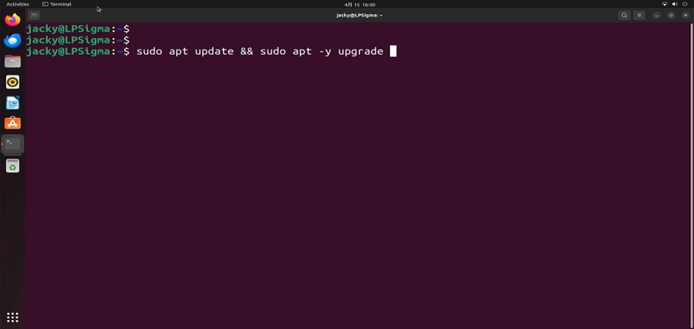
Update the System: After completing the initialization configuration, update the system software repository index and system software packages
-
Configure Software Sources: Define the local sources for software as needed, such as using Tsinghua’s source or Alibaba Cloud’s source.
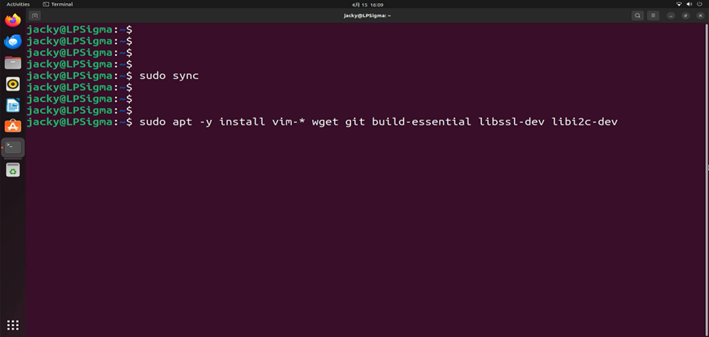
I personally prefer to installvim tools, if you don’t like this step, you can skip it.
After installingbuild-essential, you can later do C language development, which is very convenient, of course, if you later have a need to develop hardware devices on LPsigma, you can also install cmake tools in advance, for example, if you want to develop Raspberry Pi pico development board, or develop ESP32 development board, you can prepare the environment in advance.
It is generally recommended to restart the device after installation.
Step 3: Install the Ollama Framework
Ollama is an open-source localized large language model (LLM) runtime framework that simplifies the process of deploying and running large language models on personal computers.
Ollama supports various installation methods, including direct download of installation packages, using package managers (such as Homebrew), through Docker, etc., and it has an active open-source community ecosystem, providing a wealth of third-party integrations and tools, including web and desktop applications, mobile applications, development libraries, database integrations, etc. Its efficiency, security, and ease of use make it very friendly for beginners, and installation under Linux is also very simple, just open the terminal.
-
Install the curl tool: If curl is not installed on the system, run the following command to install it
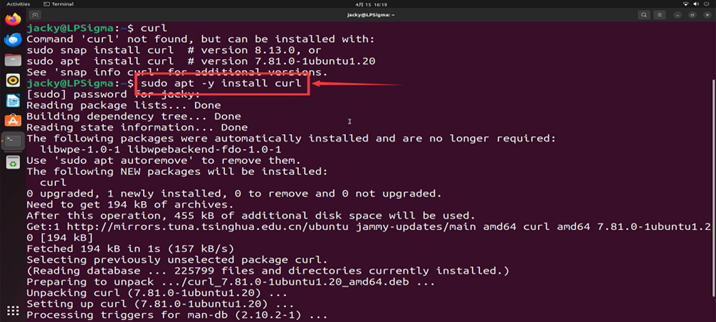
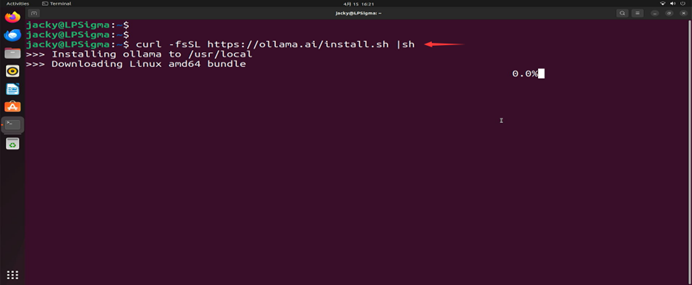
2. Install Ollama: Execute the following command in the terminal to install Ollama
curl -fsSL https://ollama.ai/install.sh | sh
Step 4: Download the Large Model
-
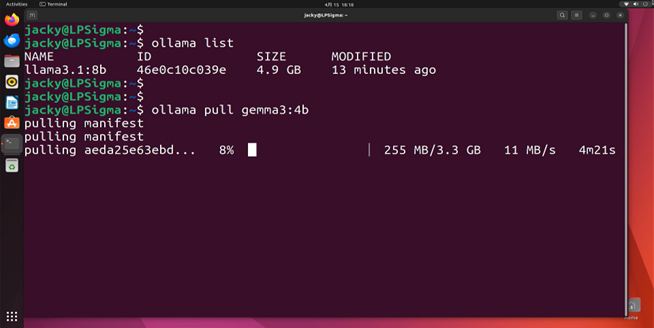
Download the Model: After installation, download the required model, such as Google’s gemma3:4b
Run in the terminal to download the model: ollama pull gemma3:4b
-
Test the Model: After downloading, run the following command to test the model:
ollama run gemma3:4b –verbose
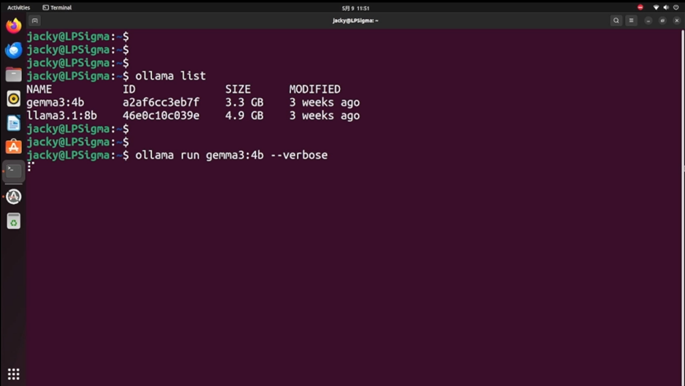
Then, you can enter interactive mode and converse with the large predictive model, trying to ask a question to see the response time.
Step 5: Set Up Python Virtual Environment and Library Files
Once everything is complete, you can configure openssh for remote login to the server, and then set up the python virtual environment.
conda create -n venv -p python3.11
conda activate venv
Before setting up the virtual environment, let me introduce the operation steps:
-
Install System Dependencies:
sudo apt-get update && sudo apt-get upgrade -y
sudo apt-get install -y python3-pip python3-dev build-essential
2. Install Python Libraries
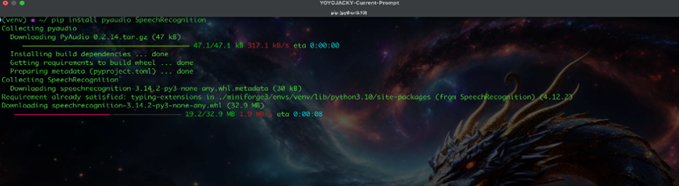
pip install pyaudio SpeechRecognition

pip install numpy requests
3. Install Arduino CLI Tool
wget https://downloads.arduino.cc/arduino-cli/arduino-cli_latest_Linux_64bit.tar.gz
tar -xvf arduino-cli* && sudo mv arduino-cli /usr/bin/
arduino-cli core update-index
sudo arduino-cli core install arduino:avr
Next, you need to test the voice recognition, write test code to read sound through the USB microphone and use pocketsphinx for local voice recognition.
Step 6: Upload Code to the Local Leonardo Chip
-
Upload Code: Use arduino-cli to upload code to the local Leonardo chip. The main program will read the model output and perform the upload operation.
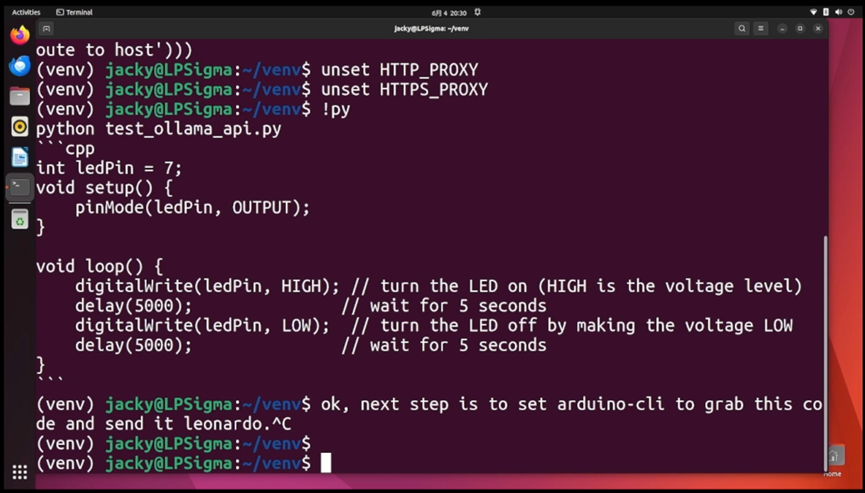
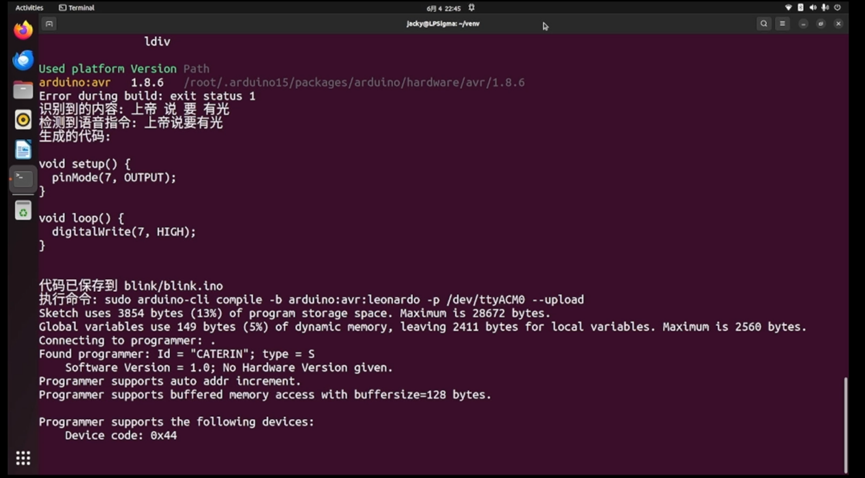
2. Run the Main Program:python main.py
Then say to the microphone: God said let there be light, the light on the Lattepanda will flash, followed by the relay closing, and the external light will turn on.
Say to the microphone: It’s dark, please close your eyes, at this time, the flashing light during burning will still appear, turning off the light.
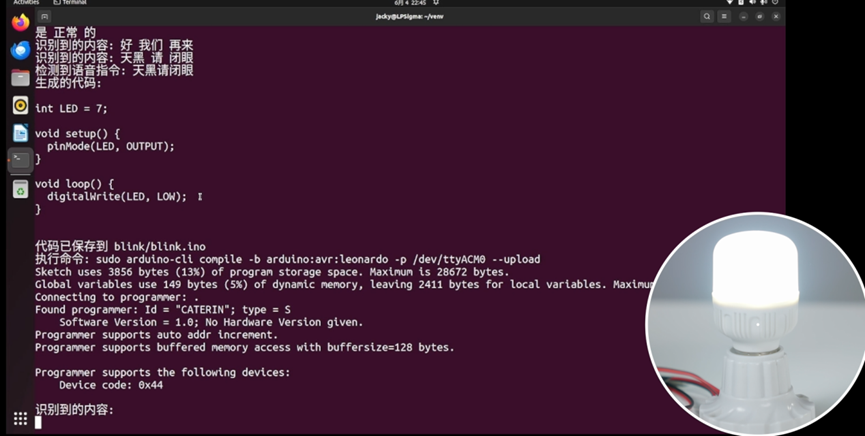
In this way, we can achieve that when we need different lighting requirements, we only need to let the model understand the meaning to realize the function of rewriting and uploading the code. Everyone, go build the environment and try your own voice control!
Conclusion
Through this project, you can achieve the functionality of controlling lighting through voice commands. The powerful hardware performance, easy-to-deploy software environment, voice interaction capabilities, and convenience of AI model deployment of the Lattepanda Sigma development board make it an ideal choice for implementing such projects. You can further expand and optimize project functions according to your needs.
 Editor’s Note
As introduced in the video and article, the Lattepanda Sigma development board has powerful hardware performance, can easily handle complex calculations and peripheral control, directly control relays and other peripherals, provide a stable and easily extensible development environment, and has voice interaction capabilities. Its high-performance computing capability can run large models, and through simple configuration and API calls, it can quickly generate and deploy code to the onboard microcontroller for precise control. The project mentioned in the article is also quite representative. Are you familiar with the Lattepanda Sigma? What experiences or questions do you have about using this board? Feel free to leave a message and share with friends from DigiKey!



“Star” us, and don’t miss fresh cases and industry insights