Hello everyone, I am Qiao Long. I am honored to have received a Jetson AGX Thor Developer Kit from NVIDIA for review. Below is my quick experience with this kit.
Unboxing Overview

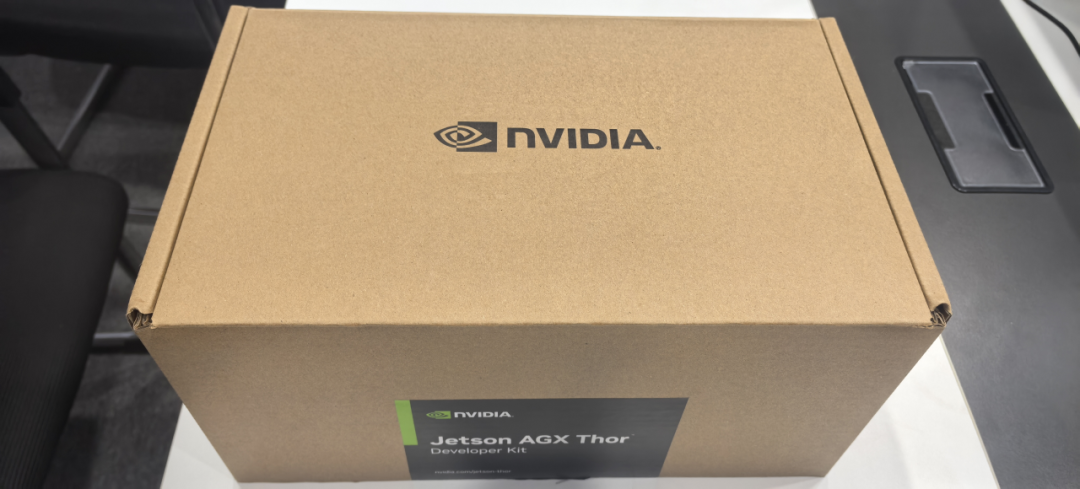
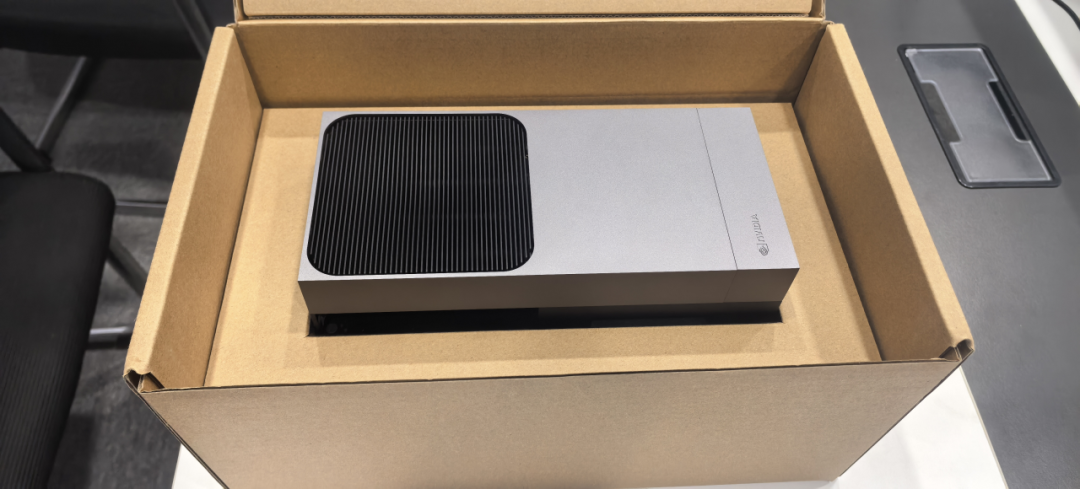
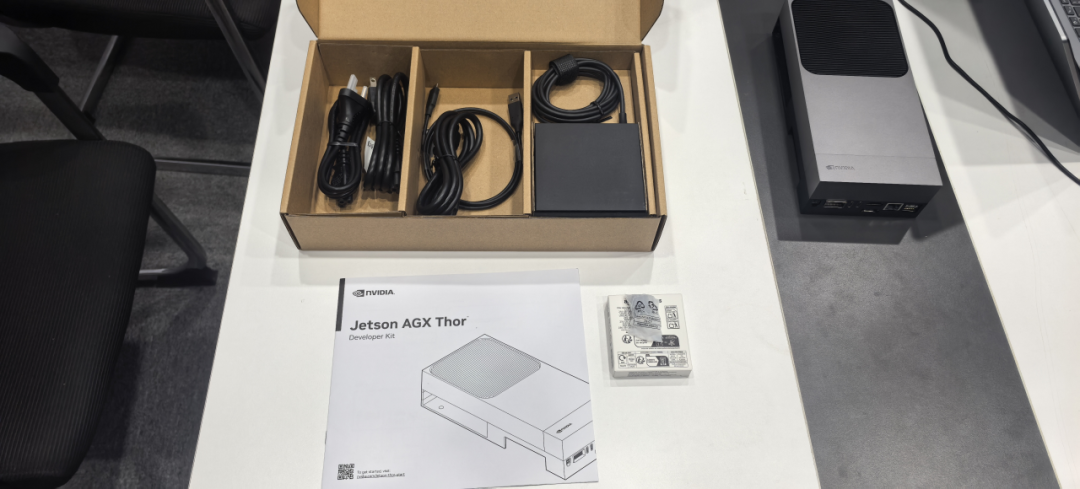
As a testing machine, I was fortunate to receive a signed note from Jensen Huang that says “Enjoy!” Inside the box, there are the following items:
1x Jetson AGX Thor Developer Kit
AC power cable(s)
1x USB-C to USB-A cable
1x DC power supply with USB-C plug
It is worth mentioning that NVIDIA thoughtfully provided a 256GB storage device, which can be used for flashing the system!
External Hardware Interfaces
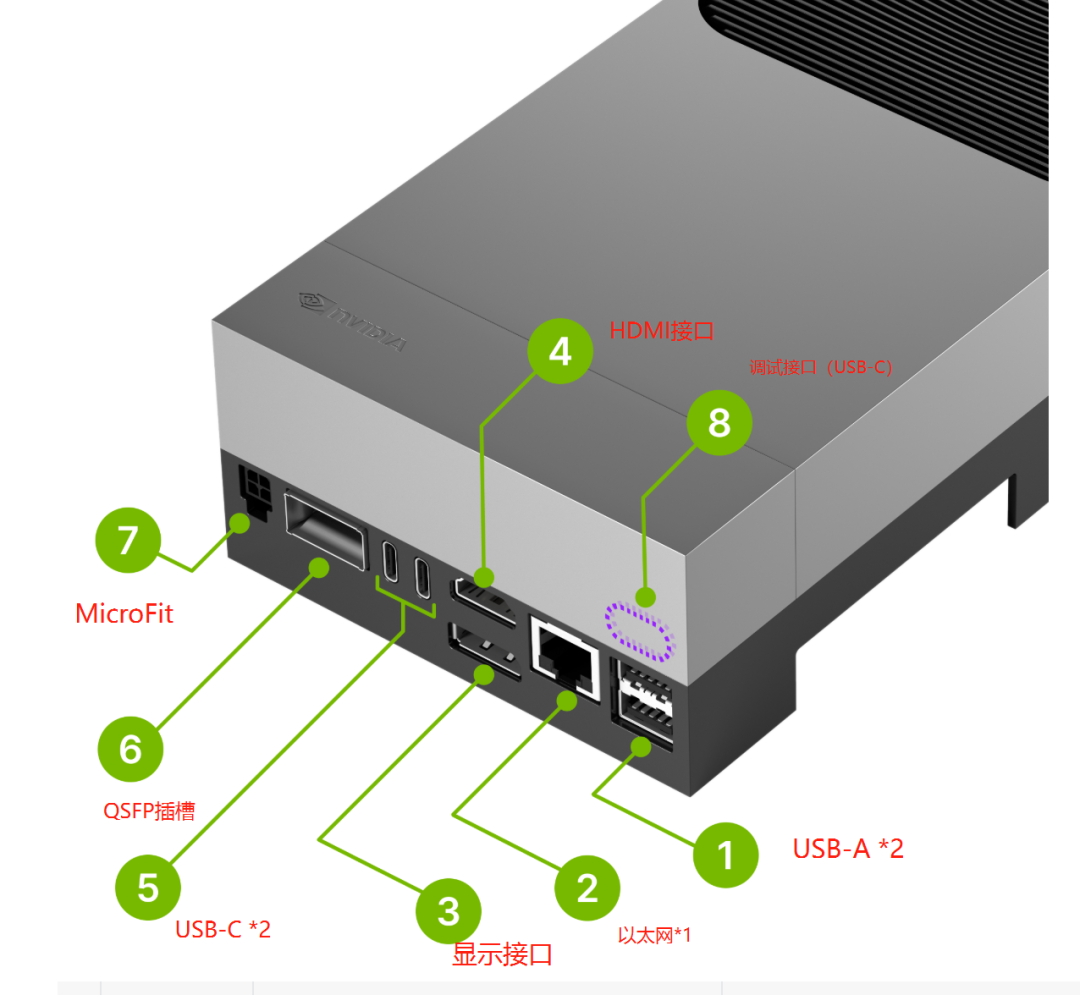
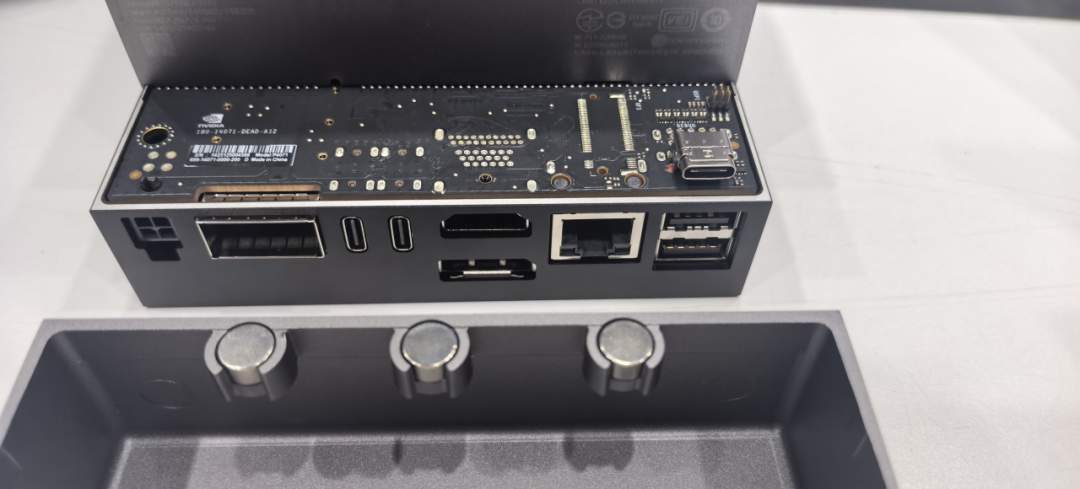
There is a clever design where a magnetic metal component is located at the top of the interface. When opened, it reveals the eighth interface, which is a USB-C for debugging.
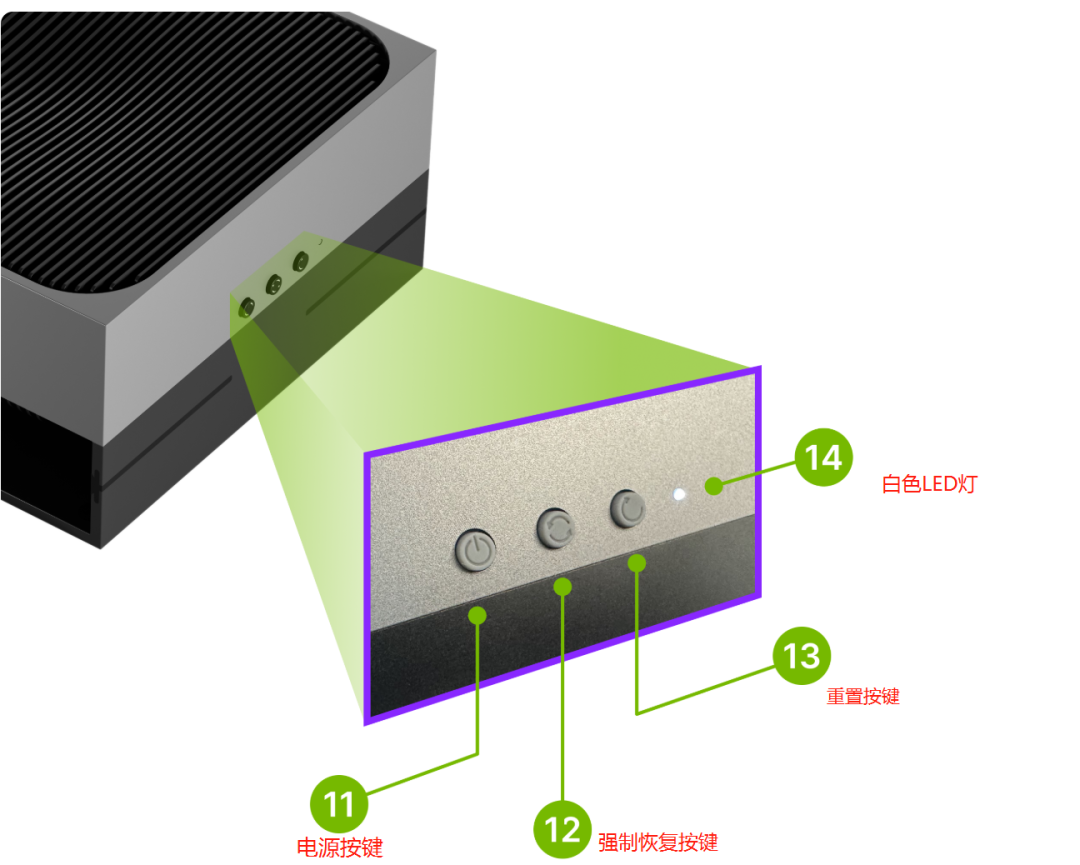
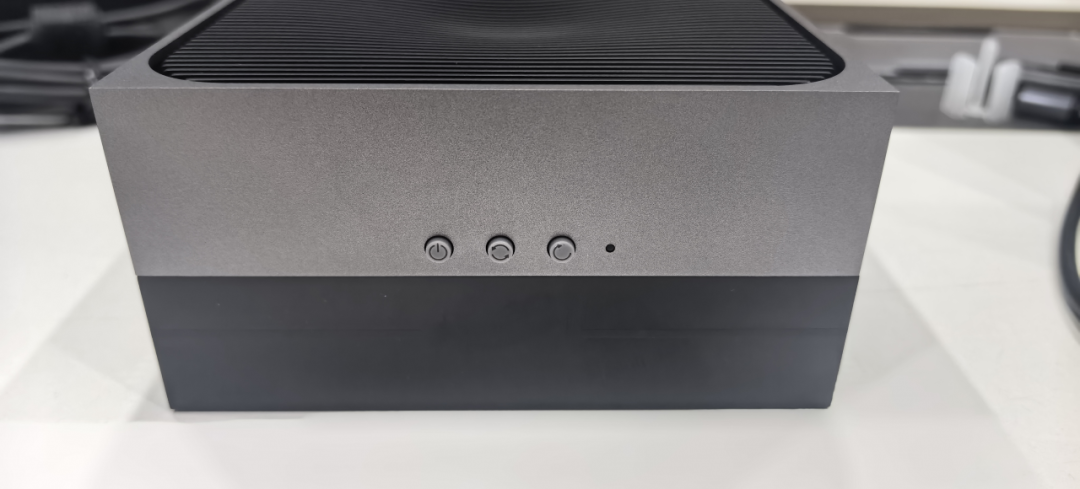
System Power-Up Process
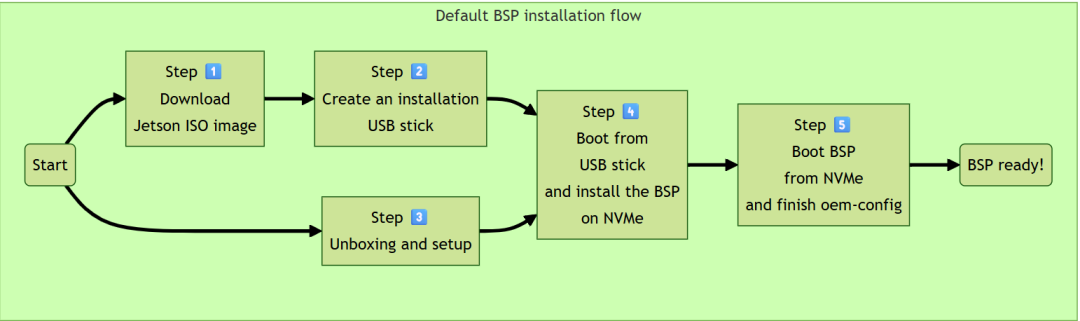
After looking at the hardware, I couldn’t wait to flash the system for an experience.
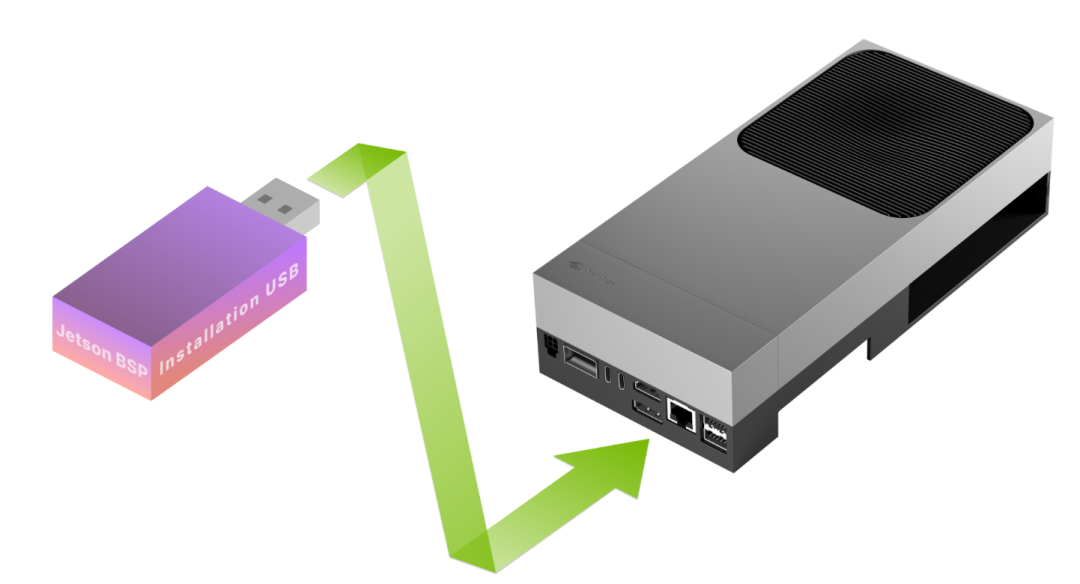
The Jetson Thor can use the USB interface for system image flashing.
Download ISO Image
First, you need to download the official ISO image from this link.
Create Installation USB
Do you remember the 256GB storage module that NVIDIA prepared for us? Now we need to flash the image onto it. I am using balenaEtcher for this.
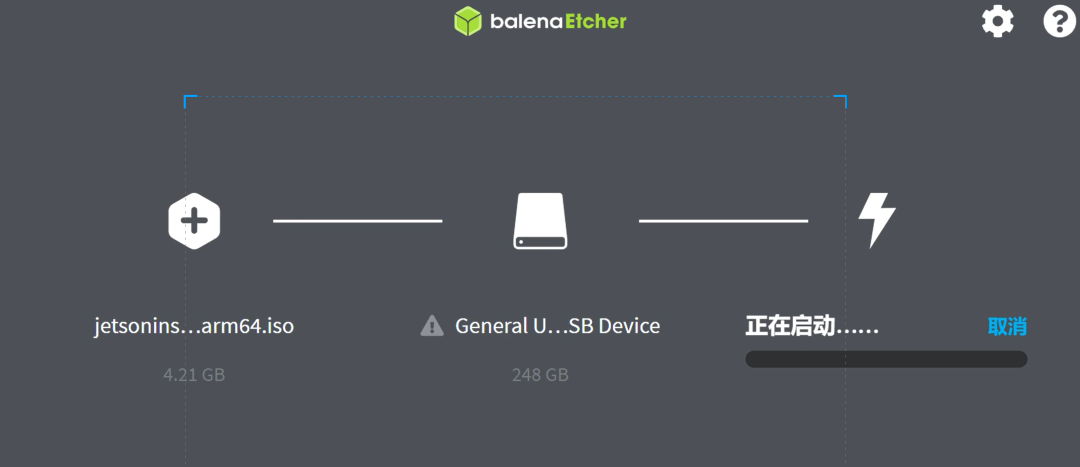
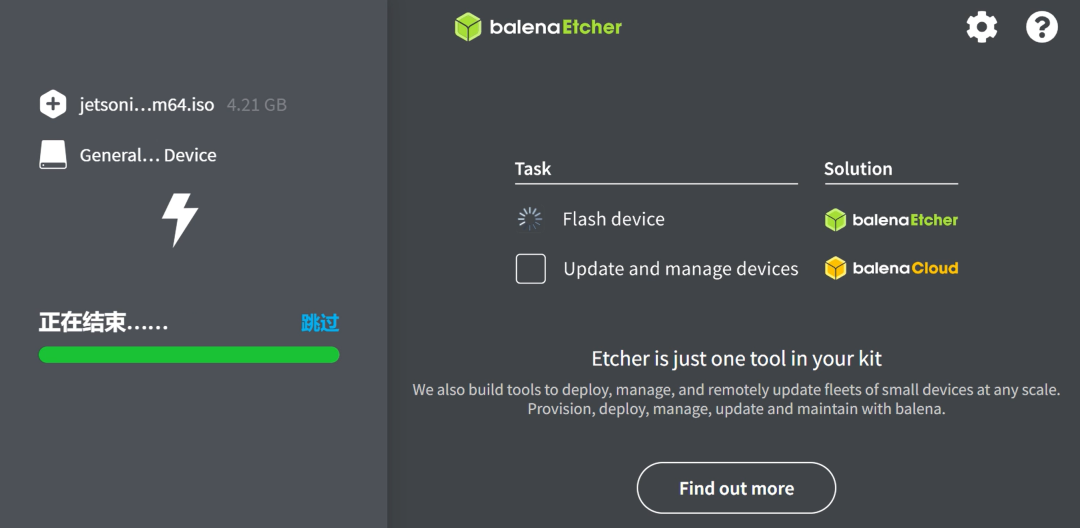
There will be a flashing and verification process in between. After successful verification, the ISO writing is complete.
It is important to note that you should not just copy the image but flash it. Those who have done dual-boot systems should understand this well.
Connect Hardware to Flash the System
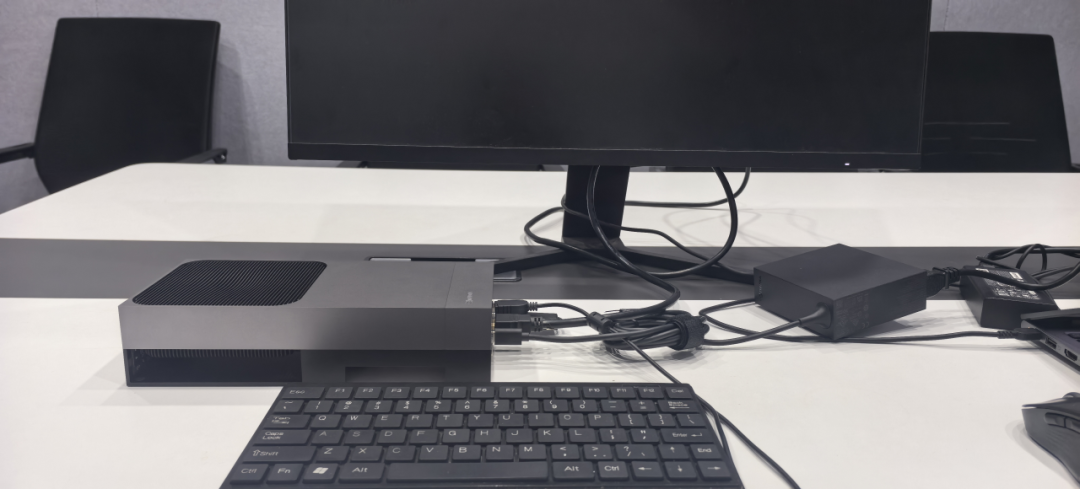
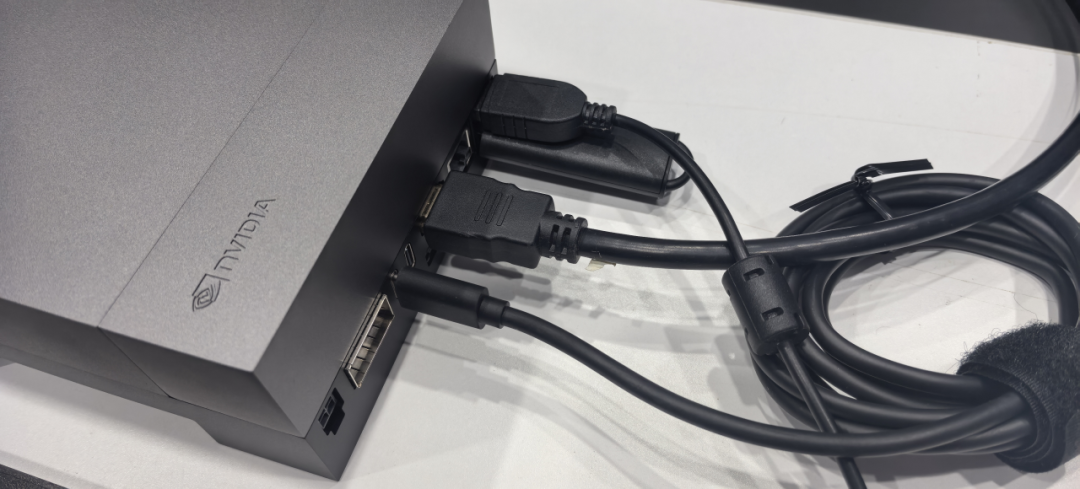
Then connect the power supply and wait for the screen to light up.
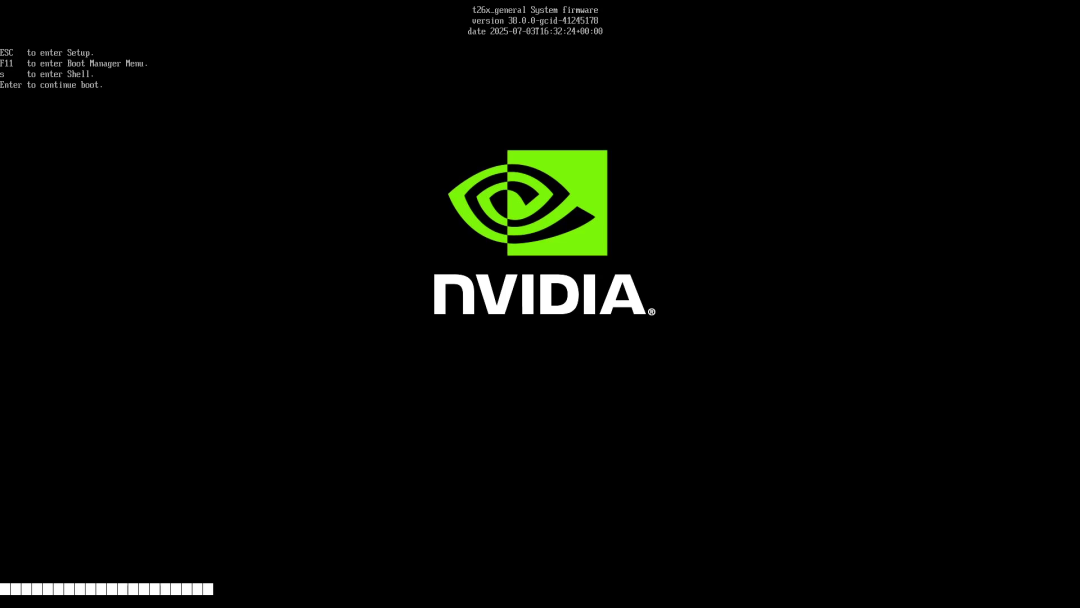
Since this is the first boot, installation needs to be performed first.
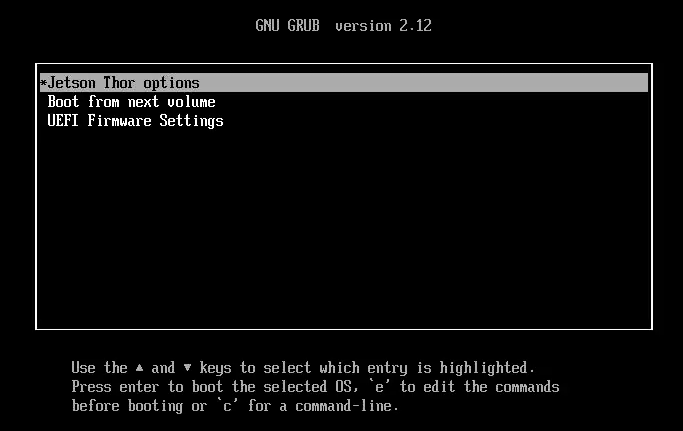
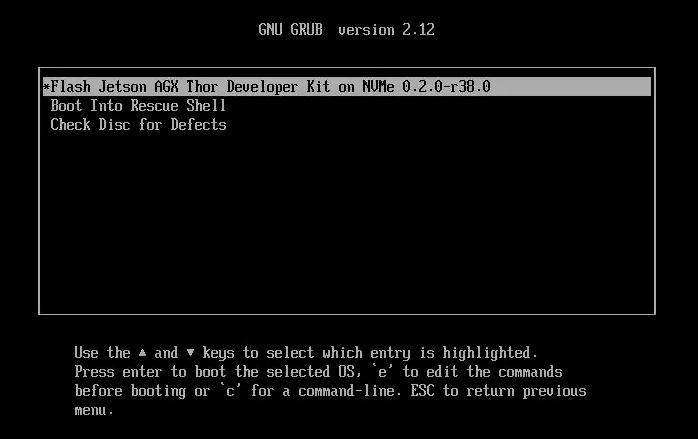
When you see the screen above, you can press Enter; after a moment, you will see the following prompt:
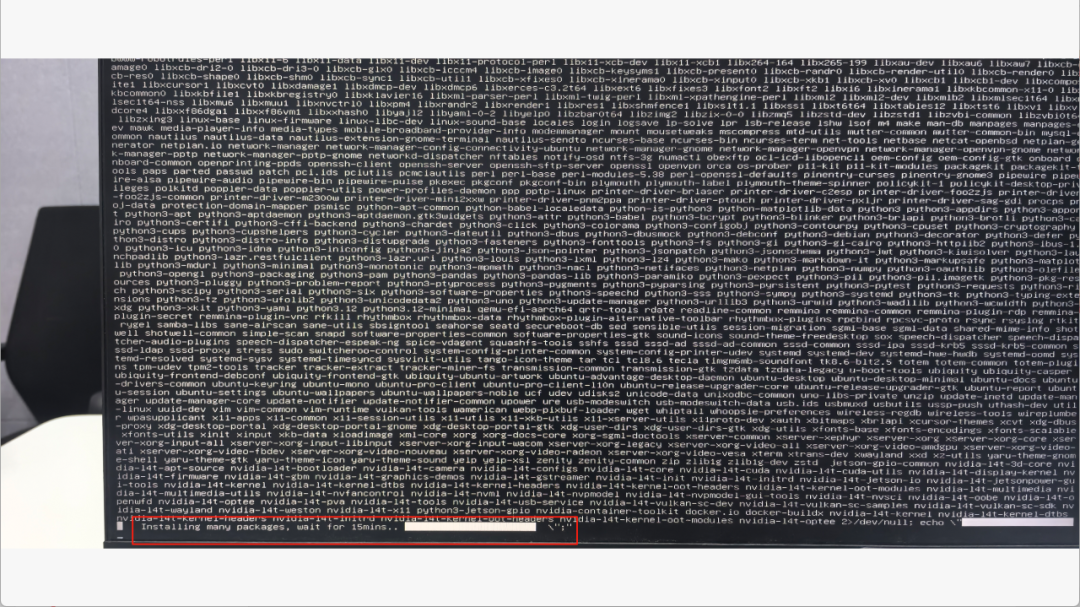
After a while, you may find the screen stuck at one position, which is normal; just wait a moment.
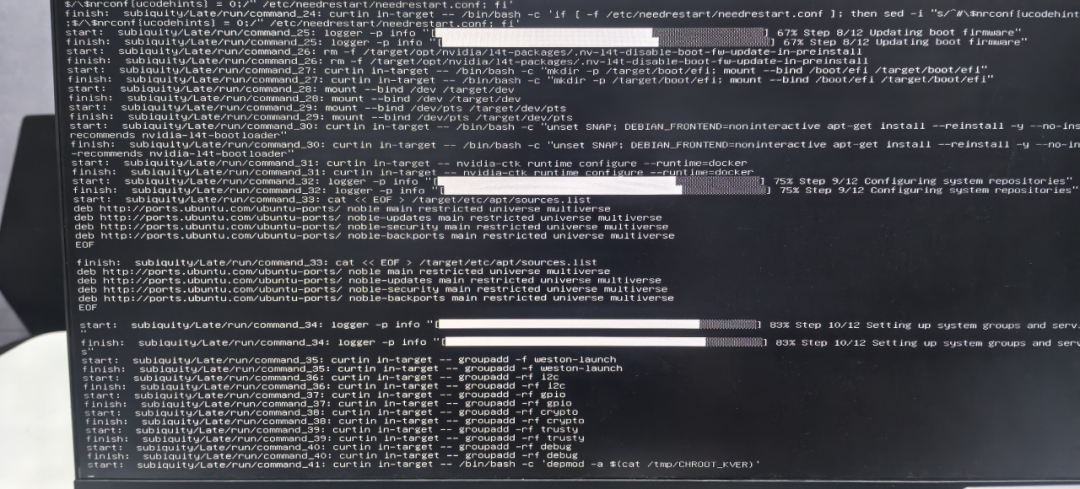
After a while, you will see the screen continue to scroll.
After two reboots, you will enter the normal Ubuntu system configuration.
Entering the System
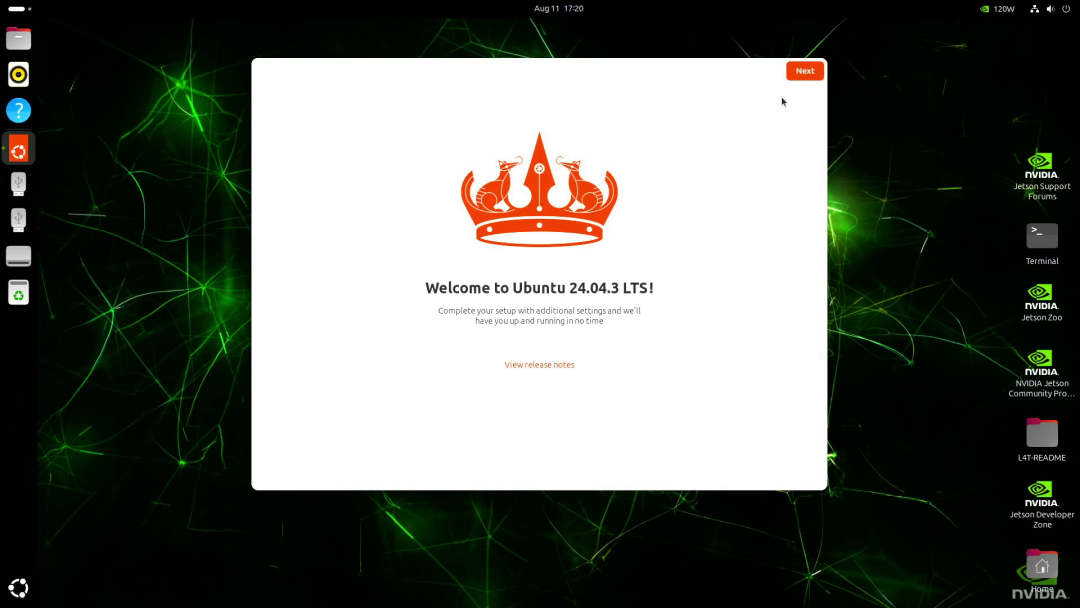
References:Jetson AGX Thor Developer Kit – User Guide
System Configuration
First, perform an update operation.
sudo apt updateThen continue with a full upgrade.
sudo apt full-upgradeFinally, install JetPack.
sudo apt install nvidia-jetpack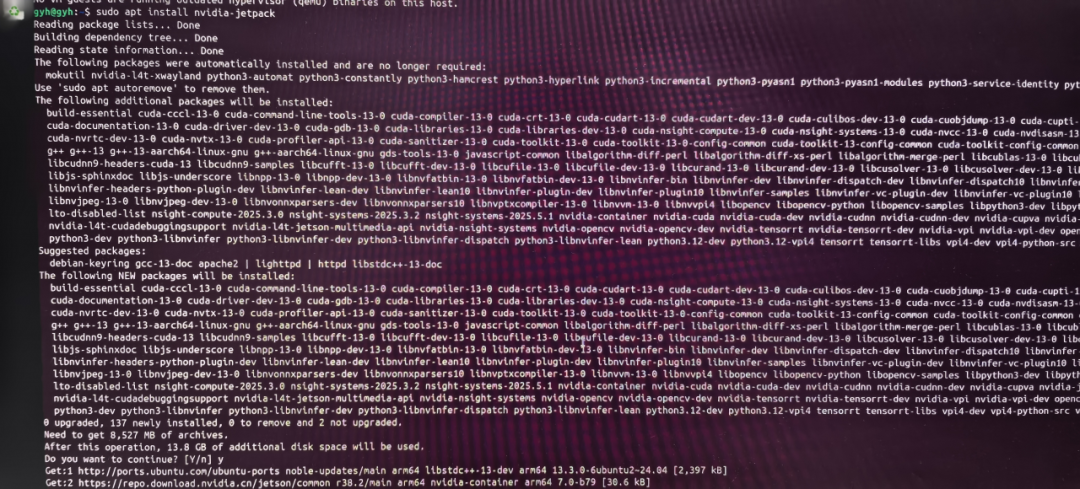
Common Observational Parameters
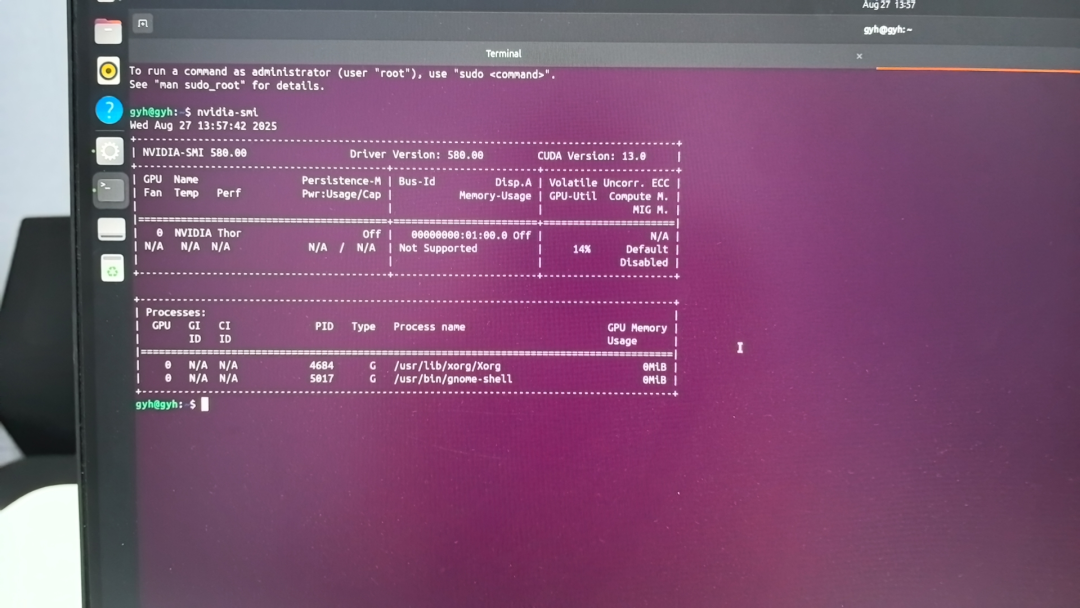
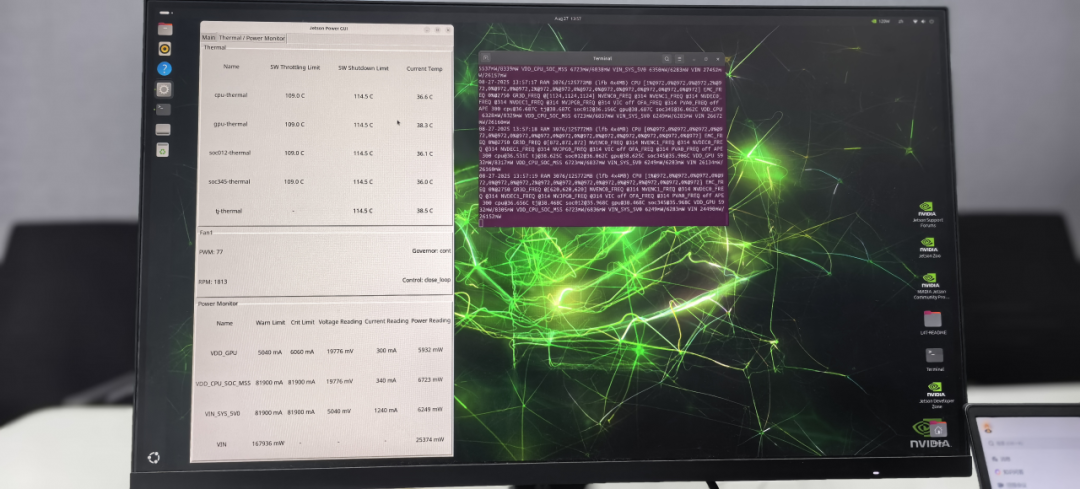
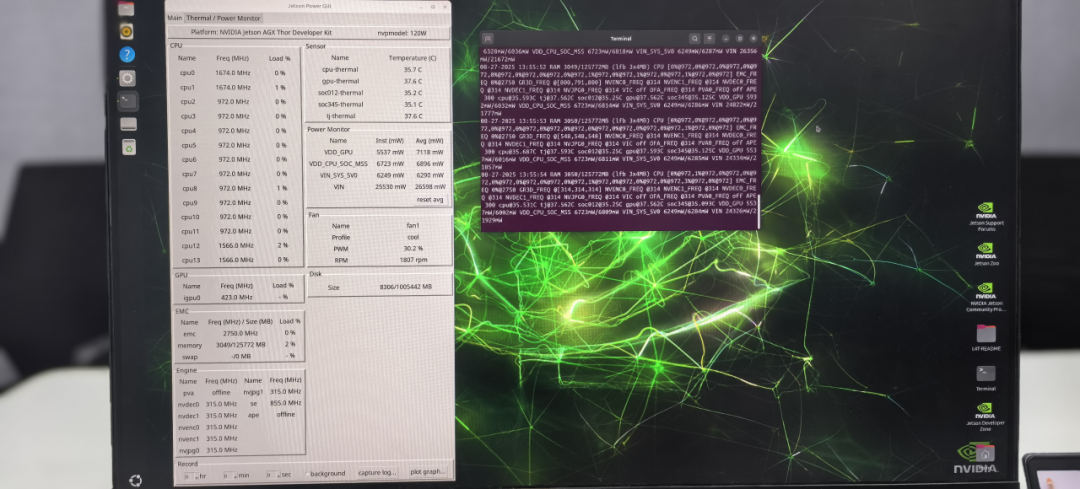
Swipe left and right to view.
In the future, I will update more interesting cases. If there is anything you want to see, feel free to leave a comment!