1. Project Overview
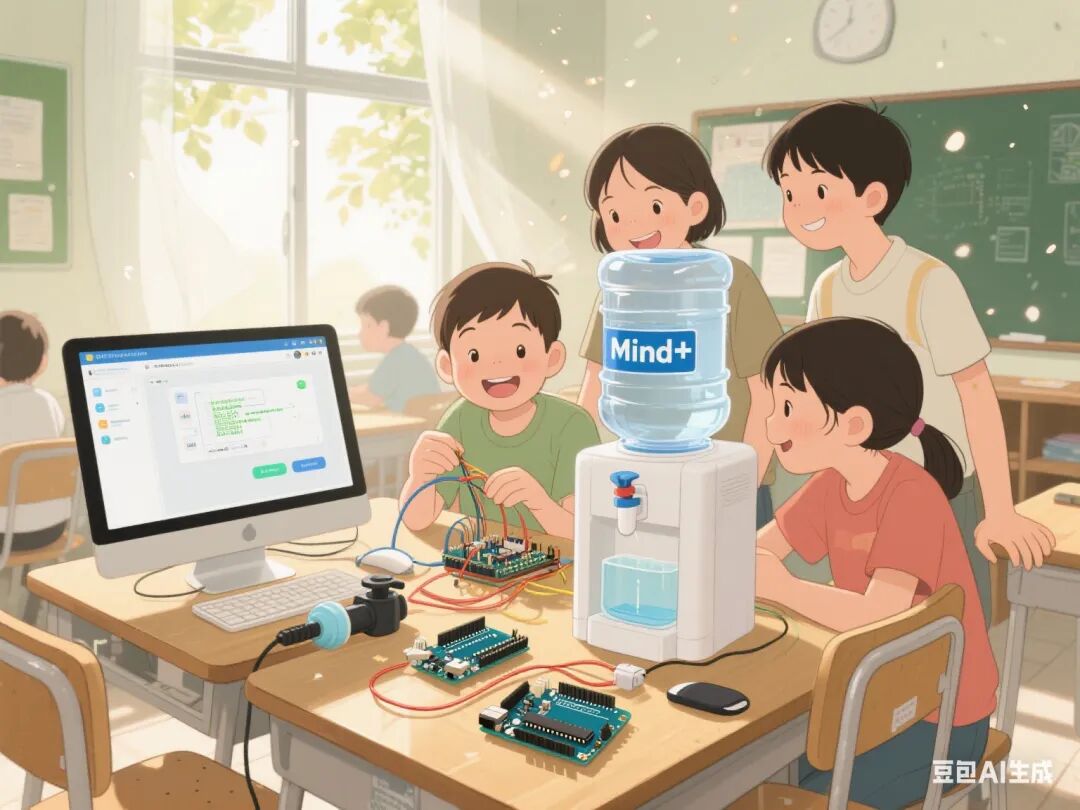
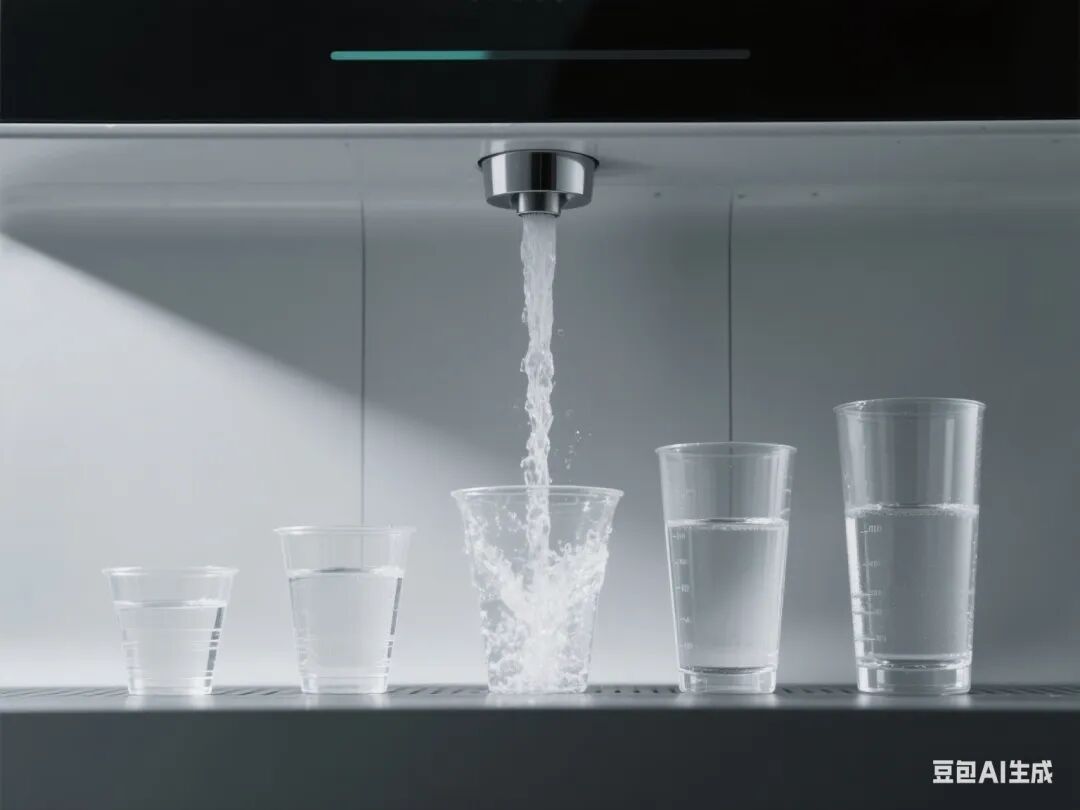
This project centers around the creation of a smart automatic water dispenser. Students will utilize the Mind+ graphical programming software, Arduino Nano board, expansion board, infrared sensors, relays, small water pumps, and other hardware modules, along with materials such as corrugated cardboard and popsicle sticks, to achieve an automatic water dispensing function through phased tasks. The project encompasses sensor signal detection, relay control, circuit design, programming logic integration, and mechanical structure construction, fostering students’ interdisciplinary knowledge application and engineering practice skills.
 2. Overall Project Goals
1. Knowledge and Skills Objectives
◦ Master the working principles and connection methods of modules such as infrared sensors, relays, and small water pumps.
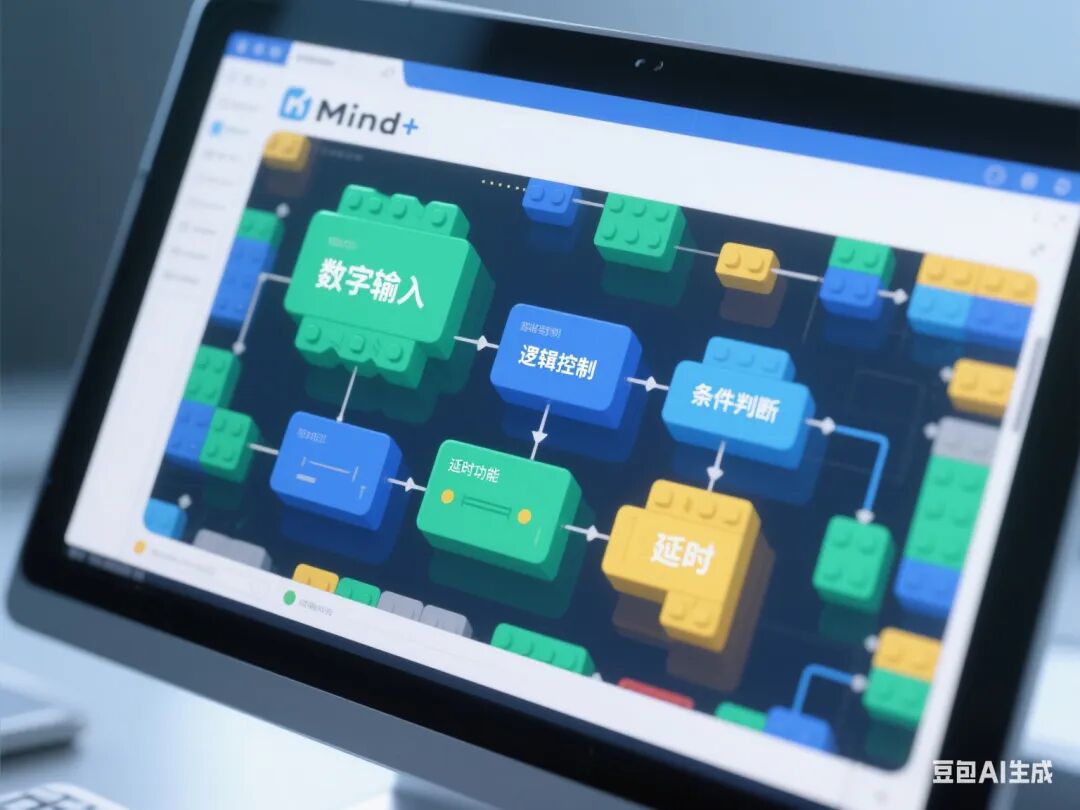
◦ Proficiently use Mind+ graphical programming to achieve digital signal detection, logic control, and delay functions.
◦ Understand the isolation role of relays in high-voltage circuits and master the programming logic for multi-module collaborative work.
2. Process and Method Objectives
◦ Cultivate system thinking and problem-solving abilities through the “test-integrate-optimize” engineering process.
◦ Learn to use technical documentation and debugging tools to analyze hardware failures.
3. Emotional Attitude and Values Objectives
◦ Appreciate the practical application value of smart devices in life.
◦ Cultivate a rigorous engineering attitude and innovative consciousness.
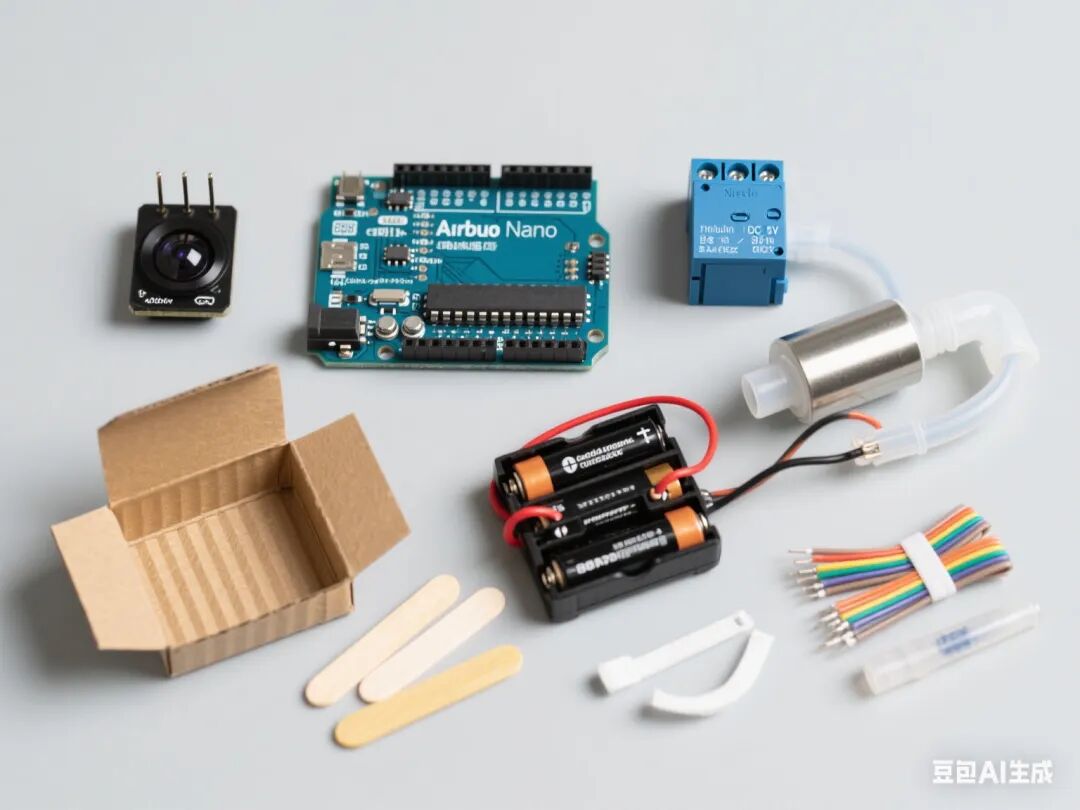
3. Required Hardware
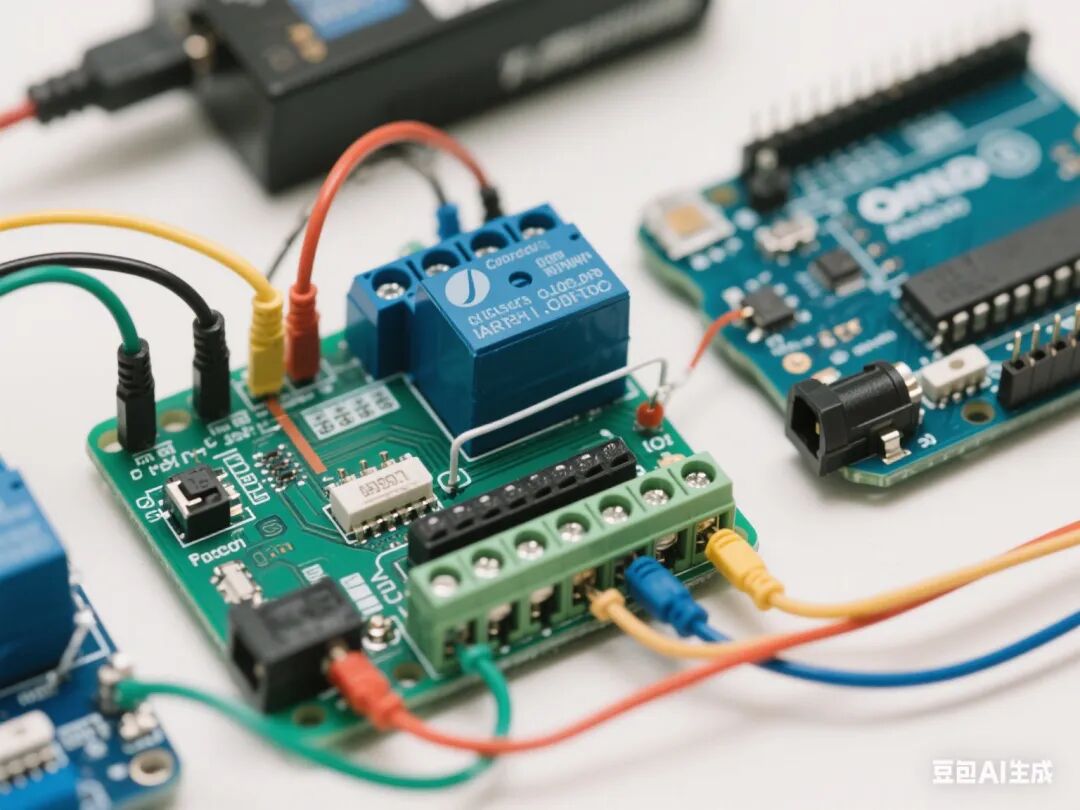
1. Arduino Nano board + expansion board
2. Infrared sensor (digital signal type)
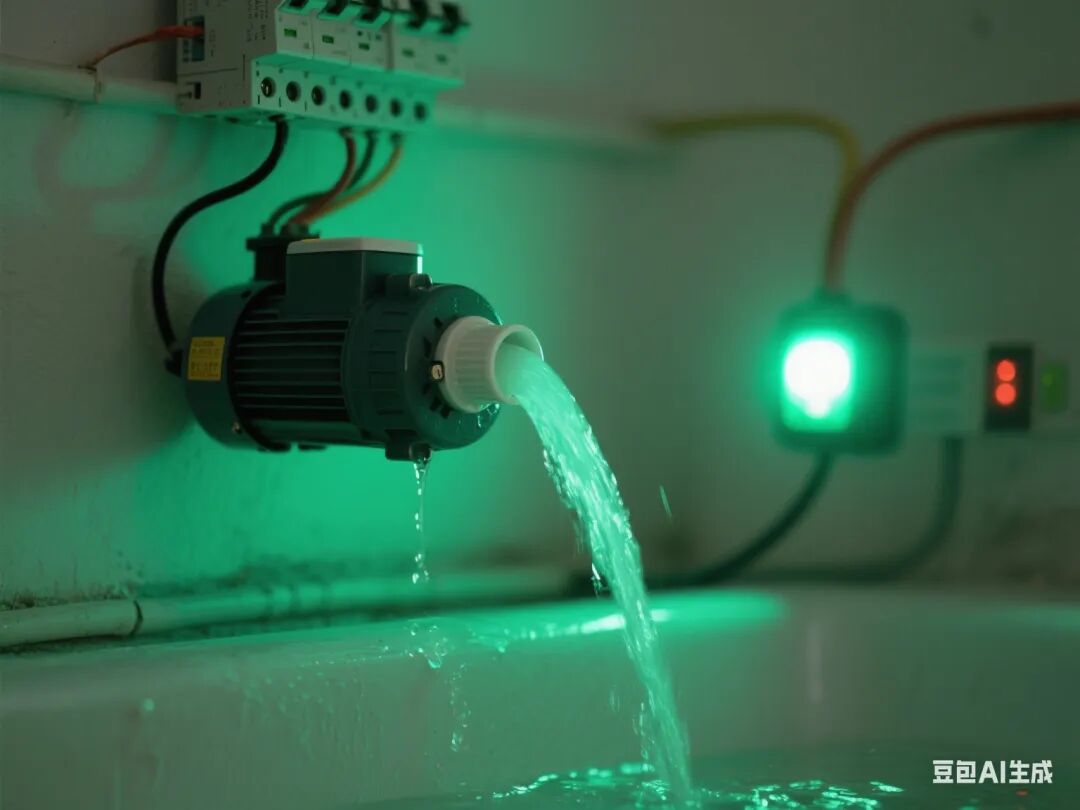
3. Relay module
4. Mini direct current water pump (DC 5V)
5. Battery holder (4 AA batteries)
6. Plastic water pipes and joints
7. Popsicle sticks (for structural support)
8. Corrugated cardboard (shell material)
9. Dupont wires, zip ties, hot melt glue, and other auxiliary materials
4. Class Schedule and Lesson Design
First Lesson: Infrared Sensor Signal Testing
1. Learning Objectives
◦ Master the working principle of infrared sensors and digital signal detection methods.
◦ Learn to read and display sensor status in Mind+.
2. Teaching Key Points
◦ Key Point: Connection method of infrared sensor and Arduino, graphical programming to read digital pins.
◦ Difficulty: Understanding the effective detection distance of the sensor and threshold setting.
3. Teaching Steps
◦ Introduction (5 minutes): Show a video of an automatic sensing faucet in a mall to introduce the principle of infrared sensing.
◦ Knowledge Explanation (15 minutes):
◦ Function of infrared sensor pins (VCC/GND/D0)
◦ Use of the “read digital pin” block in Mind+
◦ Hardware Practice (20 minutes):
◦ Connect the sensor to the expansion board D2 pin
◦ Write code: When the sensor detects an object, the serial port displays “Someone is present”
◦ Debugging and Optimization (10 minutes): Adjust the sensor sensitivity and record the effective detection distance.
◦ Summary (10 minutes): Organize sensor test data and emphasize the characteristics of digital signals.
Second Lesson: Water Pump Drive Circuit Testing
1. Learning Objectives
◦ Master the working characteristics of the water pump and the method of building the drive circuit.
◦ Understand the difference between direct drive and relay drive.
2. Teaching Key Points
◦ Key Point: Correct connection of the water pump and power supply, basic control code writing.
◦ Difficulty: Recognizing the necessity of relays in high-voltage circuits.
3. Teaching Steps
◦ Review Introduction (5 minutes): Review sensor test results and introduce the need for water control.
◦ Knowledge Explanation (15 minutes):
◦ Water pump parameters (voltage/current) and battery holder matching
◦ Risks of direct drive (current overload)
◦ Hardware Practice (20 minutes):
◦ Build a direct drive circuit for the water pump (do not connect the relay yet)
◦ Write code: Control the water pump start and stop through the D3 pin
◦ Observation (10 minutes):
◦ Discover that insufficient power supply from Arduino causes a restart
◦ Discuss solutions leading to the relay
◦ Summary (10 minutes): Compare the two driving methods and record experimental phenomena.
Third Lesson: Relay Control Module Learning
1. Learning Objectives
◦ Master the working principle and control method of the relay module.
◦ Achieve safe control of high-voltage circuits by Arduino.
2. Teaching Key Points
◦ Key Point: Connection of the relay to Arduino, control signal logic conversion.
◦ Difficulty: Understanding the isolation role of the relay coil and contacts.
3. Teaching Steps
◦ Problem Introduction (5 minutes): Show the problem of direct drive of the water pump and introduce the relay solution.
◦ Knowledge Explanation (15 minutes):
◦ Relay pin definitions (VCC/GND/IN)
◦ Relationship between control signals and contact states
◦ Hardware Practice (20 minutes):
◦ Connect the relay to the D3 pin, control the water pump circuit
◦ Write code: Control the relay on and off through the switch signal
◦ Comparison Experiment (10 minutes):
◦ Test the stability of the water pump under relay control
◦ Record the circuit status when the contacts are engaged/disengaged
◦ Summary (10 minutes): Organize key points of relay control and emphasize safety operation norms.
Fourth Lesson: System Function Integration Testing
1. Learning Objectives
◦ Achieve programming logic for multi-module collaborative work.
◦ Master basic methods for system debugging.
2. Teaching Key Points
◦ Key Point: Logic design for sensor signal triggering the water pump start and stop.
◦ Difficulty: Coordination of delay control and state reset.
3. Teaching Steps
◦ Task Introduction (5 minutes): Clarify complete functional requirements (sensing water for 10 seconds before stopping).
◦ Programming Practice (30 minutes):
◦ Integrate sensor detection and relay control code
◦ Add delay function to achieve automatic water stop
◦ Joint Debugging and Optimization (15 minutes):
◦ Test response time at different detection distances
◦ Adjust code parameters (such as detection threshold, water dispensing duration)
◦ Troubleshooting (10 minutes):
◦ Address common issues (false triggers, water pump not starting)
◦ Learn to use the serial monitor for debugging assistance
◦ Summary (10 minutes): Organize system debugging experiences and emphasize the importance of modular testing.
Fifth Lesson: Structural Optimization and Project Presentation
1. Learning Objectives
◦ Complete the mechanical structure construction and beautification of the water dispenser.
◦ Enhance the aesthetics and practicality of engineering design.
2. Teaching Key Points
◦ Key Point: Fixing the water pump, connecting the water pipe, and designing the shell.
◦ Difficulty: Achieving a balance between structural stability and functional accessibility.
3. Teaching Steps
◦ Design Introduction (5 minutes): Show excellent structural design cases and emphasize human-computer interaction needs.
◦ Structural Construction (30 minutes):
◦ Use popsicle sticks to make a water pump support
◦ Design the shell with corrugated cardboard and create openings
◦ Connect the water pipe and outlet
◦ Beautification (20 minutes):
◦ Draw functional labels (such as water level line, sensing area)
◦ Add handles and other practical structures
◦ Final Testing (15 minutes):
◦ Simulate real usage scenarios for testing
◦ Record issues such as leaks and structural looseness
◦ Summary (10 minutes): Reflect on the advantages and disadvantages of structural design and propose improvement plans.
5. Assessment Methods
1. Process Evaluation (40%)
◦ Norms of hardware connections (10%)
◦ Reasonableness of code logic (15%)
◦ Problem-solving ability (15%)
2. Summative Evaluation (60%)
◦ Completeness of functional implementation (30%)
◦ Innovation of structural design (20%)
◦ Expression in project presentation (10%)
6. Safety Tips
1. Ensure correct connection of the battery holder’s positive and negative terminals to avoid short circuits.
2. Ensure the water pipe is unobstructed when the water pump is working to prevent motor blockage.
3. Pay attention to high-temperature protection when using a hot melt glue gun.
7. Teaching Resources
1. Mind+ software and Arduino drivers
2. Technical documentation for each module
3. Engineering log templates
4. Reference cases of excellent works