Introduction
As a hardware novice, after assembling a little AI project, I found it quite interesting and wanted to start learning about the ESP32.
Introduction to ESP32
The ESP32 is a high-performance, low-power dual-mode microcontroller chip with Wi-Fi and Bluetooth capabilities, launched by Espressif Systems. It is widely used in fields such as the Internet of Things (IoT), smart homes, and wearable devices.
After some research, it is recommended for beginners to use Arduino.
Introduction to Arduino
Arduino is an open-source electronics platform based on easy-to-use hardware and software. Arduino boards can read inputs—such as light from a sensor, a finger on a button, or a tweet—and convert them into outputs—like activating a motor, lighting up an LED, or publishing content online. You can tell your board what to do by sending a set of instructions to the microcontroller on the board. For this, you use the Arduino programming language based on Wiring and the Arduino software (IDE) based on Processing.
Over the years, Arduino has become the brain behind thousands of projects, ranging from everyday items to complex scientific instruments. A global maker community—including students, hobbyists, artists, programmers, and professionals—has gathered around this open-source platform, contributing to a wealth of accessible knowledge that is very helpful for both beginners and experts.
Arduino was born at the Ivrea Interaction Design Institute as an easy tool for rapid prototyping aimed at students without a background in electronics and programming. As it was adopted by a broader community, Arduino boards began to evolve to meet new needs and challenges, developing from simple 8-bit boards to products suitable for IoT applications, wearable devices, 3D printing, and embedded environments.
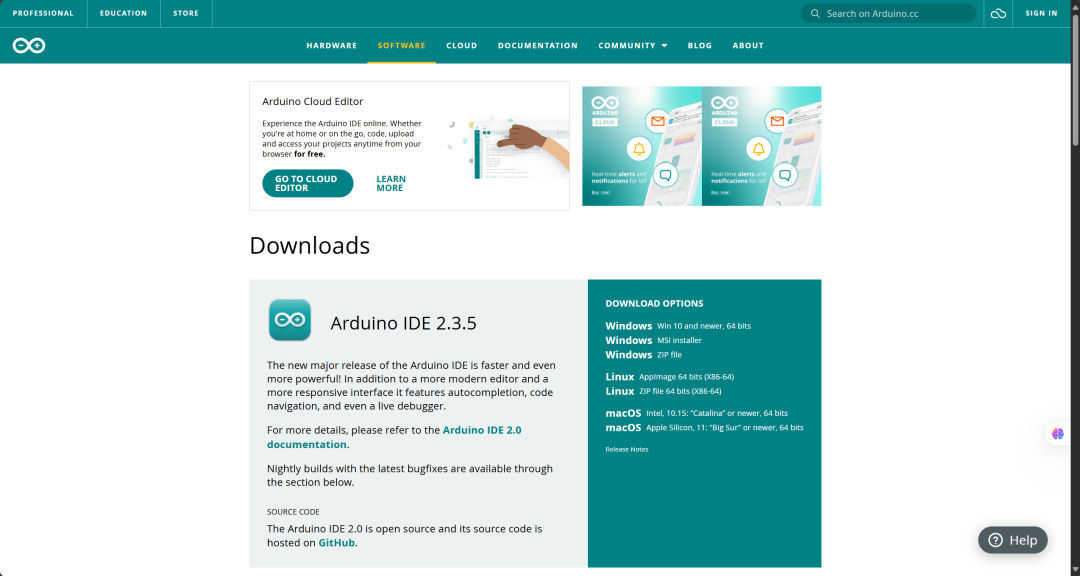
To get started with the Arduino IDE, download it from: https://www.arduino.cc/en/software
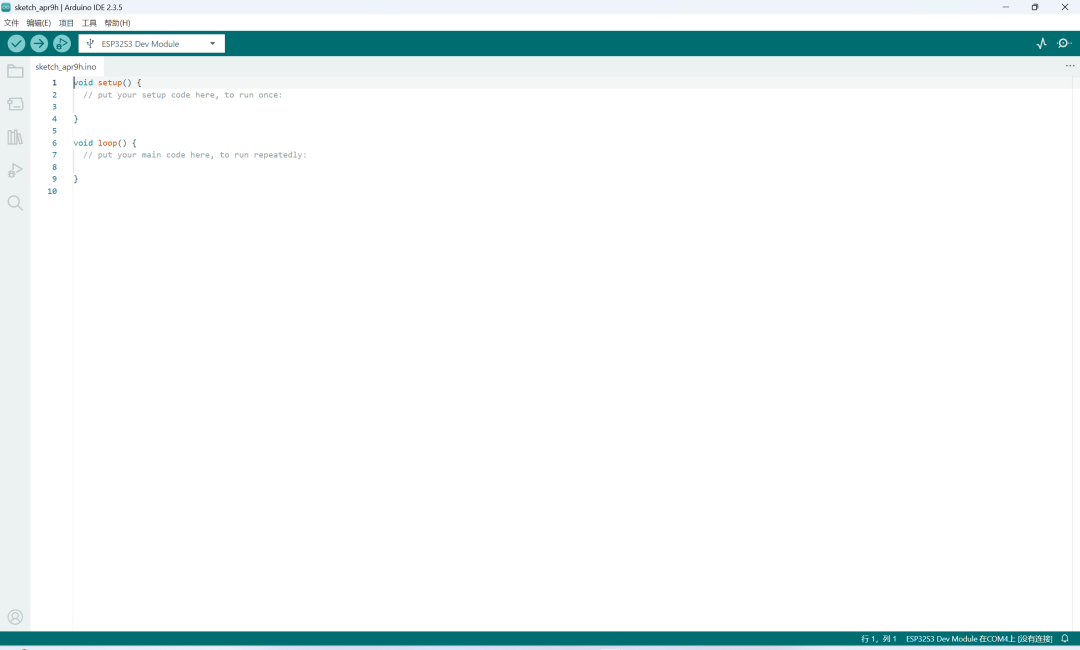
After downloading, open it as shown below:
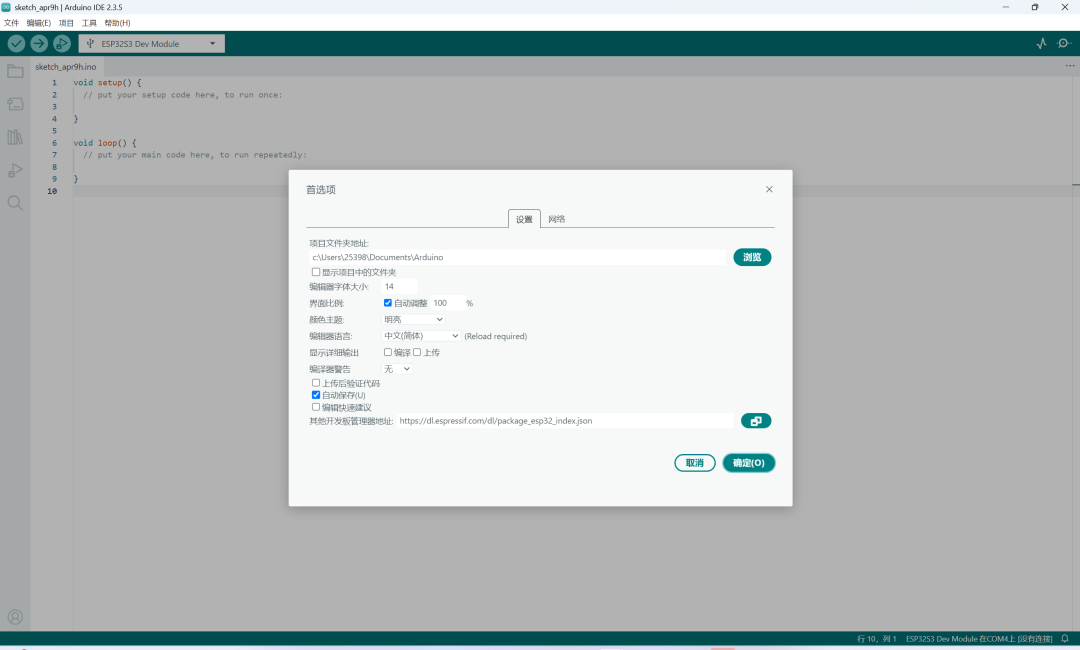
If it is in English, set it to Chinese in File -> Preferences:
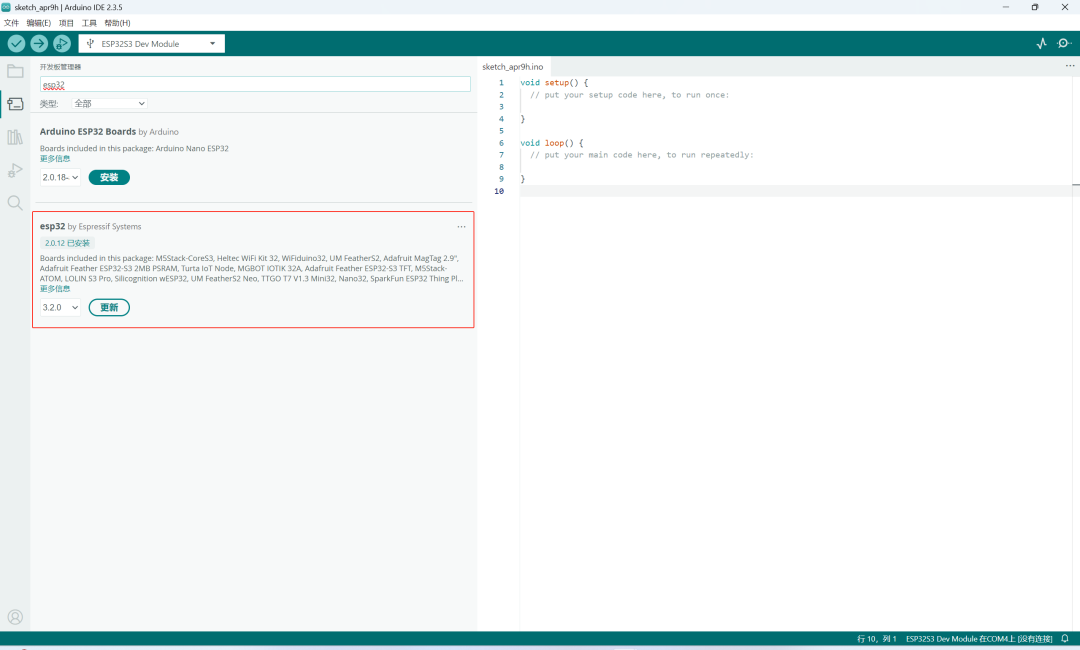
Now, you need to install the corresponding development board.
Open Tools -> Board -> Board Manager.
Install this:
I couldn’t install it here, so I ended up downloading it directly from a cloud drive for installation.
Cloud drive link: https://pan.baidu.com/s/1RZkrNGdLaF2psiLQD174yg
Extraction code: v2ey
After downloading, it looks like this:

Open it directly.
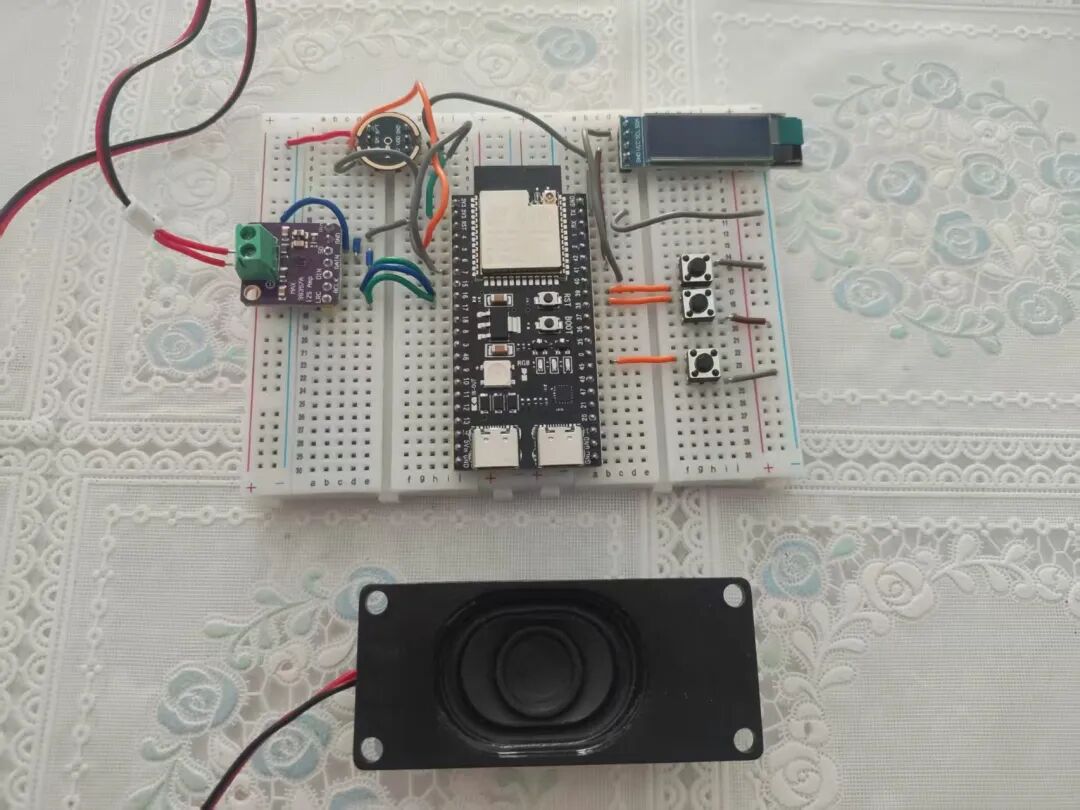
Connect the development board to the computer as shown, ignoring the OLED screen and wiring:

Then select the corresponding board and port:
Let’s start writing the first program:
void setup()
{
  Serial.begin(115200);
  Serial.println("Hello world!");
}

void loop()
{
  Serial.println("Hello world!");
  delay(2000);
}
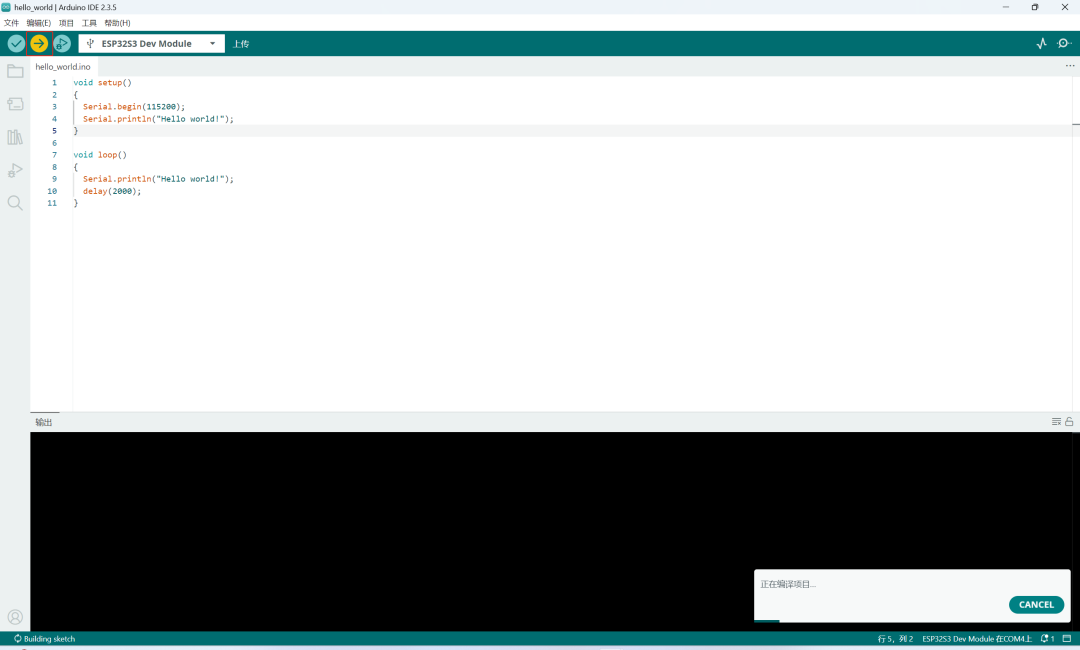
Click this arrow to compile and upload the program to the development board.
Now open the Serial Monitor:
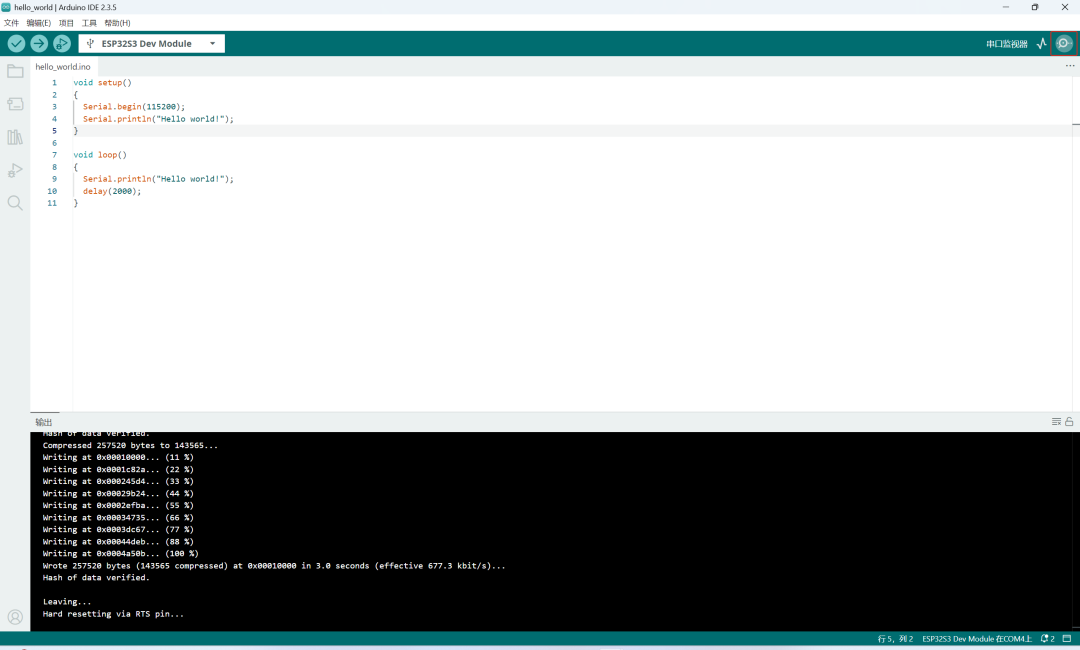
As shown below:
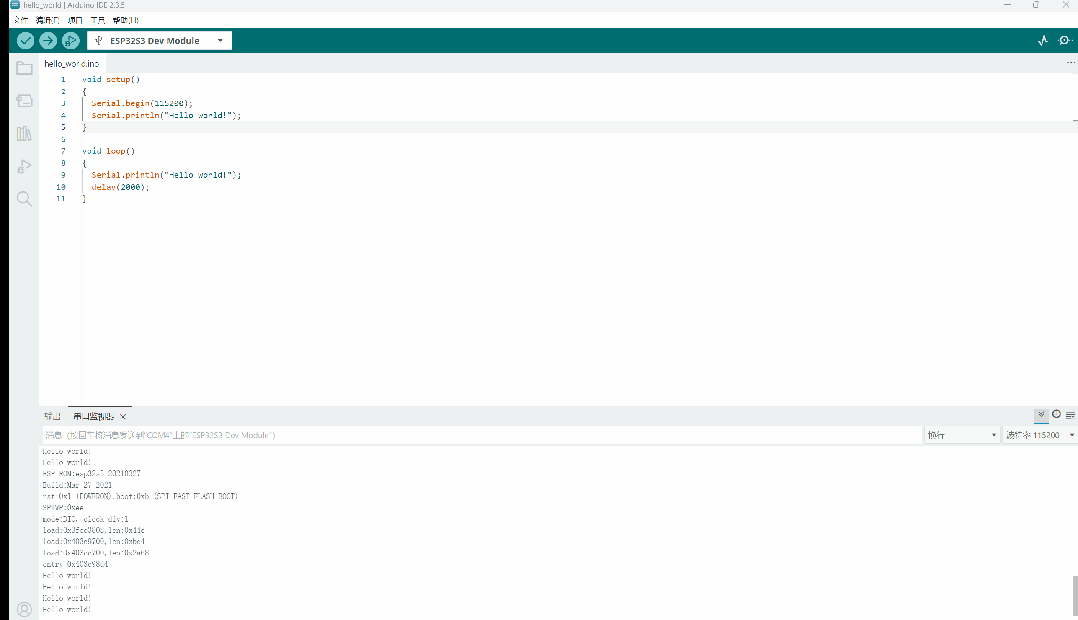
At this point, the first program has been completed.
The setup function only runs once.
The loop function will run continuously.
This completes the setup of the ESP32 development environment.
I hope this helps friends interested in developing with the ESP32.