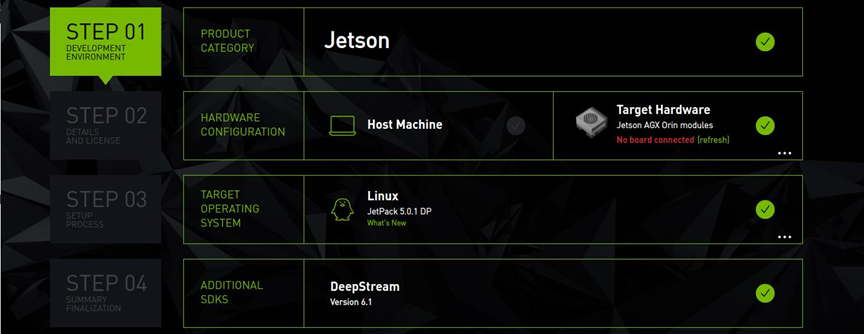
The previous installation process for the Jetson Orin development kit did not include the installation of the DeepStream intelligent analysis suite. Therefore, a separate installation process is required, and three installation methods are provided for users’ reference.
1. Install Using the DeepStream Compressed Package:
Please visit https://developer.nvidia.com/deepstream-getting-started, and you will see the following image describing the DeepStream SDK version 6.1:
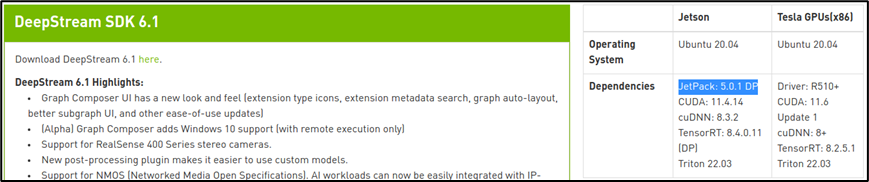
The requirements for the system are listed in the right table. For the Jetson section, it must be above version JetPack 5.0.1 DP. The Jetson Orin development kit just meets this requirement, so you can install this version 6.1 of DeepStream.
Scrolling down the page, you will see the “Downloads” section as shown below:

Select the box to the left of “I Agree To…”, and the following options will pop up:
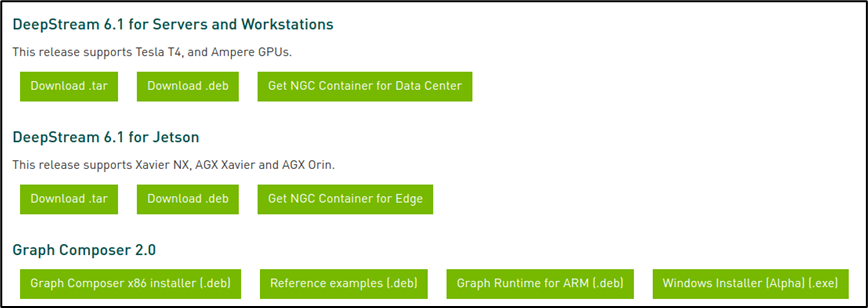
Here, it is recommended to download the “Download .tar” compressed package as it is simpler. After clicking, the following screen will pop up:

This requires users to have an NVIDIA developer community account. If you do not have one, please apply for it. The steps for applying and logging in will not be elaborated here.
After downloading the compressed package to the Jetson Orin development kit, please execute the following steps on Jetson Orin:
# Install dependencies
sudo apt install -y libssl1.0.0 libgstreamer1.0-0 gstreamer1.0-tools gstreamer1.0-plugins-good gstreamer1.0-plugins-bad gstreamer1.0-plugins-ugly gstreamer1.0-libav libgstrtspserver-1.0-0 libjansson4=2.11-1 libgstreamer-plugins-base1.0-dev libgstreamer1.0-dev libgstrtspserver-1.0-dev libx11-dev
# Reinstall nvidia-l4t related libraries
sudo apt install --reinstall -y nvidia-l4t-gstreamer nvidia-l4t-multimedia nvidia-l4t-core
Now navigate to the location of the downloaded deepstream_sdk_v6.1.0_jetson.tbz2, and execute the following command to start the installation of the DeepStream development tools:
sudo tar -xvf deepstream_sdk_v6.1.0_jetson.tbz2 -C /cd /opt/nvidia/deepstream/deepstream
sudo ./install.sh && sudo ldconfig
Next, execute the following command to verify whether the installation of DeepStream was successful:
deepstream-app --version-allThe first execution will show some warning messages, but executing it again will display the information correctly as shown in the image below:

This indicates that the installation is complete.
2. Install via SDK Manager:
This installation requires an x86 computer running Ubuntu or CentOS to assist, making it relatively complicated. This tool can be downloaded from https://developer.nvidia.com/nvidia-sdk-manager, and can be installed directly using dpkg, then launch the SDK Manager to proceed with the installation.
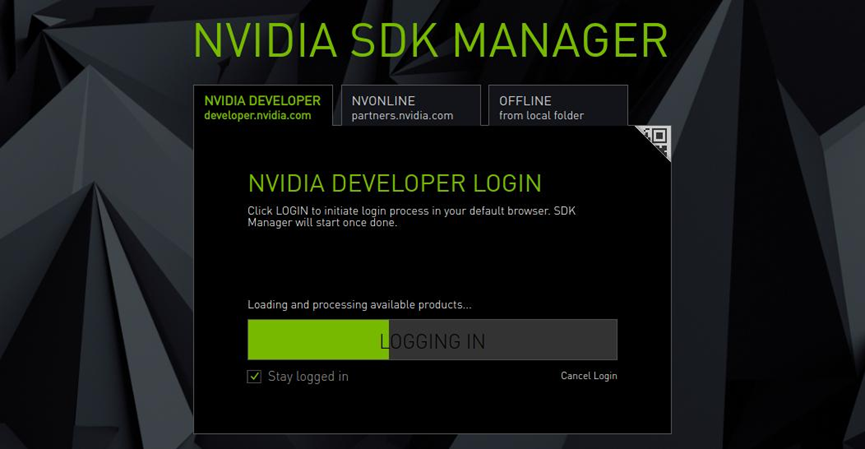
The complicated part of this method is the login steps for the SDK Manager (as shown below), which also requires an NVIDIA developer community account and password. If you do not have one, you will need to apply for it. The backend verification step requires connecting to NVIDIA’s server, so it may need to be repeated multiple times to succeed.
After successfully logging in, enter “STEP 1” to select the installation content. Please check the box for the “DeepStream” option at the bottom of the image below, and then click “CONTINUE” to proceed to the next step.
In “STEP 2” , the most important thing is to “Cancel Jetson OS” option as shown in the image below, because we only need to install DeepStream and do not need to install the operating system.
After making your selection, check the box for “I accept the terms…” to proceed to the next step. The system will pop up the dialog box shown below, which provides two connection options:
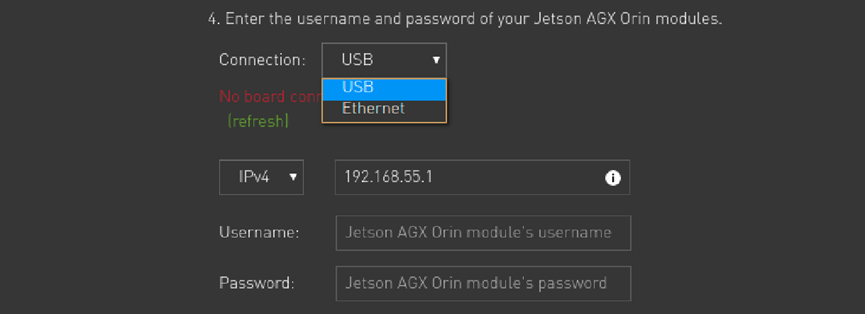
1) USB: This connects in headless mode using the Type-C USB cable provided with the Jetson Orin development kit;
2) Ethernet: Use a standard local area network connection; the Jetson Orin can connect via wired or wireless methods.
After making your selection, if you choose USB, the default IP will be 192.168.55.1; if you choose Ethernet, you will need to find out the IP address of the Jetson Orin yourself. Then enter the username and password for Jetson Orin, and click the “Install” button to execute the installation of DeepStream.
3. Use the Docker Container Version:
This is the most popular application and deployment technology. Since JetPack version 4.0, Docker has been pre-installed in the Jetson environment, and we can use it directly.
DeepStream has provided a Docker version since 5.1, and you can start using it on Jetson devices by downloading the image from NGC. However, you need to familiarize yourself with Docker commands and device mappings first. Here, I will first teach you how to install the Docker version of the DeepStream suite on the Jetson Orin development kit.
Log in to https://catalog.ngc.nvidia.com/orgs/nvidia/containers/deepstream-l4t, and you will enter the page shown below. Click on the “Pull Tag” dropdown option in the upper right corner to display the various supported versions.
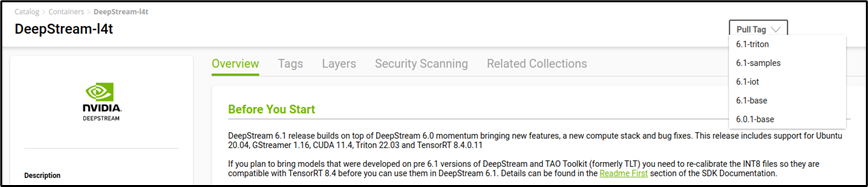
The Jetson Orin development kit supports JetPack 5.x versions, and currently only supports DeepStream 6.1, so we need to select the penultimate “6.1-base” option. The system has already copied the download command “docker pull nvcr.io/nvidia/deepstream-l4t:6.1-base” to the clipboard. You just need to use Ctrl-Shift-V in the command line window to paste the command:
docker pull nvcr.io/nvidia/deepstream-l4t:6.1-baseThis will download the deepstream-l4t:6.1-base image to the Jetson Orin development kit from NGC. As for how to use it, the main startup command is as follows:
# Allow external applications to connect to the host's X display:
xhost +
# Allow external applications to connect to the host's X display:
sudo docker run -it --rm --net=host --runtime nvidia -e DISPLAY=$DISPLAY \
-w /opt/nvidia/deepstream/deepstream-6.1 -v /tmp/.X11-unix/:/tmp/.X11-unix \
 nvcr.io/nvidia/deepstream-l4t:6.1-base
If you want to add a camera, you need to add the following content to this command:
-
Add CSI Camera:-v /tmp/argus_socket:/tmp/argus_socket
-
Add USB Camera:–device /dev/video<N>
This way, you can start using DeepStream 6.1 for testing and development.
Recommended Reading
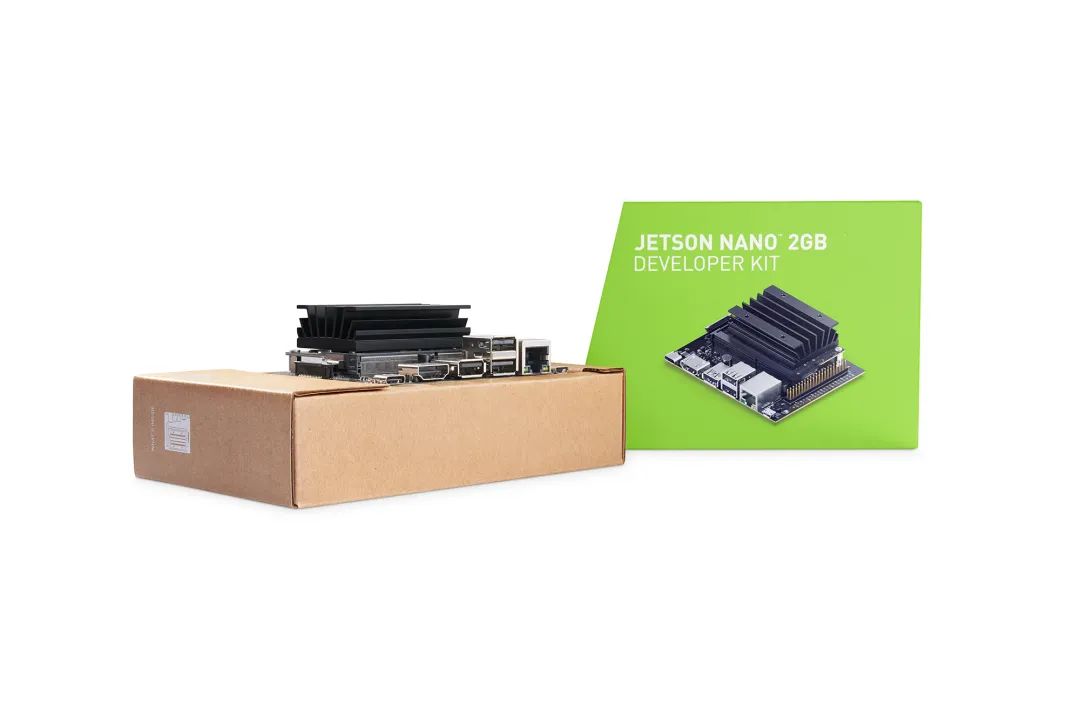
NVIDIA Jetson Nano 2GB Series Article (1): Unboxing Introduction

NVIDIA Jetson Nano 2GB Series Article (2): Install System

NVIDIA Jetson Nano 2GB Series Article (3): Network Setup and Adding SWAPFile Virtual Memory

NVIDIA Jetson Nano 2GB Series Article (4): Experience Parallel Computing Performance

NVIDIA Jetson Nano 2GB Series Article (5): Experience Visual Function Library