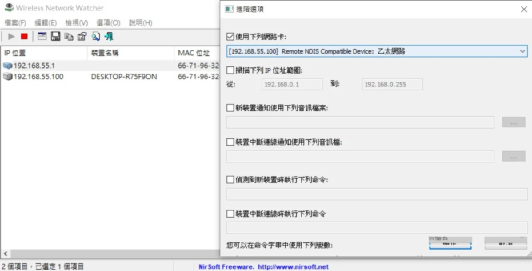
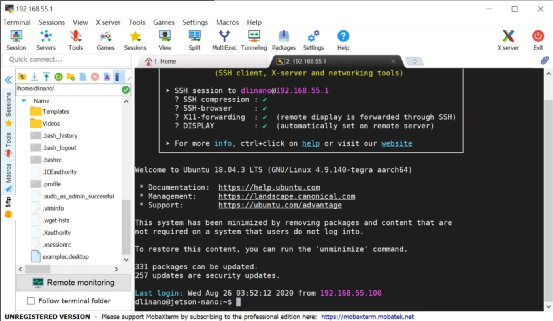
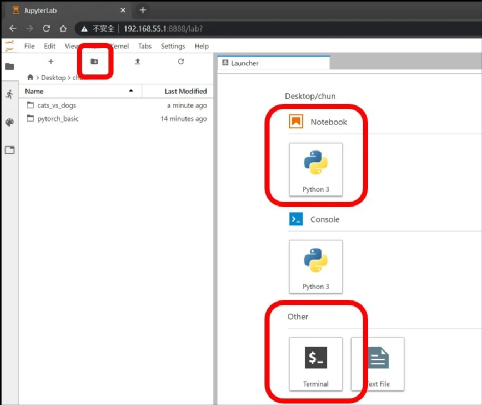
Jetson Nano Remote Setup


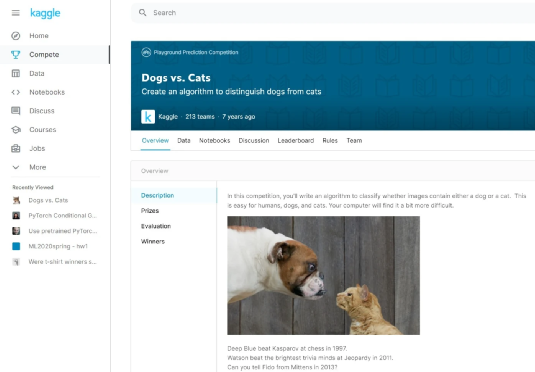
Kaggle Introduction


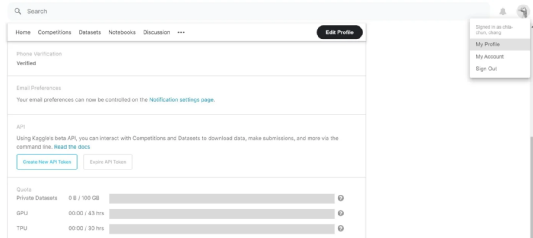
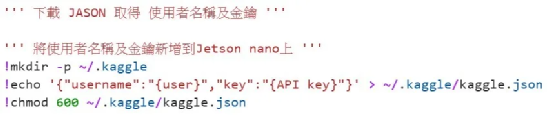
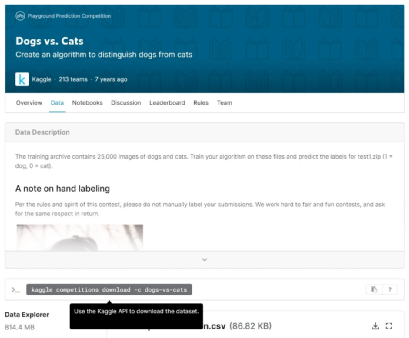
Using API to Download Kaggle Dataset


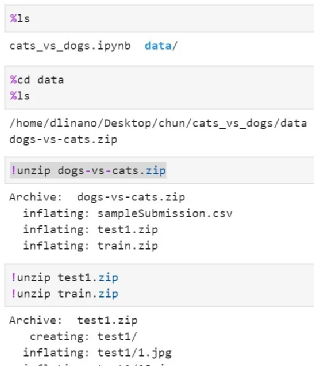
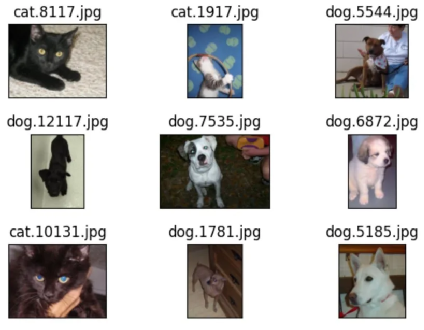
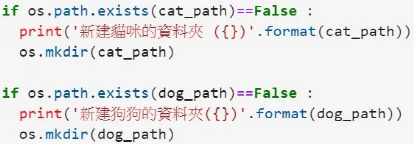
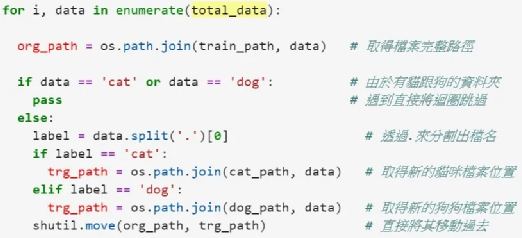
Data Processing


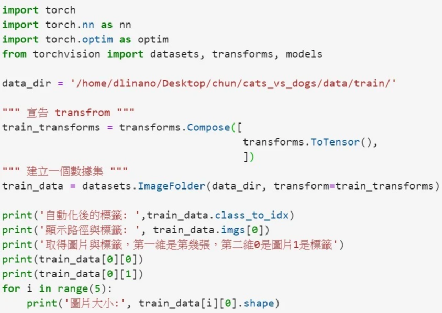
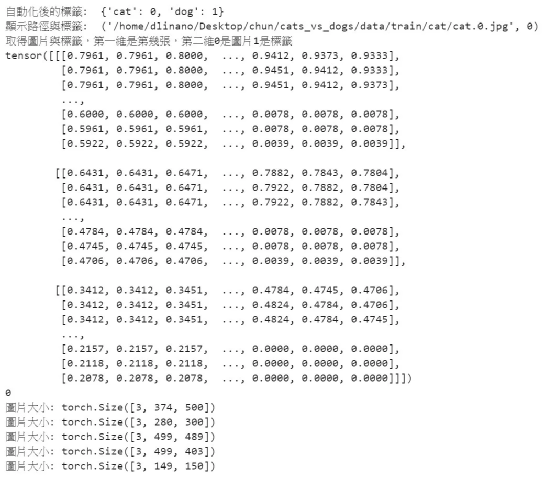
Creating a Dataset with Torch


The Relationship Between Dataset and DataLoader


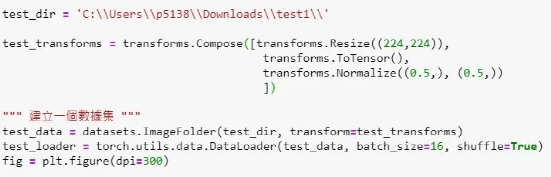
Building Dataset with ImageFolder


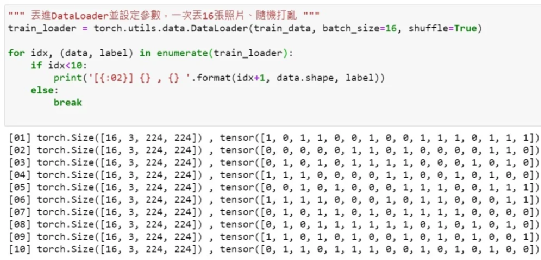
Using DataLoader to Batch Output Data


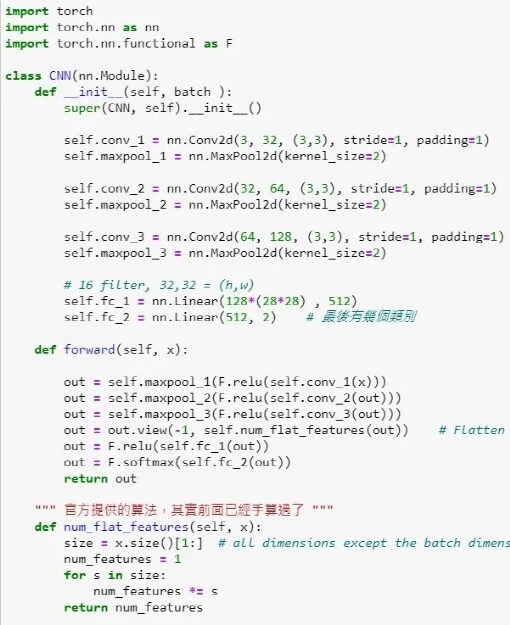
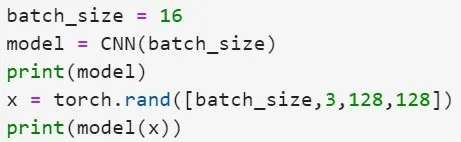
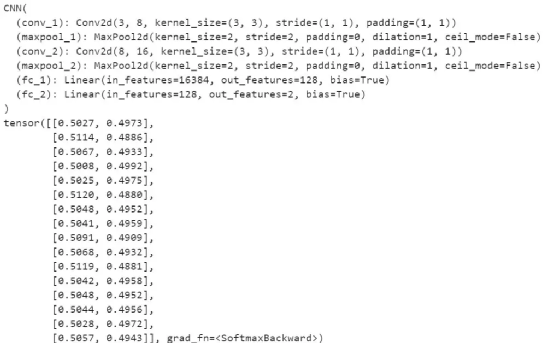
Building a Convolutional Neural Network


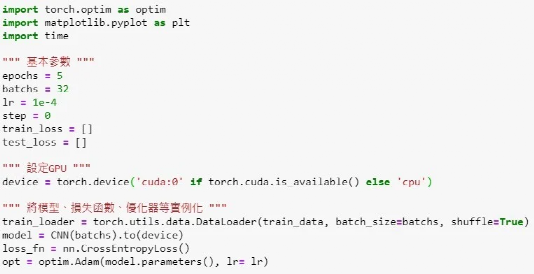
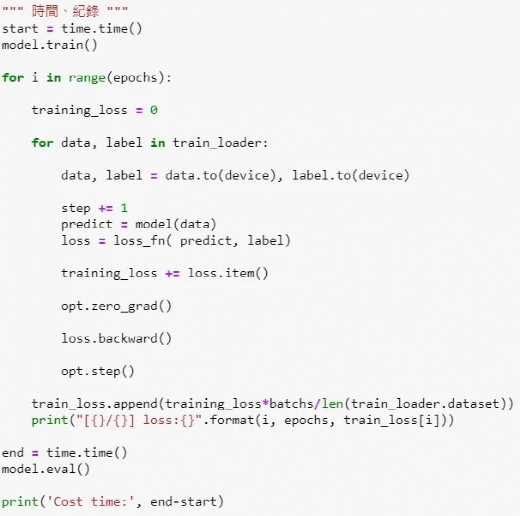
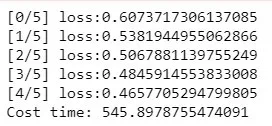
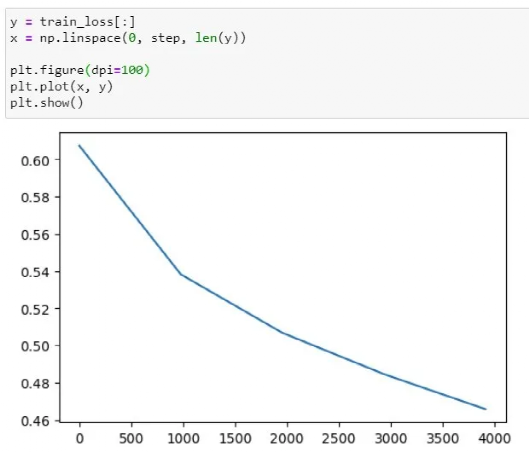
Starting Training


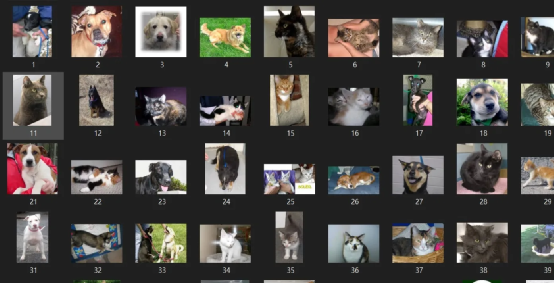
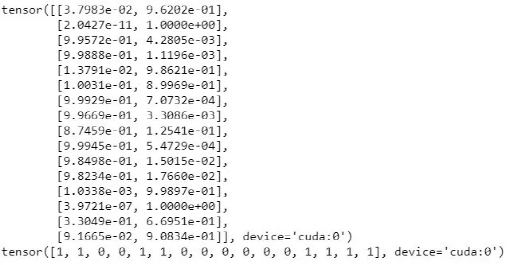
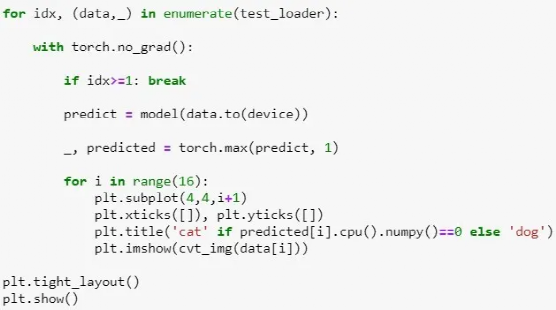
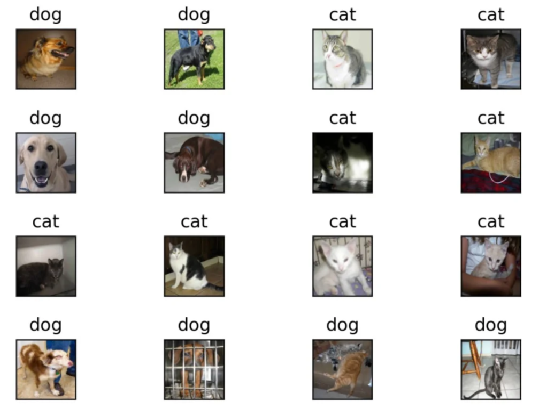
Testing Data