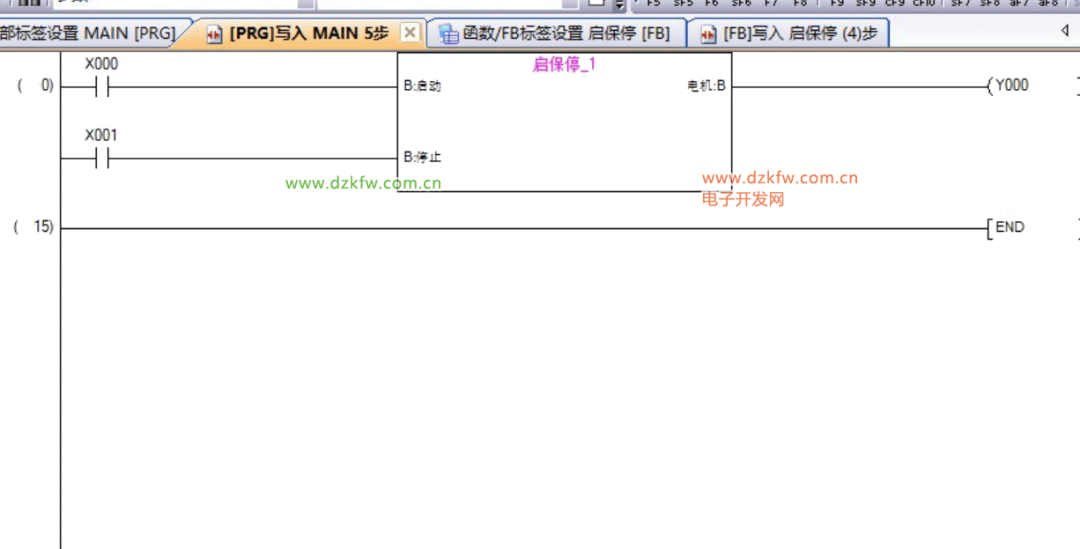
The steps to create function blocks in Mitsubishi PLC GX Works2 are as follows:
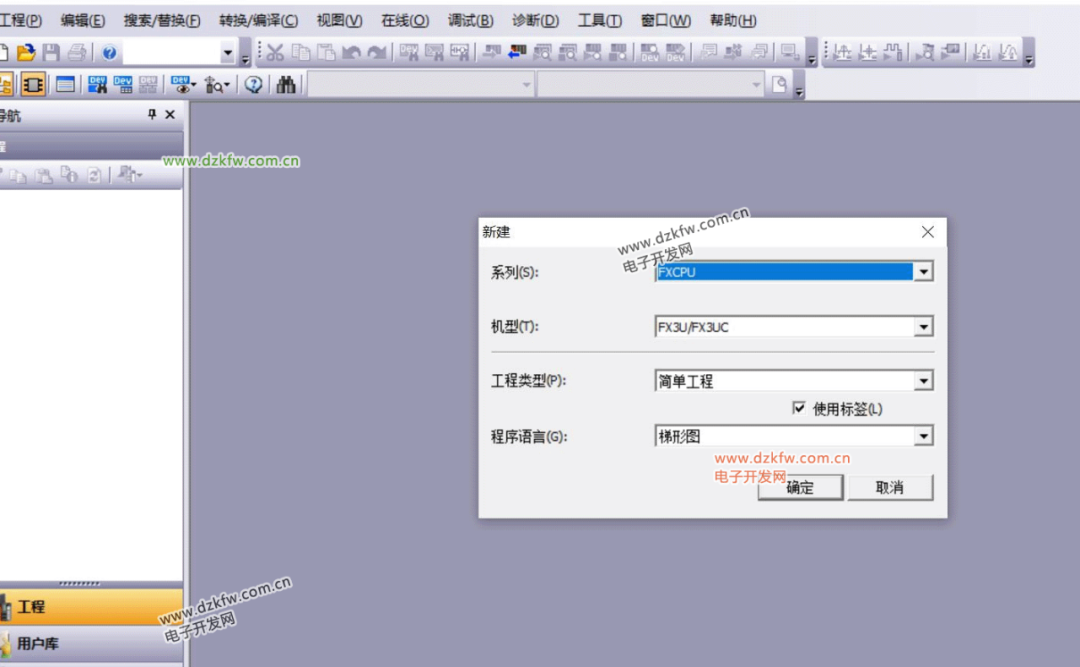
Create a New Project
- Open GX Works2, select “Project” → “New Project”.
- Check “Use Tags” in the project type, and select the PLC model (e.g., FX3G/FX3U).
Create FB Block
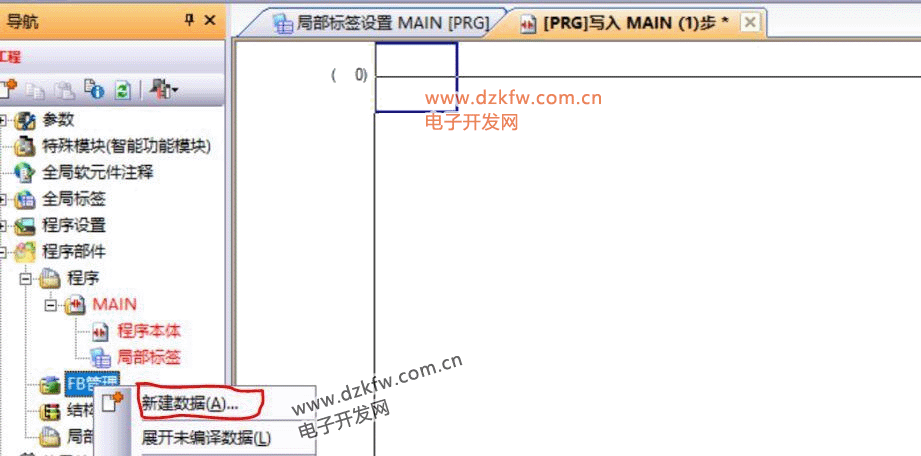
- In the left navigation bar under “Program Components”, find “FB Management”, right-click and select “New Data”.
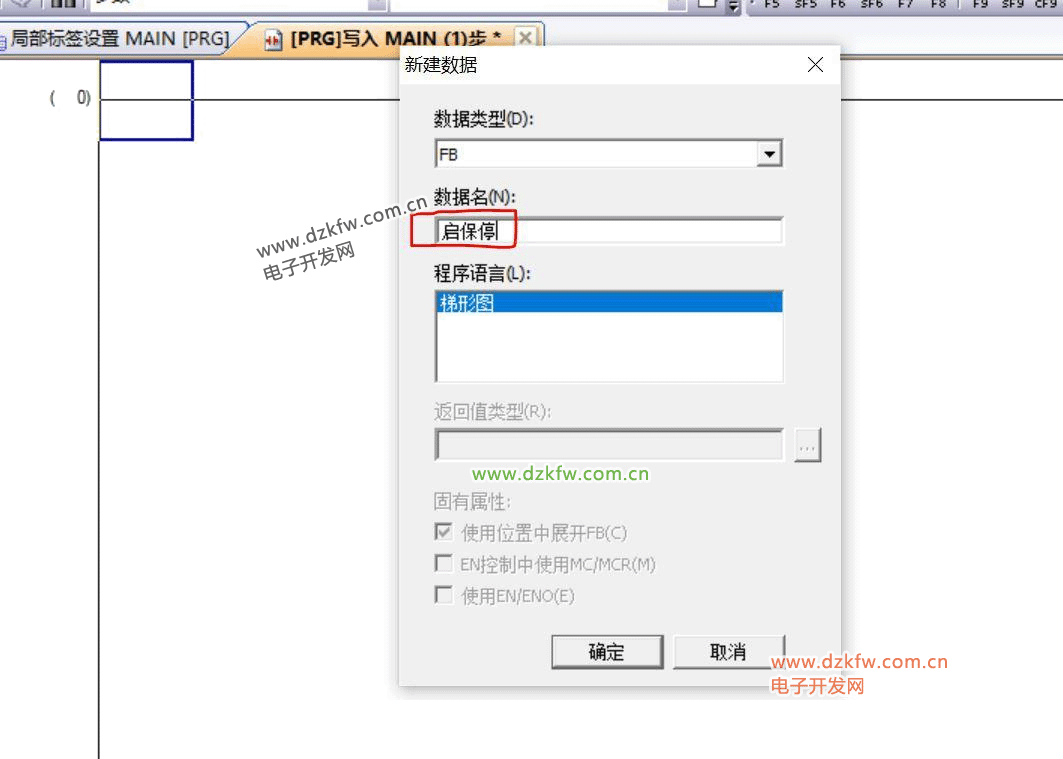
- Enter the FB block name (e.g., “Motor Control”), confirm, and enter the editing interface.
Edit Local Tags
- Define input (INPUT) and output (OUTPUT) variables within the FB block, for example:
- Input: Start Signal (M1), Stop Signal (M2)
- Output: Motor Control Signal (Y0)
Write Ladder Logic
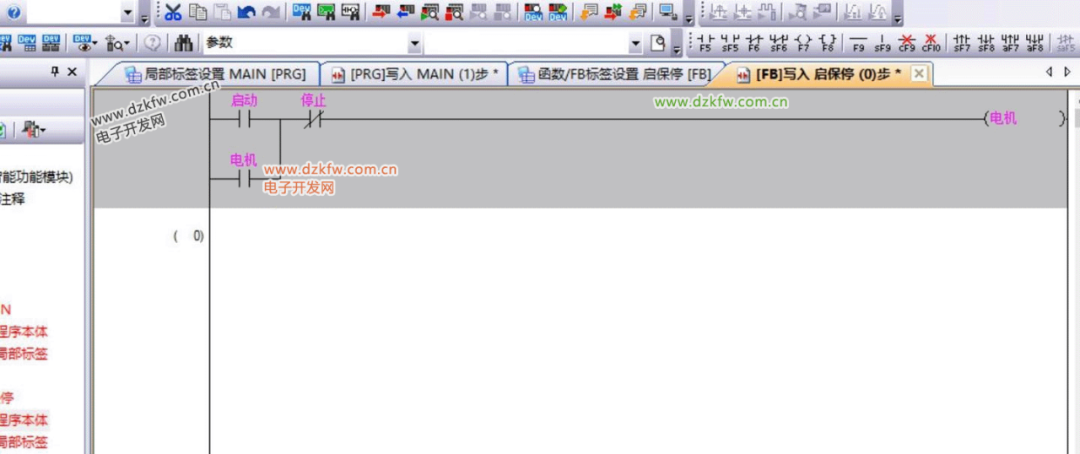
- Use ladder logic programming to implement functionality (e.g., motor self-locking control).
- Press F4 to compile and save.
Export/Import FB Library
- Export: Save the FB block via “Project” → “Library Operations” → “Save Library File As”.
- Import: In a new project, add the library file via “Project” → “Library Operations” → “Get Library in Project”.
Call FB Block
- Drag the FB block into the programming interface in the main program, and connect the input and output signals to use it.
How to create function blocks in Mitsubishi PLC GX WORKS2. First, create a function, select simple project for project type, and choose ladder logic for programming language;
In the motor navigation interface, FB management, select new data;
Name the newly created FB, for example, “Start-Stop”;
Set local tags for the FB, including class, tag name, and data type;
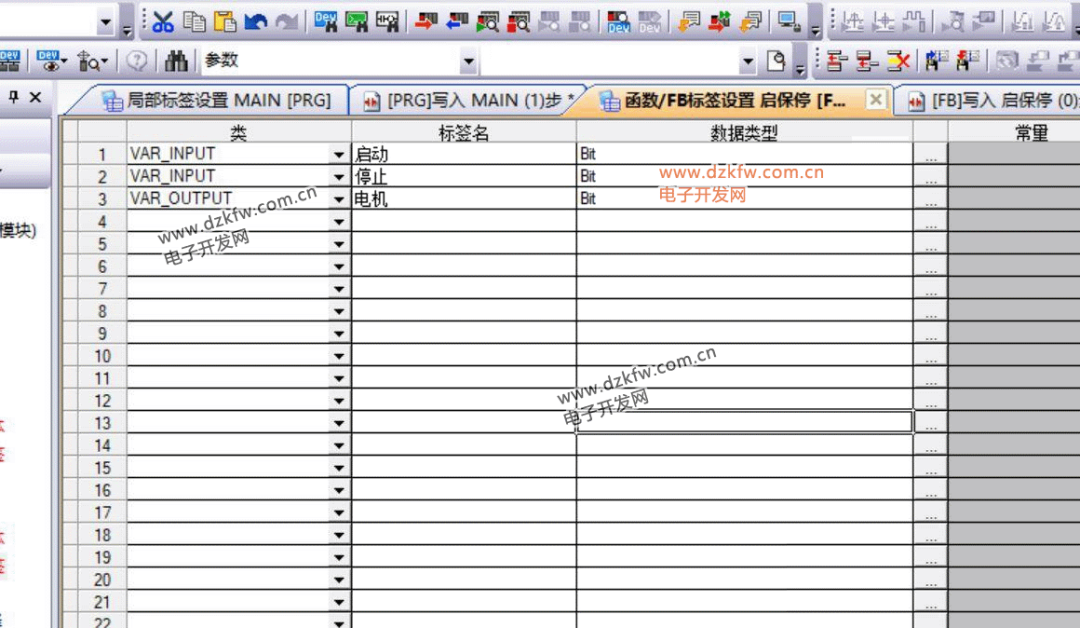
Write the function block program;
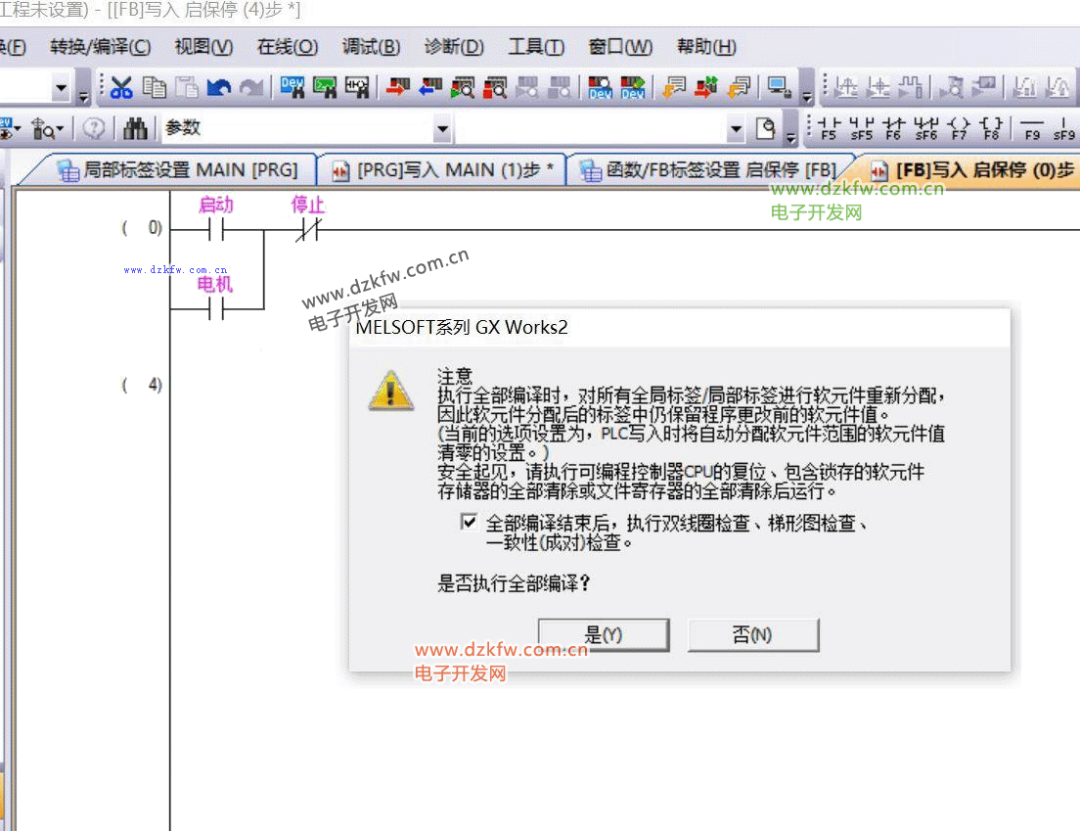
Select “Convert All” and compile
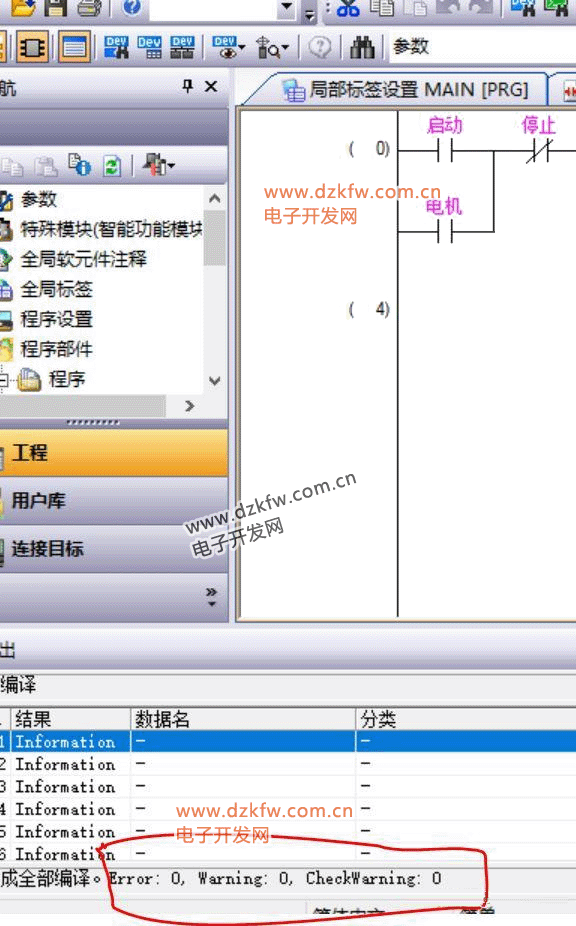
Check for compilation errors
Drag the project block program into the main program;
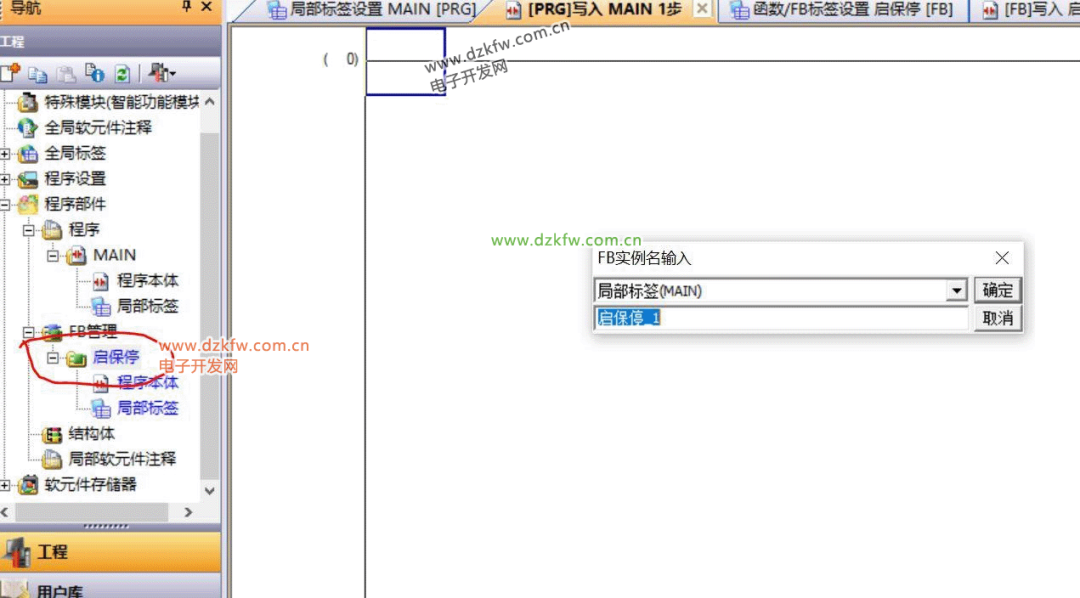
Continue adding soft components programming within the function block program.