Linux | Red Hat Certified | IT Technology | Operations Engineer
👇1000-person technical exchange QQ group, note 【public account】 for faster approval
1. Installing the Linux Environment
1. Bare metal installation or dual system
2. Virtual machine installation
3. Cloud server (recommended) -> Easy to install, low maintenance cost, good learning effect, high simulation (multiple users can use the same cloud server)
1.1 Purchase a Cloud Server
Using a cloud server not only simplifies the environment setup, avoiding hassle, but also has the biggest advantage: projects deployed on a cloud server can be accessed from the internet, making it indistinguishable from a company launching an official website. This allows our programs to be used by others.
Take Alibaba Cloud’s official website as an example (you can look for new user discounts)
Find a lightweight server, then select CentOS 7.6. After purchasing, you can find your server in the console.
1.2 Set the root password and record the public IP
At this stage, the most important information we need is:
1. The server’s public IP
2. The server’s admin account (fixed as root)
3. The admin account password(set on the Tencent Cloud website)
With these three pieces of information, you can log in remotely using XShell.
Free for home/school – NetSarang Website (xshell.com)
2.2 Access the server via public IP
If the network is smooth, it will prompt for username and password. Just enter them to log in correctly.
2.3 Copying and Pasting in Xshell
ctrl + c / ctrl + v does not work.
2.4 Creating a Regular User
2. Set a password for the new user
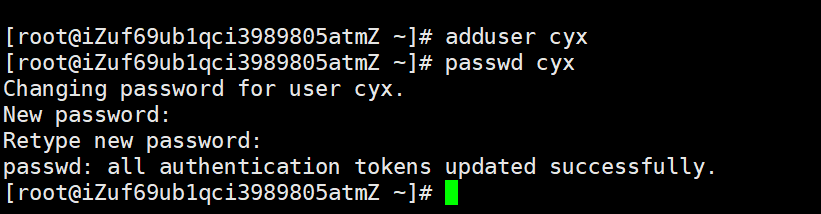
Note: The password will not be displayed!! (meaning it does not show on the screen)
3. Passwordless Login Method for Xshell
We should default to using Xshell’s passwordless installation method.
For example, if we created a user named cyx, how do we log in directly without entering the public IP each time and without a password?
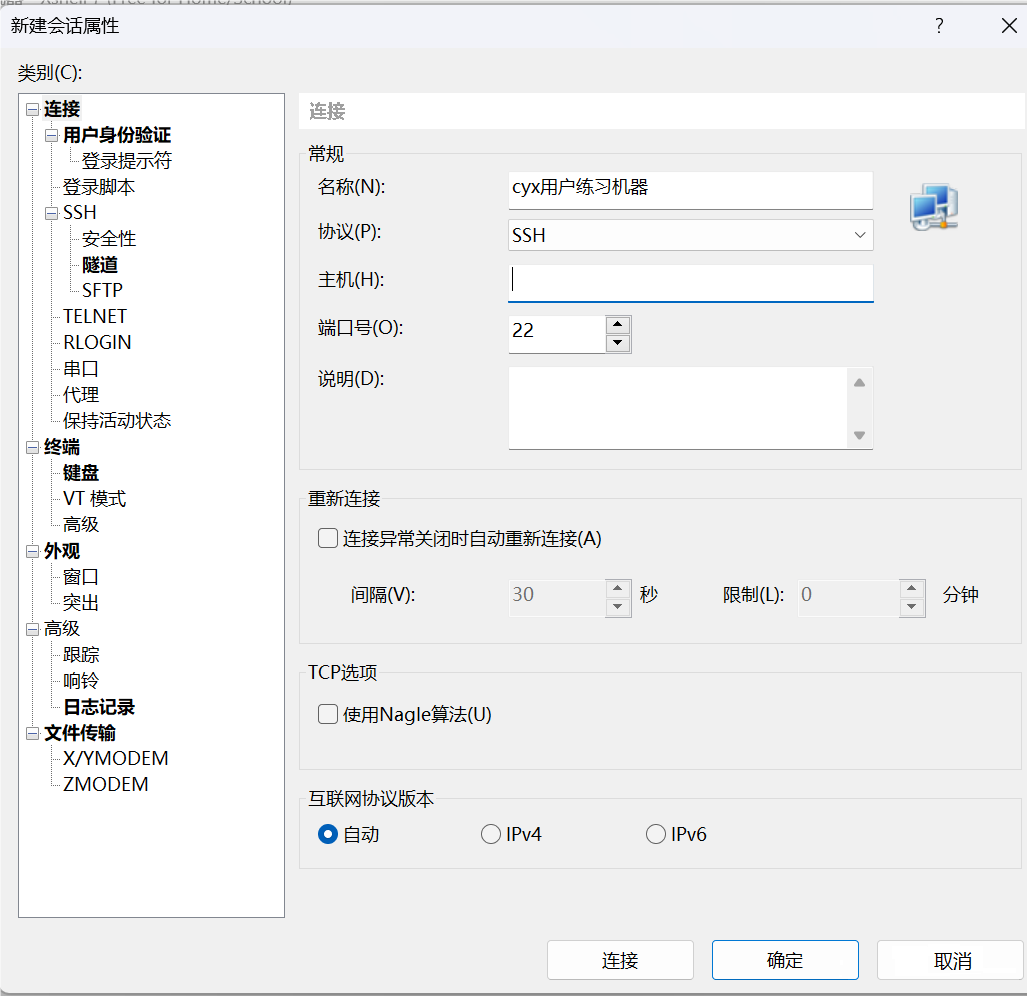
1. Create a new machine, rename it, and enter your public IP in the host field
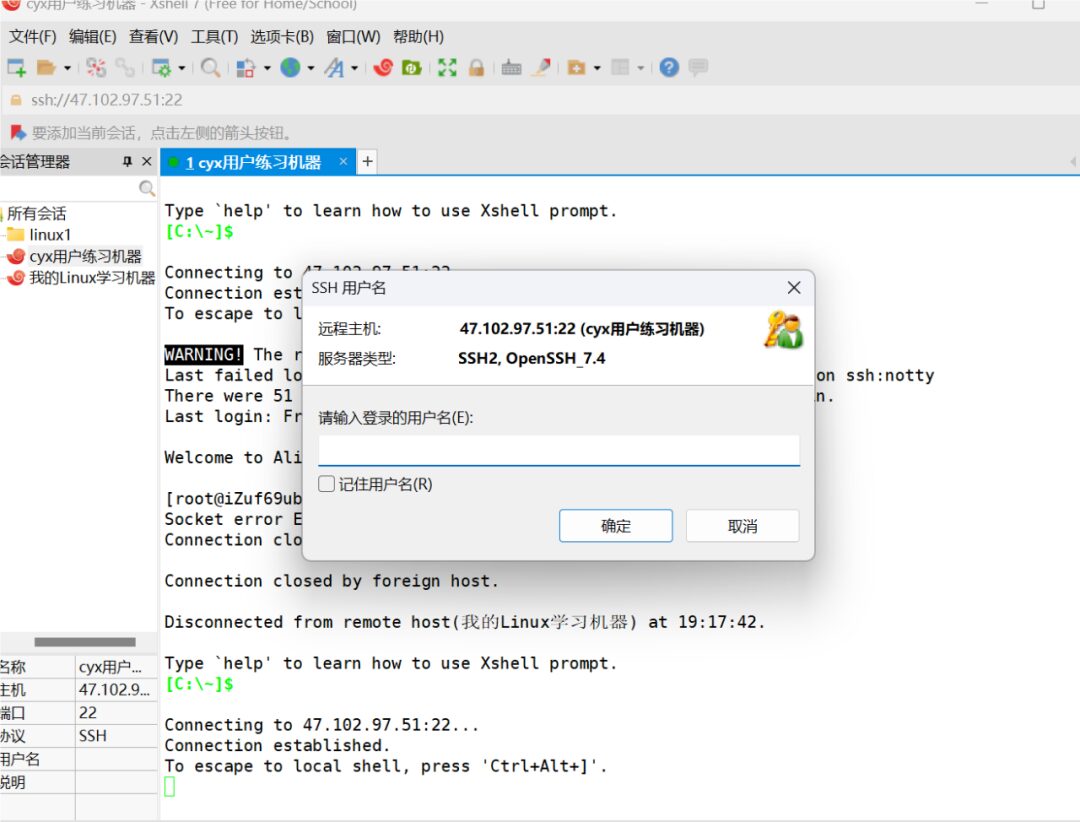
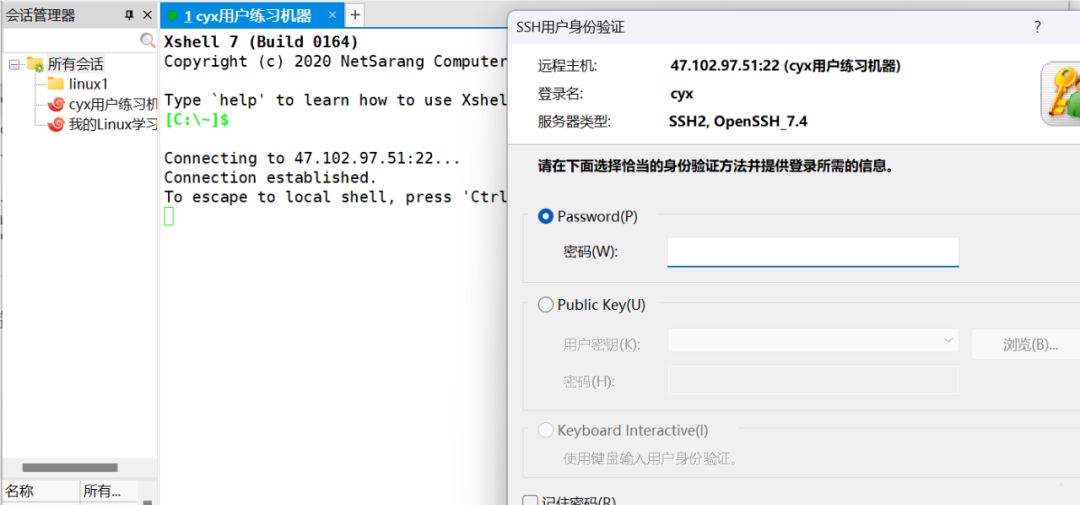
2. Open the newly created machine; the first time you need to enter the username (remember the username) and password to access it.
3. Close Xshell and reopen it; you will see the newly created machine, and now you only need to enter the password without the username.
4. If you want passwordless access, right-click the machine, find user authentication, and enter the password. That’s it.

From now on, you can open this machine with just a double-click!
For course inquiries, add: HCIE666CCIE
↑ or scan the QR code above ↑
What technical points and content would you like to see?
You can leave a message below to tell Xiao Meng!