


0 viruses, 0 plugins, 0 bundling, just this dedicated!
Baidu Cloud link: https://pan.baidu.com/s/1GvJ6AYrTyG5UUJyN5ME-cg
Extraction code: 3KVT

Software Introduction: Proteus 8.13 is a very professional and excellent embedded circuit system simulation development tool application launched by LabCenter Electronics in the UK. It can be said that it is currently one of the best and most popular tools for simulating microcontrollers and peripheral devices in the market. Furthermore, the software has powerful functions, and in the circuit simulation system that uses electronic component models based on PSpice, it has built-in thousands of rich device libraries, analog and digital device models, various excitation sources, and dozens of virtual instruments, which can support use with most compilers and assemblers, thus helping users easily and effectively simulate the operations of programmable devices like microcontrollers, microprocessors, and DSPs.
Note: This tutorial is for learning and communication purposes only.
Installation Notes:
1. Before unpacking and installing the software, first disable all antivirus software such as 360, and PC Manager;
2. Proteus 8.13 supports WIN7/WIN10 systems;
3. Disable Windows Defender;


1. First use the “Baidu Cloud Client” to download the [Proteus 8.13] software installation package to your computer’s disk, extract it, then right-click on the compressed package [Proteus 8.13 (Explorer)], and choose to extract to [Proteus 8.13 (Explorer)”]
2.Open the extracted folder, select 【Proteus 8.13 SPO Pro】, right-click and choose【Run as administrator】
3.Click【Next】
4. Check【I have read and accept the license terms】,Click【Install】
5.Click【Finish】
6. The software is installed by default toC drive. If you need to adjust the software installation path, click【Browse…】to choose the software installation path, click【OK】,Click【Next】
7.Click【Next】
8.The software is installing, please wait patiently……
9.After the software installation is complete click【Finish】
10. Go back to the extracted installation package folder, right-click and copy the【Translation】folder
11.Right-click the desktop program icon and select【Open file location】to this location
12.Click on the installation path and choose【Proteus 8 Professional】
13.Select an empty space and choose【Paste】
14.Select【Replace the target file】
15.Check【Perform this action for all current items】Click【Continue】
16.Double-click to run the program, installation is complete, now you can use【Proteus 8.13(Explorer)】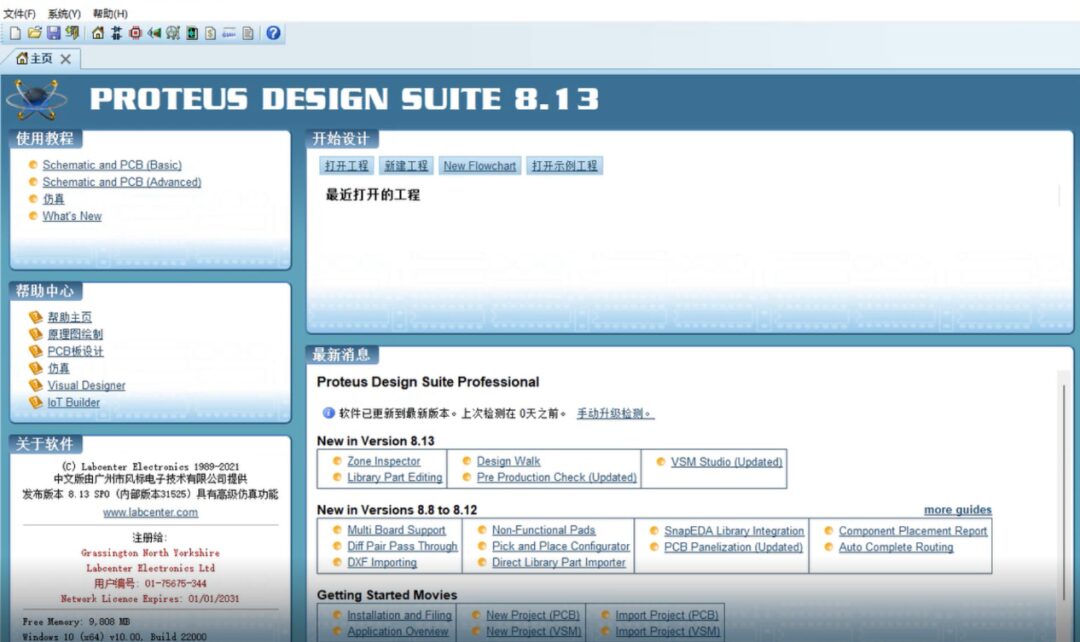


A platform focused on software installation and learning!
Explorer
WeChat Public Account: resource521


