Skip to content
Proteus is a well-known EDA tool (simulation software) from the UK. It enables everything from schematic layout, code debugging, to microcontroller and peripheral circuit co-simulation, with a one-click switch to PCB design, truly realizing a complete design from concept to product.
This article introduces the installation guide for Proteus 8.13.
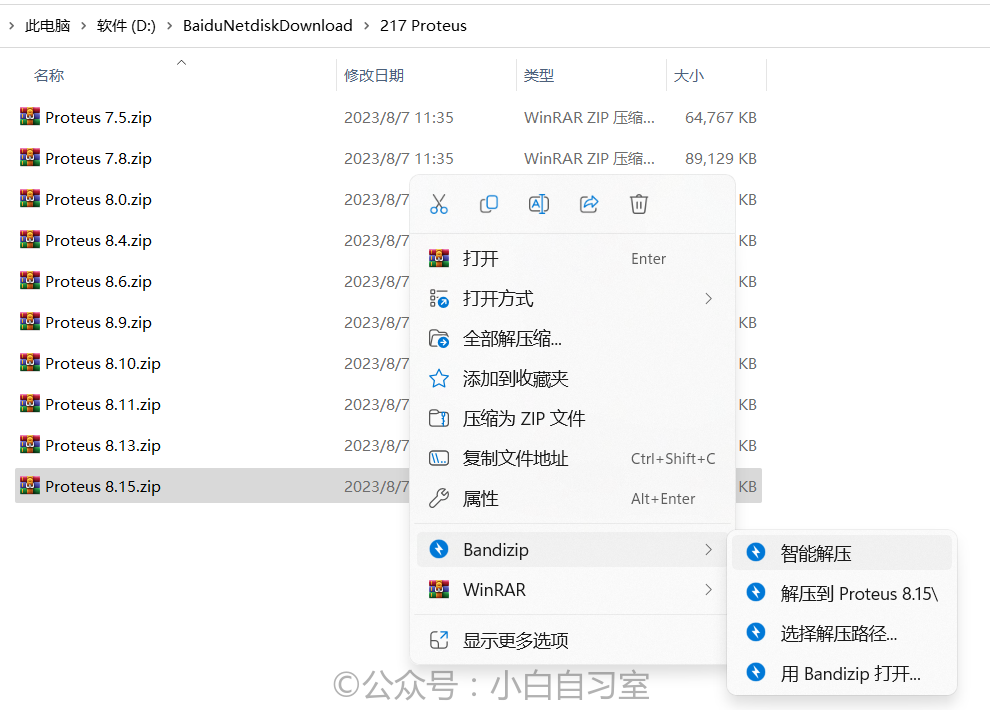
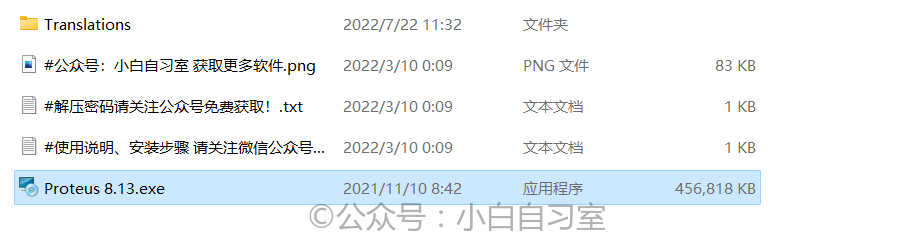
①Download and unzip the installation package provided by the class representative, and double-click the ‘proteus’ file to start the installation.
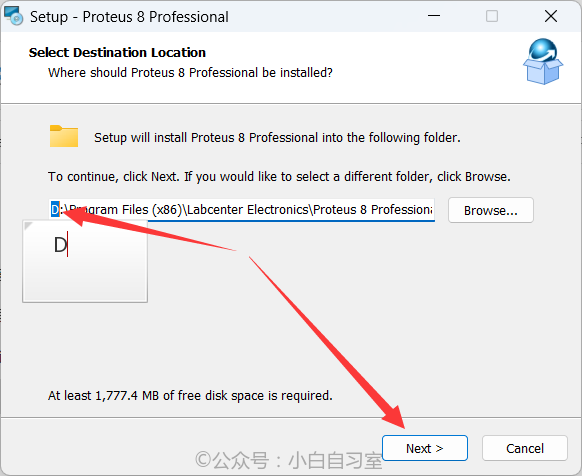
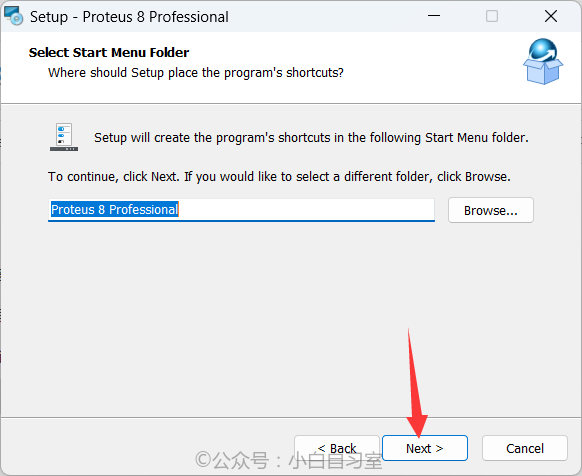
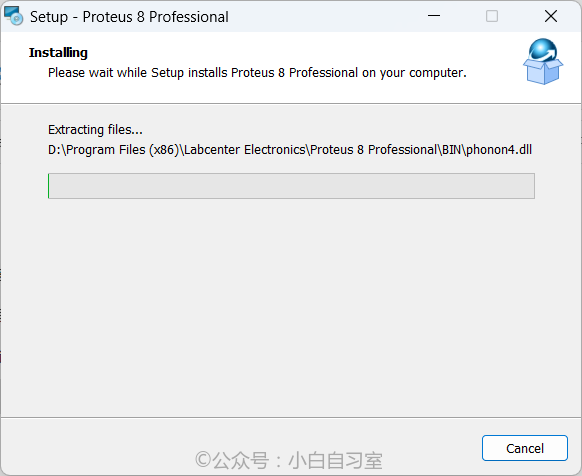
②After opening, modify the installation path, changing the path’s first letter from C to D. You can change it directly, then proceed with the installation.
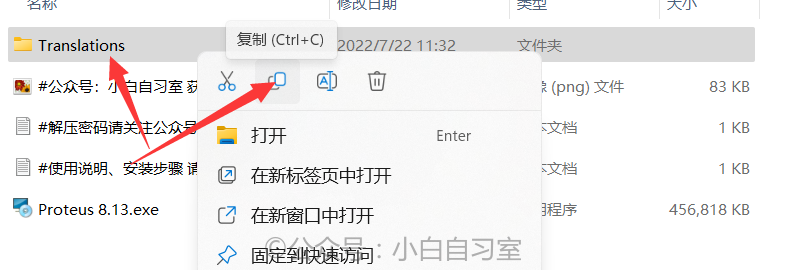
③Copy the “Translations” folder from the installation package folder.
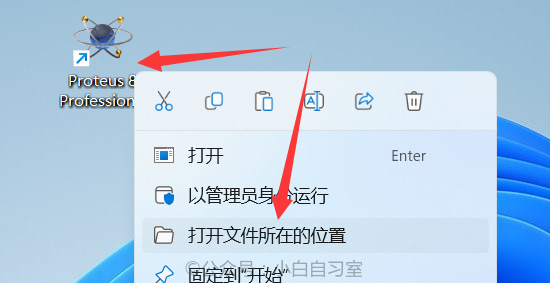
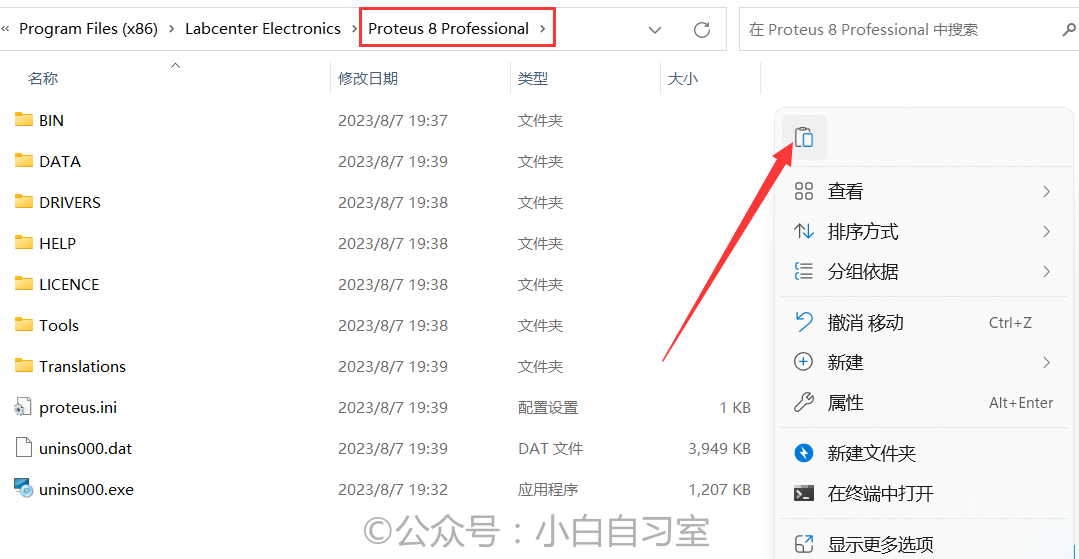
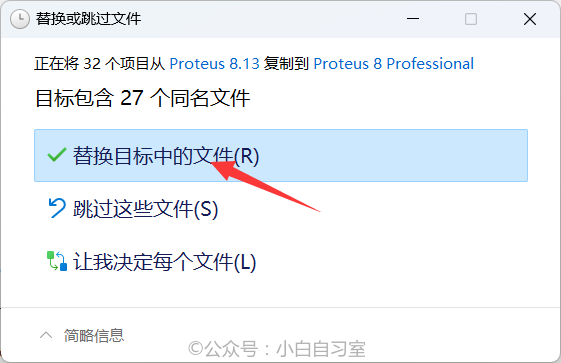
④Go back to the desktop, find the “Proteus” shortcut, right-click the icon, select “Open file location“, then navigate to the parent folder “Proteus 8 Professional”, paste the copied folder here and replace the files.
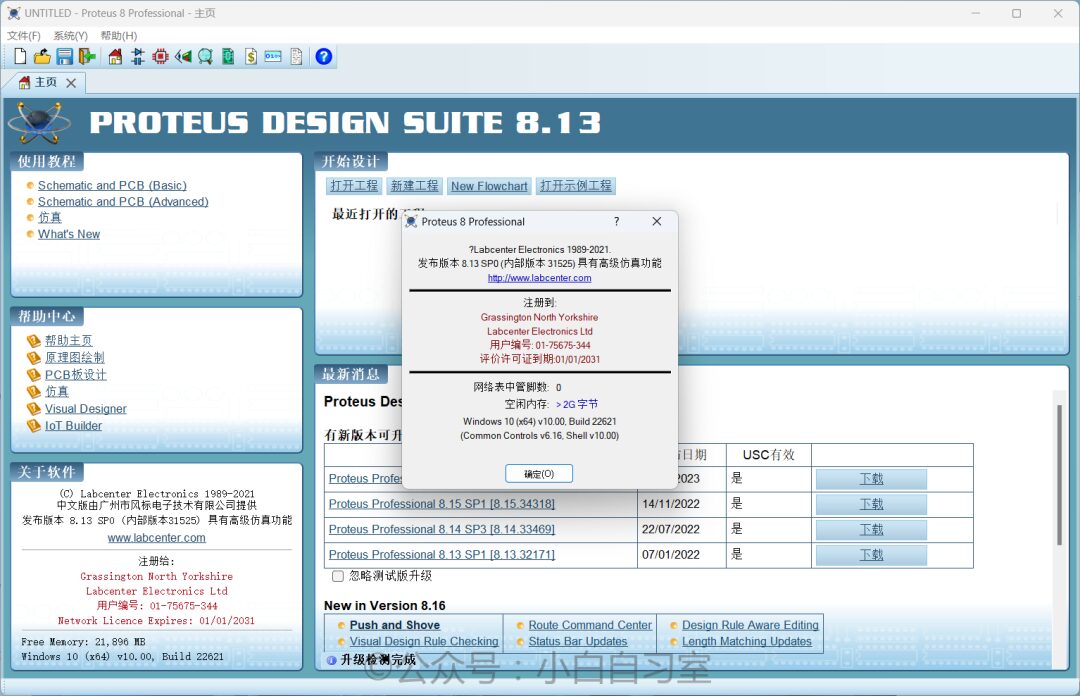
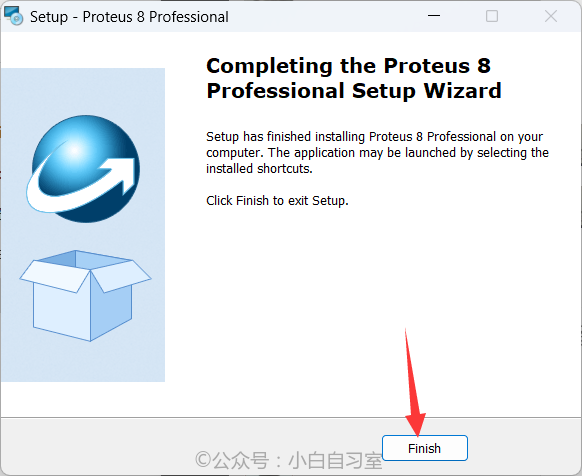
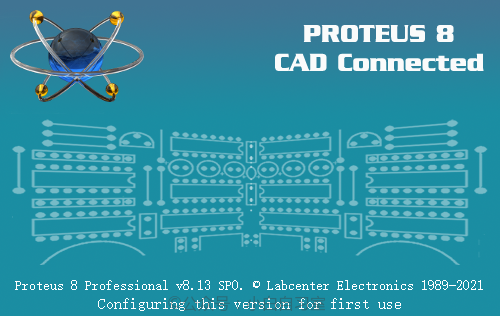
⑤The installation is now complete. You can run Proteus from the desktop.