

Understanding the Software
Proteus is a well-known EDA tool (simulation software) that enables everything from schematic layout, code debugging to microcontroller and peripheral circuit co-simulation, with a one-click switch to PCB design, achieving a complete design from concept to product. It is currently the only design platform in the world that integrates circuit simulation software, PCB design software, and virtual model simulation software into one. Its processor models support 8051, HC11, PIC10/12/16/18/24/30/DSPIC33, AVR, ARM, 8086, and MSP430, with the addition of Cortex and DSP series processors in 2010, and continuously adds support for other series of processor models.


Download Link
Proteus 7.5 – 32 & 64 bit download link:
https://pan.baidu.com/s/1f_tLpLOp1uAzu3VMRLDsLQ
Extraction code: odtg
Software size: 63.1M
If you encounter problems during installation, contact QQ: 1328229137 (note the installation error of xx software)

Installation Guide
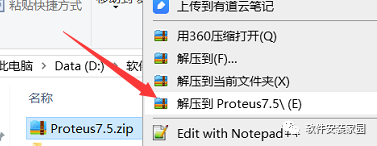
Step 1: After downloading the software, right-click and extract.
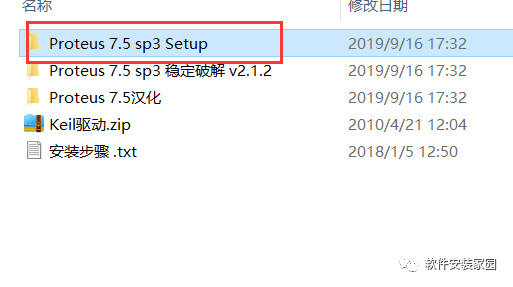
Step 2: Open the folder.
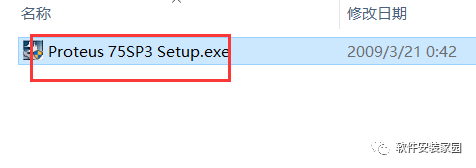
Step 3: Double-clickProteus75SP3 Setup.exeto run.
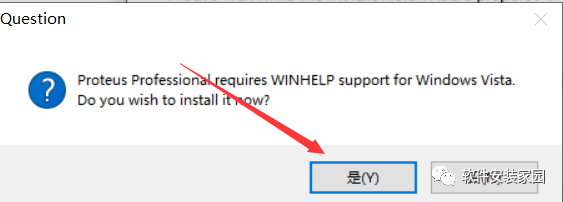
Step 4: Click Yes.
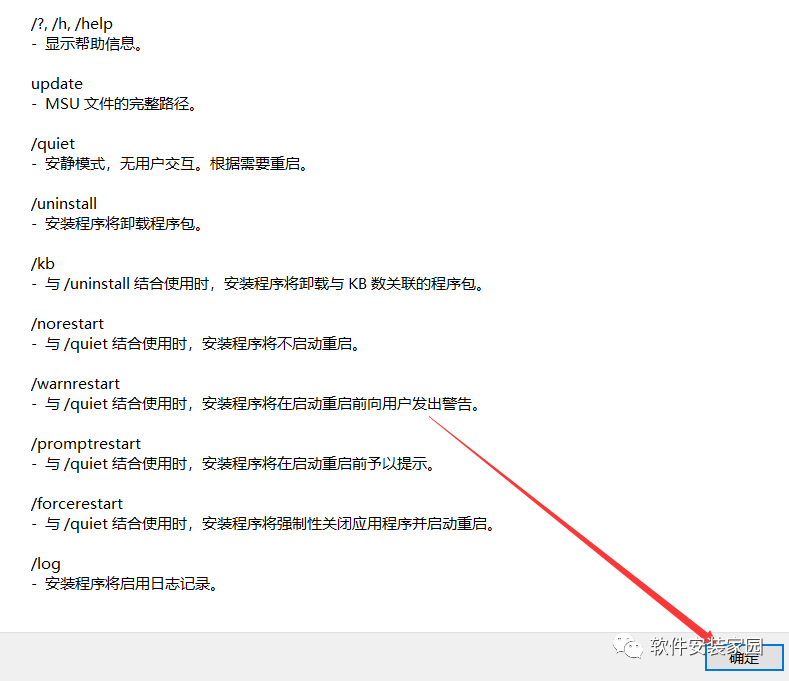
Step 5: A pop-up window will appear, click OK.
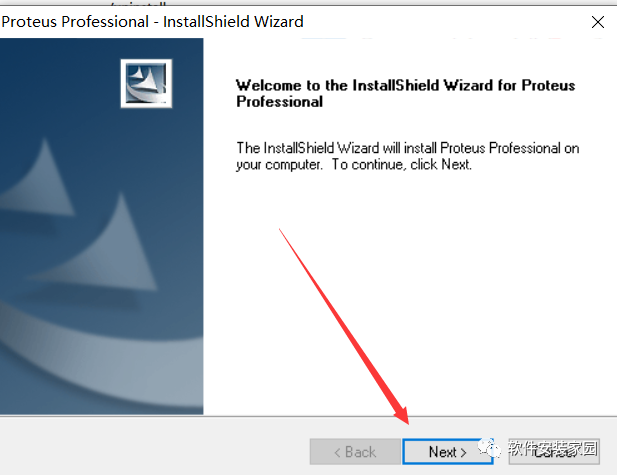
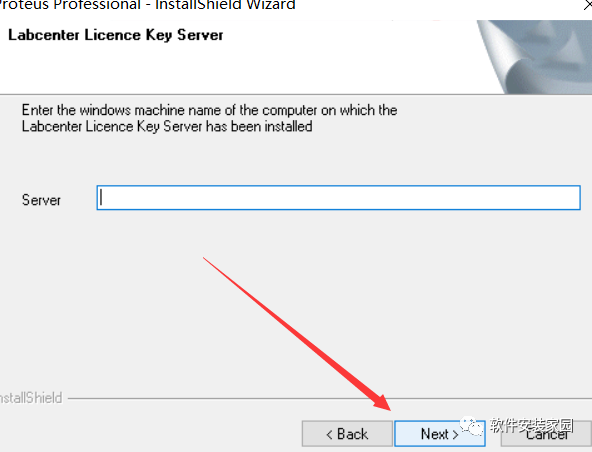
Step 6: Click Next.
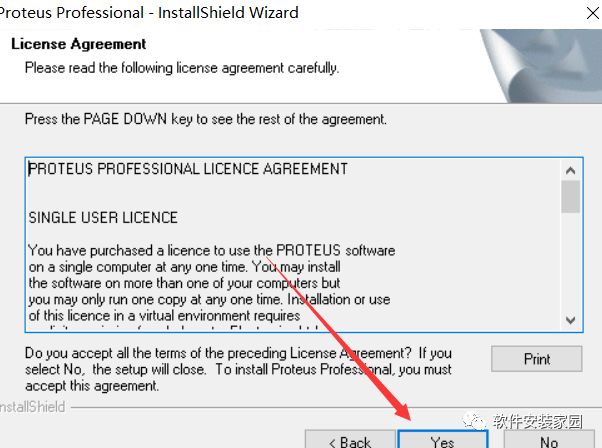
Step 7: Click Yes.
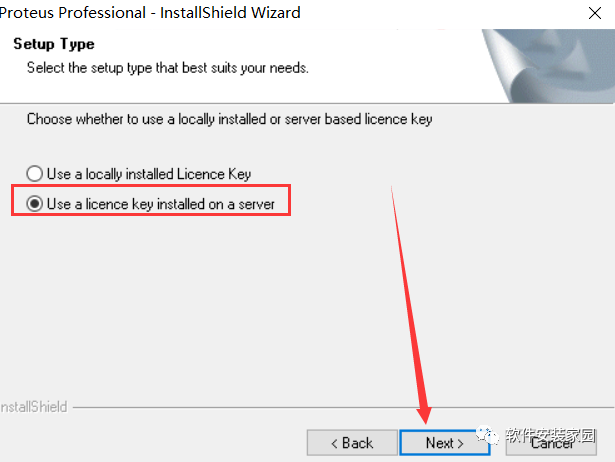
Step 8: Select the second option and click Next.
Step 9: Click Next.
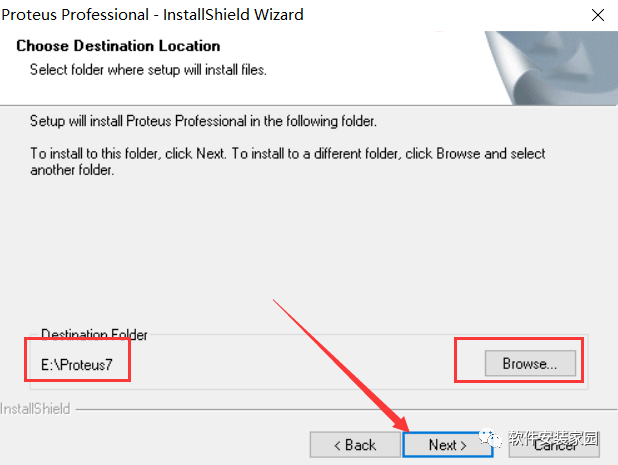
Step 10: Click Browse.. to change the installation path. If you don’t want to change it, just click Next. My installation is on the E drive, then click Next.
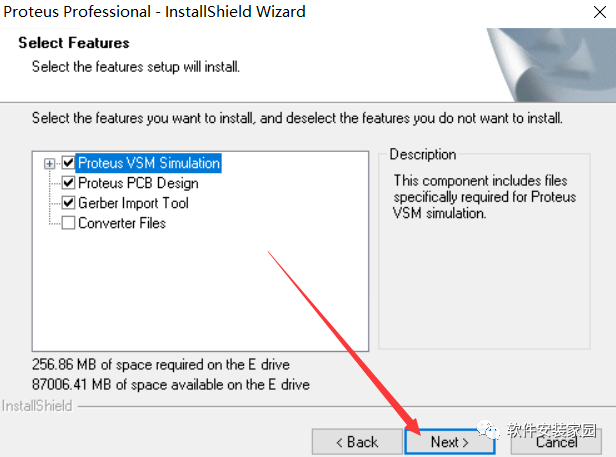
Step 11: Click Next.
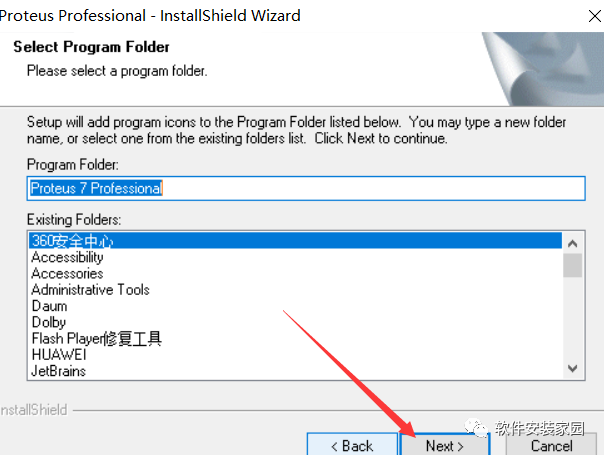
Step 12: Click Next.
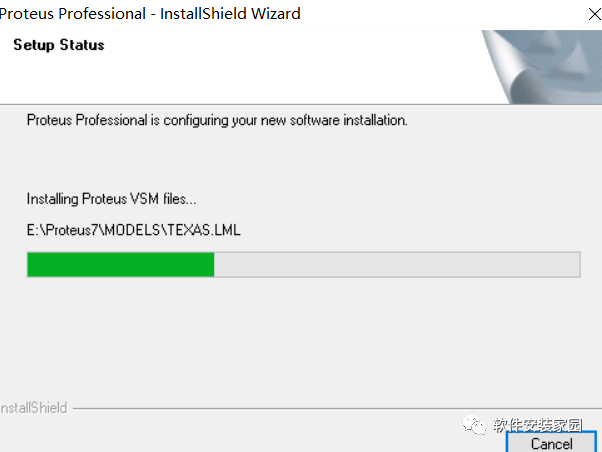
Step 13: Installing…
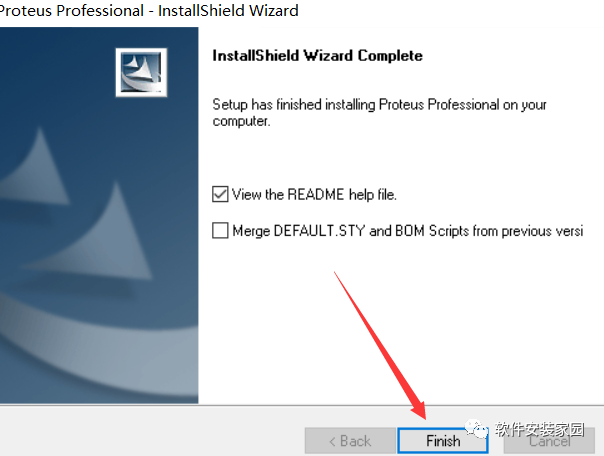
Step 14: Click Finish.
Step 15: Close the pop-up window.
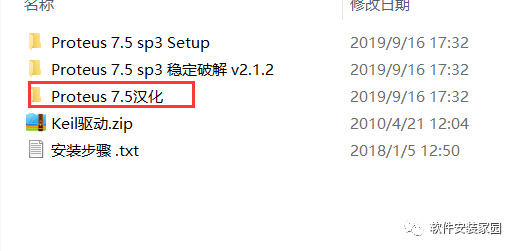
Step 16: Open the language pack file in the extracted folder.
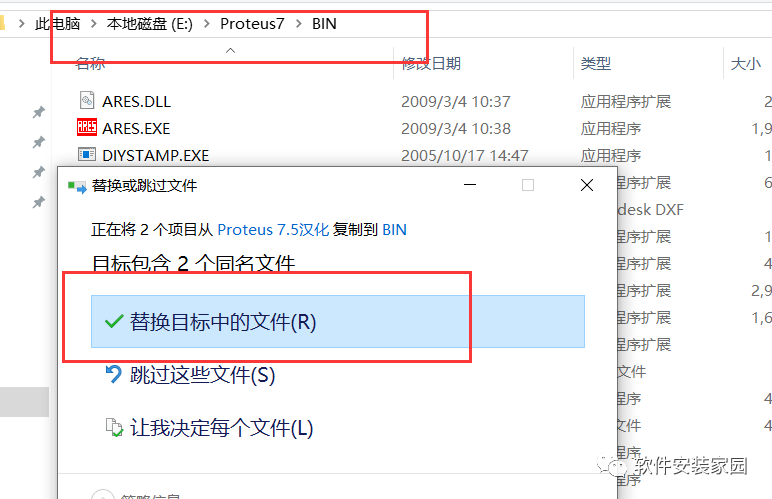
Step 17: Copy these two files and paste them into the BIN folder in the installation path. My installation is in the E drive.
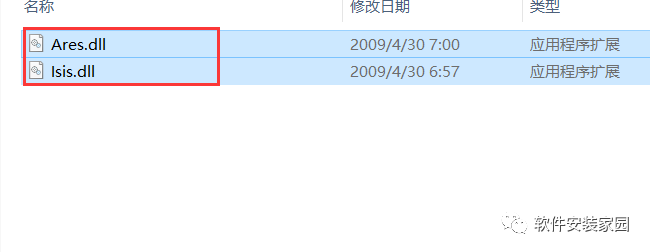
Click to replace the target files.
Step 18: Open the file in the extracted folder.
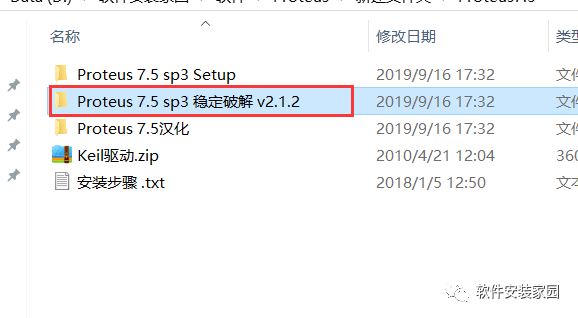
Copy the file LXKProteus 7.5 SP3 v2.1.2.exe and paste it into the BIN folder.
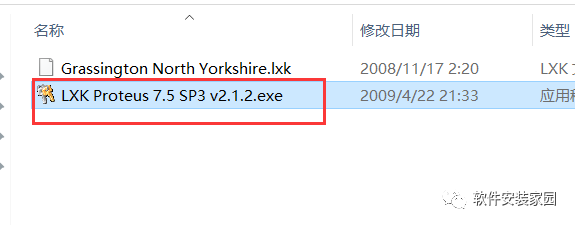
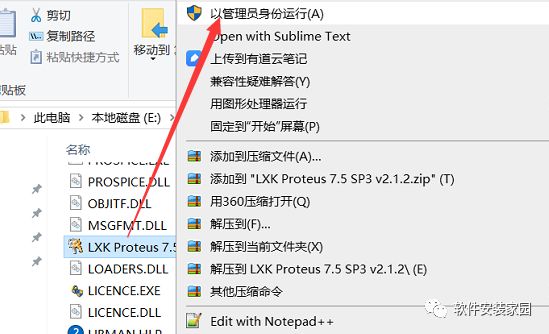
Select LXKProteus 7.5 SP3 v2.1.2.exe and right-click to run as administrator.
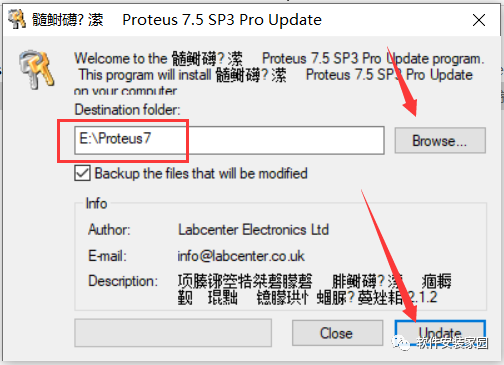
Step 19: Change the address to the previously installed path and click update.
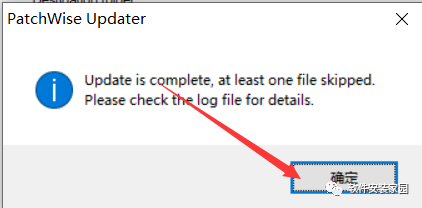
Click OK.
Close the window.Close
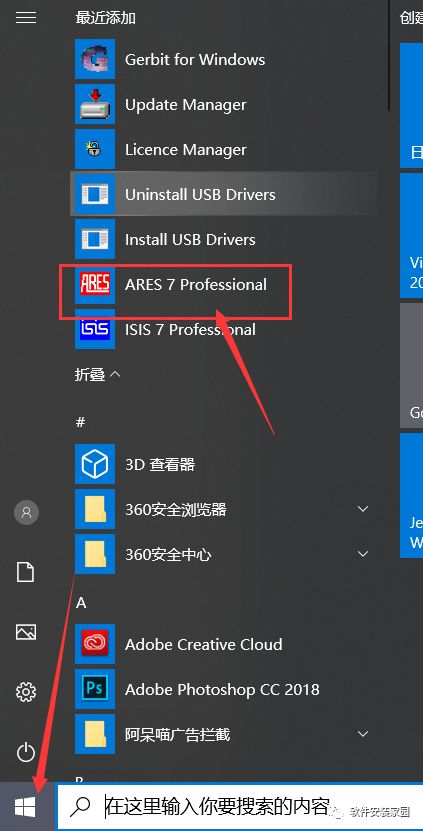
Step 20: In the Start menu, if you can’t find ARES7 Professional, search for it. If not found, restart the computer.
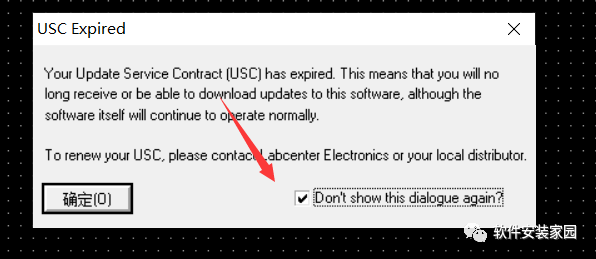
Step 21: Check the box and click OK.
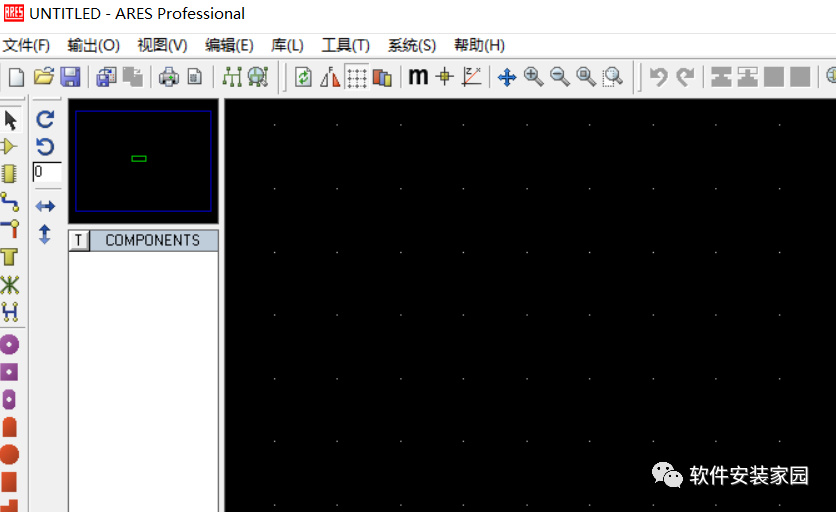
Step 22: Software installation completed.
Follow us for more resources
 Scan to follow us