—> Related tutorials and introductions at the end of the article <—
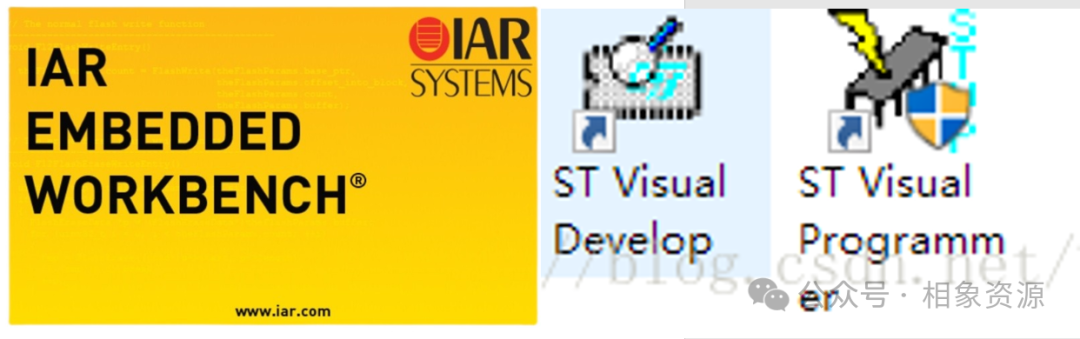
1. IAR Software Installation and Crack Usage
1. Download the installation package and keygen.
2. Click the installer.

3. Click the second option to install.
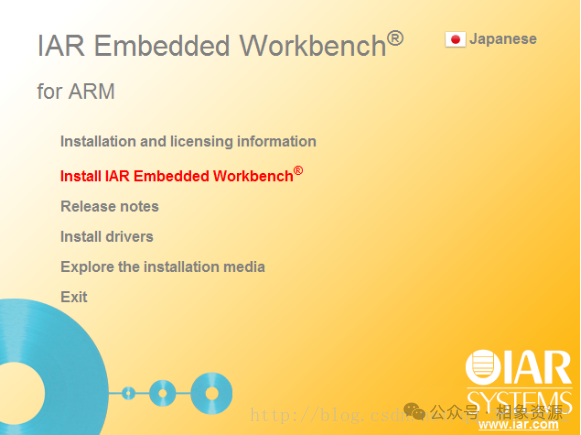
4. Then keep clicking next and select the installation path.
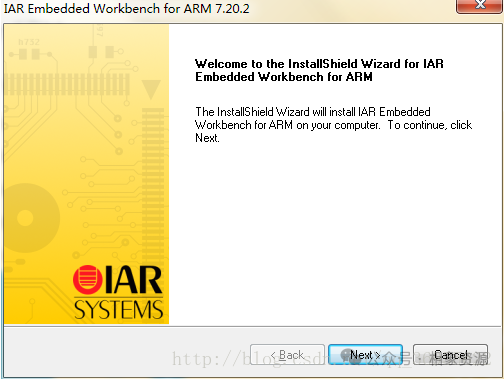
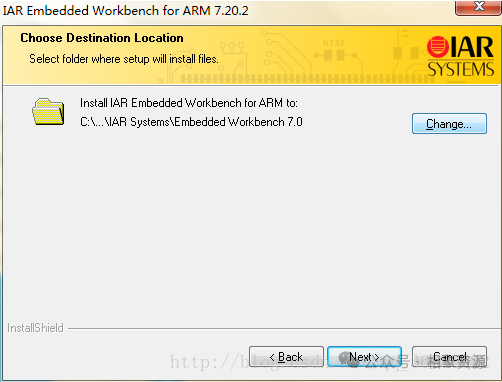
5. Continue to click next to start the installation, it should be completed in about five minutes.
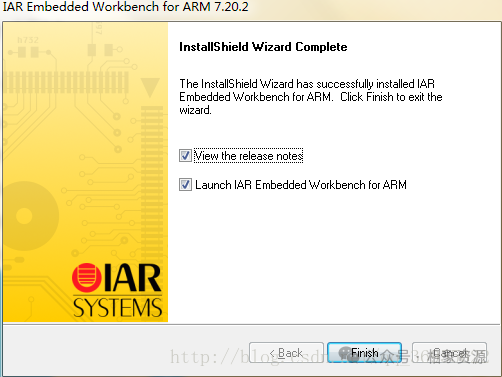
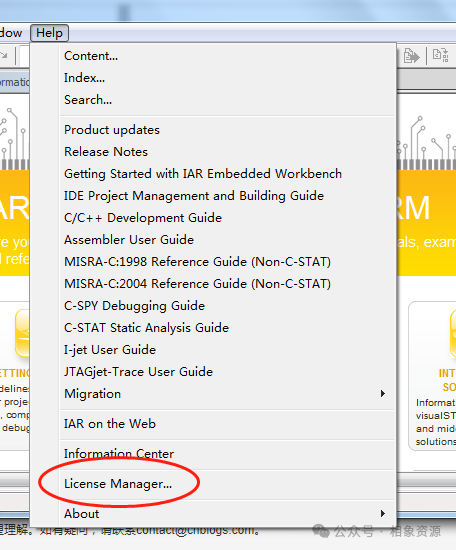
6. To crack, in the next IDE interface menu bar, click the second to last option under Help, License Manager, and operate offline activation as shown in the image below.
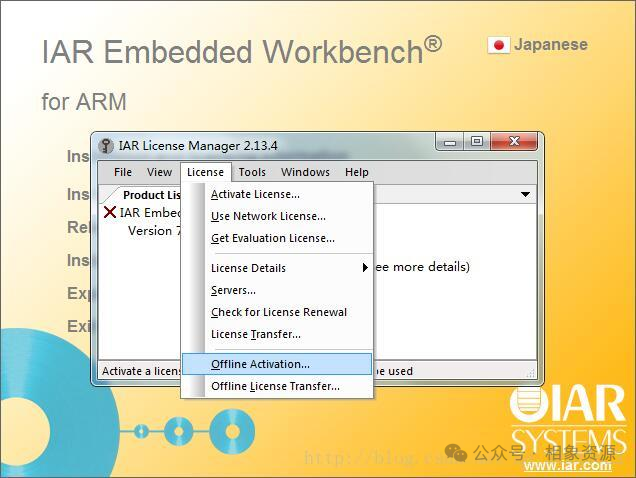
7. When the following interface appears, disable the network adapter or unplug the network cable.
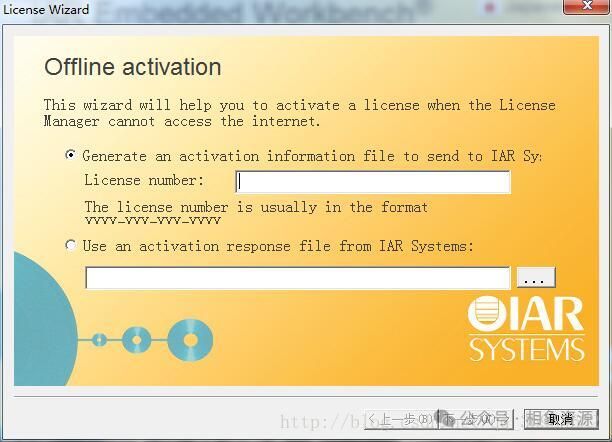
8. At the same time, open the keygen.
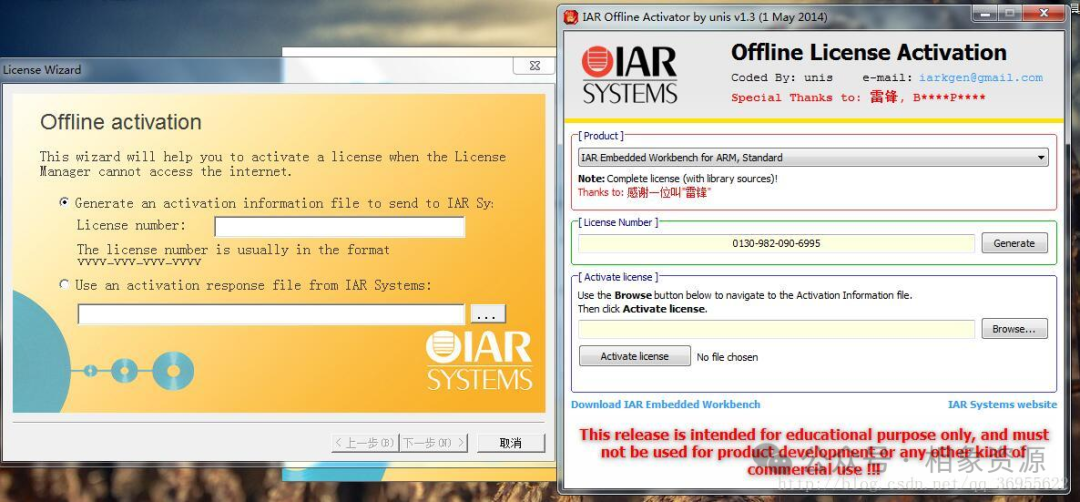
9. Paste the serial number from the keygen and click next.
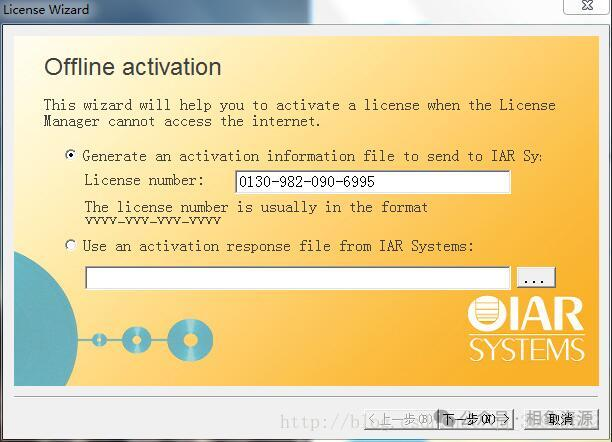
10. Click No.
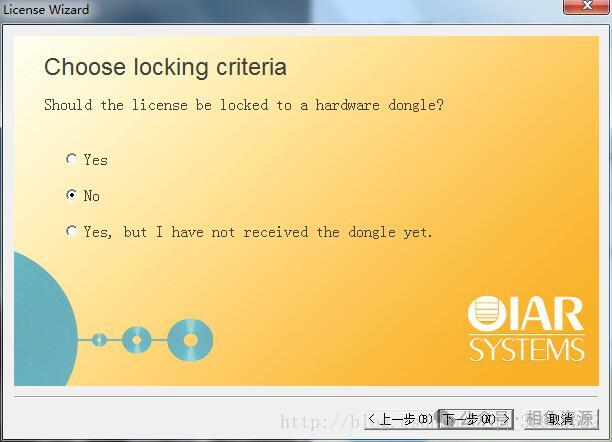
11. Next, an activation file will be generated: ActivationInfo.txt. Choose a path to save it, it is recommended to save it on the desktop for easy access.
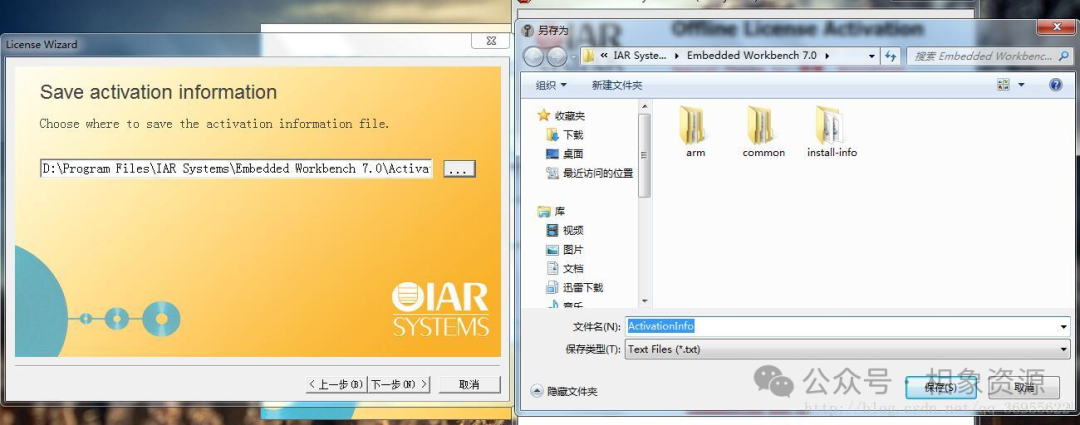
12. Click next.
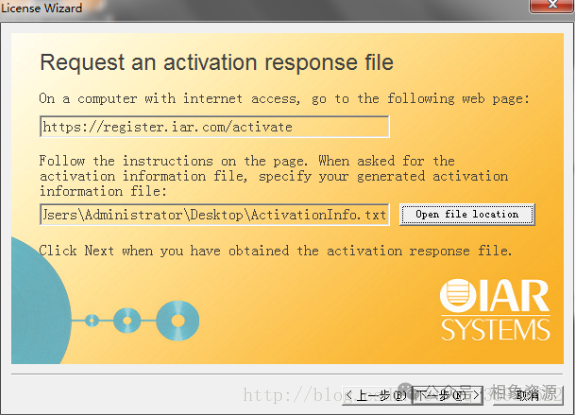
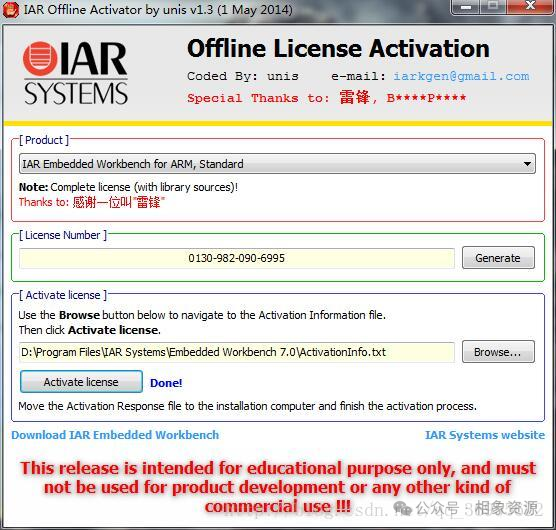
13. Next, copy the generated file path into the keygen, click activation license, and generate another feedback file: ActivationResponse.txt. You also need to set a storage path for this.
14. In the box below, fill in the file generated by the keygen.
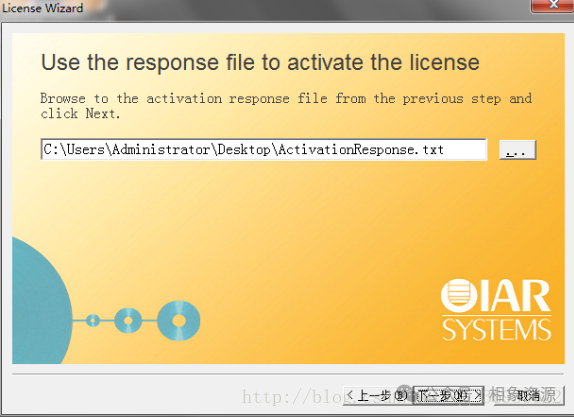
15. Click next.
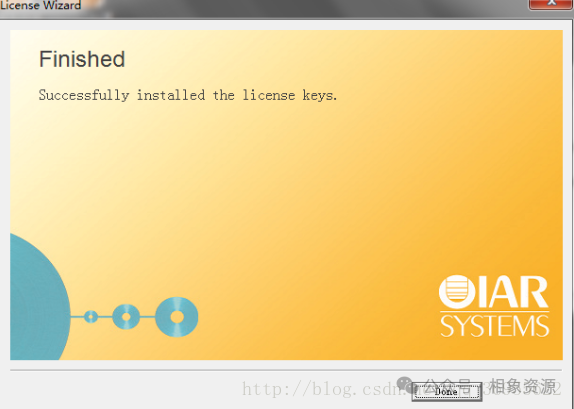
16. The following two files will be generated.
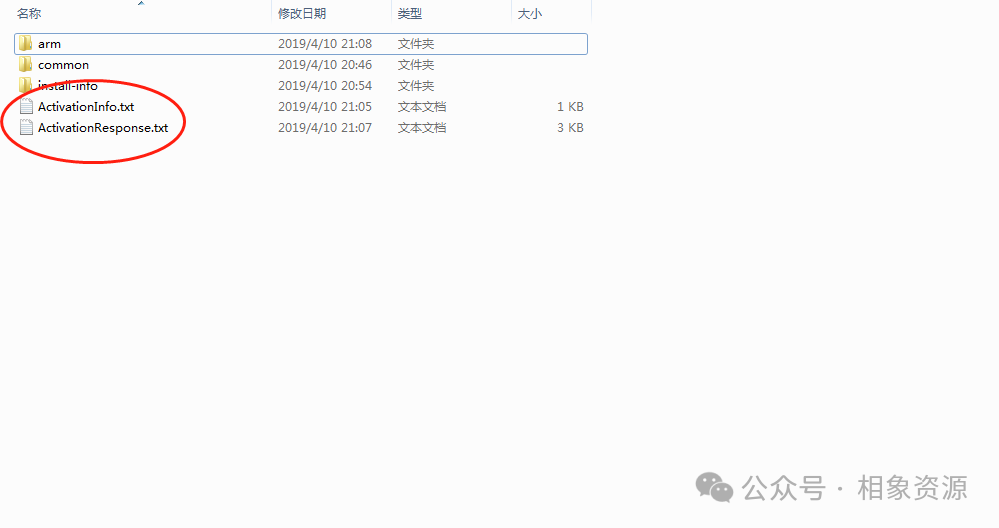
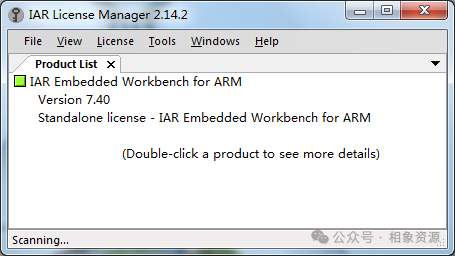
17. Finally, if you have followed through to this step, congratulations, activation was successful.
Reference URL:
https://www.cnblogs.com/lixuejian/archive/2004/01/13/10686201.html
2. STVD Software Installation
1. Download my attachment, you will see this icon.

2. Double-click to run.
Click next, agree to the agreement “I accept…”, note that the installation path cannot be changed!!! Use the default!!! Otherwise, it will be troublesome later.
3. After installation, you will see the following two icons:
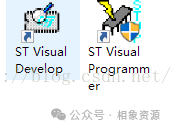
4. The left one is our integrated development environment STVD, and the right one is for burning code.
5. COSMIC Compiler Installation:
The STVD integrated development environment does not have a built-in C compiler, so we need to install it ourselves.
In the same attachment, there is a folder named cxstm8_32k, just keep clicking “Next”, do not change the installation path.
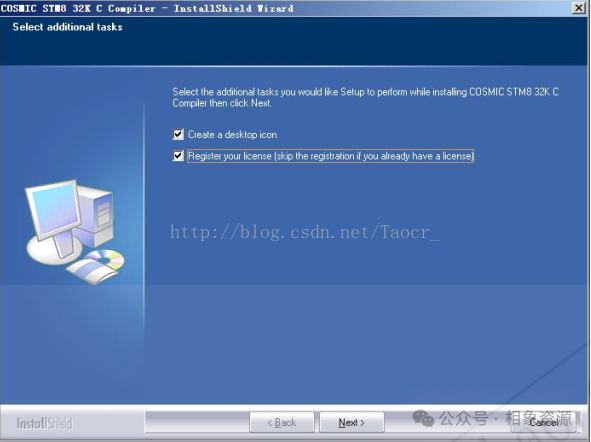
When you see the following image, uncheck both boxes, close the popped-up Readme, and click Finish to complete.
6. Finally, click on CXSTM8_32K_patch in the attachment, and select the path as
C:\Program Files(x86)\COSMIC\CXSTM8_32K
Note that some systems may be
C:\Program Files\COSMIC\CXSTM8_32K
7. Create a new project:
Click File -> New WorkSpace, and set it as shown in the images below.
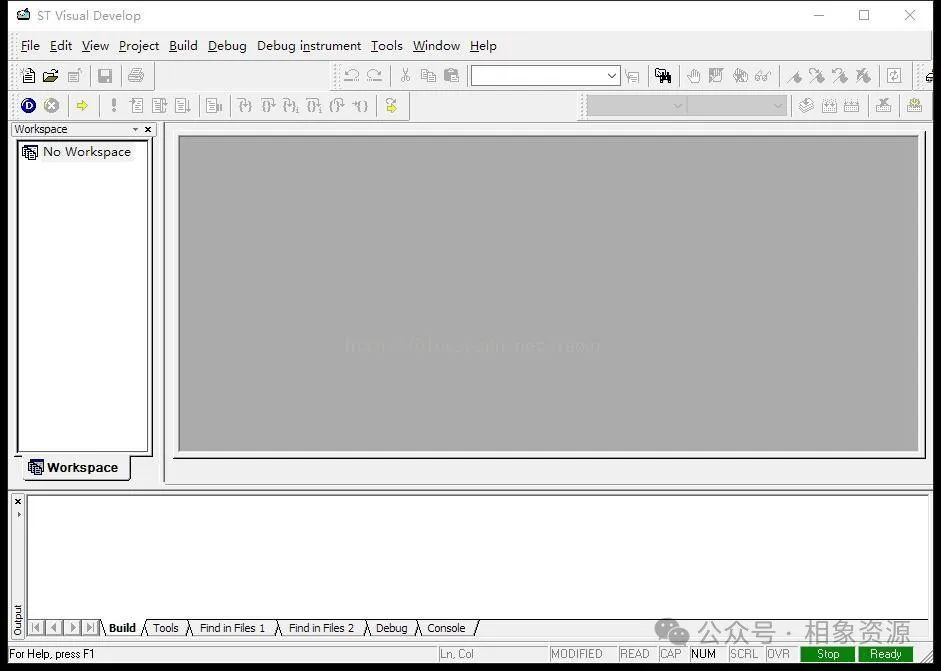
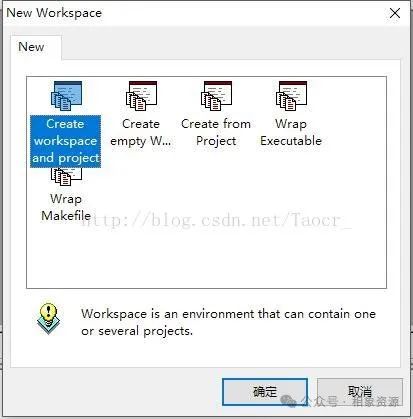
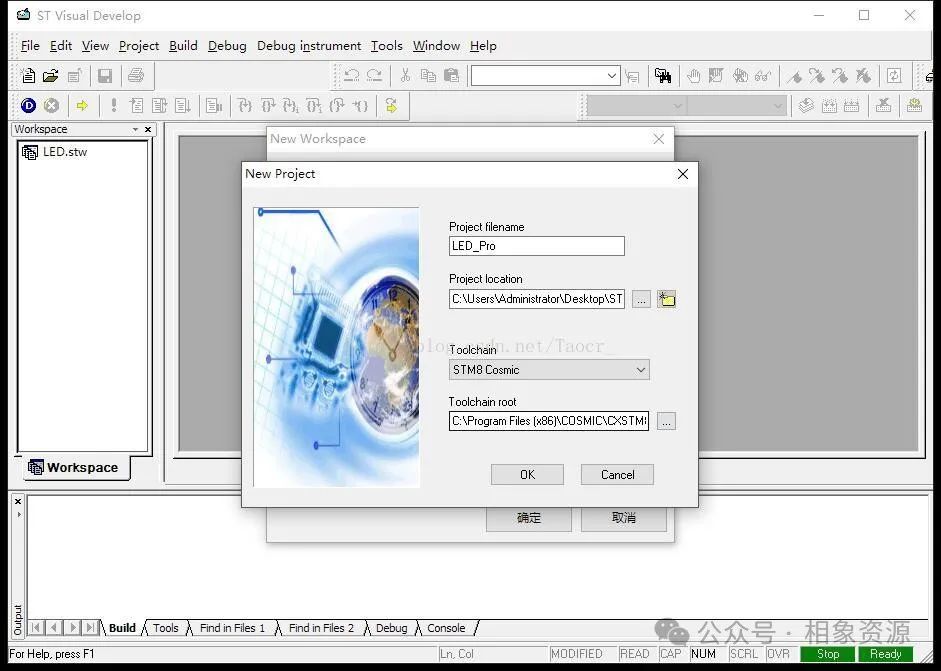
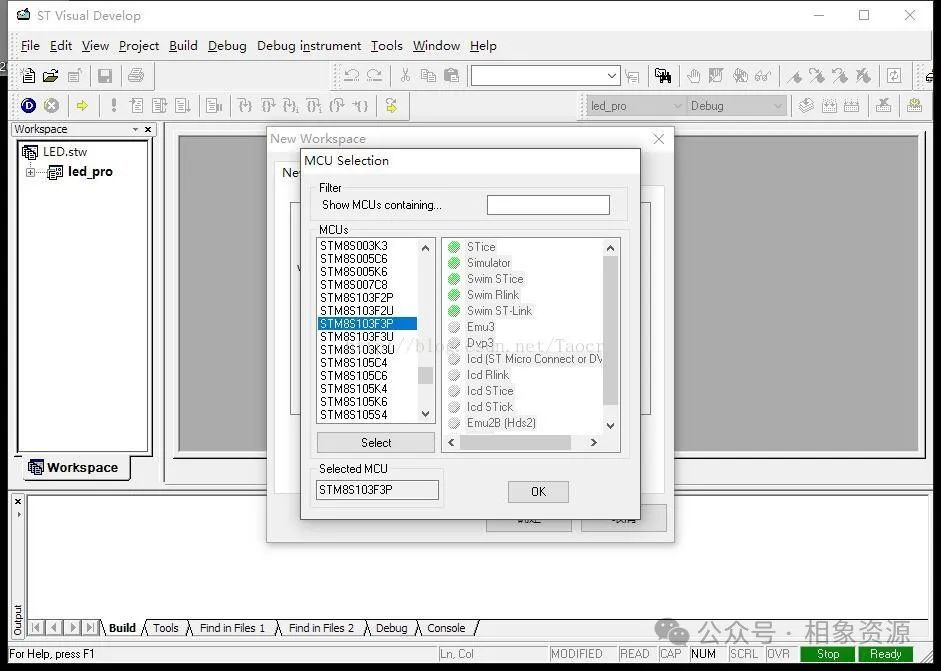
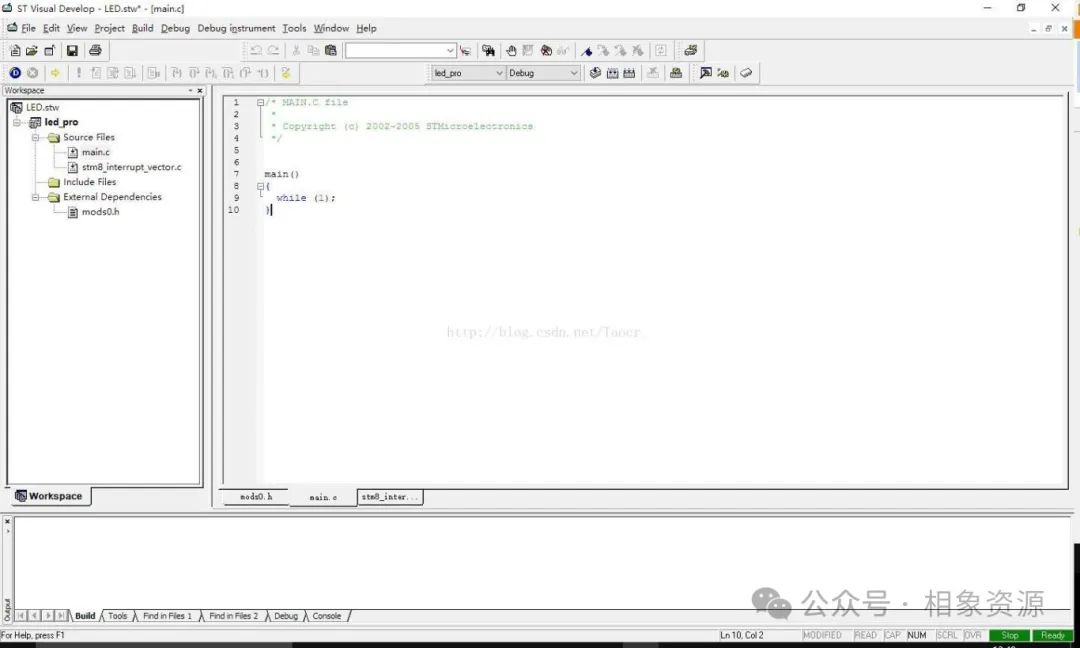
8. At this point, a project has been created.
Reference URL:
https://blog.csdn.net/Taocr_/article/details/78448563
3. Resource Acquisition
—> Related tools
Baidu Cloud link:
https://pan.baidu.com/s/1BYUeqnanpJPtvIOSdHxkSQ
Extraction code: j38h
Reply to the public account “C0001” to obtain study materials.
[The 3 minutes you spent reading this article is the result of my 36 hours of hard work. Click “Appreciate” to support my thoughts, I will continue to boil your soul late at night~~~]