Introduction
In the field of embedded development, the ESP32 development board is widely used. It is a powerful embedded system with WiFi and Bluetooth capabilities, suitable for various IoT and embedded projects. Using the Arduino IDE, embedded development for the ESP32 development board can be easily accomplished. This article will detail how to use the Arduino IDE for ESP32 embedded development.
Step 1: Install Arduino IDE
First, we need to install the Arduino IDE. You can download the latest version suitable for your operating system from the Arduino official website (https://www.arduino.cc) or from GitHub (https://github.com/arduino/arduino-ide). Please ensure that the downloaded version supports the ESP32 development board.

Step 2: Install ESP32 Board Support
The ESP32 development board requires specific board support to be programmed in the Arduino IDE. To install ESP32 board support, follow these steps:
-
1. Open the Arduino IDE, click on the “File” menu, and select “Preferences”.
-
2. In the preferences dialog, find the “Additional Board Manager URLs” field and click the icon next to it.
-
3. Enter the following URL in the text box: https://github.com/espressif/arduino-esp32/releases/download/3.0.1/package_esp32_index.json
-
4. Click the “OK” button to close the preferences dialog.
-
5. Return to the main interface of the Arduino IDE, click on the “Tools” menu, and select “Board” under “Board Manager”.
-
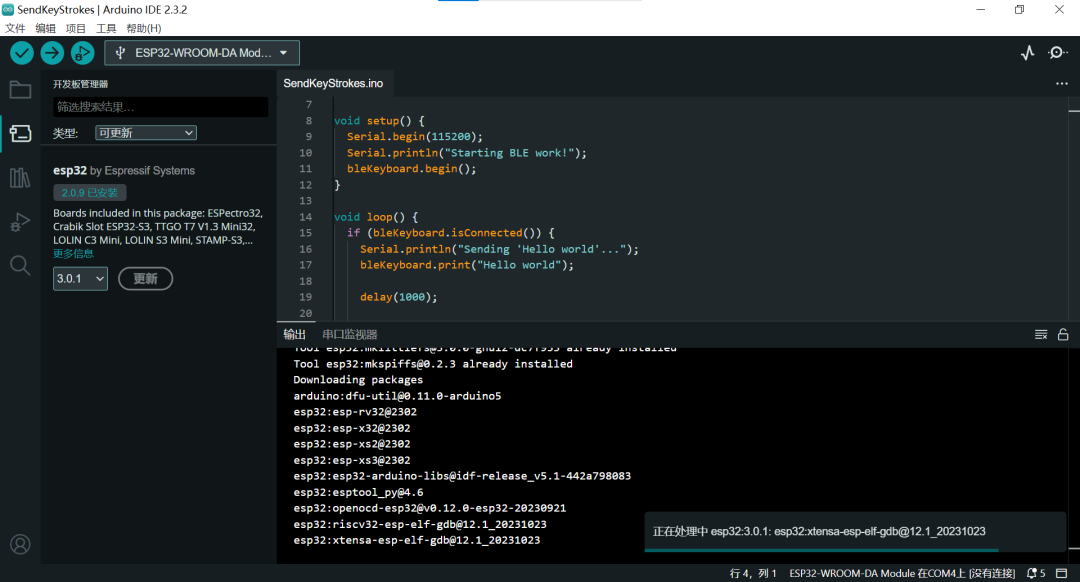
6. In the Board Manager, search for “esp32”, find “esp32 by Espressif Systems”, and click the “Install” button.
Once the installation is complete, you can select the ESP32 development board in the Arduino IDE.
Due to network issues, the online installation process may be slow, but it is still recommended to install online, as manual installation has many uncertainties and a low success rate.
Step 3: Connect the ESP32 Development Board
Connect the ESP32 development board to your computer using a USB cable. Ensure that you have correctly installed the board drivers.
Step 4: Create a New Arduino Project
Now, we will create a new Arduino project to start embedded development with the ESP32.
-
1. Open the Arduino IDE, click on the “File” menu, and select “New”.
-
2. In the new Arduino window, you can start writing your code.
Step 5: Write and Upload Code
The process of writing code in the Arduino IDE is the same as with any other Arduino development board. You can write code using the Arduino language, combined with the ESP32 library functions to achieve various functionalities.
After completing the code writing, you can follow these steps to upload the code to the ESP32 development board:
-
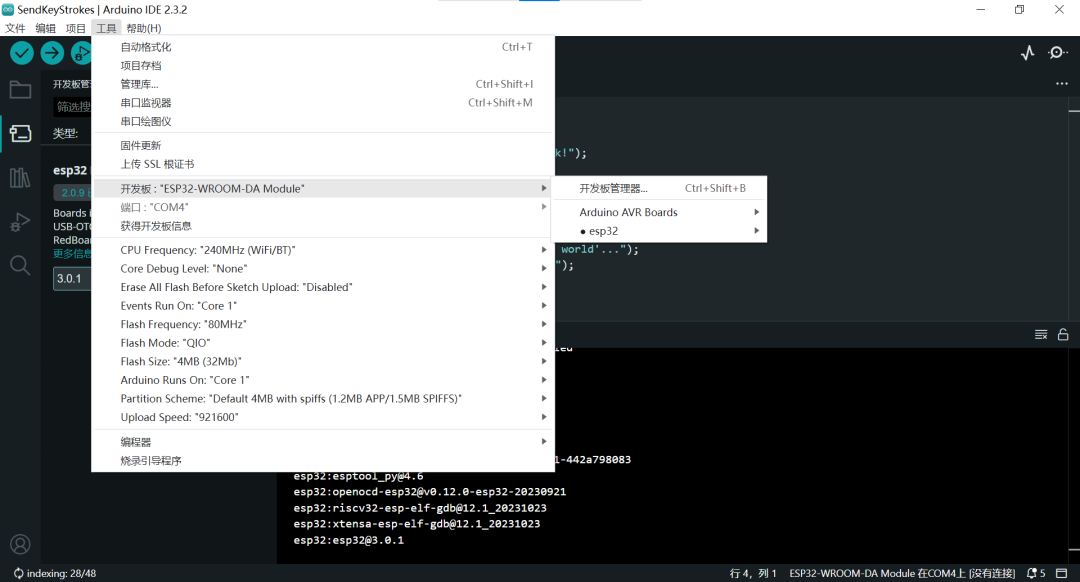
1. Ensure that you have selected the correct board and port. You can select the correct options in the “Tools” menu under “Board” and “Port”.
-
2. Click the “Upload” button in the upper right corner of the Arduino IDE window.
-
3. The Arduino IDE will compile the code and upload it to the ESP32 development board. After the upload is complete, you will see the upload progress in the status bar at the bottom of the IDE.
Step 6: Debugging and Testing
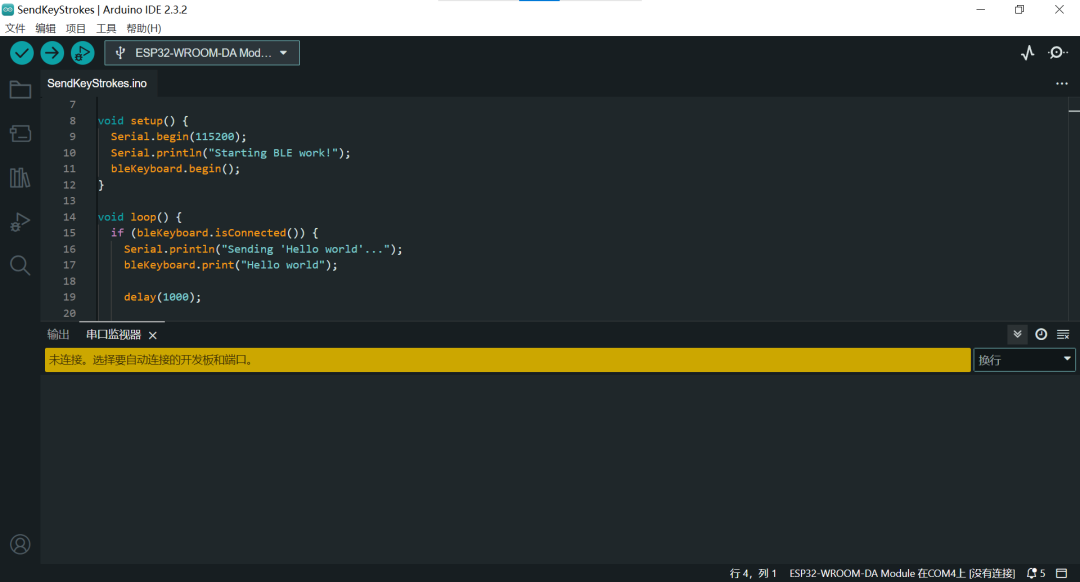
Once the code is successfully uploaded to the ESP32 development board, you can start debugging and testing. Use the Serial Monitor to monitor and debug the code execution.
In the Arduino IDE, open the “Tools” menu and select “Serial Monitor”. Ensure that you select the correct serial port and baud rate, and then you will be able to view the output from the ESP32 development board.
Conclusion
With the Arduino IDE, you can easily perform embedded development for the ESP32. This article covered the steps to install the Arduino IDE and ESP32 board support, as well as how to write, upload, and debug code. Now, you can start using the Arduino IDE and ESP32 development board to create various interesting embedded projects. Wishing you success in your ESP32 development!
Project Address:https://github.com/arduino/arduino-ide