Previously, I experimented with controlling an LED display, local server deployment, voice broadcasting, song playback, controlling WS2812 LED strips, custom wake words, and collecting temperature and humidity data; today I will share a simple exploration of MCP from yesterday.;
1. First, let’s take a look at the final implementation effect:
2. Reference Protocol: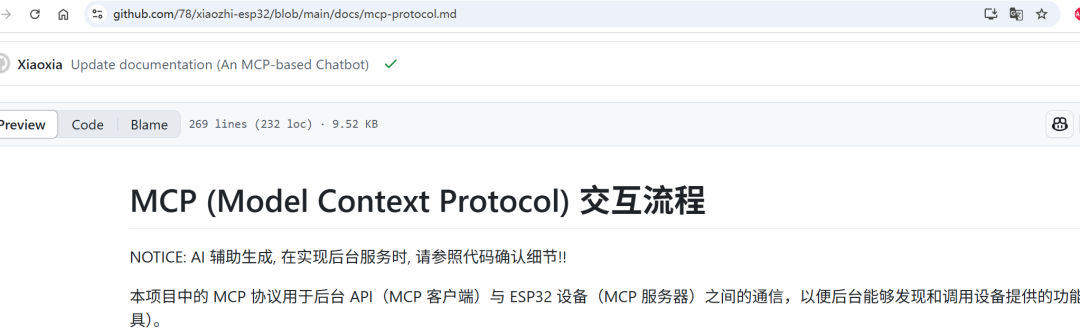 3. Now let’s get started with WebSocket:
 4. For receiving and processing messages:
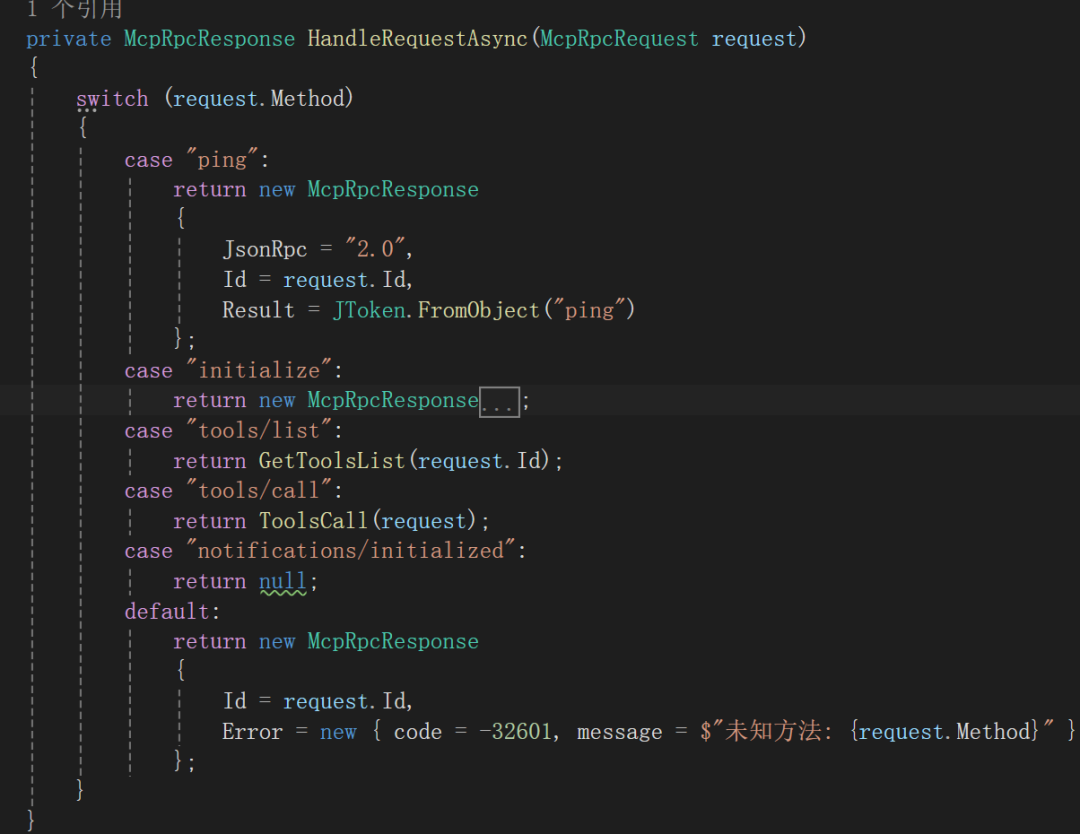 5. Method to obtain the list of available tools:
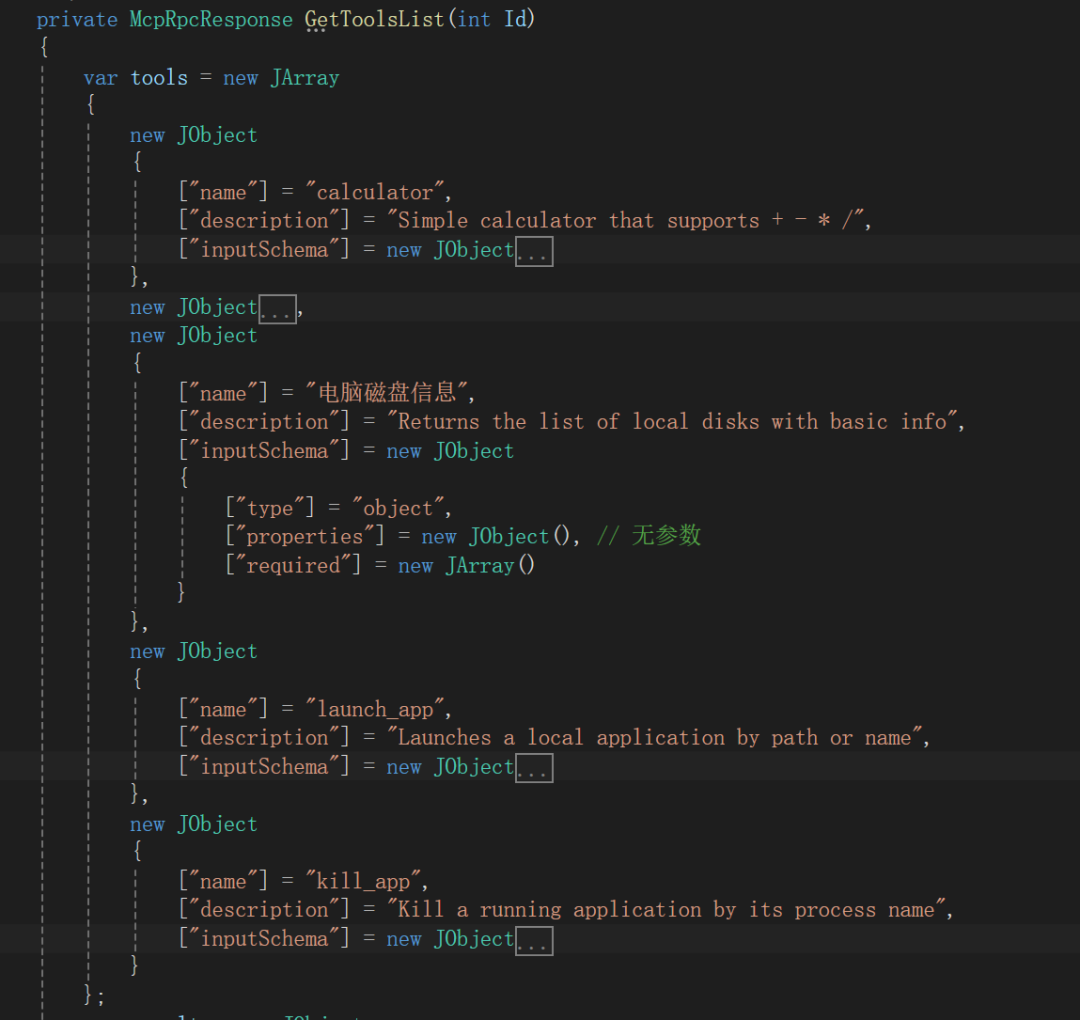 6. About method invocation:
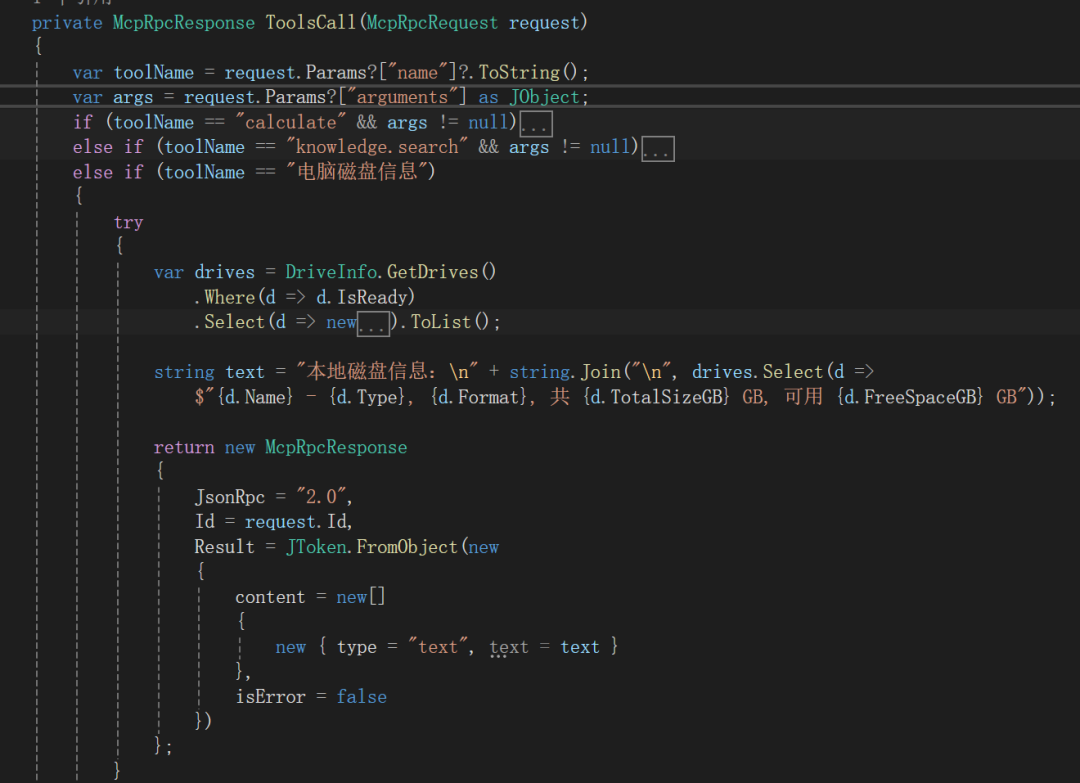 Let’s keep the simple effect like this for now.
 ;If I have time in the future, I can explore more complex effects.
 ; Programming never ends, bugs never stop, no bugs, no life.The calmness of debugging, the passion for coding, the joy of completion, the excitement of digging pits, and the thrill of filling them; perhaps this is the joy of a struggling programmer; that’s all for today; I hope to have the motivation to persist step by step; life never ends, code never stops; everyone can take a moment to check out the effects shared today, and if you have good opinions and ideas, feel free to leave a message on the message board; I will reply as soon as I see it, thank you all for your continuous silent attention and support!If you think it’s good, please give a thumbs up and follow!