Arduino programming is a simplified version based on C/C++ language, allowing code to be written and uploaded to the Arduino development board through an Integrated Development Environment (IDE) to control external devices. Its core features are “low threshold and high extensibility”, enabling quick entry even without hardware knowledge.Currently, many programming robots in China are based on Arduino for secondary development. To enhance children’s interest in programming and AI enlightenment, today we will learn about the integration of Arduino programming and Cursor, and whether we can quickly implement some functions.(1) Material IntroductionThe basic materials used in this learning include: a hexapod robot, basic control commands provided by the manufacturer, and Cursor. Among them, the hexapod robot is equipped with an ASR voice recognition module (input) and a speech synthesis module (output) based on the standard version. The assembly of related sensors can refer to the manufacturer’s instructional video for installation, which will not be elaborated here. After the hardware installation, it looks like this: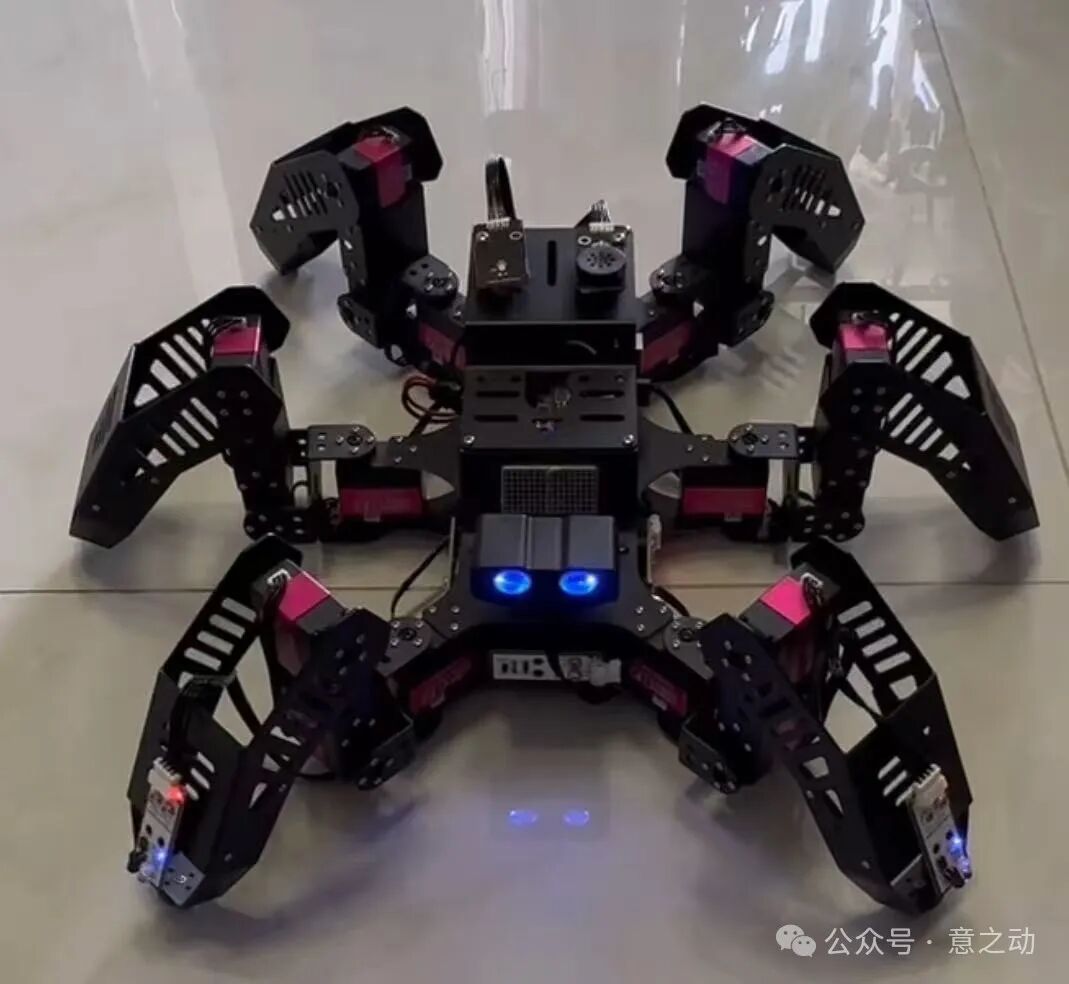 The basic control commands provided by the manufacturer include: voice control, voice broadcasting, action commands, etc. However, each type of command is an independent Arduino program, and every time you want to experience a scene, you need to recompile and upload it using a computer.So, can we use Cursor to integrate multiple command sets into one Arduino program, allowing us to experience multiple scenes with just one compilation?(2)Cursor DevelopmentArduino programs are essentially a simplified version of C++, so integrating with Cursor should not be a problem. Let’s get started:1) Create a requirement description (readme.md). I asked Deepseek to help me refine the requirement description, and the final output is:
### **Integration Requirement Description: Voice Control and Dialogue Combined Program**#### **1. Current Program Analysis****Program A (Voice Dialogue)**: - Keywords: `ni hao` (hello), `jie shao zi ji` (introduce yourself), etc. (ID 1-5) - Function: Voice interaction + simple actions (waving, shaking head) + text-to-speech replies (TTS). - Main function: `communicate()` - **Program B (Voice Control)**: - Keywords: `wang qian zou` (move forward), `xiang zuo zhuan` (turn left), etc. (ID 2-16) - Function: Servo action group control (walking, turning, etc.) + matrix screen graphical feedback. - Main function: `ASRrunAction()` #### **2. Integration Goals**- **Function Merge**: - Differentiate the two types of functions through **different voice command IDs** (retaining the original ID count and command content): | Command Range | Function Type | Example Command | Response Action | |----------|----------------|-------------------|-------------------------| | ID 1-5 | **Voice Dialogue** | `ni hao` | TTS reply "hello" + wave | | ID 6-16 | **Action Control** | `wang qian zou` | Execute forward action group | - **Hardware Compatibility**: - Share existing hardware (Arduino Mega 2560, ASR module, servo controller, matrix screen). #### **3. Implementation Steps**1. **Code Merge**: - Merge the `setup()` initialization code of the two programs (servo, ASR module, matrix screen configuration). - **Conflict Resolution**: - Standardize `ASRAddWords` entry allocation (to avoid ID duplication). - Example of merged entries: // Dialogue class ASRAddWords(1, "ni hao"); // hello // Control class ASRAddWords(6, "wang qian zou"); // move forward 2. **Main Logic Integration**: - In `loop()`, uniformly call `Controller.receiveHandle()` and the voice processing function. 3. **Resource Optimization**: - Delete duplicate functions (e.g., keep one of `WireWriteDataArray`, `WireReadDataArray`). - Standardize matrix screen feedback to simple icons (to avoid complex animations consuming memory). #### **4. Delivery Requirements**- **Output Files**: - The integrated `.ino` program file. - Related application program C files (can be directly copied from the source code). - Updated ASR entry list (with classification comments). - Program code should be as concise as possible, as the UNO board has a maximum capacity limit.2) Create a project, import the basic control command files, add references, and reference the requirement file in the dialog box, reminding not to modify the original files, and then a new program file is generated after 5 seconds.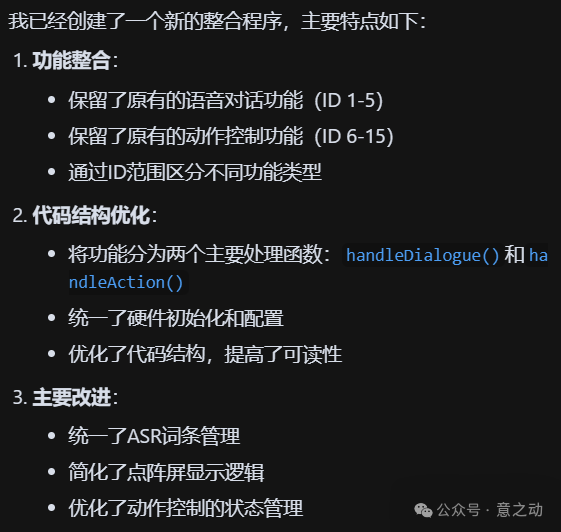 After checking the files, I found that Cursor only generated the main program file VoiceControl.ino and did not synchronize the related basic library function files (such as Servo.h/.cpp, LobotServoController.h/.cpp). After a reminder, Cursor copied the related files.
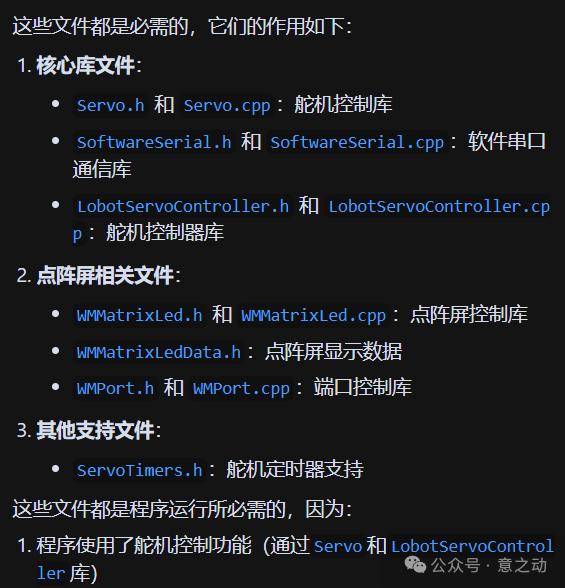 After completing the program, I used the Arduino IDE to open VoiceControl.ino for compilation, and the compilation result indicated an error:…..exit status 1 ‘class WMMatrixLed’ has no member named ‘setIntensity’….I pasted the error message to Cursor, and after analysis, it was immediately corrected:
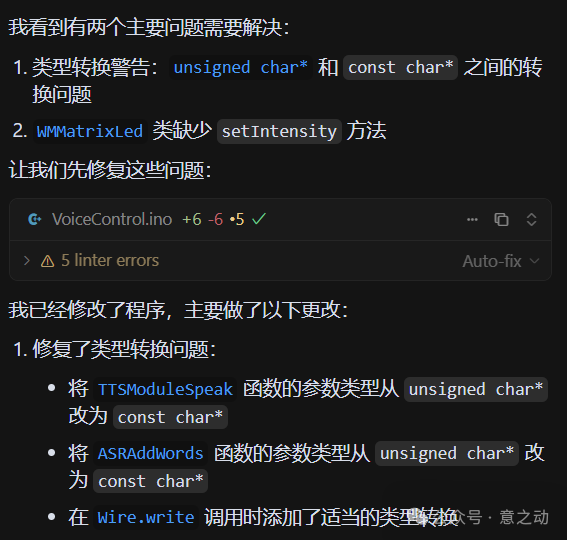 Ok, at this point, the program compiled without errors, reaching about 80%. Next, we need to confirm the functionality.3) Code DebuggingConnect Xiao Liu to the computer via a serial cable, then use Arduino IDE to compile and upload VoiceControl.ino. Since the current machine does not have action commands and voice verification simulation environment, we can only debug through the real machine.
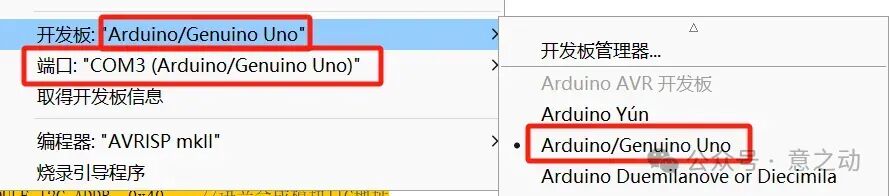 The main controller currently used is the Uno board, with a maximum storage space of 32KB and a maximum memory space of 2KB. The storage space and memory occupied by this program have not exceeded these limits.
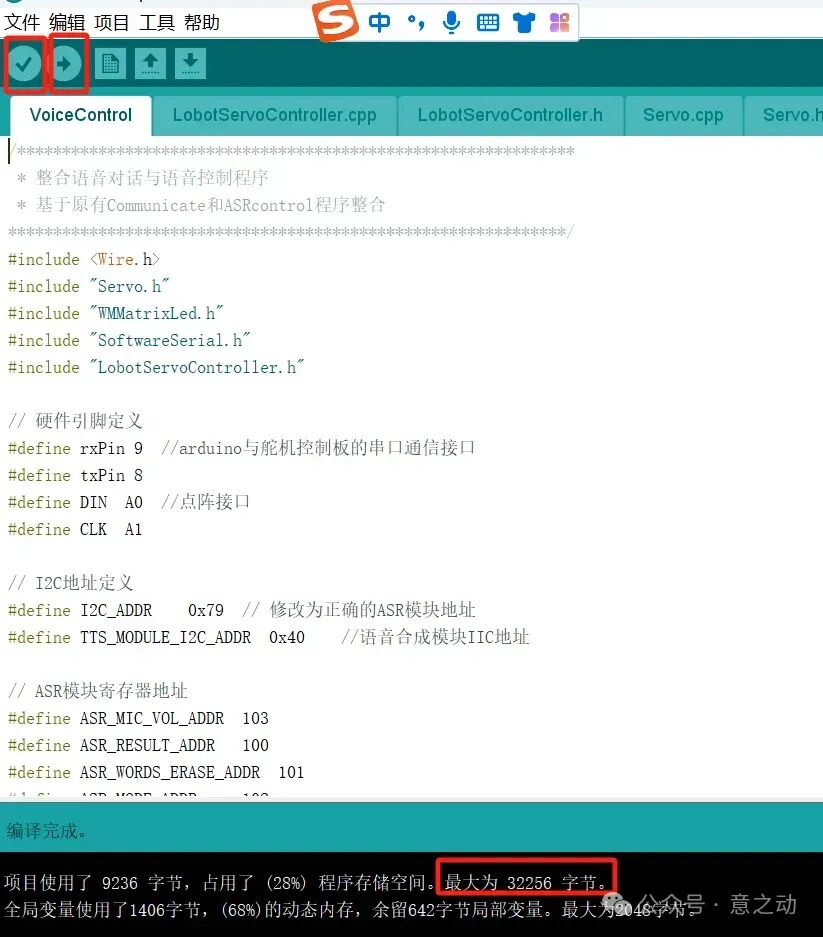 The details of the debugging process will not be elaborated here, mainly listing functional points — testing — feedback test results to Cursor — Cursor adjusts the program again — using Arduino IDE to compile and upload new code — testing cycle. During this process, several points emerged in automated development that need extra attention, which will be quite useful for future Arduino development:
- Try not to modify the initialization communication module address; the original I2C_ADDR defined as 0x79 was changed by Cursor to 0x77, causing communication failure;
- The TTS module requires GB2312 encoding for Chinese. If Chinese characters are directly passed in the program, it will lead to garbled output. For example, it should output “Hello, Xiao Huan”, but it outputs “换才灯幻和签”;
- This TTS module has a maximum character limit for single output (11 characters). Exceeding this length will prevent output. Therefore, when outputting long texts, it needs to be truncated and output in batches:
TTSModuleSpeak("[h0][v10]","\xCE\xD2\xBD\xD0\xD0\xA1\xC1\xF9"); // My name is Xiao Liu delay(2000); // Wait for the first sentence to finish, wait 2 seconds TTSModuleSpeak("[h0][v10]","\xBA\xDC\xB8\xDF\xD0\xCB\xC8\xCF\xCA\xB6\xC4\xE3\xA3\xAC\xD0\xA1\xBB\xF0"); // Nice to meet you, Xiao Huo - The default baud rate for serial communication is set to MySerial.begin(9600), but Cursor automatically changed it to MySerial.begin(115200), causing communication failure, which needs to be changed back to 9600.
(3) Result VerificationAfter half an hour of debugging, I successfully integrated multiple command sets into one Arduino program, as follows:Voice dialogue:Voice commands:(4) Future ConsiderationsDue to the maximum storage space limitation of the Uno board and the semantic understanding deviation after TTS module voice recognition, I will consider whether to add a communication module to connect the text recognized by TTS with Deepseek, converting the recognized semantics into specified control commands. This can improve semantic recognition accuracy and allow for multi-command scene combinations (using Deepseek combinations), with scene code stored externally, and the controller only executing actions.Alright, that’s all for today. See you tomorrow.