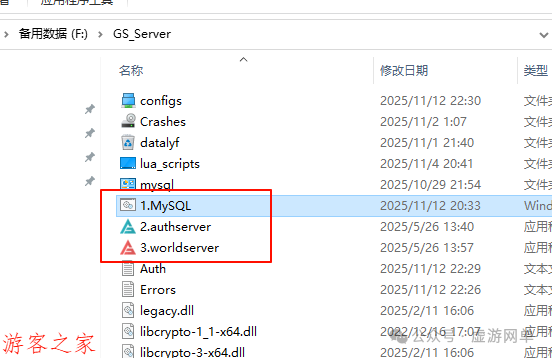
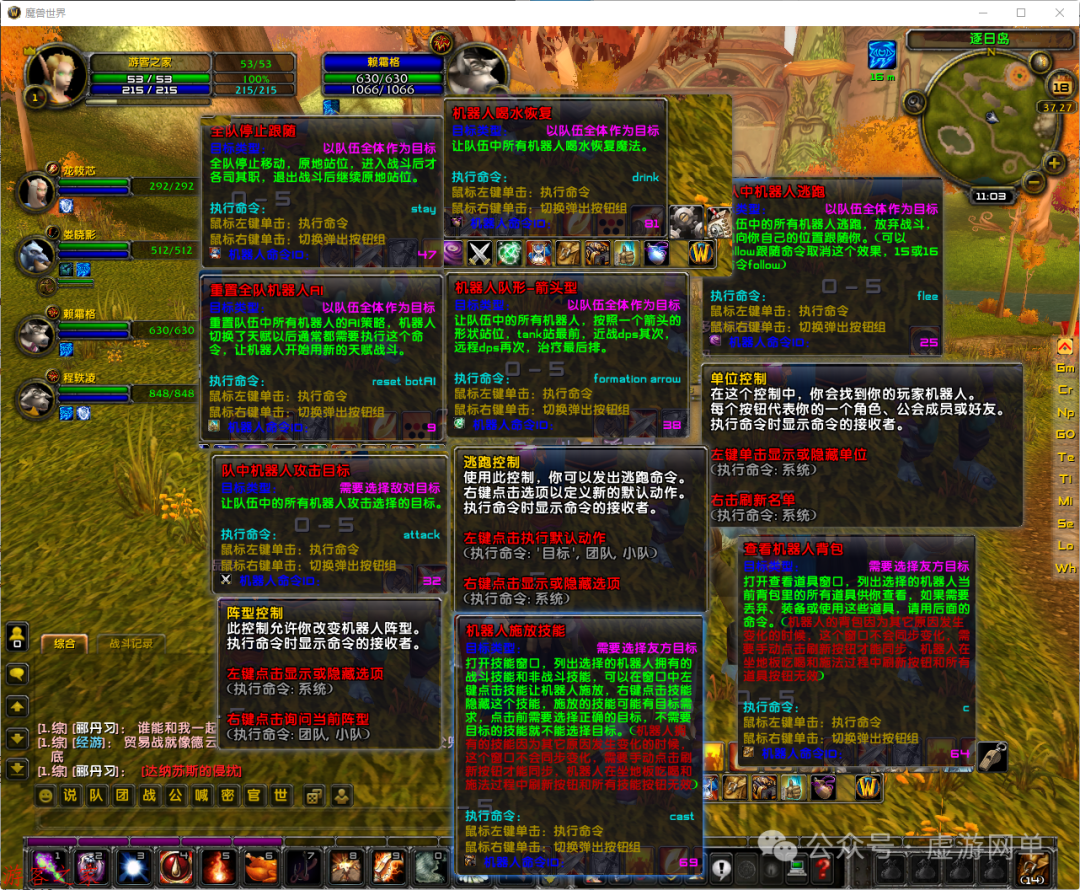
Starting the single-player version of World of Warcraft is very simple; just open the three server software. Moreover, it has a very comprehensive AI bot plugin system that can be flexibly configured. The advantage of this server is the intelligence of the bots, especially with rich strategies for dungeons, making them very smart and capable of positioning. You can chat and interact with the bots in the game, engage in outdoor PK, and participate in battlegrounds (though I haven’t entered the Alterac Valley battleground).
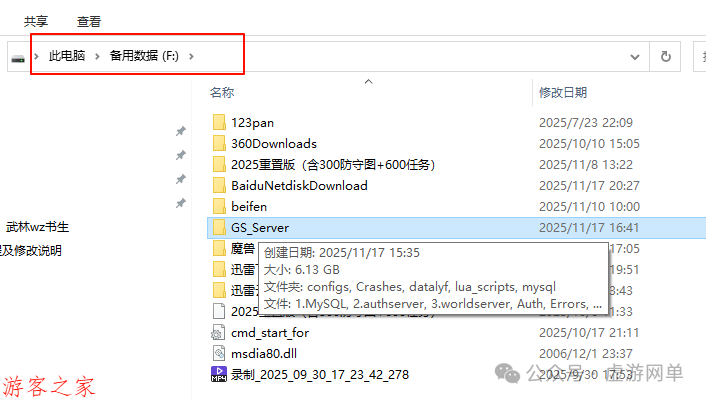
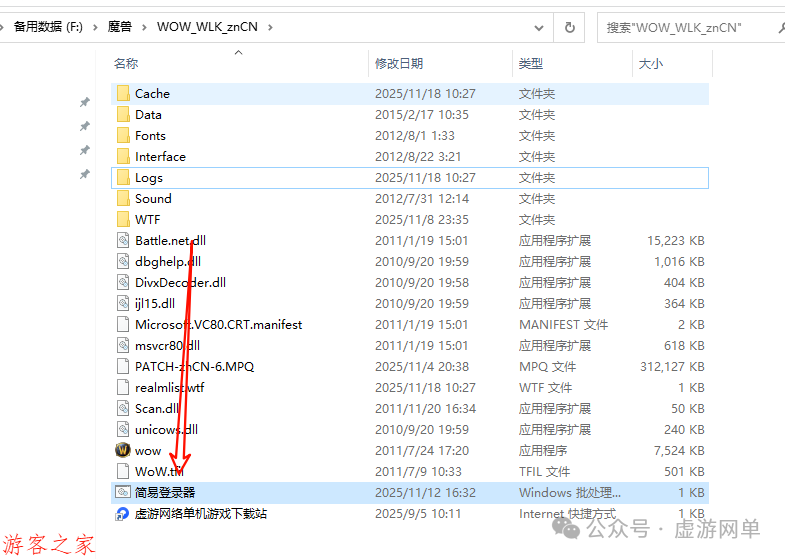
After downloading, first unzip it, and place this server GS_Server in a directory without Chinese characters, for example, I placed it in drive F.
Open them in order: 1, 2, 3.
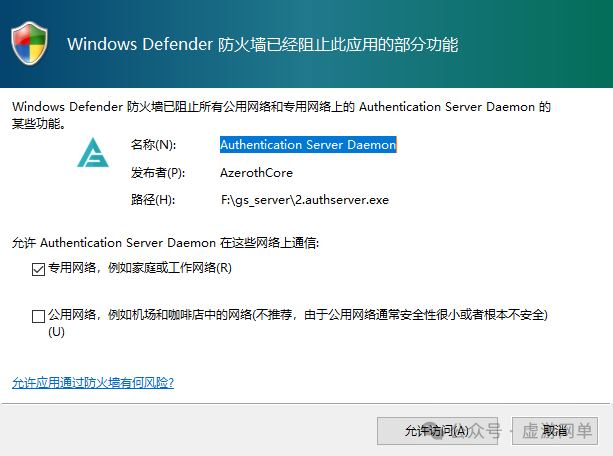
If this appears, select to allow access.
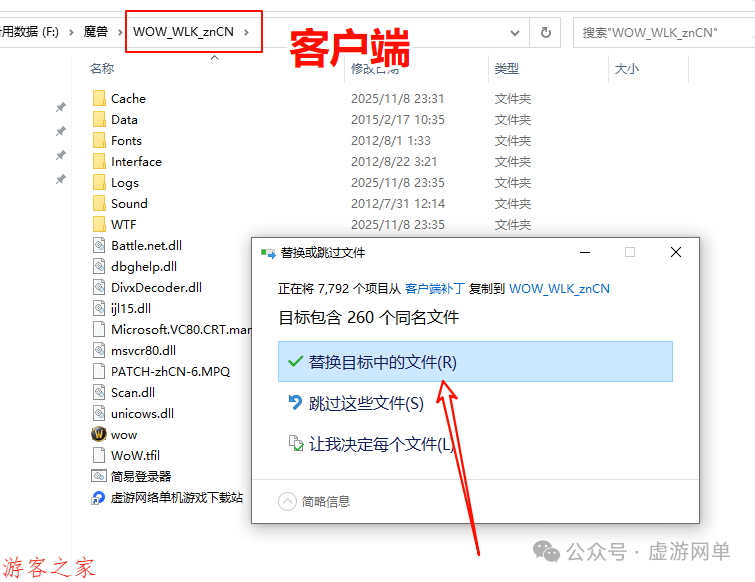
Find the client patch folder in the downloaded files and copy all the files here to the client directory.
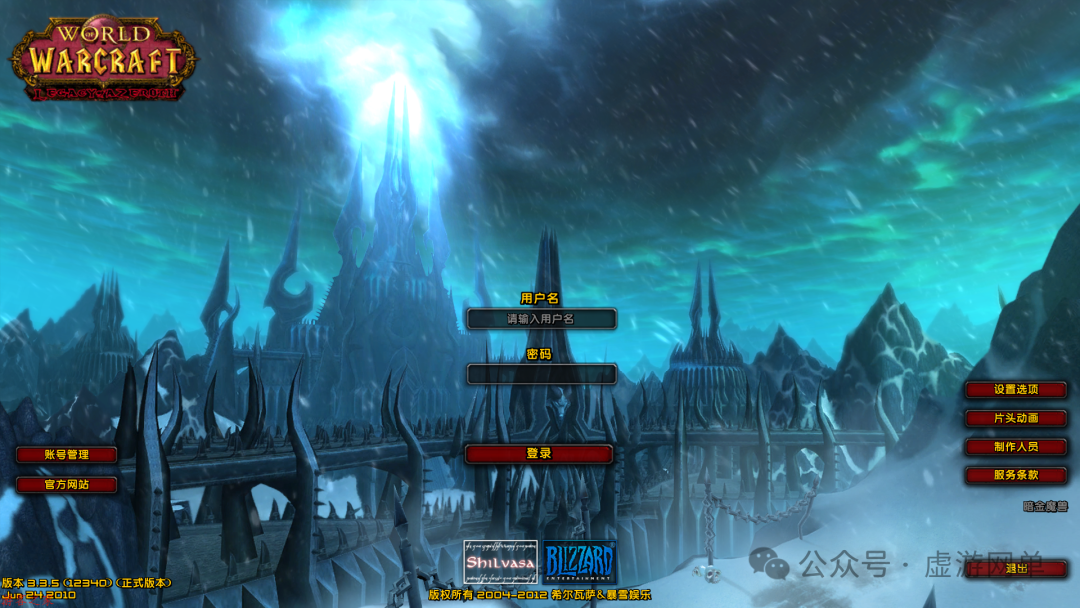
Open the launcher and enter the game.
After logging in, enter the account password: these are all pre-set GM permission accounts.
Account: 1 Password: 1
Account: 2 Password: 2
Account: 3 Password: 3
Account: 4 Password: 4
Account: 5 Password: 5
Account: 6 Password: 6

Simple method to enable the bot:
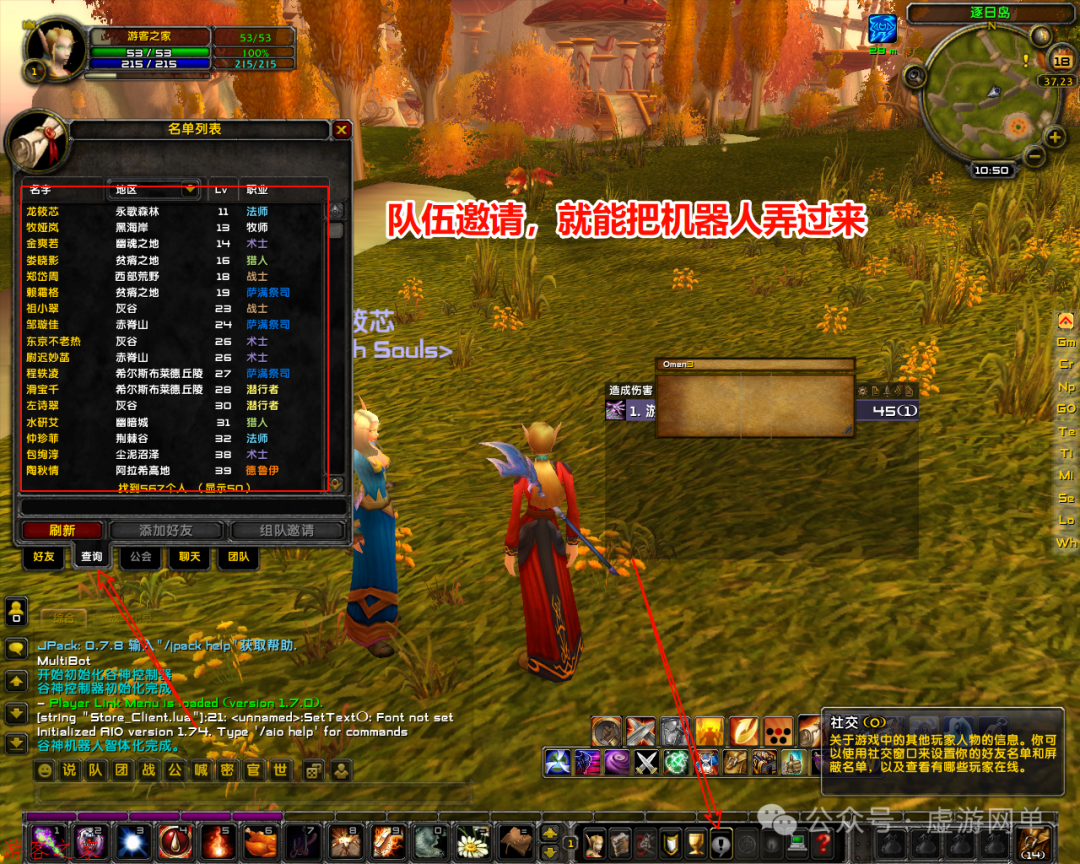
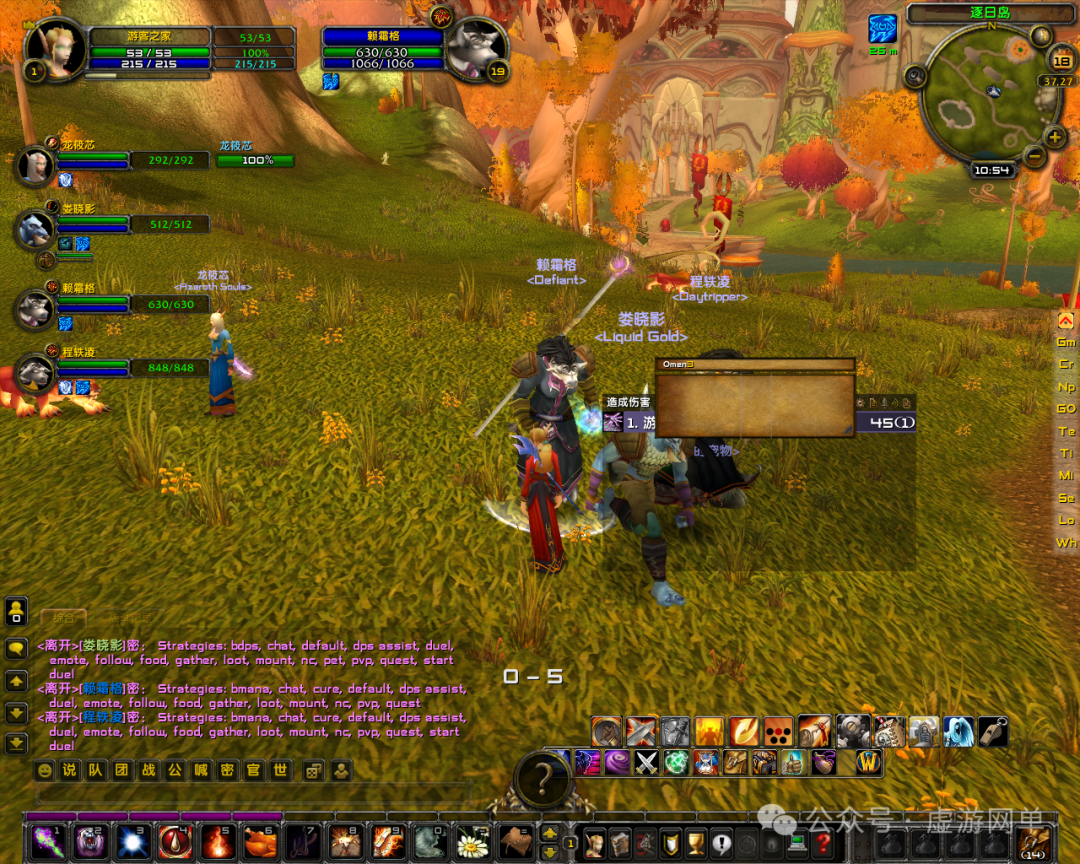
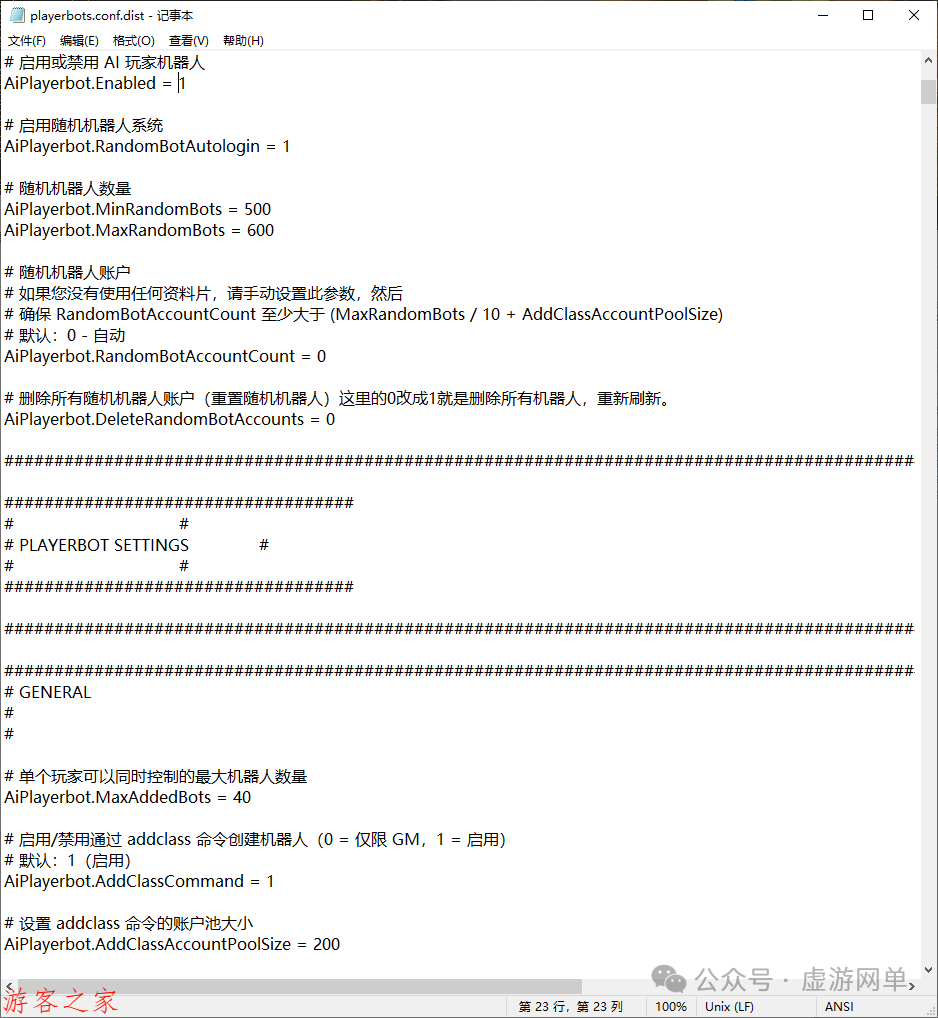
The bot configuration file can be modified here. The bot is very intelligent. Everyone can take their time to study it.
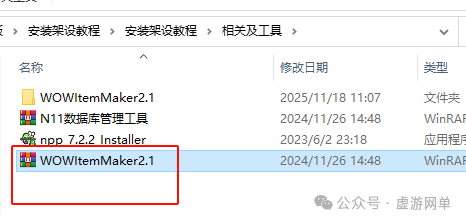
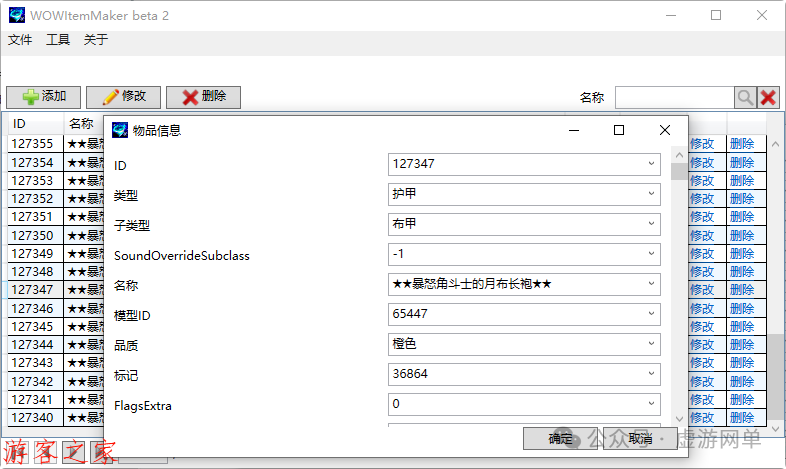
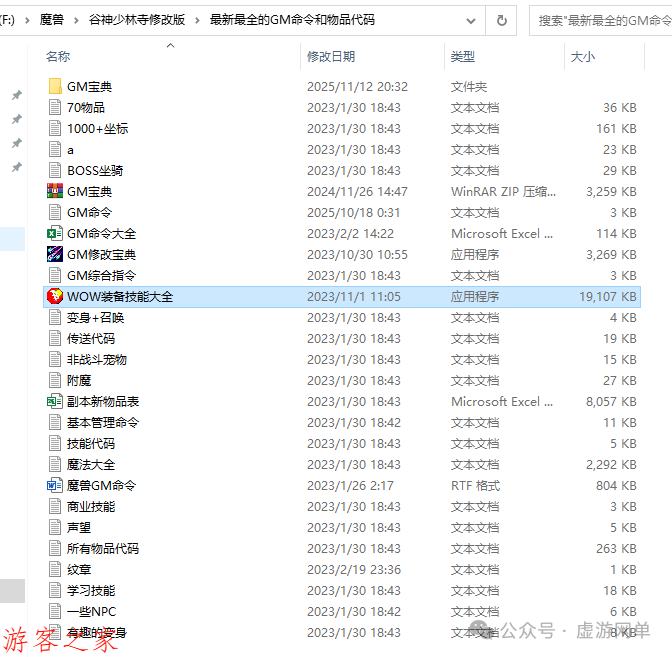
GM tools: Unzip this file; this tool is used to modify item attributes. Those who need it can study it.
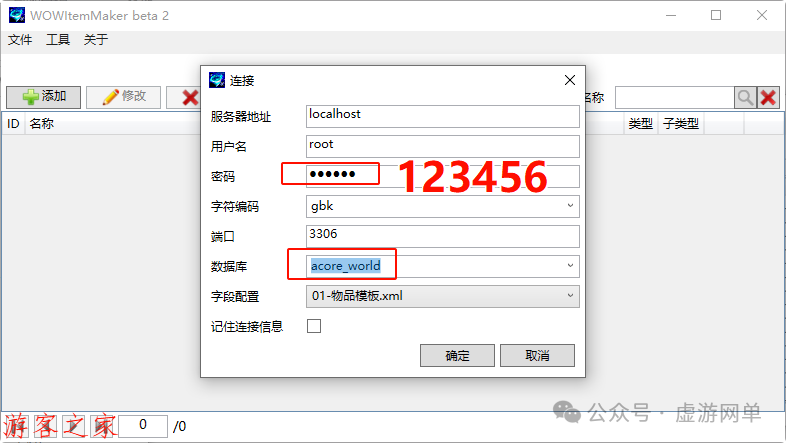
Account network configuration content is all in the database, and you can use database management tools to modify it.
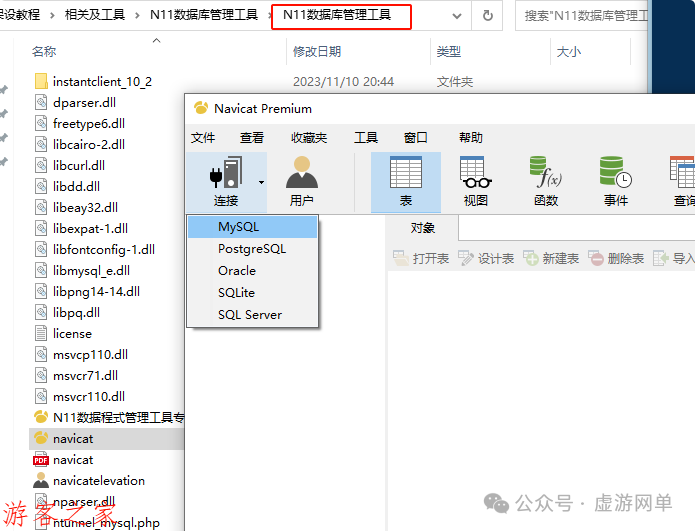
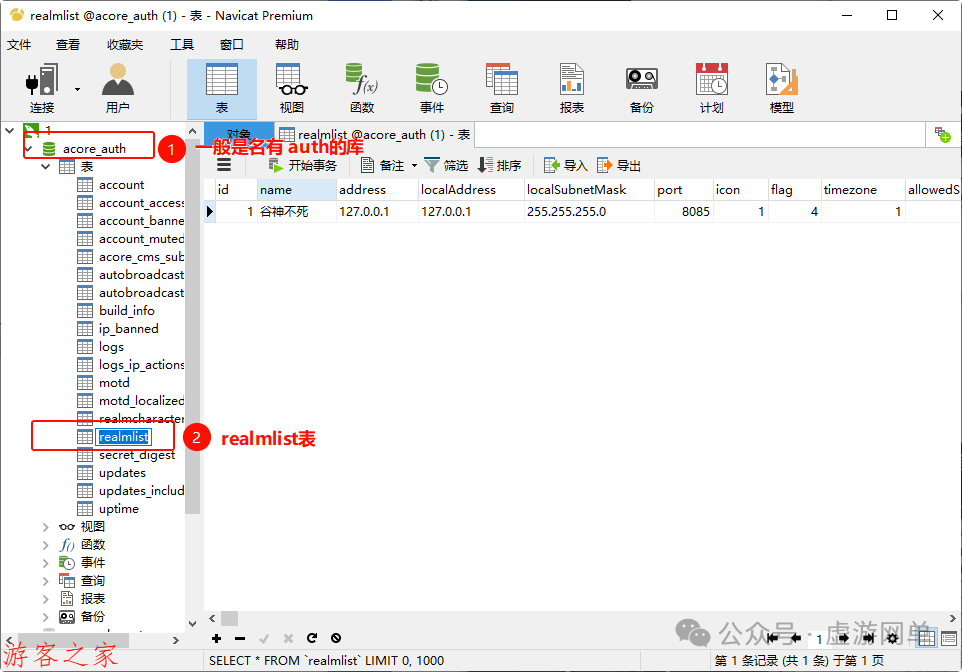
Next, I will tell you where to modify these things. First, connect to the database.
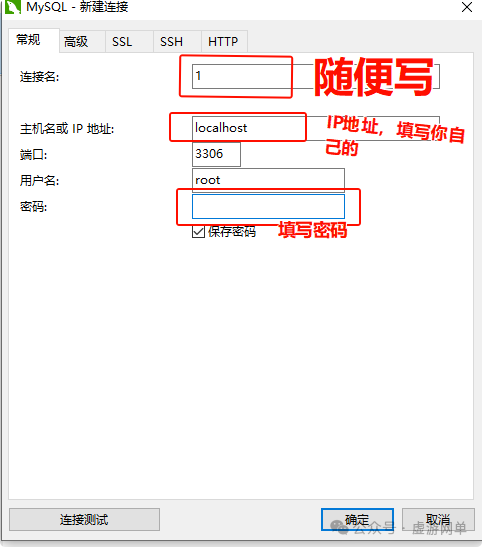
Open the database that generally has auth in its name, find the table named realmlist, and after opening the table, you will see the name field, which is the server name, and the address is the server IP. If you want to go online, modify it here. After modifying, save it.
Then modify the client to connect to the server’s IP. Enter the client directory. Generally, you just need to modify the launcher, changing this IP to the one modified in the database to keep it consistent.
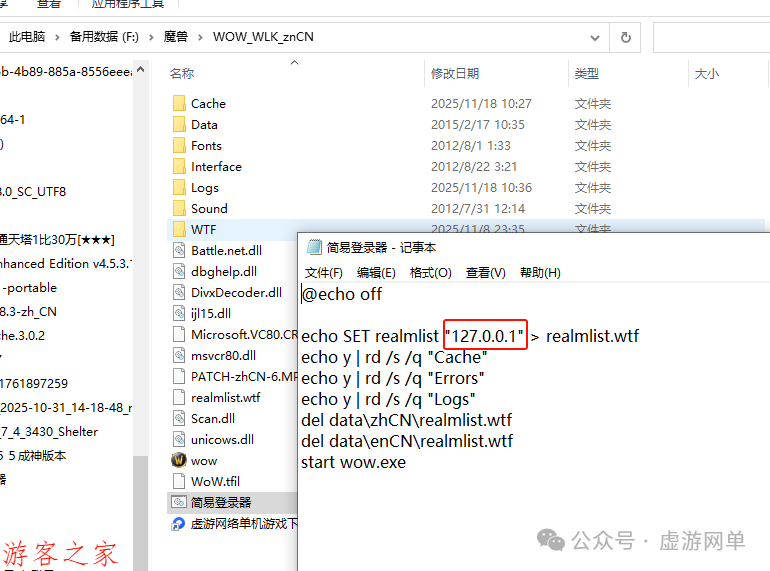
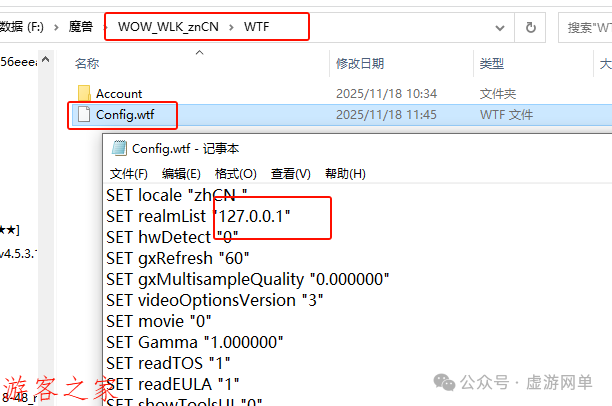
If there is no .bat file, look for the config.wtf file in the client directory, usually in the wtf folder. Modify this IP.
The network configuration for World of Warcraft is very simple. Next, I will talk about registering accounts and setting GM permissions. Some single-player versions do not provide a registration page, so you can only register here.
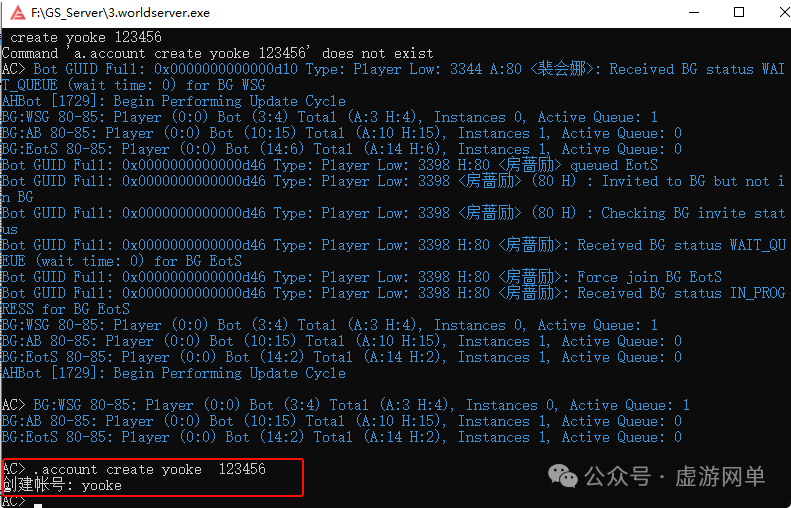
How to register an account: In the third pop-up server window (only one of the three windows can input, and it is here), enter the following syntax: .account create account password
(For example: .account create yoouke 123456), this will register an account with the username: yoouke and password 123456.
(Note: When registering at level 110 or 120, the account format must include @. For example, .account create 1@1 123456 registers the account name 1@1 with password 123456. When logging into the game, the account name must also be written as 1@1).
After the account is registered, if needed, grant GM permissions:
First method: Use the command to set GM level.
In the third pop-up server window (the one where you registered the account), enter the following command:
account set gmlevel account 3 -1 (Here GM level can be 3 in some versions, or 5, it varies).

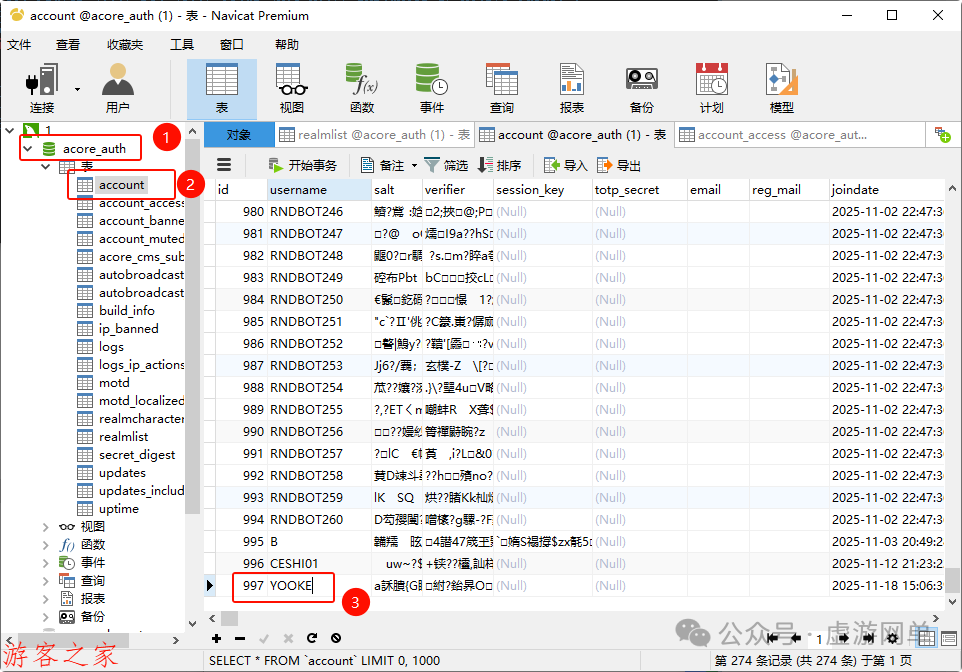
Setting GM permissions can also be done using the N11 database management tool. Find this table, note the ID of the account you just registered, for example, YOOUKE, with ID 997.
Then open this table, add a record, fill in your account’s ID 997, set gmlevel to 3, and realmID to -1.
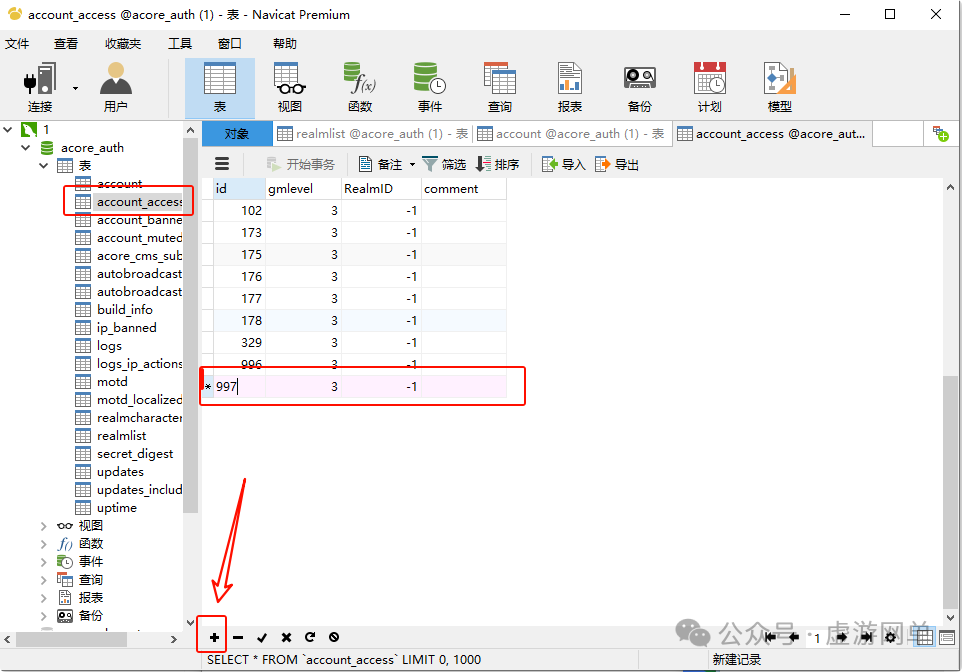
After making changes, click the checkmark to save the changes.