Copyright belongs to the author. If you wish to share, please indicate the source of the article: https://cyrus-studio.github.io/blog/
Resolving IP Configuration Failure When Connecting to the Network
All networks indicate IP configuration failure.
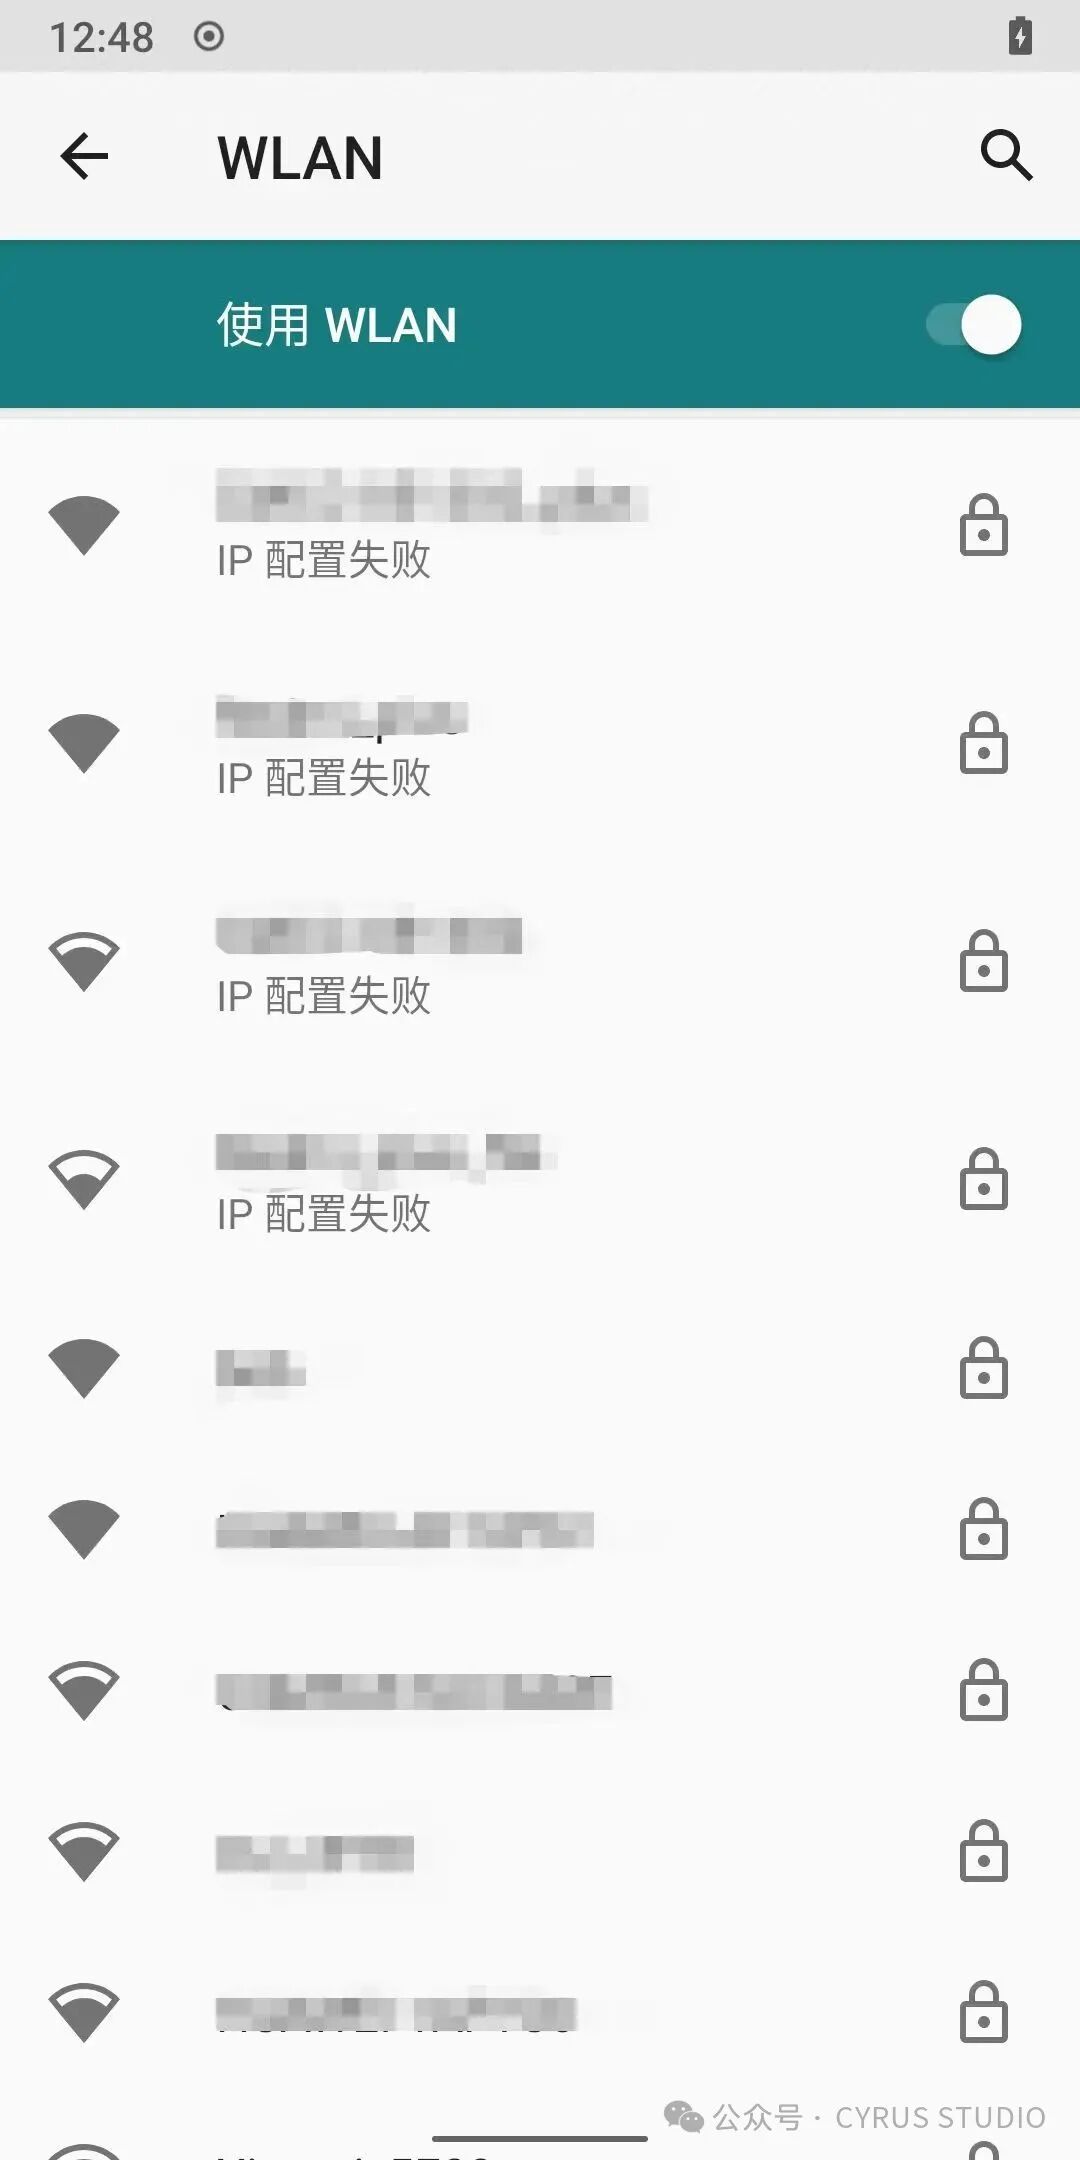
After using Magisk root, this happened. LineageOS 17.1 (wayne). After flashing back the boot.img from the ROM package, the issue was resolved.
But what if root access is needed?
How to Enter ADB Shell as Root?
First, go to Settings, then to [Developer Options], and enable [Debugging as Root].
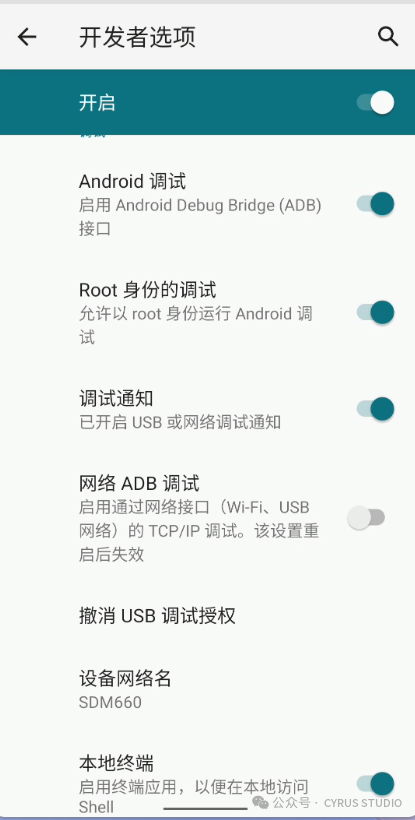
Then execute the following commands to gain root access:
# Enable adb root access
adb root
restarting adbd as root

# Enter ADB shell as root
adb shell

# Verify root access
whoami
root  # The return result is root, indicating you have successfully entered ADB shell as root.
Resolving Network Restrictions in LineageOS
Cause of the Problem
Due to the default use of Google’s captive portal validation service in the LineageOS source code, it will continuously indicate network restrictions in China, but in reality, network access is possible.
To resolve this issue, you can change the captive_portal_https_url to a domestic one, such as using MIUI’s.
Changing the Captive Portal Validation Server
1. Modify via ADB
adb shell settings put global captive_portal_https_url https://connect.rom.miui.com/generate_204

adb shell settings put global captive_portal_http_url http://connect.rom.miui.com/generate_204
2. Modify the Source Code
Edit packages/modules/NetworkStack/res/values/config.xml
<!-- HTTP URL for network validation, to use for detecting captive portals. -->
<string name="default_captive_portal_http_url" translatable="false">http://connectivitycheck.gstatic.com/generate_204</string>

<!-- HTTPS URL for network validation, to use for confirming internet connectivity. -->
<string name="default_captive_portal_https_url" translatable="false">https://www.google.com/generate_204</string>

<!-- List of fallback URLs to use for detecting captive portals. -->
<string-array name="default_captive_portal_fallback_urls" translatable="false">
    <item>http://www.google.com/gen_204</item>
    <item>http://play.googleapis.com/generate_204</item>
</string-array>
Modify as follows:
<!-- HTTP URL for network validation, to use for detecting captive portals. -->
<string name="default_captive_portal_http_url" translatable="false">https://connect.rom.miui.com/generate_204</string>

<!-- HTTPS URL for network validation, to use for confirming internet connectivity. -->
<string name="default_captive_portal_https_url" translatable="false">https://connect.rom.miui.com/generate_204</string>

<!-- List of fallback URLs to use for detecting captive portals. -->
<string-array name="default_captive_portal_fallback_urls" translatable="false">
    <item>https://connect.rom.miui.com/generate_204</item>
    <item>https://connect.rom.miui.com/generate_204</item>
</string-array>
Modify NTP Server When Time is Incorrect (Change to Aliyun)
1. Modify via ADB
adb shell settings put global ntp_server ntp.aliyun.com2. Modify the Source Code
Edit device/vendor/device/gps/etc/gps.conf (vendor and device correspond to the manufacturer and device)
#NTP server
NTP_SERVER=time.izatcloud.net
Modify as follows:
#NTP server
NTP_SERVER=ntp.aliyun.com