First, a statement: This tutorial is not aimed at beginners, so it absolutely will not cover the installation of Quartus II or USB Blaster; if you really want to solidify this part, you can refer to the PDF in the ‘User Manual’.
1. USB Driver and Connection Instructions
Everything is ready except for the east wind. Before officially starting to test the board, you must first install the USB driver, specifically the Cypress 68013 driver; otherwise, the board cannot be recognized properly.
Here is a brief introduction to the USB driver for the VIP Mini development board. The driver can be found in the directory “../02_Tools, Drivers, USB Software/USB-Driver_V3.2” as shown below:
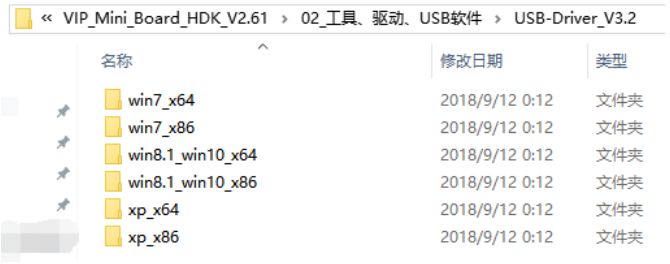
(1) xp_64: Corresponds to 64-bit XP operating system
(2) xp_86: Corresponds to 32-bit XP operating system
(3) win7_64: Corresponds to 64-bit Win7 operating system
(4) win7_86: Corresponds to 32-bit Win7 operating system
(5) Vista, Win8: Use the corresponding bit-width operating system for Win7
(6) Linux: Not covered for now……
(7) X86, WIN2000 have long been eliminated, no interest in the scenery……
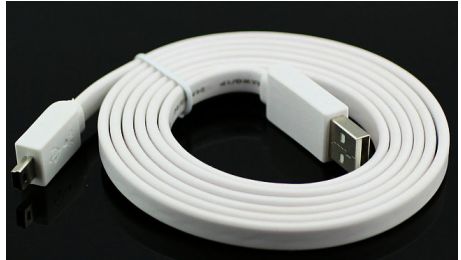
The VIP Mini development board integrates a USB-Mini interface (do not confuse it with the USB_Micro interface), so a USB-A to USB-Mini extension cable is used to provide power (the full board + RGBLCD is sufficient; if you really need a high current, then provide an additional 5V power supply via DC500) + USB2.0 communication, as shown in the image below:
2. USB Driver Installation Process
2.1. Illustrated USB Driver Installation Process on Win7
The installation of the board’s driver is generally consistent across different operating systems, so this explanation will take Win7 as an example for the USB driver installation. First, use the USB-Mini extension cable to connect the board to the PC and start the installation of the board’s driver, with the detailed process as follows:
(1) First, whether it is XP or Win7 operating system, the device will be pre-detected for automatic recognition. As shown in the image below:

(2) However, the unfortunate thing is that the current board driver is not included with Windows, leading to an ‘installation failure’ and starting a manual installation, as shown in the image below:

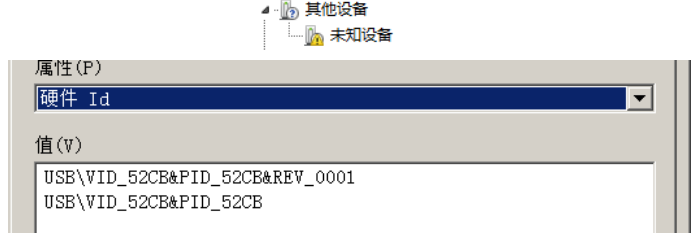
(3) Open My Computer → Manage → Device Manager → Device Manager, and you will see a location device, as shown in the image below:
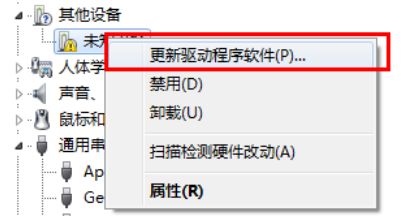
(4) Right-click and select Update Driver Software (P), as shown in the image below:
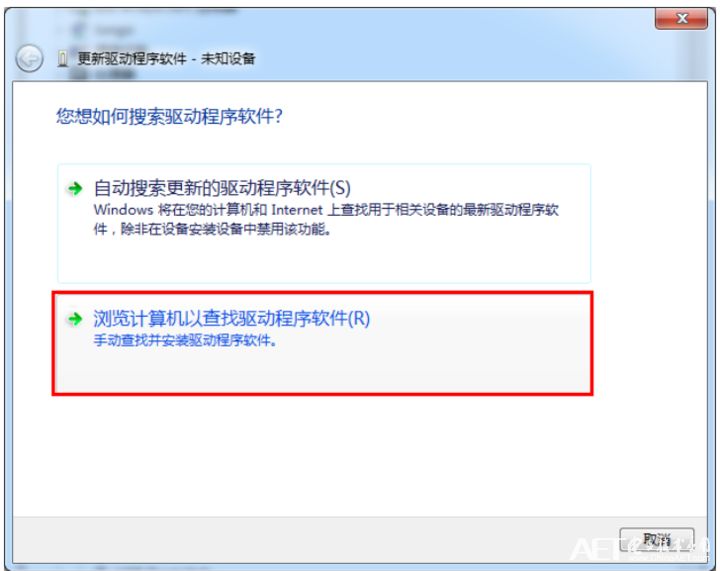
(5) In the new dialog that pops up, select ‘Browse my computer for driver software’, as shown in the image below:
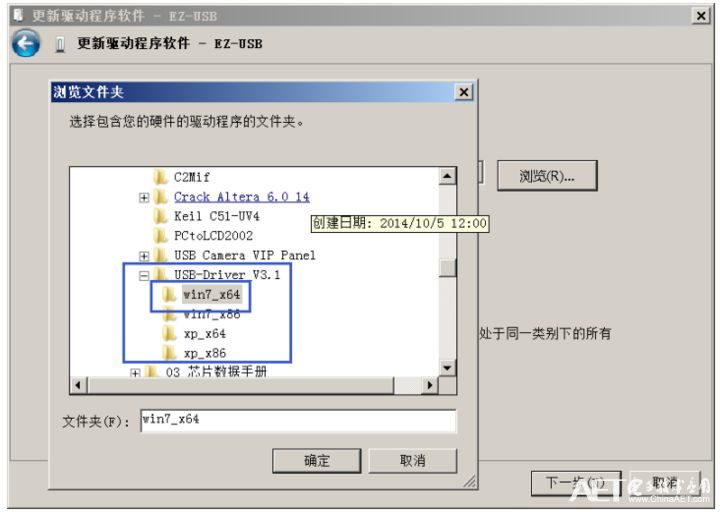
(6) Based on the current operating system and bit-width, select the corresponding driver. Below is an example for Win7 64-bit, selecting the win7_64 folder:
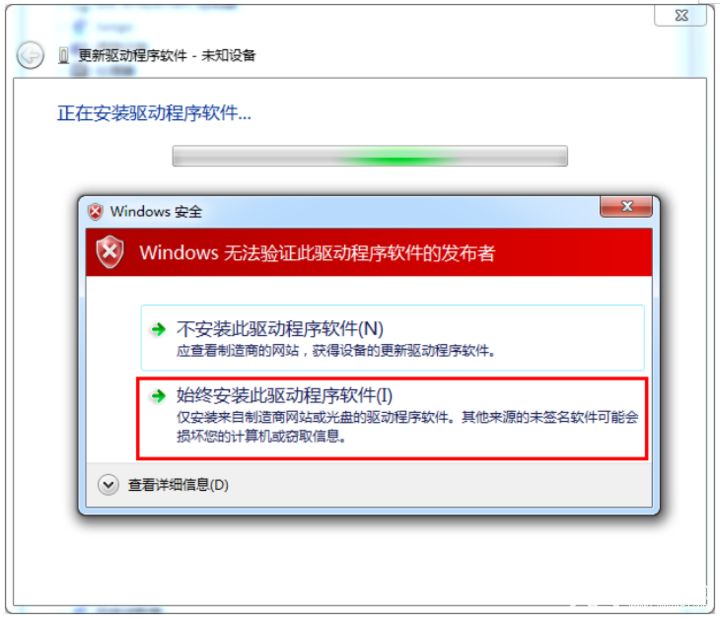
(7) Regarding security verification, XP systems will have no impact; however, Win7/Win8 will have security verification, here select ‘Always install driver software’, as shown in the image below:
(8) Installing driver software…

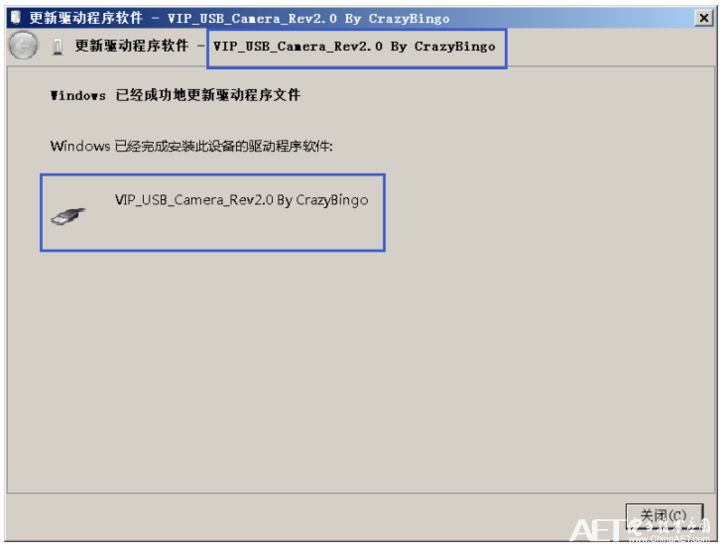
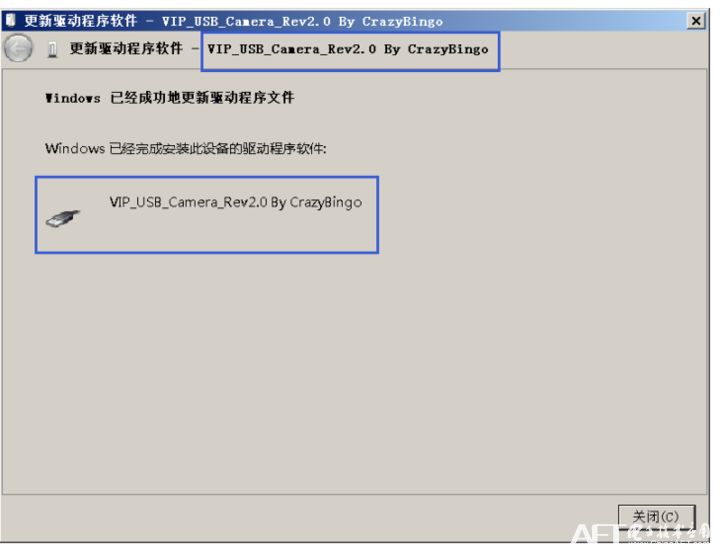
(9) Windows has successfully updated the driver files, as shown in the image below:
(10) Analyzing the USB driver installation verification
After successfully installing the USB driver for the VIP Mini development board, if the driver update is successful, you will see the following device in Device Manager → Universal Serial Bus Controllers: VIP_Board Mini USB Driver Rev1.0.0, which indicates that the driver has been successfully installed, everything is ready!!! O(∩_∩)O Haha~
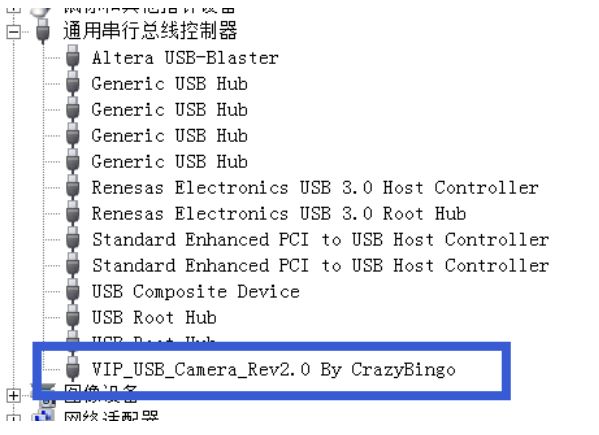
At this point, right-click on VIP_USB_Camera_Rev2.0 By CrazyBingo, and in the details, you can see the device’s PIC&VID as 52CB, version 0001. The board’s custom VID&PID is mainly to distinguish it from other devices and reduce the possibility of device conflicts (of course, this is only for fun).
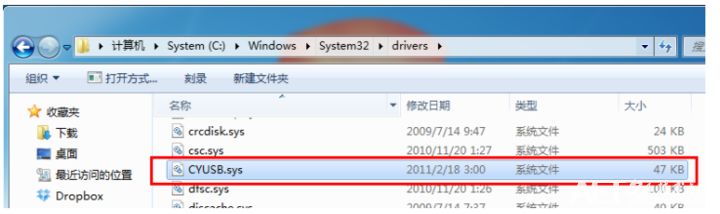
To trace the source of the driver installation, you can find CYUSB.sys in the C:\Windows\System32\drivers directory, as shown in the image below, the analysis is complete……
2.2. Installation Error Solution for Win8/10: Hash Value Not in File
Some friends encountered the following problem when installing the VIP Mini development board driver on Win8/10-64 system:
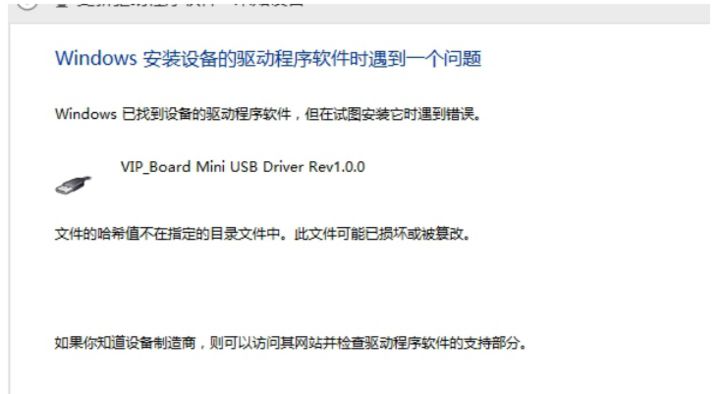
Due to Win8’s mandatory requirement for driver signature, and the Cypress driver has not been signed, the driver installation fails. For this situation, there are many solutions online, here I will list the solution tested and verified by netizen QingTian/zt XiaoZhu on Win8-64 bit operating system, as follows:
1. Press the shortcut key win+R to open the run command
2. (Please read the following before proceeding!!) Run and enter shutdown.exe /r /o /f /t 00
3. Click OK
4. The system will restart
5. After restarting, click Troubleshoot
6. Select Advanced options
7. Select Windows Startup Settings
8. Click Restart
9. Select Advanced options
10. Select ‘Disable Driver Signature Enforcement’ (F7 key)
11. Then you can install the driver
After completing the above operations, reinstall the USB driver, and the successful interface is shown below:
Note: The handling method for Win10 is slightly different from the above; at the time of writing the tutorial, only WIN8 was available, and WIN10 had not yet been released. If you are using WIN10 and want to disable driver signature enforcement, you can refer to the Baidu experience: https://jingyan.baidu.com/article/624e74594dbc8d34e8ba5aa6.html