Recently, a little friend named Qiuqiu has developed a strong interest in Arduino, often looking for books or videos to learn from. After completing some simple projects, Qiuqiu saw a tutorial on making a DIY LED chaser in the Arduino Chinese forum community and decided to learn it.
Learning Process:
Materials Needed:
-
One Arduino Uno R3 development board
-
A computer with Arduino IDE installed
-
6 LED lights
-
6 220-ohm resistors
-
7 male-to-male jumper wires
-
6 breadboard jumper wires
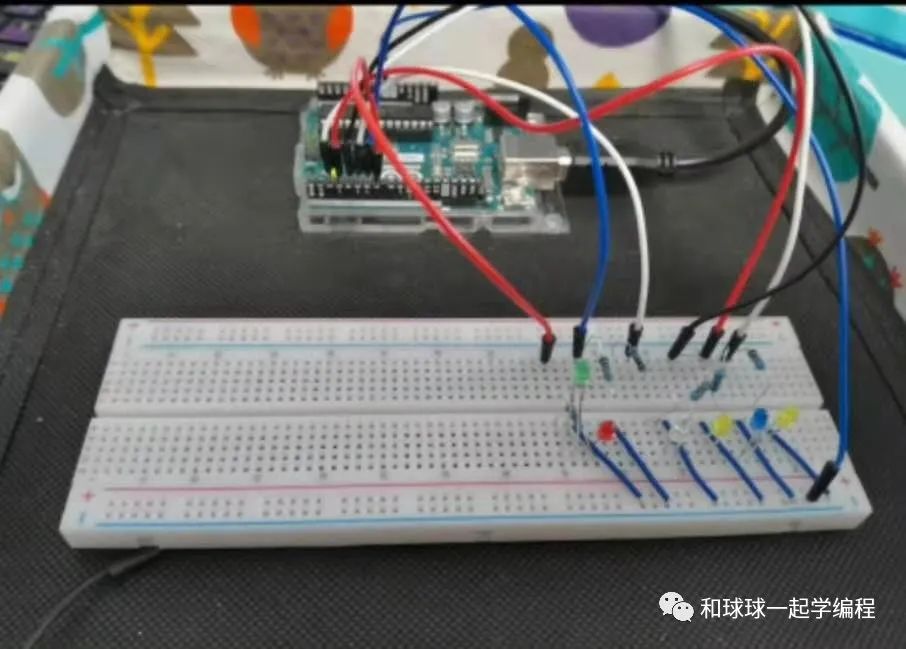
Building the Circuit:
Connect the materials according to the circuit diagram, as shown below:
Once the circuit is set up, write the program in the IDE.
Writing the Program:
The LED chaser program is as follows:
int LED_button;int i=1;void setup() { // put your setup code here, to run once: pinMode(13,OUTPUT); LED_button=13;}void loop() { // put your main code here, to run repeatedly: while(i!=0){ digitalWrite(LED_button,HIGH); delay (500); digitalWrite(LED_button,LOW); delay (300); digitalWrite(LED_button,HIGH); delay (500); digitalWrite(LED_button,LOW); delay (300); digitalWrite(LED_button,HIGH); delay (500); digitalWrite(LED_button,LOW); delay (1000); //duan; digitalWrite(LED_button,HIGH); delay (2000); digitalWrite(LED_button,LOW); delay (600); digitalWrite(LED_button,HIGH); delay (2000); digitalWrite(LED_button,LOW); delay (600); digitalWrite(LED_button,HIGH); delay (2000); digitalWrite(LED_button,LOW); delay (1000); //chang digitalWrite(LED_button,HIGH); delay (500); digitalWrite(LED_button,LOW); delay (300); digitalWrite(LED_button,HIGH); delay (500); digitalWrite(LED_button,LOW); delay (300); digitalWrite(LED_button,HIGH); delay (500); digitalWrite(LED_button,LOW); delay (5000); }}
The program is complete. Debug it and upload it to the Arduino Uno R3 board, and the LED chaser is ready.
Let’s take a look at the effect:
Welcome to join the Knowledge Planet: Qiuqiu’s Little Classroom
(A Knowledge Planet run by Qiuqiu, where he shares his learning outcomes from time to time)

Join the Knowledge Planet: Learn Programming with Qiuqiu, to obtain the source code of this public account and more programming advice

Follow the video account: Teacher Yang’s Programming Classroom, to enjoy more Arduino projects

Follow the public account: Learn Programming with Qiuqiu, to learn together and make progress together.