Setting up shared folders in CentOS 7 VMware virtual machine to access files on the host directly.
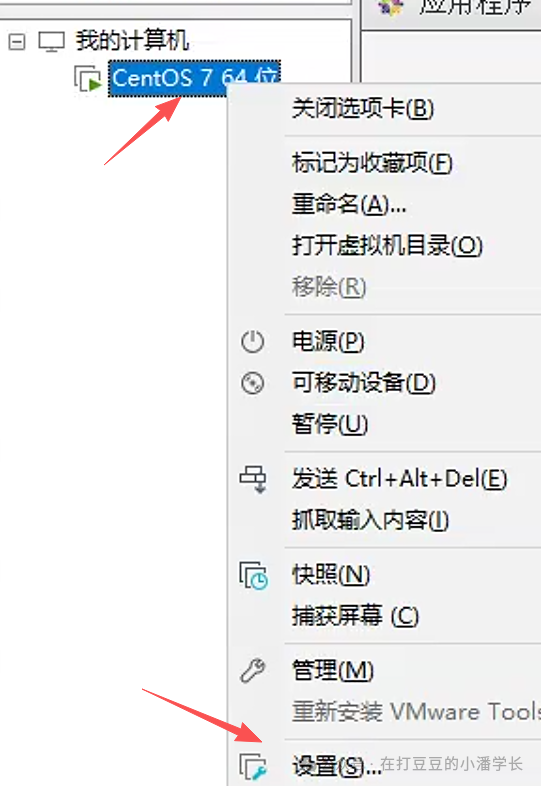
Step One:Set up the shared directory in VMware.In VMware Player/Workstation, right-click on your CentOS 7 virtual machine -> Settings -> Options -> Shared Folders -> Select “Always enabled” -> Click “Add”, and follow the wizard to choose the folder on your Windows system where the analysis data is stored (for example, D:\PJF_data), and give it a shared name (for example, PJF_data) -> Select “Enable this share” and “Read-only” (depending on your needs; if the virtual machine does not need to write back data to the host, it is recommended to set it to read-only for safety).
Step Two: Accessing the Shared Folder in CentOS 7
# Accessing the shared folder in CentOS 7vmhgfs-fuse -o nonempty,allow_other .host:/ /mnt/hgfs# vmhgfs-fuse .host:/ /mnt/hgfs# Check the shared folder namevmware-hgfsclient # List all file and folder names in the current pathls # Go back to the root directorycd /. # Enter your shared foldercd mnt/hgfs/PJF_data/ # Save command historyhistory > his.txt That’s all for this sharing. The next issue will feature more exciting single-cell analysis content, so stay tuned.
Follow our public account for more exciting content.