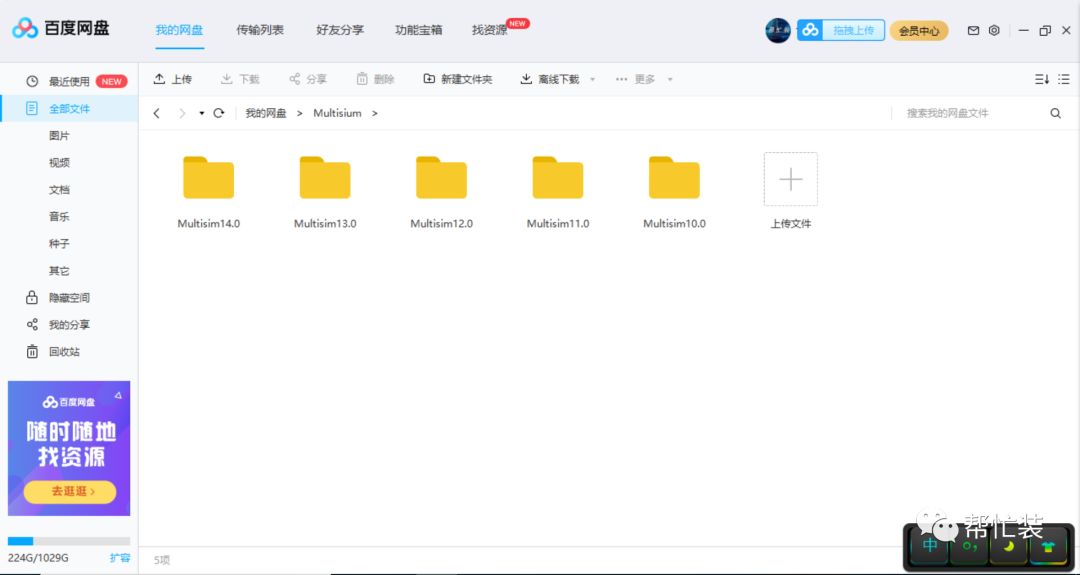
The following link contains installation packages for various versions of Multisim. Download the version you need.
There is a Word version of the installation guide in the compressed package, please download it together!
Link: https://pan.baidu.com/s/1mjjsTINSpjmITYXSDoyD8w Extraction code: 1fk2
Next: https://pan.baidu.com/s/1DnkGIMCroenQ5Dp_cQL2zg Extraction code: 00ho
Description of Multisim Features
Multisim is a simulation tool developed by National Instruments (NI) that is based on Windows, suitable for the design of board-level analog/digital circuits. It includes graphical input for circuit schematics and hardware description language input methods, with rich simulation analysis capabilities.
1. Main Window Interface of Multisim.
After starting Multisim 2001, the interface shown in Figure 1 will appear.
The interface consists of multiple areas: menu bar, various toolbars, circuit input window, status bar, list box, etc. By operating on each part, users can input and edit circuit diagrams and observe and analyze circuits as needed. Users can change the view content of the main window through the menu or toolbar.
2. Menu Bar
The menu bar is located at the top of the interface, and through the menu, all functions of Multisim can be operated.
It is not difficult to see that the menu contains some function options consistent with most applications on the Windows platform, such as File, Edit, View, Options, Help. In addition, there are some options specific to EDA software, such as Place, Simulation, Transfer, and Tool.
⒈File: The File menu includes basic operations for files and projects, as well as printing commands.
Command Functions
New: Create a new file, Open: Open a file, Close: Close the current file, Save: Save, Save As: Save as, New Project: Create a new project, Open Project: Open a project, Save Project: Save the current project, Close Project: Close the project Version Control
1.Print Circuit: Print the circuit
2.Print Report: Print the report
3.Print Instrument: Print the instrument
4.Recent Files: Recently edited files
5.Recent Project: Recently edited projects
6.Exit: Exit Multisim
Edit
The Edit command provides basic editing functions similar to graphic editing software for editing circuit diagrams.
Command Functions
1.Undo: Undo edit
2.Cut: Cut
3.Copy: Copy
4.Paste: Paste
5.Delete: Delete
6.Select All: Select all
7.Flip Horizontal: Flip the selected component horizontally
8.Flip Vertical: Flip the selected component vertically
9.90 ClockWise: Rotate the selected component 90 degrees clockwise
10.90 ClockWiseCW: Rotate the selected component 90 degrees counterclockwise
11.Component Properties: Component properties
View
The View menu allows you to control the view when using the software, managing some toolbars and windows.
Command Functions
1.Toolbars: Show toolbars
2.Component Bars: Show component bars
3.Status Bars: Show status bars
4.Show Simulation Error Log/Audit Trail: Show simulation error log information window
5.Show XSpice Command Line Interface: Show Xspice command window
6.Show Grapher: Show waveform window
7.Show Simulate Switch: Show simulation switch
8.Show Grid: Show grid
9.Show PageBounds: Show page boundaries
10.Show Title Block and Border: Show title block and border
11.Zoom In: Zoom in
12.Zoom Out: Zoom out
13.Find: Find
Place
The Place command is used to input circuit diagrams.
Command Functions
1.Place Component: Place components
2.Place Junction: Place junctions
3.Place Bus: Place buses
4.Place Input/Output: Place input/output interfaces
5.Place Hierarchical Block: Place hierarchical blocks
6.Place Text: Place text
7.Place Text Description Box: Open the circuit description window to edit the circuit description text
8.Replace Component: Reselect components to replace the currently selected component
9.Place as Subcircuit: Place subcircuits
10.Replace by Subcircuit: Reselect subcircuits to replace the currently selected subcircuit
Simulate
The Simulate menu executes simulation analysis commands.
Command Functions
1.Run: Execute simulation
2.Pause: Pause simulation
3.Default Instrument Settings: Set default values for instruments
4.Digital Simulation Settings: Set digital simulation parameters
5.Instruments: Select instruments (can also be selected through the toolbar)
6.Analyses: Select various analysis functions
7.Postprocess: Enable post-processing
8.VHDL Simulation: Perform VHDL simulation
9.Auto Fault Option: Automatically set fault options
10.Global Component Tolerances: Set tolerances for all components
Transfer Menu
The Transfer menu provides commands to output file formats required by other EDA software.
Command Functions
1.Transfer to Ultiboard: Convert the designed circuit diagram to Ultiboard (circuit board design software in Multisim) file format
2.Transfer to other PCB Layout: Convert the designed circuit diagram to file formats supported by other circuit board design software
3.Backannotate From Ultiboard: Mark modifications made in Ultiboard to the circuit being edited
4.Export Simulation Results to MathCAD: Output simulation results to MathCAD
5.Export Simulation Results to Excel: Output simulation results to Excel
6.Export Netlist: Output circuit netlist file
Tools
The Tools menu mainly provides commands for editing and managing components.
Command Functions
1.Create Components: Create new components
2.Edit Components: Edit components
3.Copy Components: Copy components
4.Delete Component: Delete components
5.Database Management: Start the component database manager to edit and manage the database
6.Update Component: Update components
Options
The Options menu allows you to customize and set the software’s operating environment.
Command Functions
1.Preference: Set operating environment
2.Modify Title Block: Edit title block
3.Simplified Version: Set simplified version
4.Global Restrictions: Set overall software environment parameters
5.Circuit Restrictions: Set parameters for editing circuits
Help
The Help menu provides online help and assistance for Multisim.
3. Toolbars
Multisim 2001 provides various toolbars managed in a hierarchical manner. Users can easily open or close the top-level toolbars through options in the View menu, and then manage and control the lower-level toolbars using buttons in the top-level toolbar. Through the toolbars, users can conveniently use various functions of the software.
The top-level toolbars include: Standard toolbar, Design toolbar, Zoom toolbar, Simulation toolbar.
⒈The Standard toolbar contains common file operations and editing operations, as shown below:
⒉The Design toolbar, as the core toolbar of Multisim, allows users to complete all tasks from design to analysis of circuits. The buttons in this toolbar can directly toggle the lower-level toolbars: the Multisim Master toolbar in the Component section and the Instrument toolbar.
⑴ As a component (Component) toolbar item, the Multisim Master toolbar can be toggled on or off through a button in the Design toolbar. This toolbar has 14 buttons, each corresponding to a category of components, and the classification method corresponds to the classification in the Multisim component database. The type of component can be roughly understood from the icon on the button. Specific content can be obtained from Multisim’s online documentation.
This toolbar serves as the top-level component toolbar, and each button can toggle the lower-level toolbars, which provide more detailed classification of components. For example, the first button can toggle the Sources toolbar for power and signal sources as shown below:
⑵ The Instruments toolbar gathers all virtual instruments provided by Multisim, allowing users to select the instruments they need to observe the circuit.
⒊ Users can conveniently adjust the view size of the edited circuit through the Zoom toolbar.
⒋ The Simulation toolbar can control the start, end, and pause of circuit simulations.
Brief Description of How to Use
1. First, open the software, create a new project by clicking the blank document icon, then save it, setting a path that is easy to find.
2. Then place components, connect them, and wait for the simulation, finally placing measuring instruments.
3. Click the run icon above, and now the software can perform the simulation. The voltmeter can also read values, and switches can be adjusted to obtain different results.
4. Disconnect the switch above, and now you can see that the voltmeter reading is 0, indicating that the transistor is not turned on.
5. Disconnect the switch above, and now you can see that the voltmeter reading is 0, indicating that the transistor is not turned on.
6. Now save the project, and after saving, you can exit the software for easy use next time.
Points to Note During Use
1. It is necessary to understand how to bring up the toolbars, which is similar to other software. Right-click on the menu bar to bring up the shortcut menu, which displays all toolbars. For example, if we want to use the component toolbar, ensure it has a checkmark in front of it. The use of toolbars can significantly improve our work efficiency, which is evident.
2. Using the component toolbar when placing components will be quick; from left to right, there are signal sources, basic components, diodes, transistors, analog components, etc. All components are here.
3. Some shortcut keys for placing components need to be understood:
Ctrl+W can directly open the component library;
When placing components, vertical flip is Alt+Y, horizontal flip is Alt+X, rotation is Ctrl+R;
Zoom with the scroll wheel; move with selection + drag;
To modify properties, double-clicking is faster, while Ctrl+M is slower;
When placing connections, if there are component pins, the mouse can directly connect to the pins;
In other cases where connections cannot be made, a node or wire needs to be placed;
Place node with Ctrl+J; place wire with Ctrl+Shift+W
Right-clicking is also very useful, as the shortcut menu contains many commonly used functions.