
| 【Software Name】:Multisim 14.0
【Installation Environment】:Win7/Win8/Win10 Online 【Download Link】:32/64bit pan.baidu.com/s/1UPJwcDn_Fc2qQl8He40sEg 【Extraction Code】:gju5 If you encounter issues during installation, please contact WeChat:321163102 |
Software Introduction
Multisim is a simulation tool based on Windows, suitable for the design work of board-level analog/digital circuit boards. It includes graphical input for circuit schematics, circuit hardware description language input methods, and has rich simulation analysis capabilities.
1. Video Installation Tutorial
Warm Reminder: HD Installation Tutorial Link
https://v.qq.com/x/page/t08569tj8j1.html?ptag=qqbrowser
2. Text and Image Installation Tutorial
Step 1:
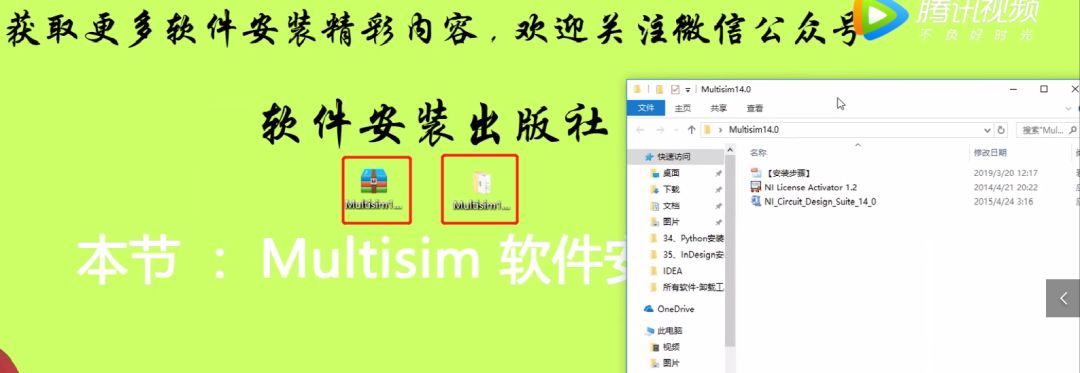
Download the compressed package to your computer, unzip it, and double-click to open the folder
Step 2:
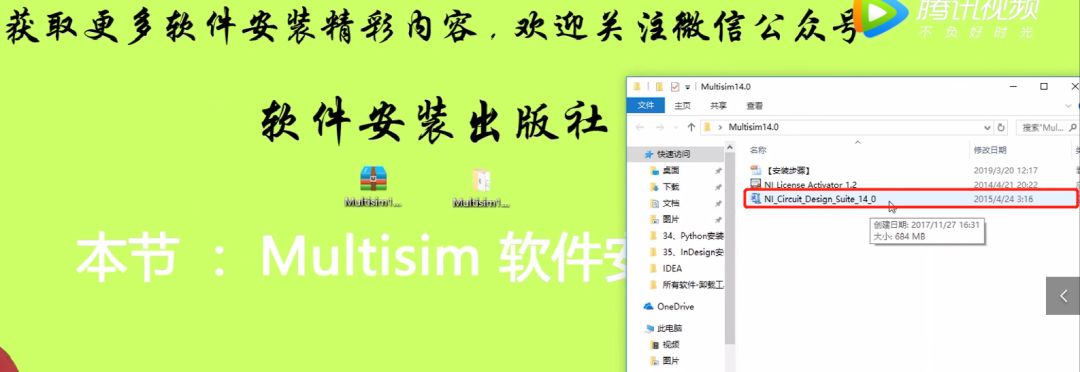
Double-click to open the application as shown in the image
Step 3:
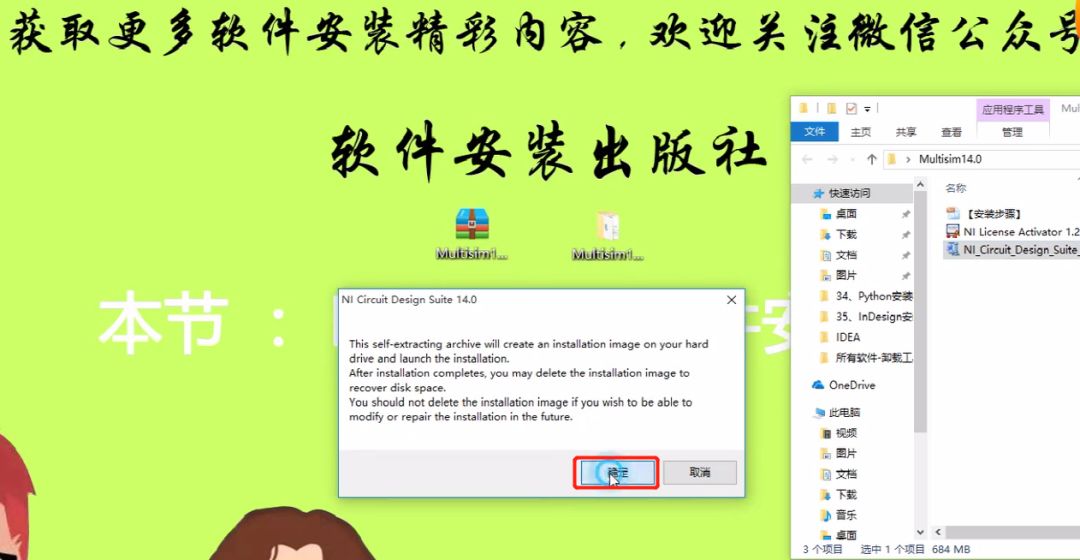
A dialog box will pop up as shown in the image, click OK
Step 4:
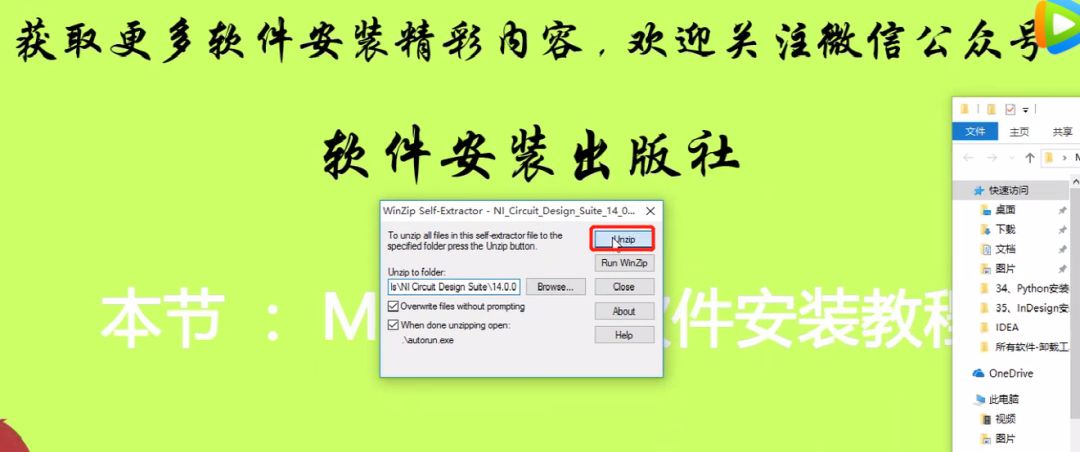
As shown in the image, click Unzip
Step 5:
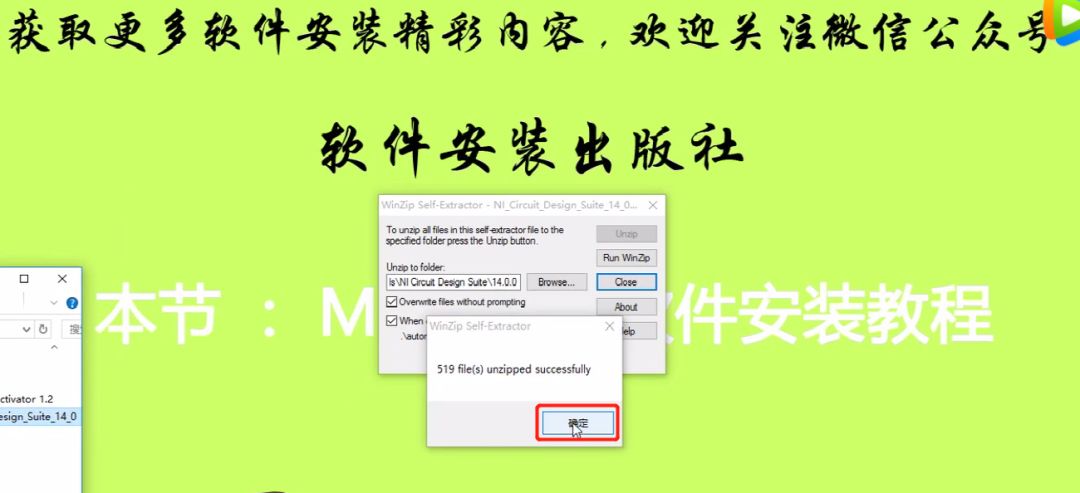
As shown in the image, click OK
Step 6:
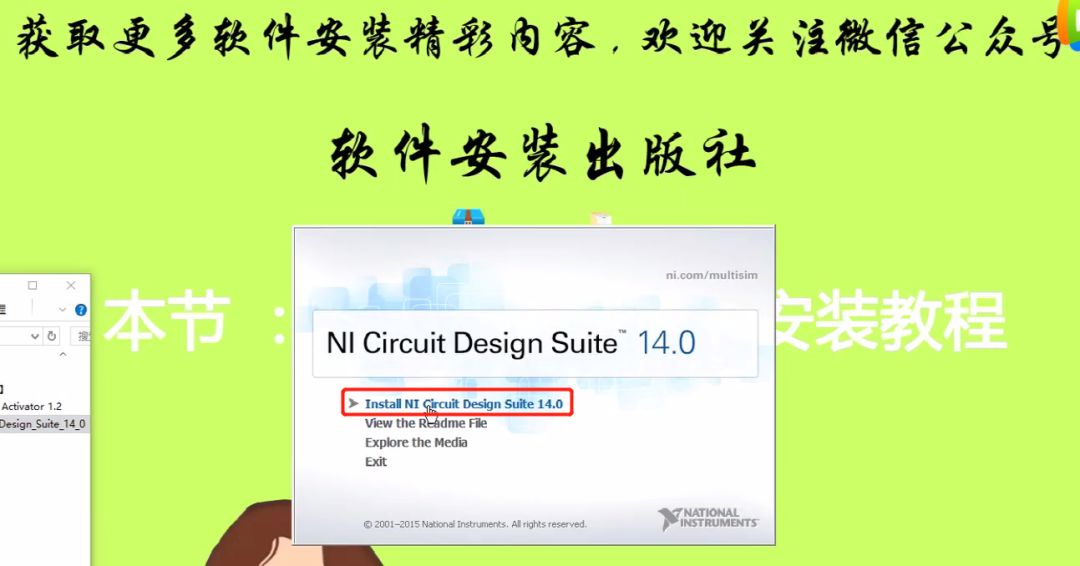
A dialog box will pop up as shown in the image, click Install NI Circuit…… option
Step 7:
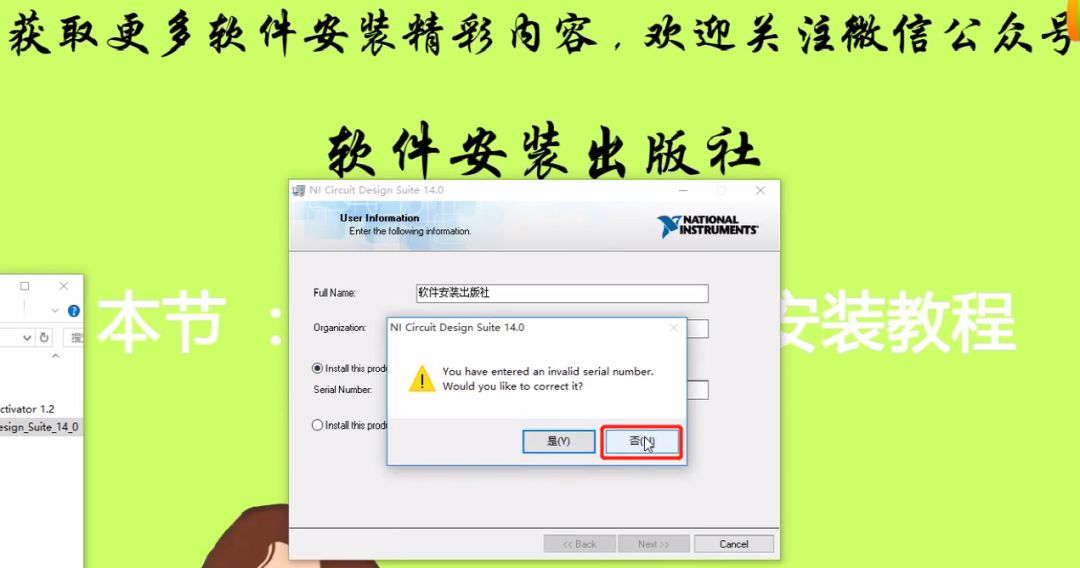
As shown in the image, enter the information and then click Next

Step 8:
As shown in the image, click No
Step 9:
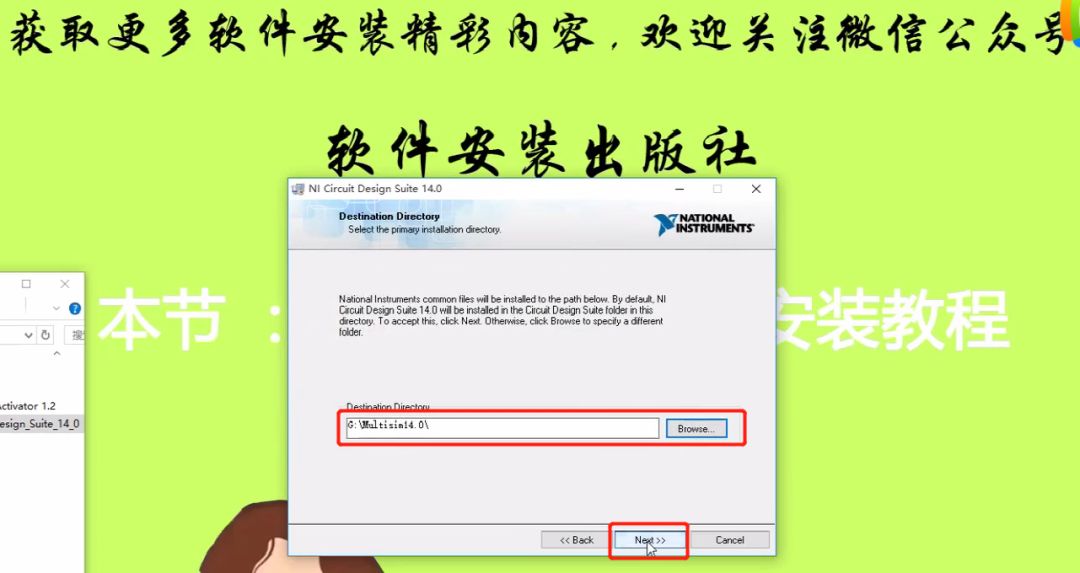
As shown in the image, it is not recommended to install on C drive, we will install on G drive, then click NEXT, as shown in the image, the installation path is: G:\Multisim14.0\
Step 10:
As shown in the image, click Next
Step 11:
As shown in the image, click Next
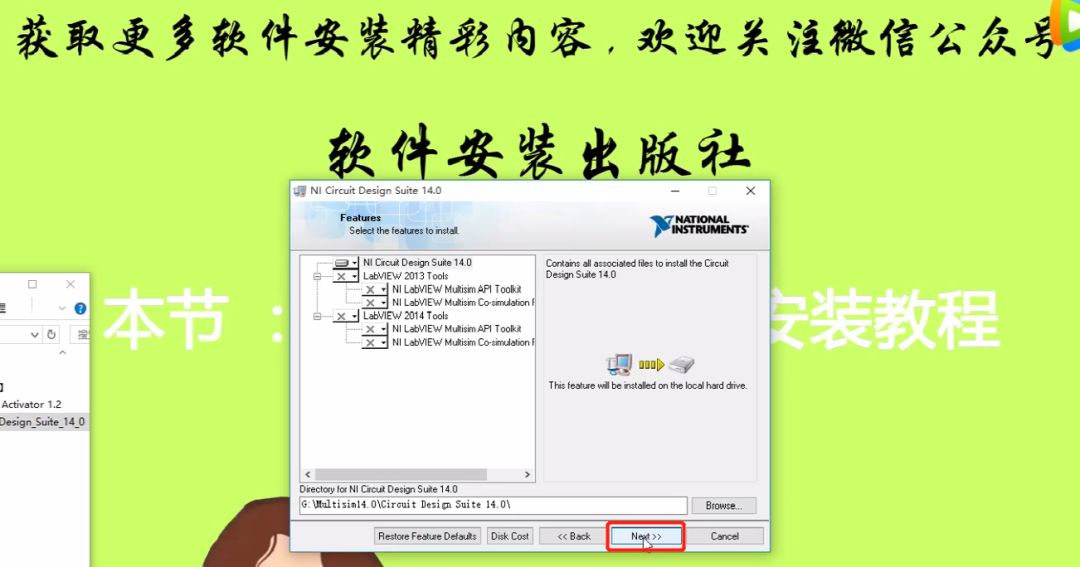
Step 12:
As shown in the image, click Next
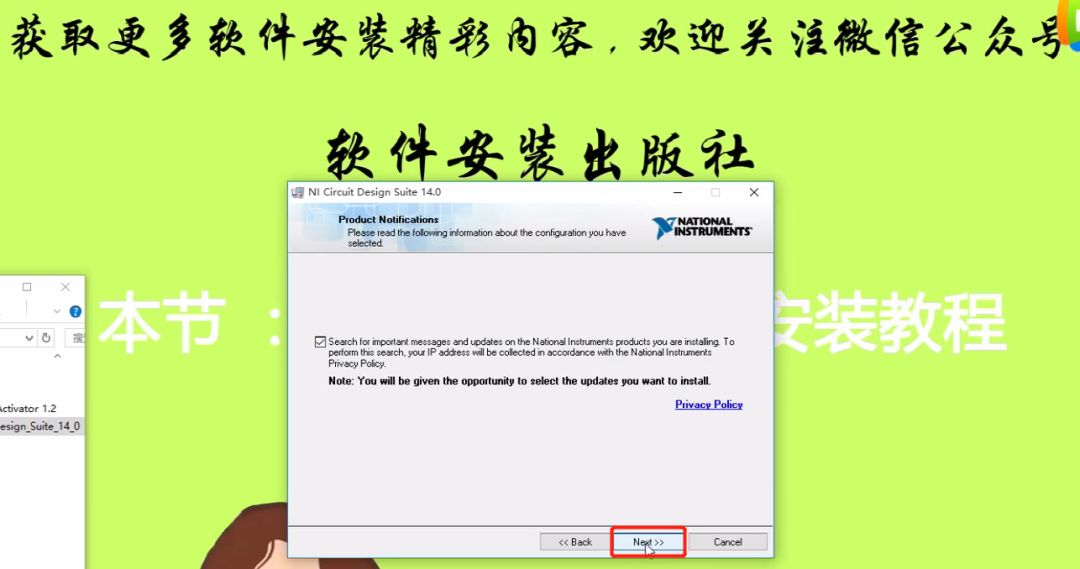
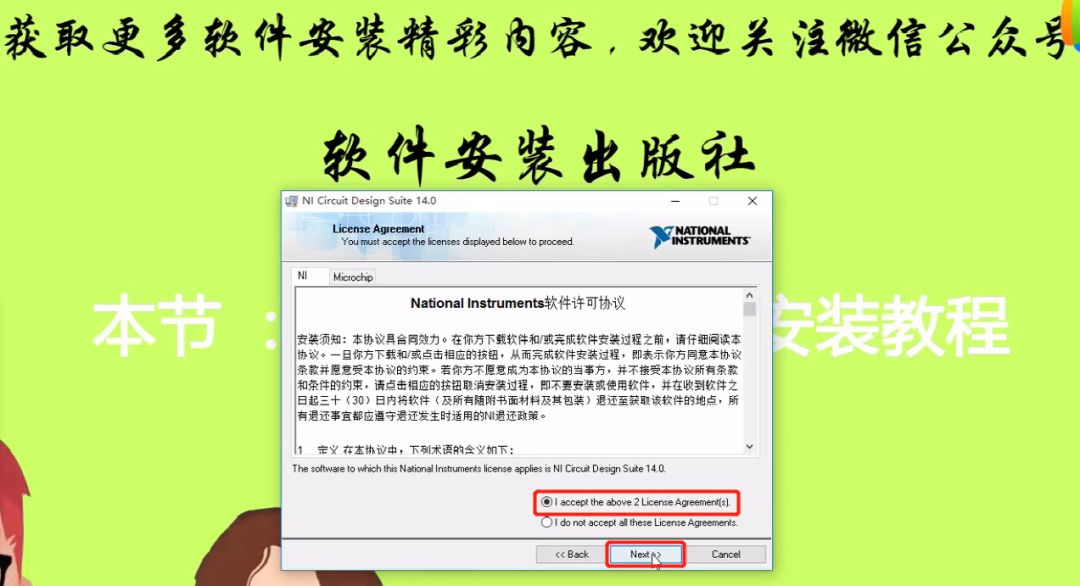
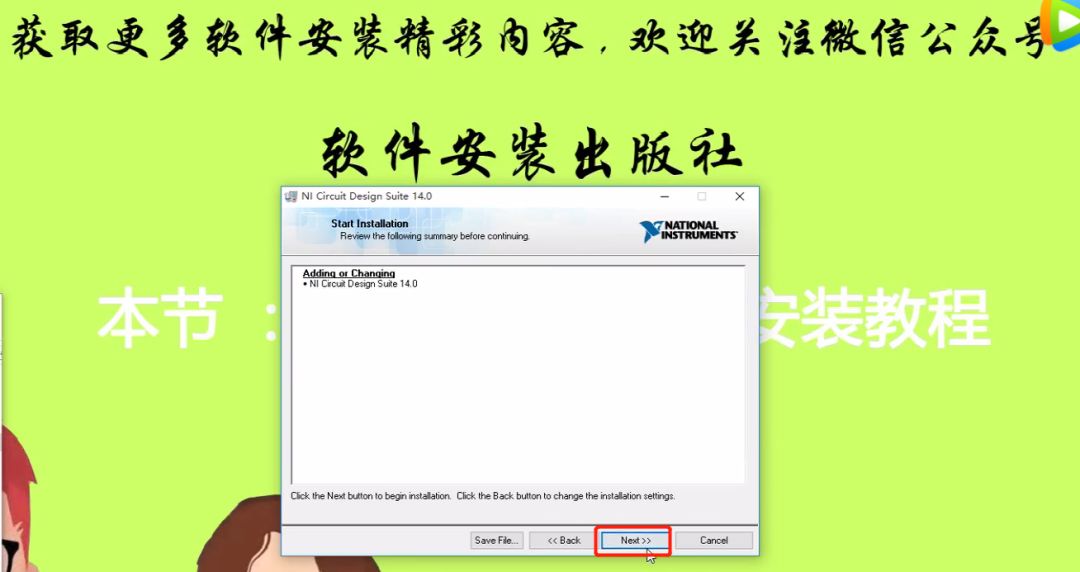
Step 13:
Click I accept the above…… option, click Next
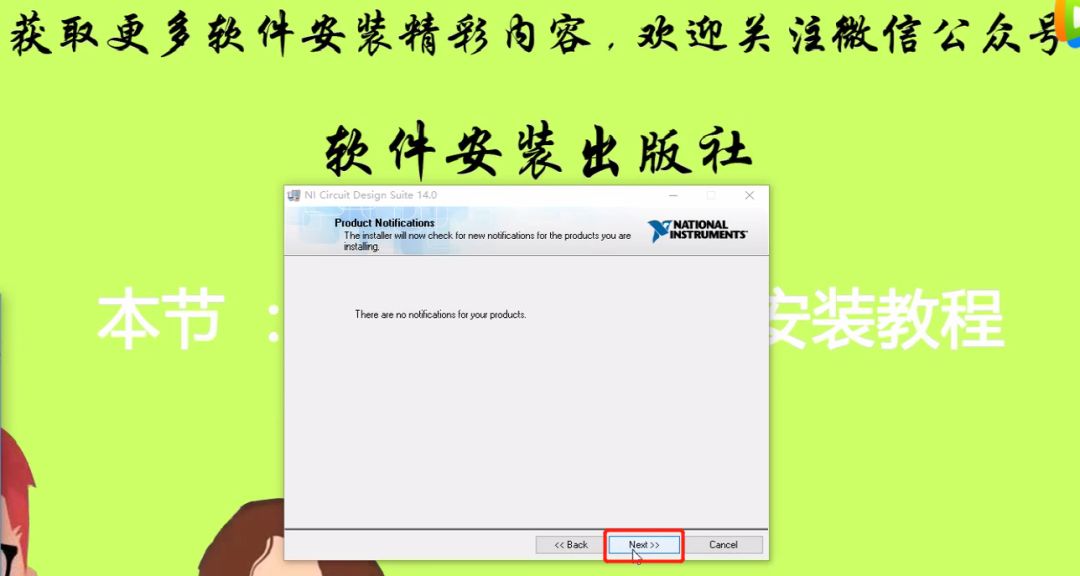
Step 14:
As shown in the image, click Next
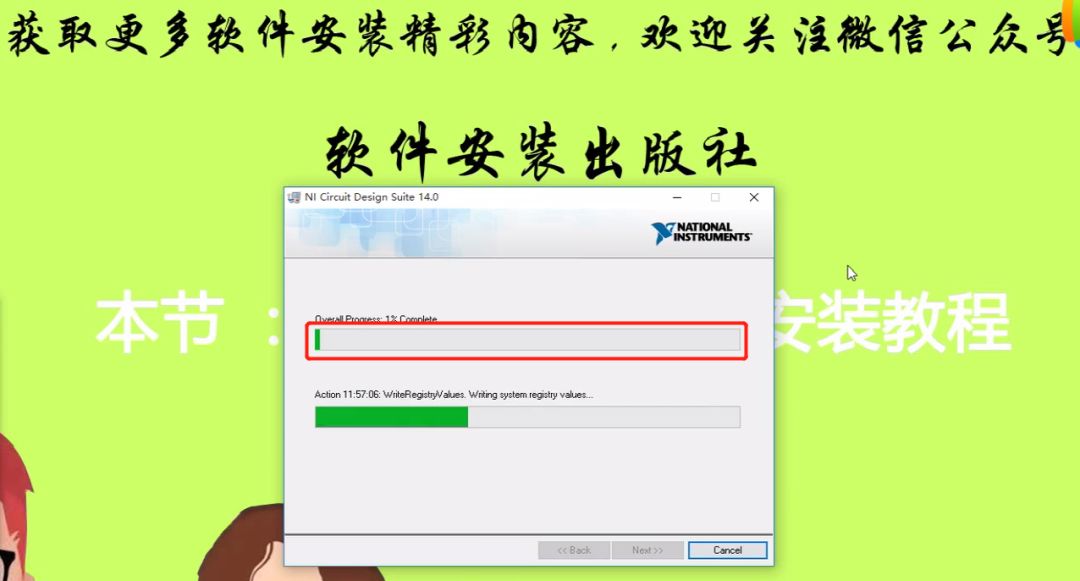
Step 15:
As shown in the image, the software is being installed, it takes about 10 minutes
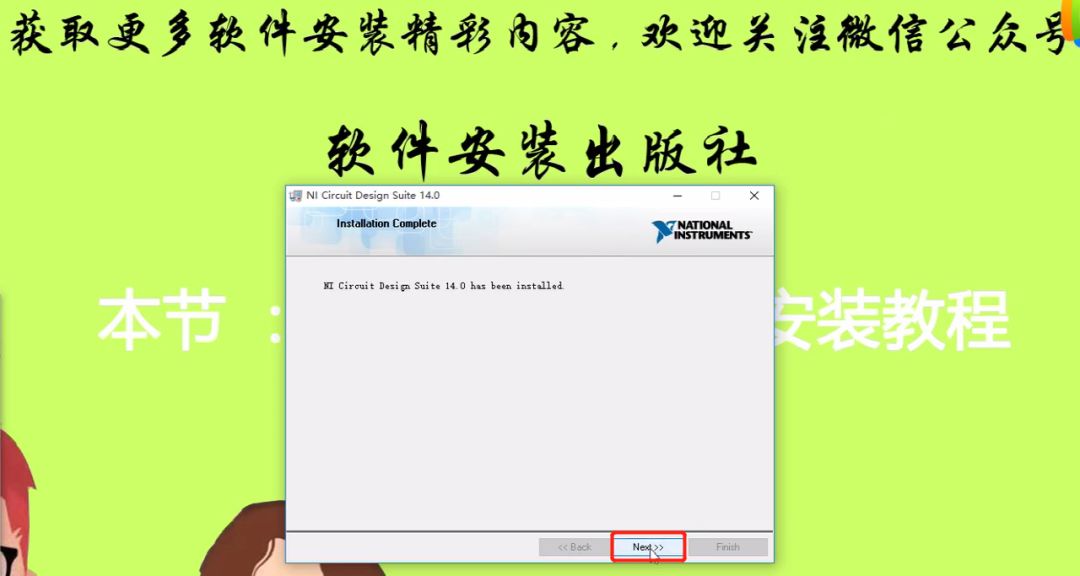
Step 16:
As shown in the image, the software installation is complete, click Next
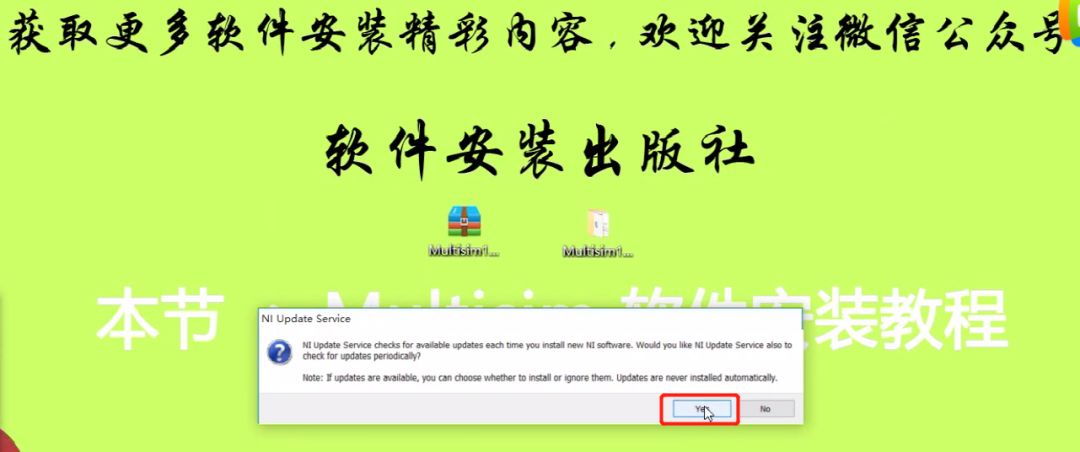
Step 17:
A window will pop up as shown in the image, click Yes
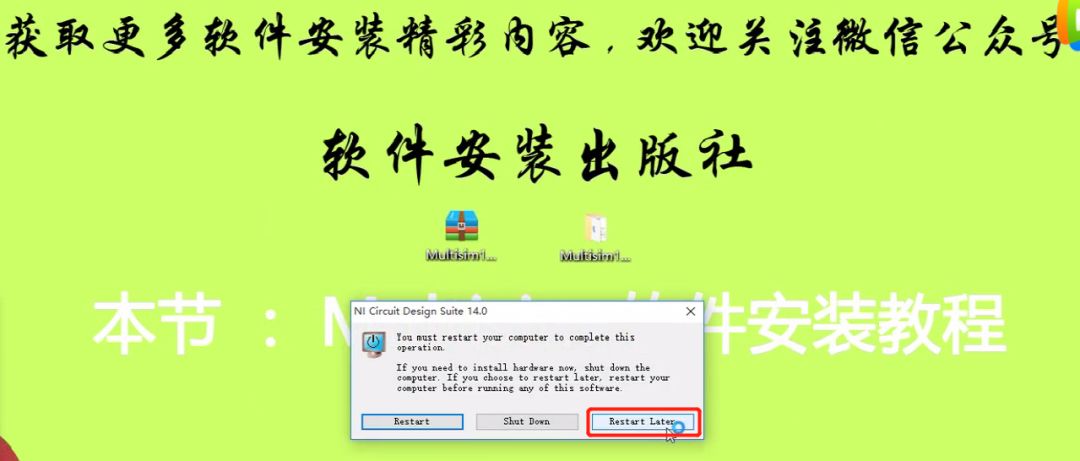
Step 18:
As shown in the image, click Restart Later
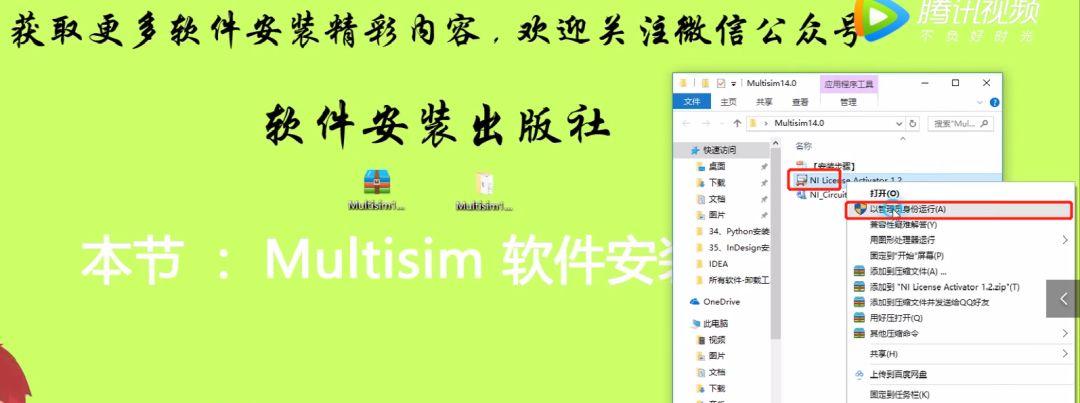
Step 19:
Open the unzipped folder, right-click on the application as shown in the image, and click Run as administrator
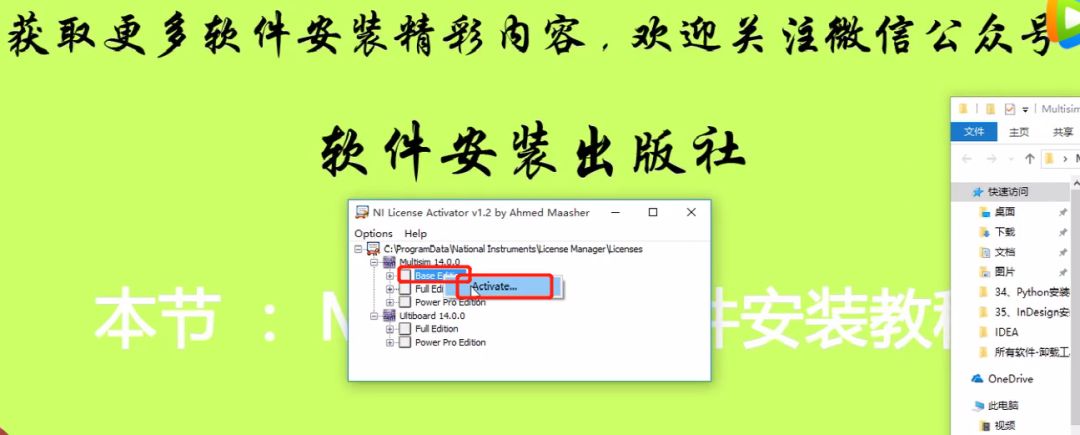
Step 20:
A window will pop up as shown in the image, click Base… option, click Activate to activate this option
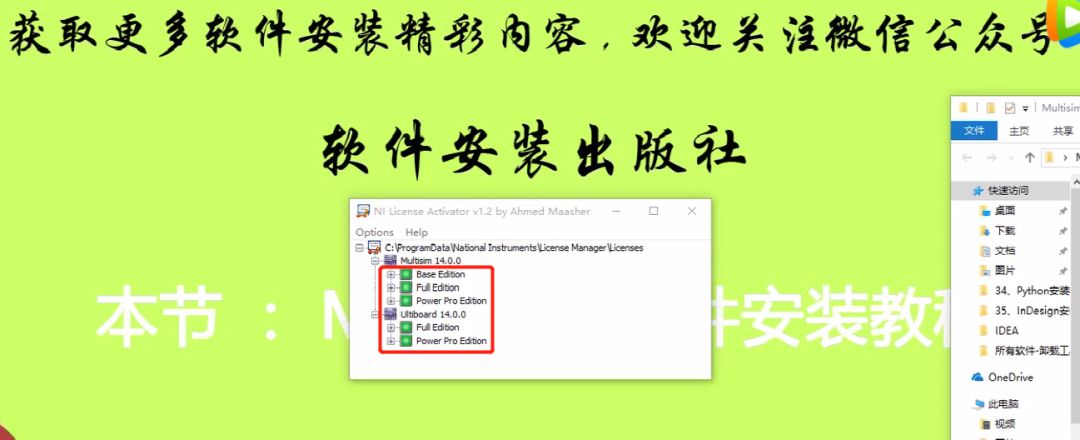
Step 21:
Repeat the above steps to activate all five options shown in the image
Step 22:
As shown in the image, click on the computer start menu, find the downloaded software, click and hold the mouse to drag the software to the desktop
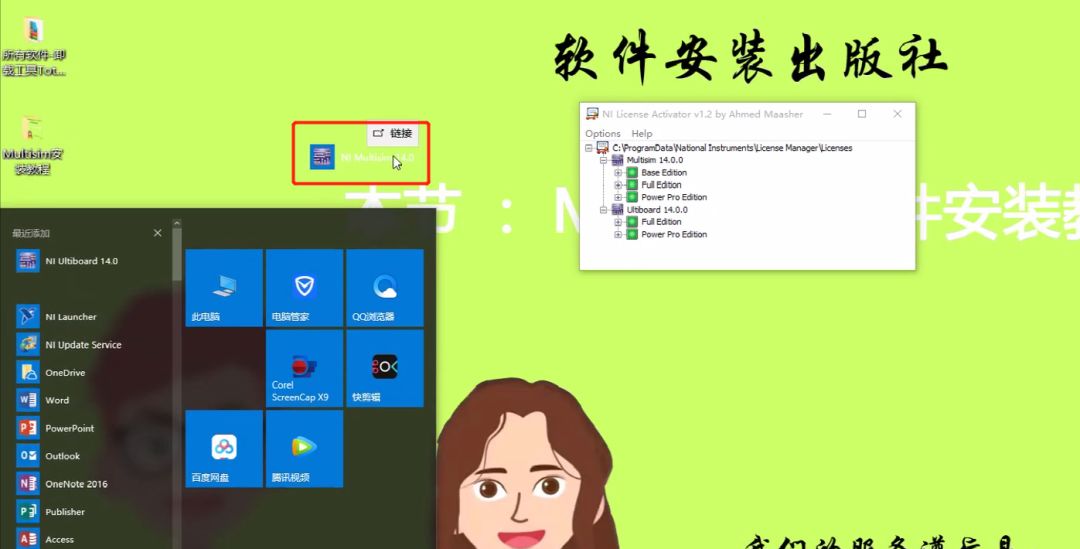
Step 23:
Double-click to open the desktop software icon, as shown in the image, the software has been successfully installed and is the activated version


Give me a 【look】
I will post more installation tutorials!
