After previously sharing how to install and activate the Multisim software, we received many requests for a tutorial on localizing the software. Therefore, at your request, I have created a simple tutorial on software localization during my spare time, hoping it will assist you in your learning journey. (By the way, I would like to suggest that when using any software, it’s preferable not to rely on localized versions, as most software you will encounter during design or research will be in English. Hence, exposure to English software can help improve your English proficiency.)
1. First, we need to download the localizable version of Multisim and save the downloaded file in a suitable directory. As usual, here is the download link (Baidu Cloud link): https://pan.baidu.com/s/13_D34n_SFU0xy9yI1OSsDg&shfl=sharepset

2. The downloaded files are shown in the image below:

3. Unzip the files to obtain the following unzipped files:

4. Then, we open My Computer and locate the drive where the software is installed, then click to find the Program Files directory.
5. Next, we open the Program Files directory, find the National Instruments folder, and click on the Circuit Design Suite 14.0 folder, as shown in the image below:
6. Then, we find and open the stringfiles folder as shown in the image below:

7. Then, we paste the copied folder into this directory.

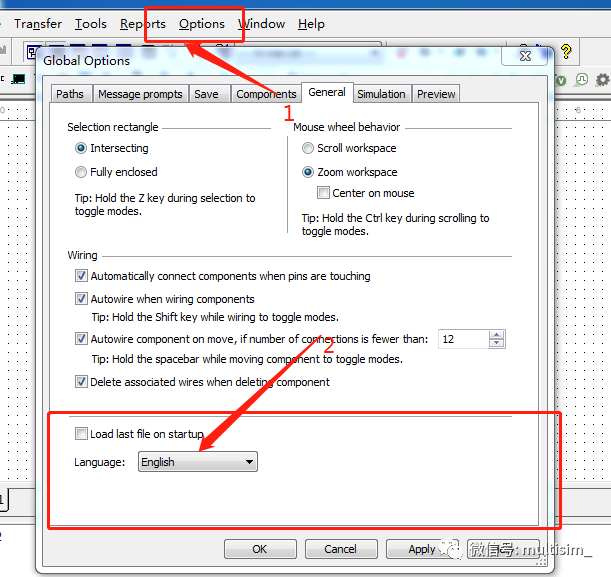
8. Next, we can open the software, find the Options menu, click to open this option, then click on the General tab, and at the bottom, there is a Language option where we can change the other languages to zh to localize it.
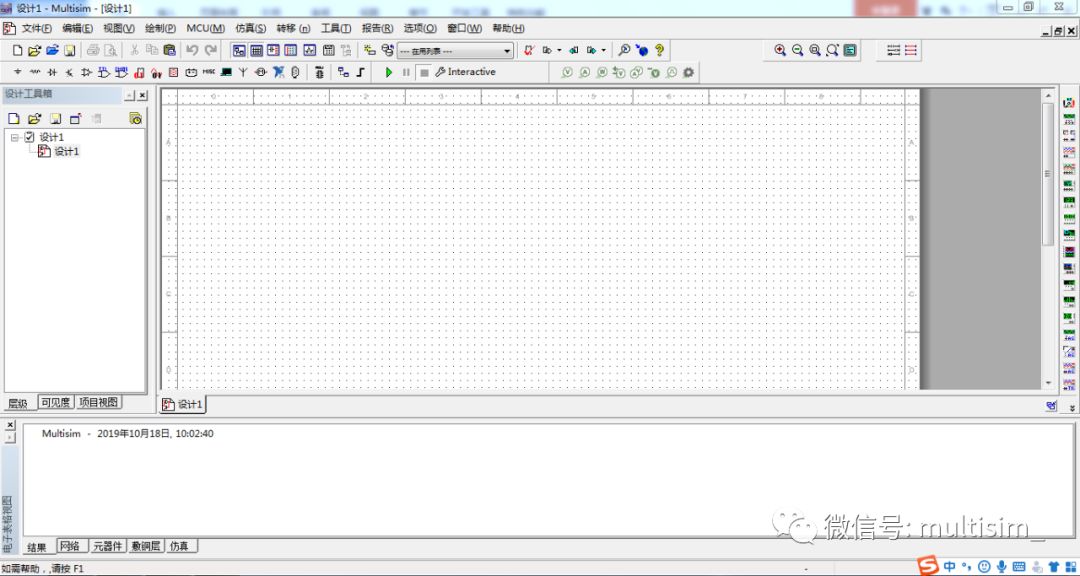
9. Wait for the language selection to finish, click the OK button, close the software, and reopen it to complete the localization. The localized interface is shown in the image below: