1. Introduction to Proteus
Proteus is an Electronic Design Automation (EDA) software primarily used for electronic circuit simulation, microcontroller system development, and PCB design. It integrates schematic design, circuit simulation, virtual model simulation, and PCB layout functions, providing a complete design platform for electronic engineers. Proteus supports various processor models. Engineers can use Proteus for circuit design, simulation, and testing to verify the correctness of hardware circuits. In Proteus, users can select components from a rich library to create schematic layouts. The software also offers extensive debugging features, such as step execution, pause, and stop, making it convenient for engineers to debug circuits. Additionally, Proteus has interfaces with third-party software, such as Keil and IAR Embedded Workbench, facilitating code writing and debugging. In summary, Proteus is a powerful and practical EDA software widely used in electronic circuit design, microcontroller development, and PCB layout.
2. Basic Steps for Using Proteus
(1) Create a Project
Double-click to open the software;
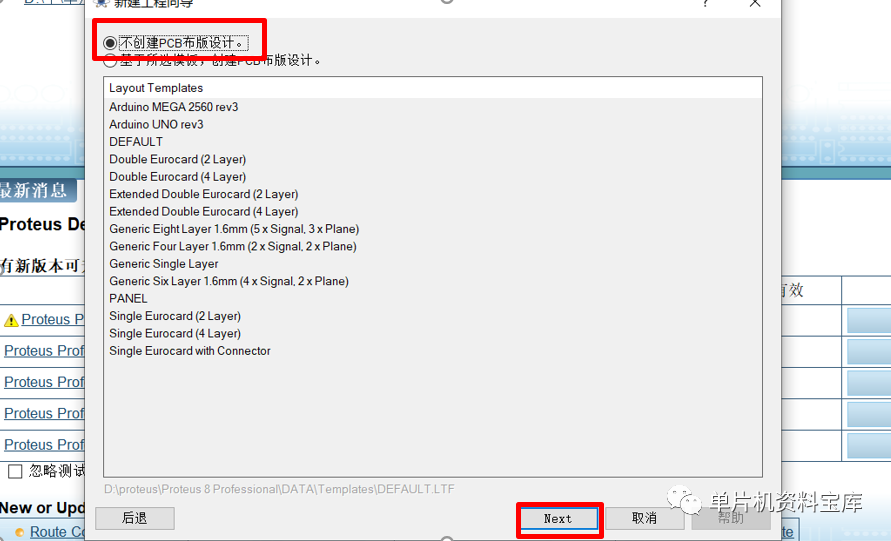
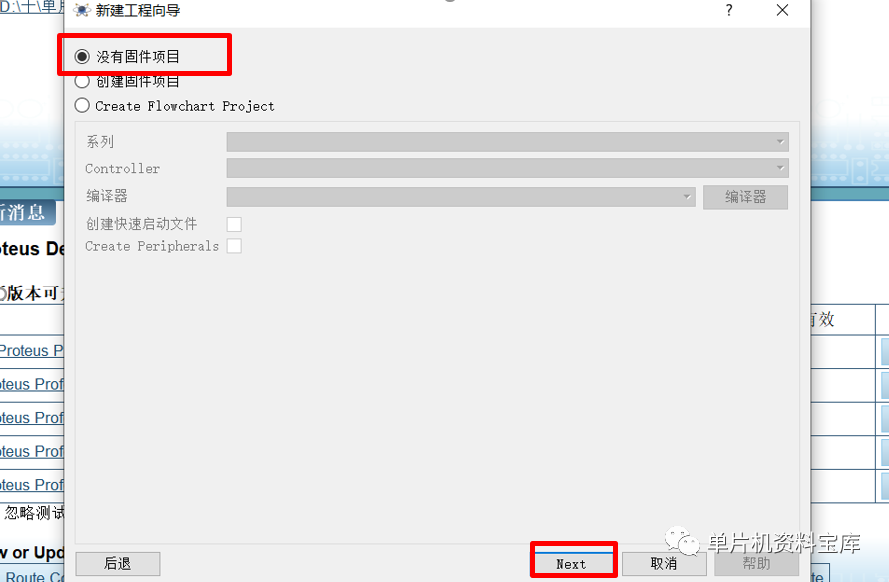
Create a new project –> Enter the file name, such as “Project”, select the storage path –> Keep selecting next until completion;
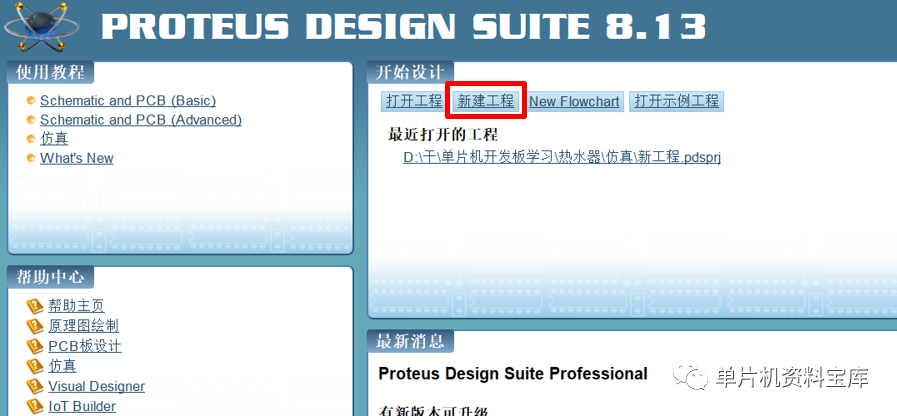

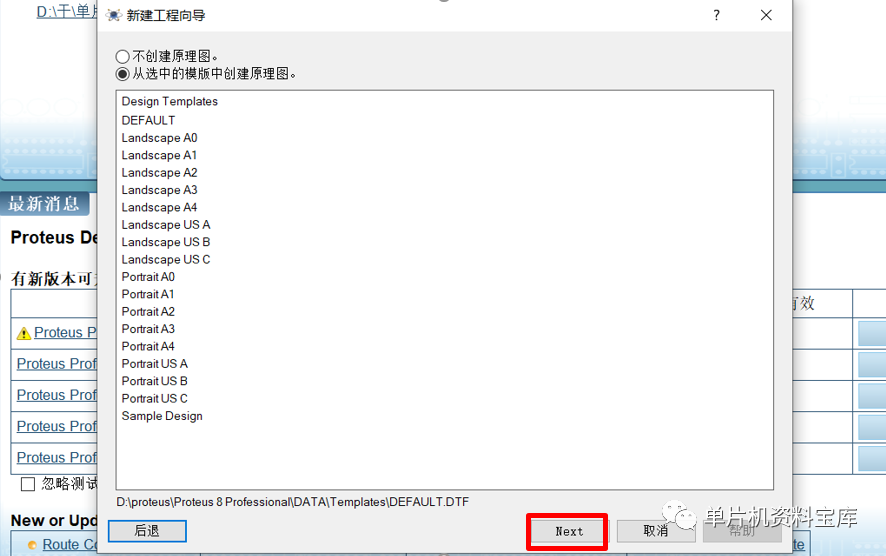
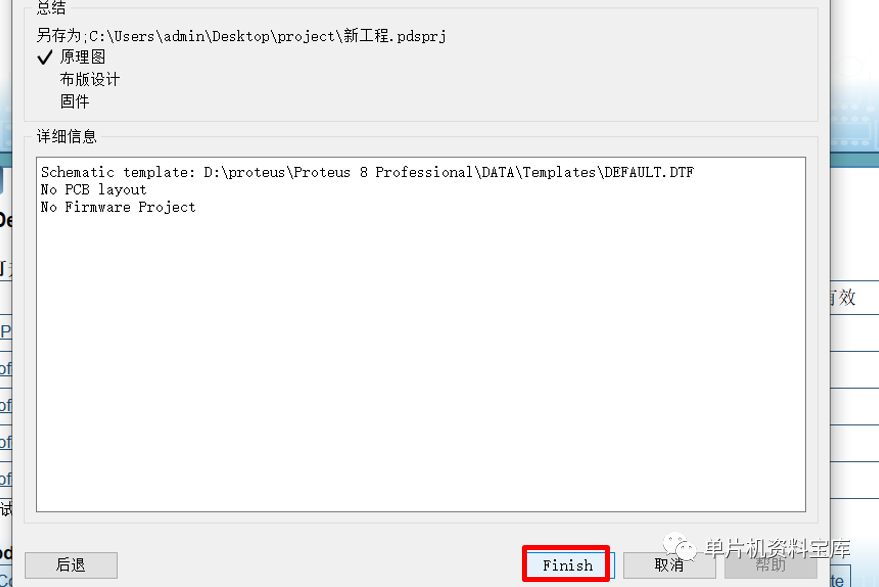
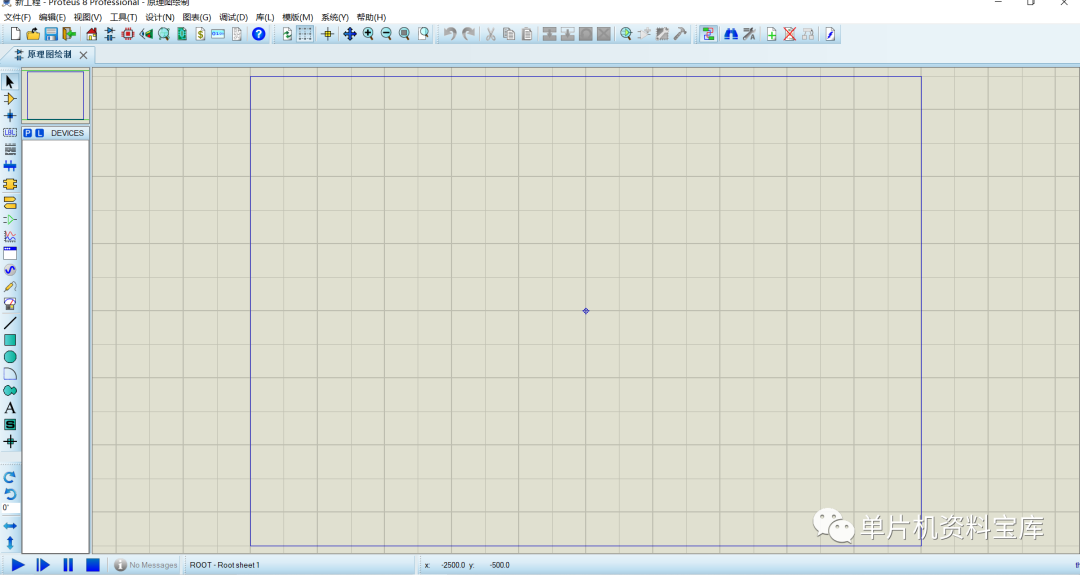
After completion, enter the simulation interface
(2) Component Placement
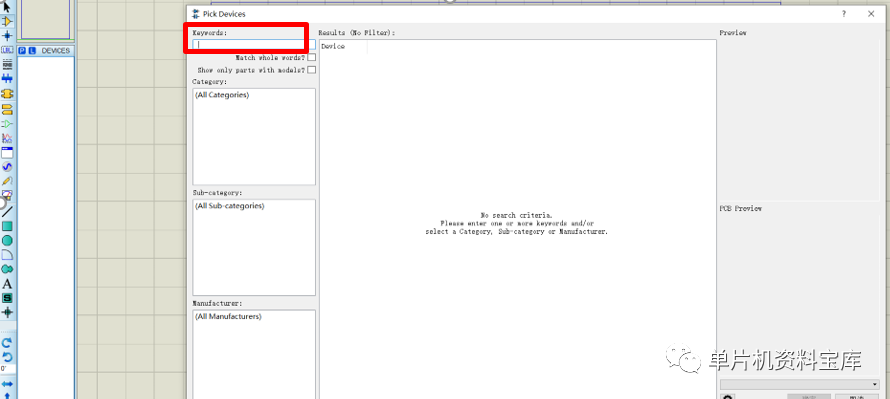
Click P, and search for components in the pop-up window
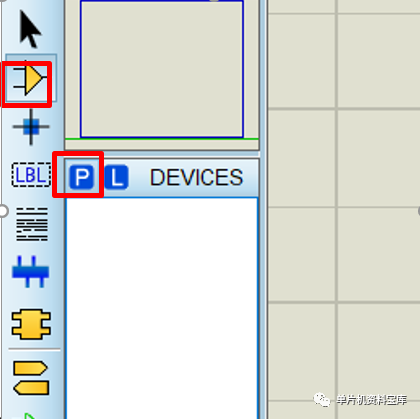
Input keywords in the keywords field to find the required components
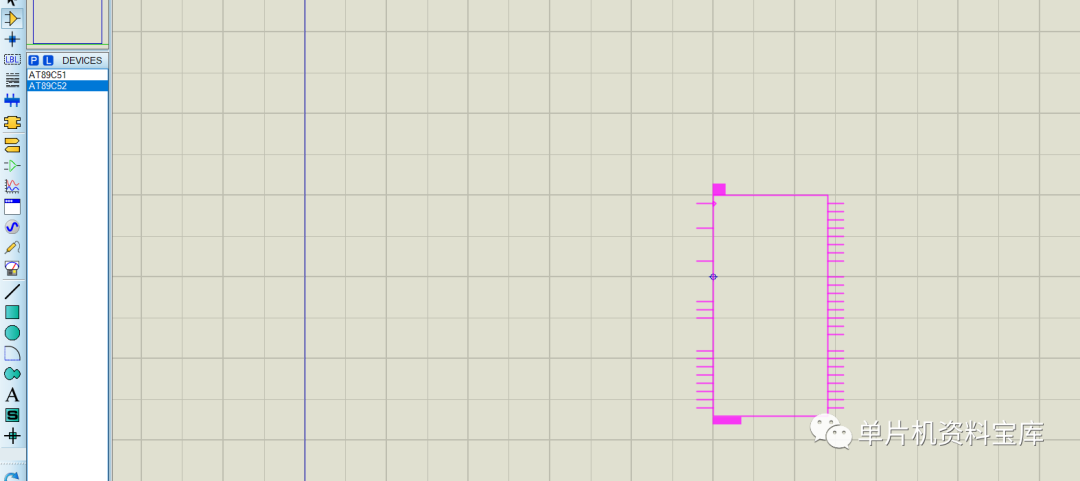
Select the component, double-click, and it will be added to the left component box; click to place the component

(3) Schematic Drawing
After placing the components, connect them.
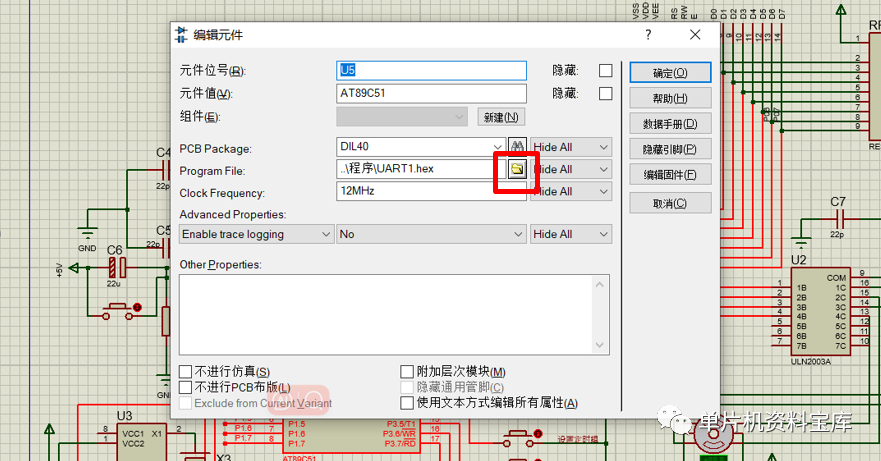
(4) Program Burning
Double-click the microcontroller, a pop-up window will appear, add the .hex file
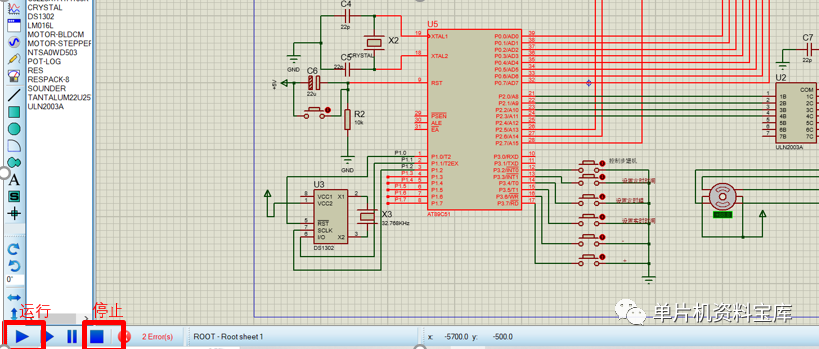
(5) Simulation
Click the lower left corner to start running the simulation