Software Introduction:
Multisim is a powerful simulation and circuit design software suitable for teaching and research in the fields of analog, digital, and power electronics. It combines intuitive schematic building with robust simulation capabilities, helping users design and verify circuits quickly, easily, and efficiently. (This tutorial is for educational exchange purposes only)
Pre-installation Notes:
1. You must disconnect from the internet during the installation to avoid installation failures;
2. Before extracting and installing, close all antivirus software like 360 and computer managers to prevent false positives on the patch, which may lead to installation failure;
3. Multisim 14.1 is compatible with Win 7/8.1/10 (32/64 bit) systems, tested to be usable!
Installation Steps for Multisim 14.1 on WIN10 64:
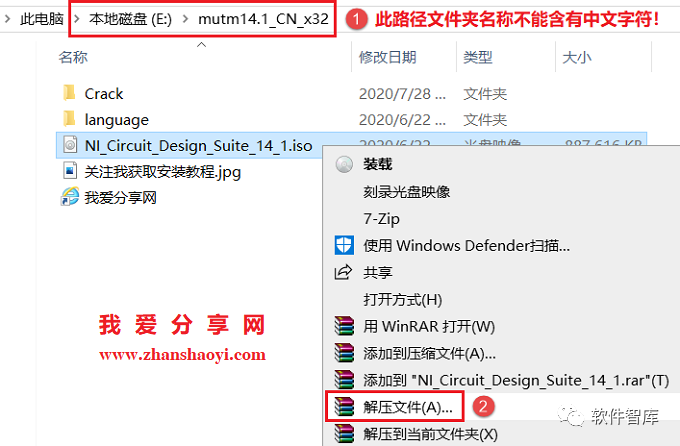
1. First, use the “Baidu Cloud Client” to download the mutm14.1_CN_x32 software installation package to a folder on your computer with an English path, then right-click to extract it. Find NI_Circuit_Design_Suite_14_1.iso and right-click to select [Extract Files]
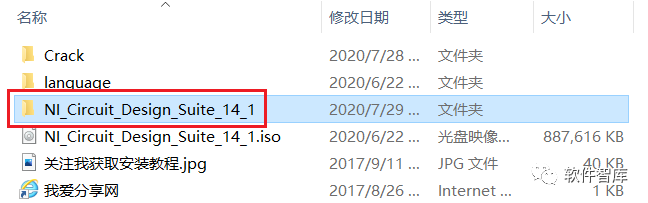
2. After extraction is complete, double-click to open the NI_Circuit_Design_Suite_14_1 folder
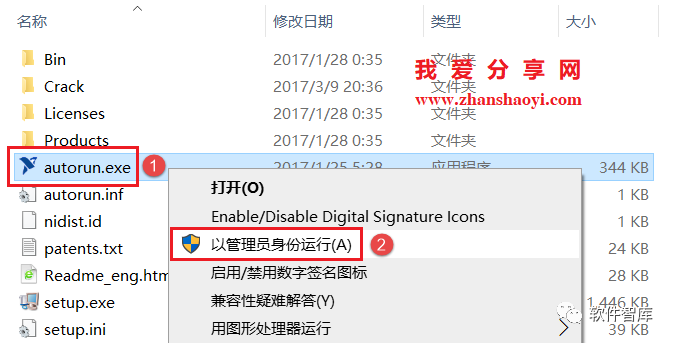
3. Find autorun.exe, right-click and select [Run as Administrator]
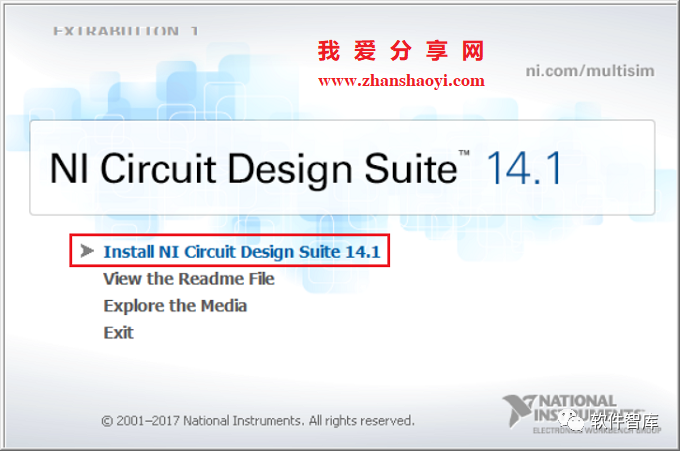
4. In the installation interface, click [Install NI Circuit Design Suite 14.1]
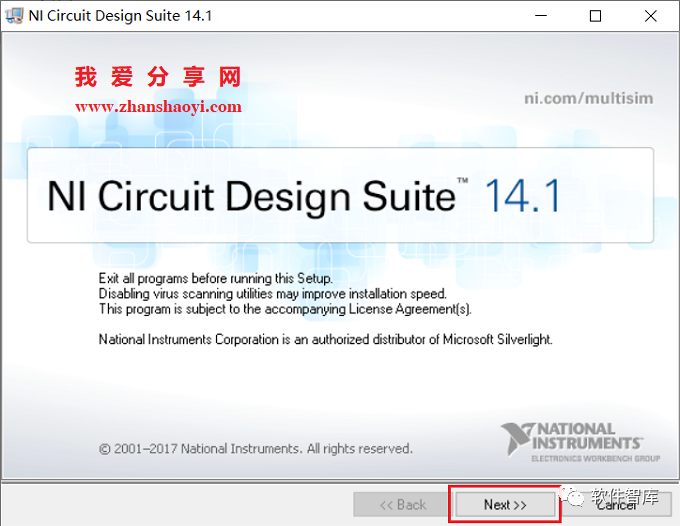
5. Click [Next]
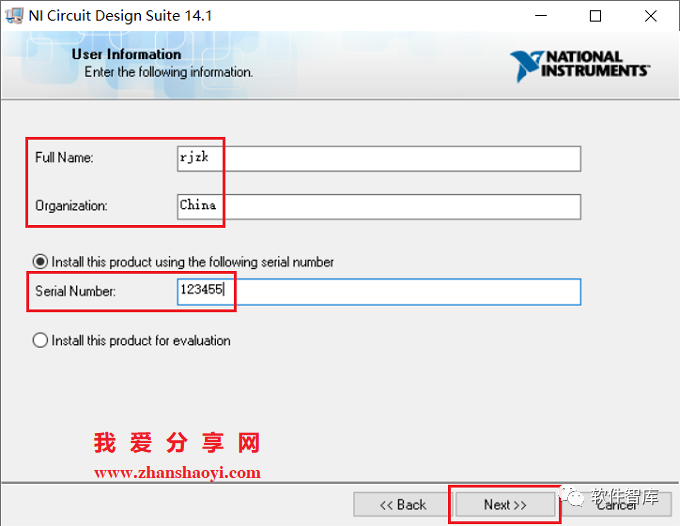
6. Enter any English name in the Full Name and Origination fields, and in the “Serial Number” field, enter: 123455, then click [Next] to continue
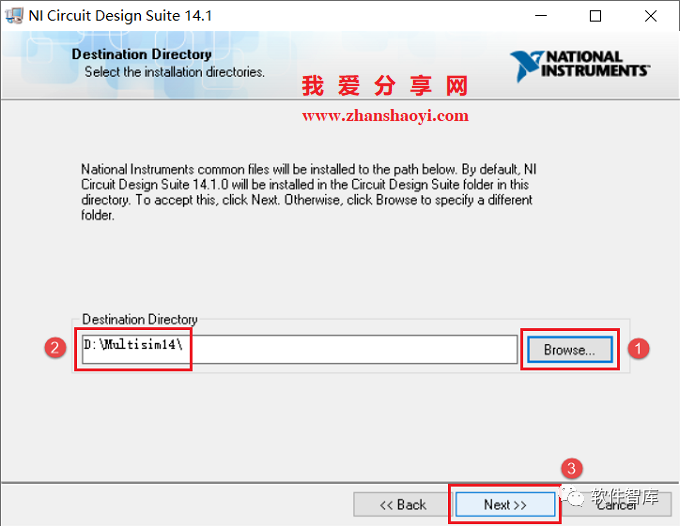
7. Choose the software installation path, default installation is on drive C. Click [Browse] to change the installation path, note: the folder name in the installation path cannot contain Chinese characters! Here I will install the software in the D drive Multisim14 folder, then click [Next]
Tip: Please remember the software installation path, as it will be needed in step 22.
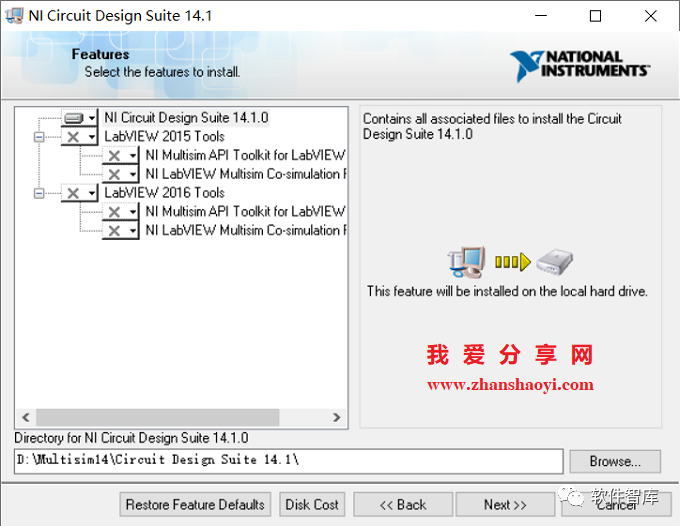
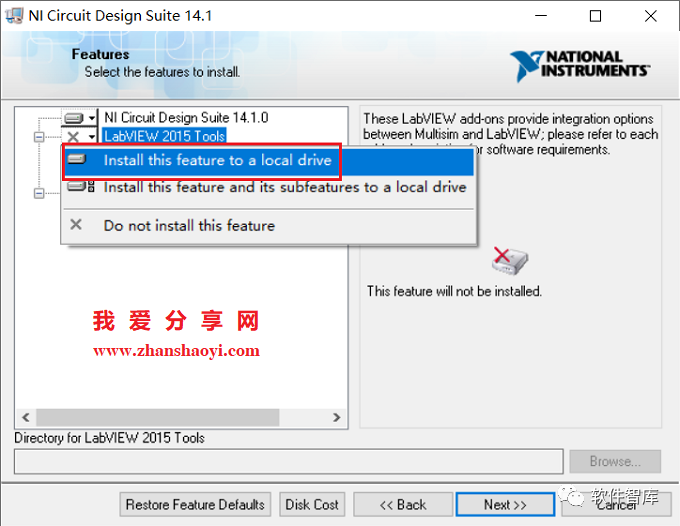
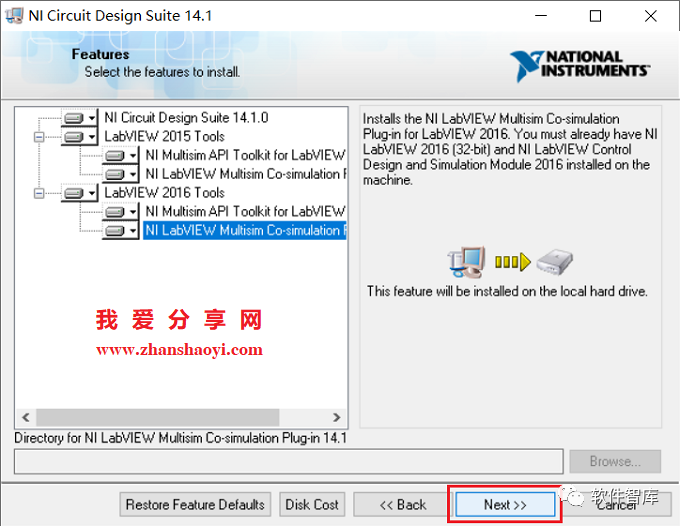
8. Select installation components. If you want to install other components, select the first item [Install this feature to a local drive] from the dropdown list. Here I choose to install all components, and after completion click [Next]
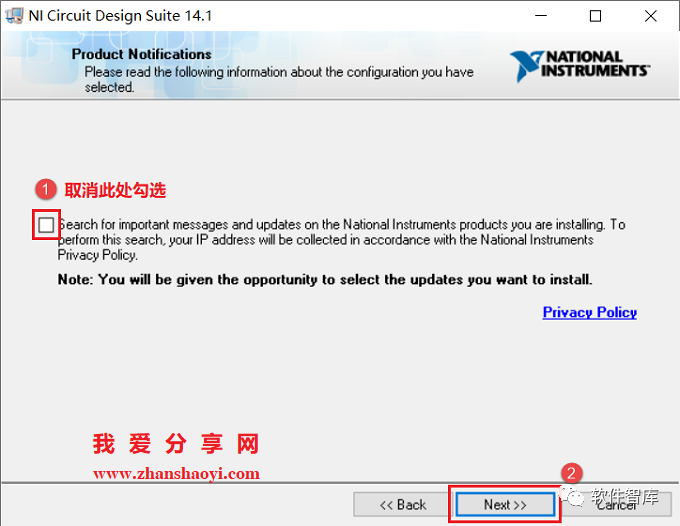
9. First uncheck the checkbox next to “Search for…”, then click [Next]
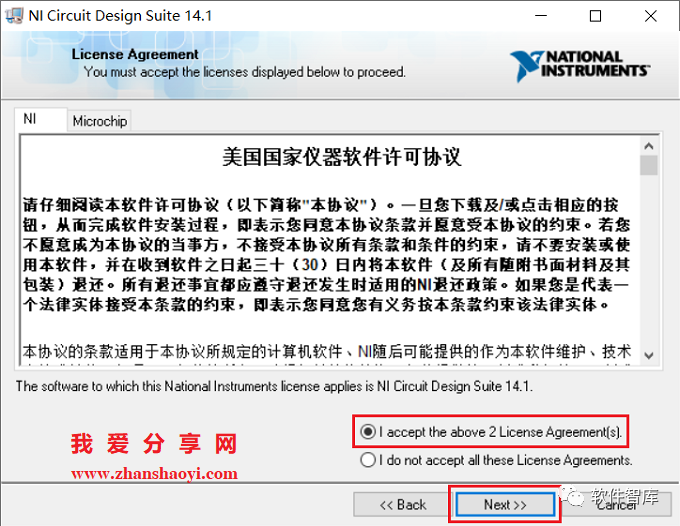
10. License agreement, check “I accept…”, then click [Next]
11. Installation in progress, this process takes about 10 minutes, please be patient…
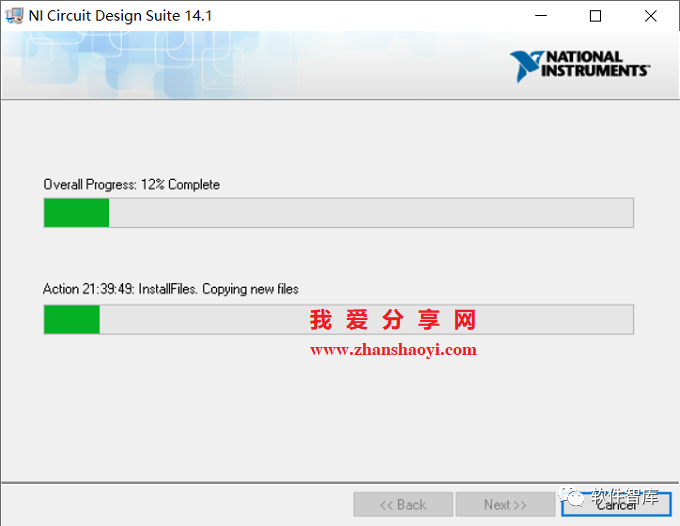
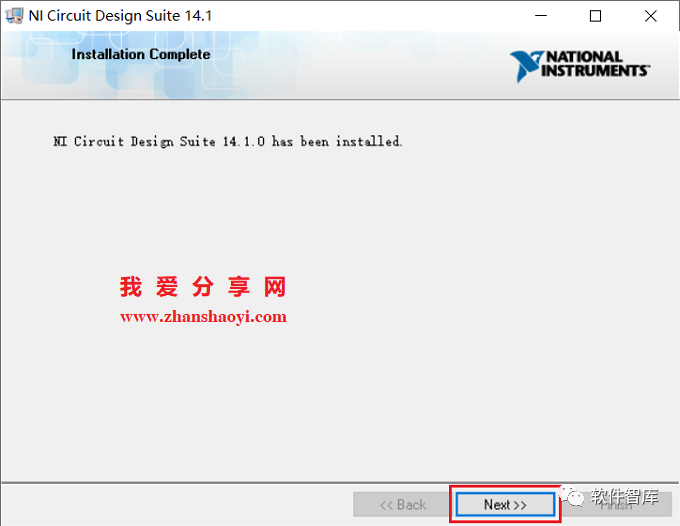
12. Installation complete, click [Next]
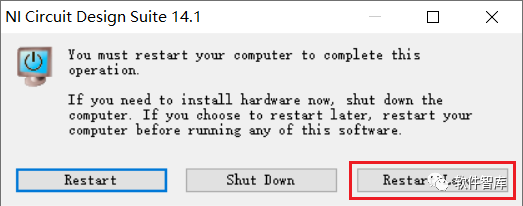
13. A pop-up window prompts that the computer needs to be restarted, click [Restart Later] to not restart
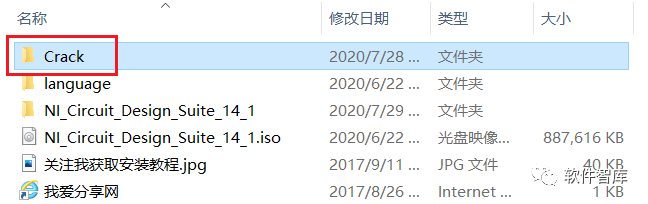
14. Return to the initial software installation package and double-click to open the Crack folder
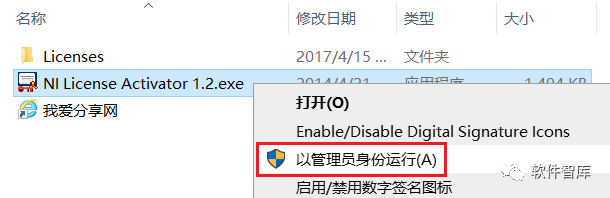
15. Find NI License Activator 1.2.exe, right-click and select [Run as Administrator]
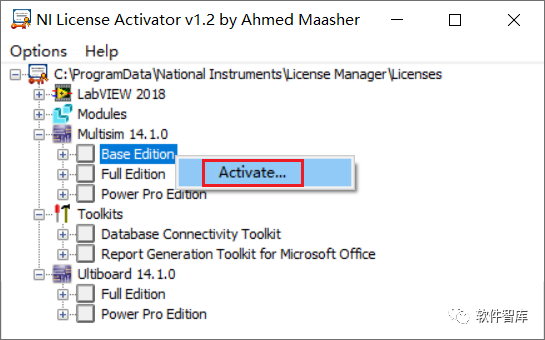
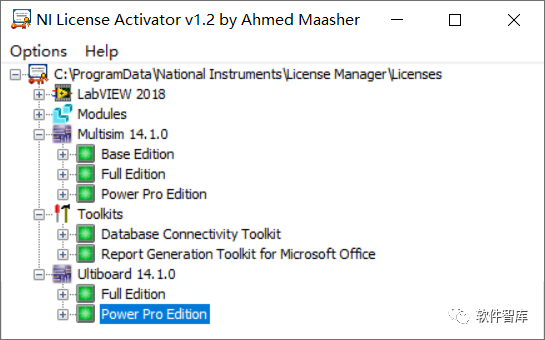
16. Open the patch interface, for the component of Multisim 14.1.0, [BaseEdition], right-click in turn to select [Activate], turning seven boxes from gray to green, activation complete
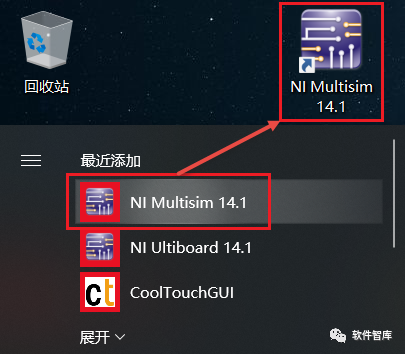
17. WIN10 does not automatically create a desktop icon, click the [Start] button in the lower left corner of the desktop to find the Multisim 14.1 shortcut in the right-side program list, hold the left mouse button and drag it to the desktop to create an icon for easy opening later
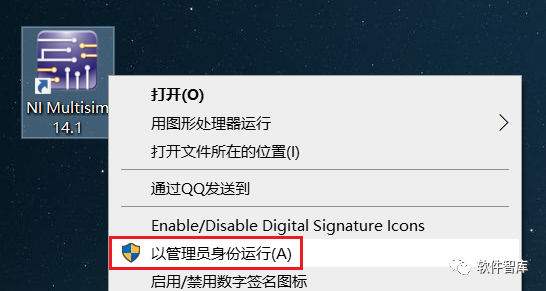
18. Find the Multisim 14.1 icon created in the previous step, right-click and select [Run as Administrator]
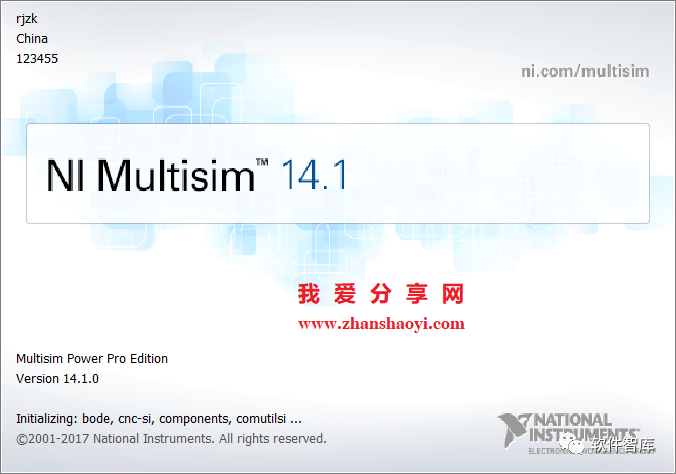
19. Loading…
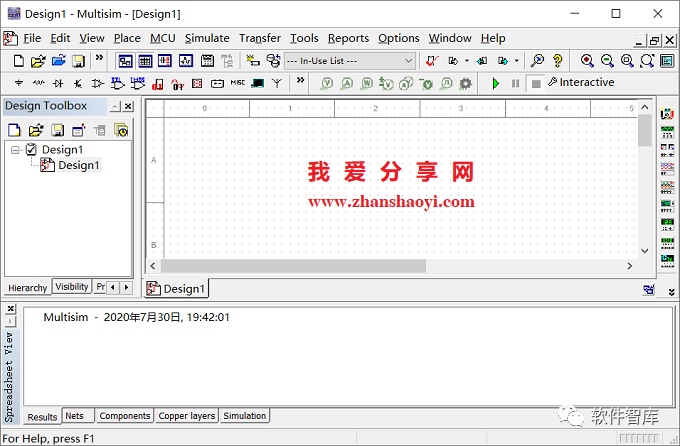
20. Open the Multisim 14.1 software, the English interface is as follows:
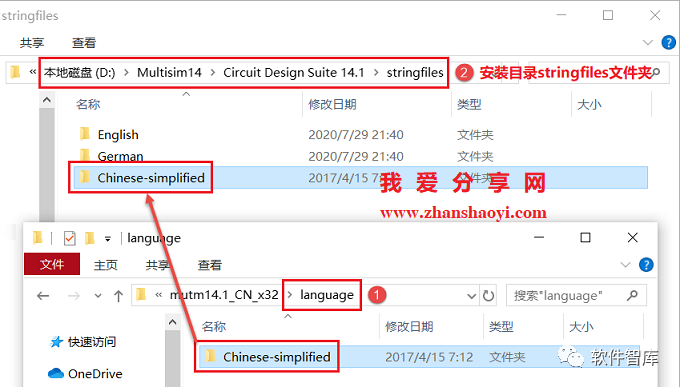
21. Next, we will localize Multisim 14.1. Return to the initial software installation package and double-click to open the language folder
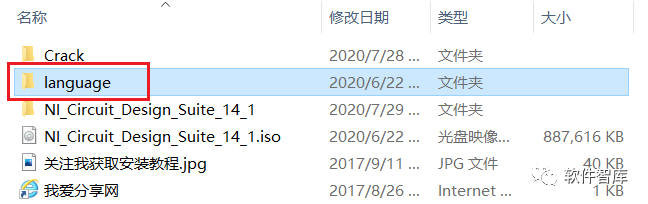
22. Find the Chinese-simplified folder, copy and paste it into the stringfiles folder in the Multisim 14.1 installation directory (see step 7), localization complete
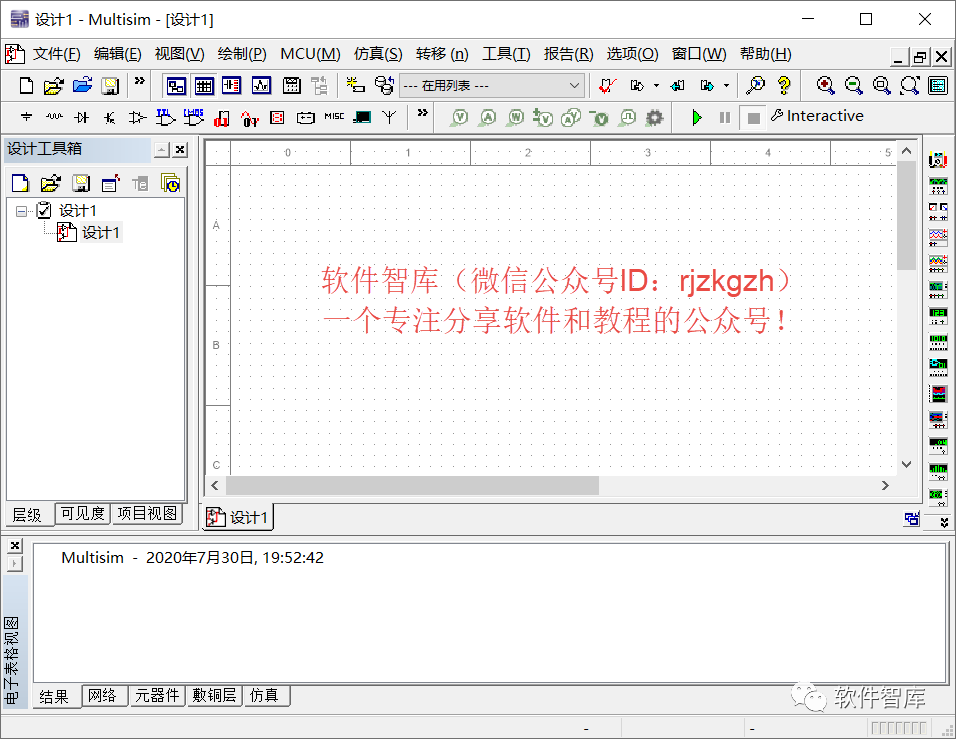
23. Restart the Multisim 14.1 software, the Chinese interface is as follows:
END
If you find it useful, feel free to share it with your friends!

Software Knowledge Base
Installation · Learning · Technology · Innovation

·↑Press and hold this QR code to follow ↑·
WeChat ID: rjzkgzh