Introduction
In the FPGA development process, programming the bitstream file and using ILA for debugging are common operations. However, if the FPGA board is located in a server room or connected to a server via PCIe, we often have to run to the server room or next to the server with a laptop to connect the JTAG cable for debugging, which is very inconvenient.
In the previous article, we explained how to use the built-in tools of Vivado to achieve remote programming and debugging of the FPGA via Ethernet. This article will further expand on that by introducing how to use scripts to perform remote programming operations on multiple boards. By scripting, we can automate the programming of multiple boards without having to open the GUI one by one, which is particularly suitable for scenarios involving multiple boards and can significantly improve debugging efficiency and automation.
Preparation
After successfully connecting to JTAG remotely (if you are not familiar with how to connect remotely, please refer to the previous article at the end), we can enter the following command in the Vivado command line to obtain the currently connected hardware targets:
get_hw_targetsGet the hardware target device name:
192.168.2.7:3121/xilinx_tcf/Digilent/210251A08870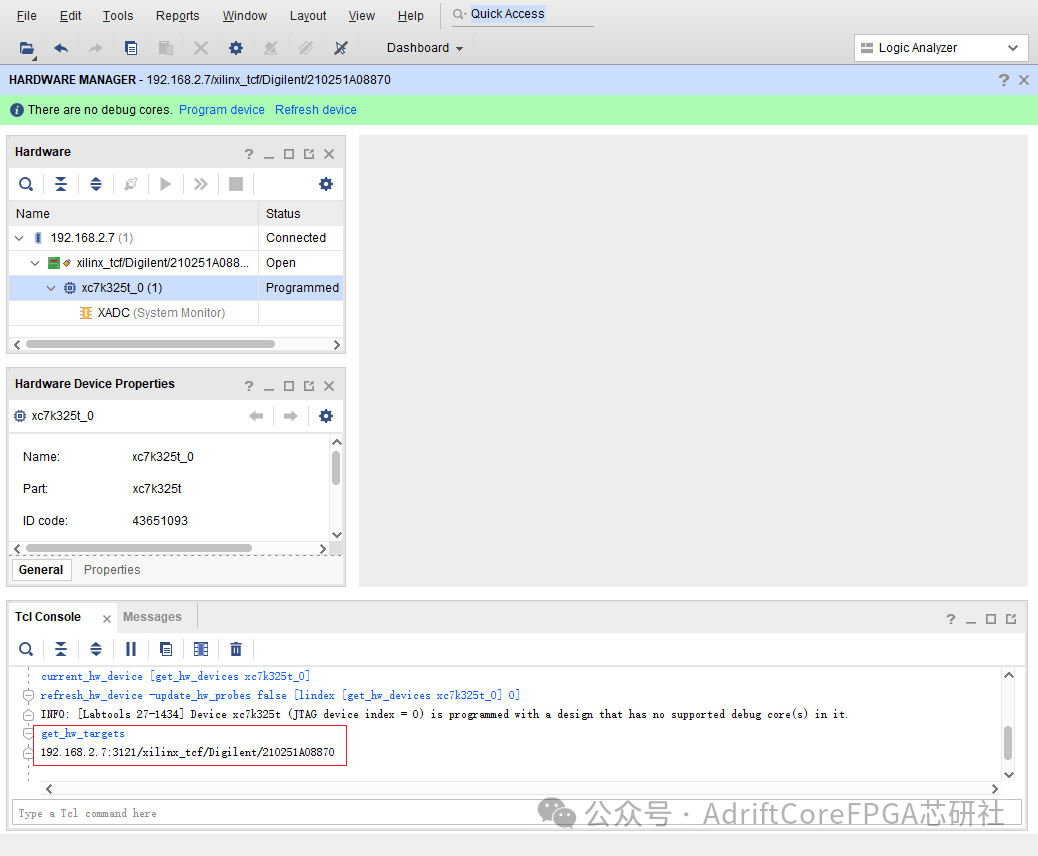
Scripting
Initial Exploration
We can modify the bitstream file path and target device name according to the actual situation, and then paste the following script directly into the connected Vivado’s TCL Console to execute:
# Target bitstream path
set bitfile "D:/Code/KC705_Gen2x8If128.bit"
# Target device name
set target_name 192.168.2.7:3121/xilinx_tcf/Digilent/210251A08870

# Get all hardware targets
# open_hw_target [lindex [get_hw_targets] 0]
set targets [get_hw_targets]
# Iterate through all hardware targets to find the matching target name
foreach target $targets {
    # Get the hardware target's name
    set target_device_name [get_property NAME $target]

    # Check if the target name matches
    if {$target_device_name == $target_name} {
        # Found the matching target, select and open it
        open_hw_target $target
        puts "Target device selected: $target_device_name"
        break
    }
}

current_hw_device [lindex [get_hw_devices] 0]
puts "open hw"
set_property PROGRAM.FILE $bitfile [current_hw_device]
program_hw_devices [current_hw_device]
Final Version
Below are the <span>.bat</span> and <span>.tcl</span> script files. In the <span>.bat</span> file, you need to specify the path to <span>vivado.bat</span> in the Vivado installation directory and the corresponding <span>.tcl</span> script path. By executing the bat file, you can achieve a fully automated download process.
This method is particularly suitable for scenarios involving multiple boards and batch programming, eliminating the need to manually open the Vivado graphical interface to complete the programming task, greatly enhancing efficiency and operational convenience.
bat
"C:\SoftWare\xilinx\Vivado\2018.3\bin\vivado.bat" -mode batch -source "D:\Code\download.tcl"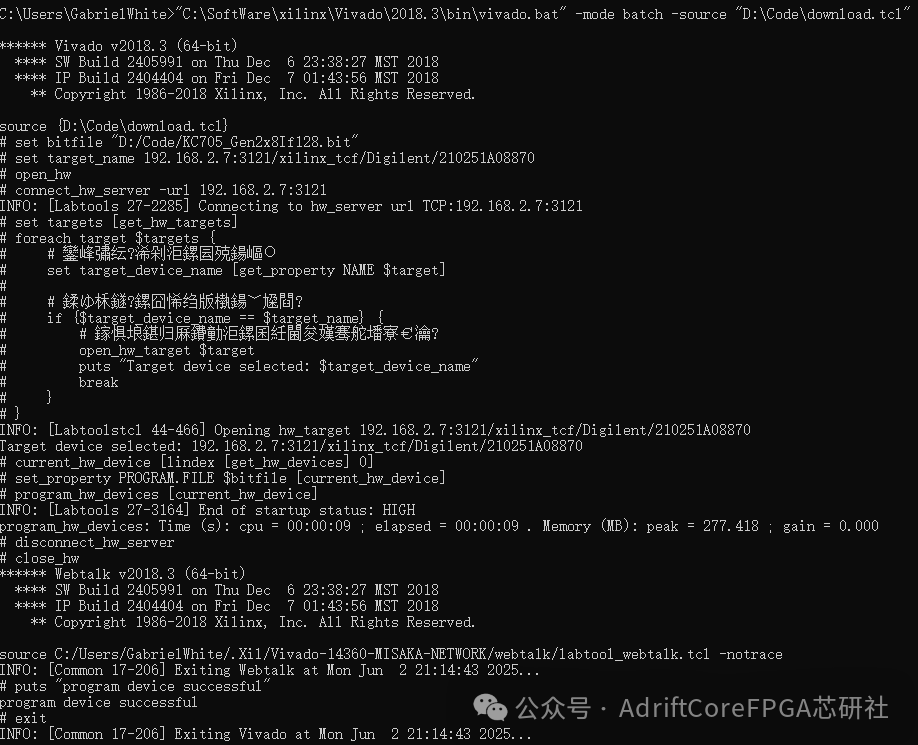
tcl
Similarly, we need to modify the bitstream file path and target device name according to the actual situation:
# download.tcl
# Target bitstream path
set bitfile "D:/Code/KC705_Gen2x8If128.bit"
# Target device name
set target_name 192.168.2.7:3121/xilinx_tcf/Digilent/210251A08870

open_hw
connect_hw_server -url 192.168.2.7:3121

# Get all hardware targets
set targets [get_hw_targets]
# Iterate through all hardware targets to find the matching target name
foreach target $targets {
    # Get the hardware target's name
    set target_device_name [get_property NAME $target]

    # Check if the target name matches
    if {$target_device_name == $target_name} {
        # Found the matching target, select and open it
        open_hw_target $target
        puts "Target device selected: $target_device_name"
        break
    }
}

current_hw_device [lindex [get_hw_devices] 0]
set_property PROGRAM.FILE $bitfile [current_hw_device]
program_hw_devices [current_hw_device]

disconnect_hw_server
close_hw
puts "program device successful"
exit
Previous Articles
EDA Toolchain: FPGA Remote Debugging Guide for Automated Bitstream Programming and ILA Debugging
Appendix A
Follow our public account and reply <span>vivado</span> in the background to obtain the installation URL.
Appendix B
Welcome to join the FPGA/IC exclusive AI knowledge base, where you can access more knowledge without downloading an app, using the WeChat mini-program for one-click access.
Click the link to join with one click
Appendix C
Welcome to join the FPGA and digital IC learning group! Here, you can ask questions, share your learning experiences, or participate in interesting discussions. Link: FPGA Chip Research Society
#FPGA #vivado remote debugging #vivado remote programming #digital IC #EDA #Verilog #FPGA syntax #SystemVerilog #vivado #Xilinx