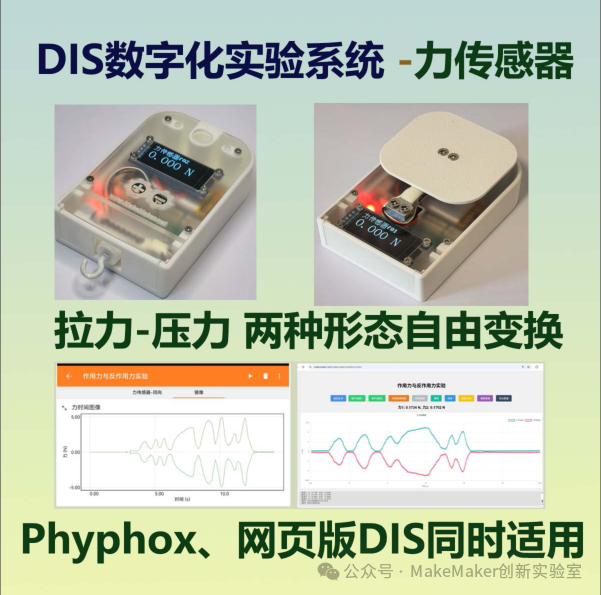
 The force sensor is one of the most important sensors in high school physics experiments and is also the most widely used sensor. The use of the DIY DIS sensor is divided into two types: one is for teachers who only want to use the sensor for basic experiments; the other is for teachers who want to learn how to make sensors and also want to design new innovative experiments by modifying the program and the original structure. Therefore, I provide two options: one is a ready-made force sensor that teachers can use directly; the other is a kit, where the mainboard does not have the force sensor program written or calibrated, allowing hands-on teachers to assemble the sensor themselves and write the program and calibrate the sensor through an online programming webpage.1. User Manual for Finished Force Sensor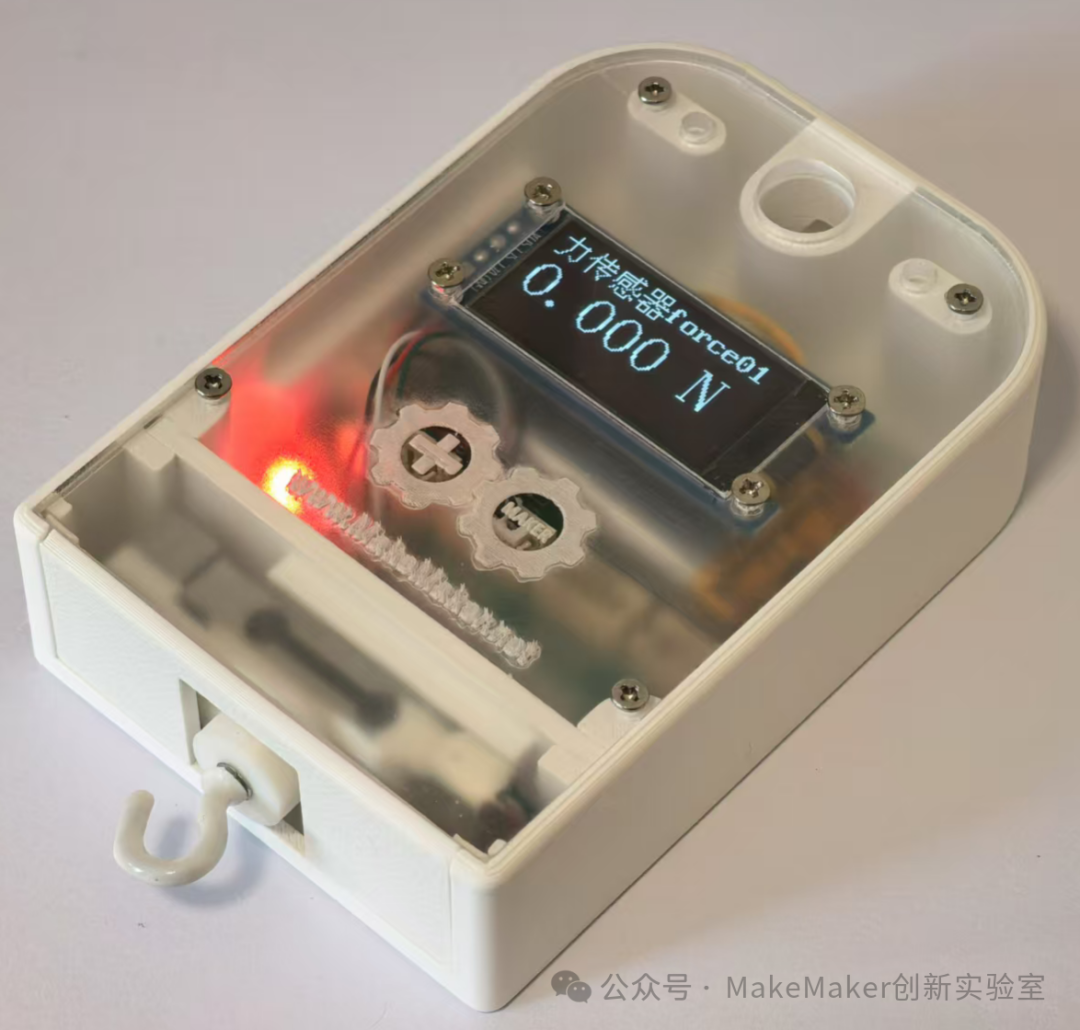
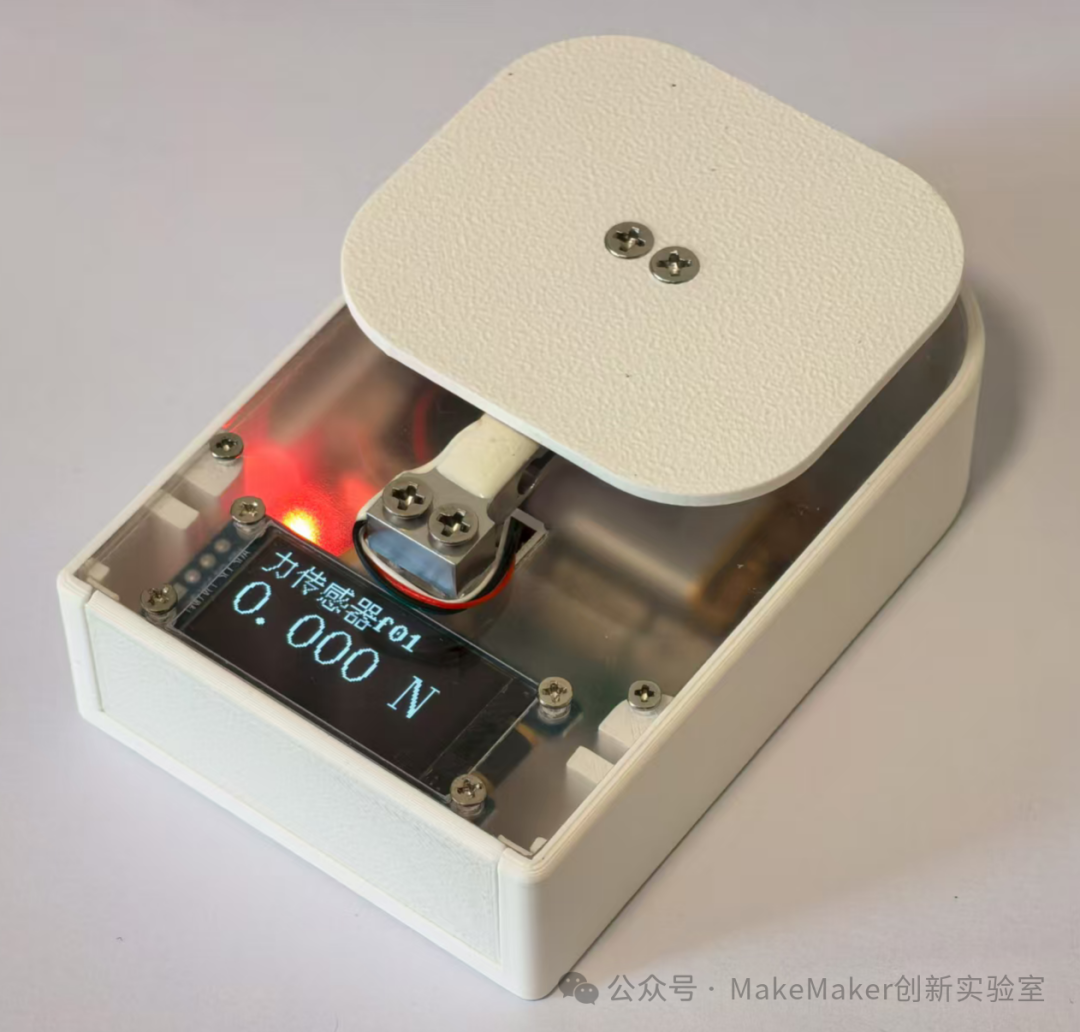 When purchasing, you can choose between a tensile or pressure type (please search “MakeMaker Innovation Laboratory” on Taobao), and there are two ranges available: one is 5N and the other is 10N. If you have special requirements, such as wanting a 2N range, you can also request it. Regardless of which type you choose, the modification parts for the other type will also be included, so you can change the type yourself if needed. It is important to note that regardless of the range, the accuracy of the force sensor is about one-thousandth. If it is a 5N range, it can be accurate to 0.005N; if it is a 50N range, it can only be accurate to 0.05N. However, the display on the force sensor can show down to 0.001N, and the last digit will be unstable and constantly changing during actual measurements, which is normal because this digit exceeds the sensor’s accuracy. If you do not want to display this digit, you can request to modify the program to remove its display.1. Switch After receiving the force sensor, toggle the switch on the side of the sensor to turn it on:
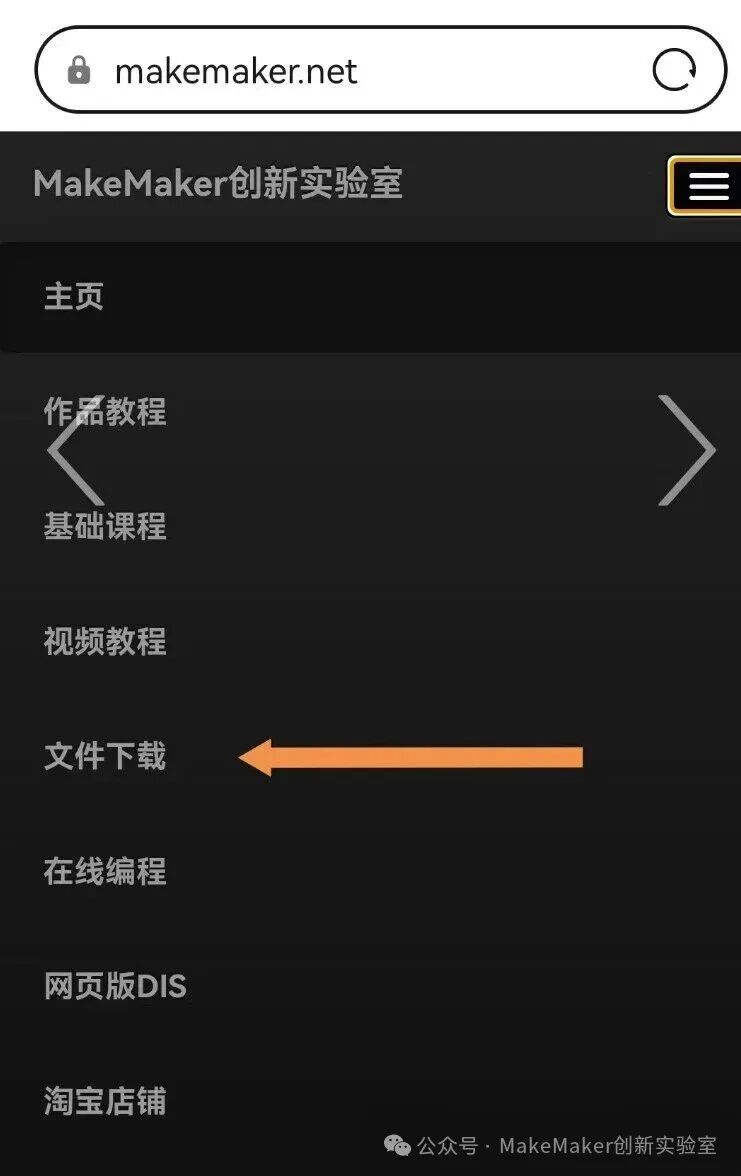
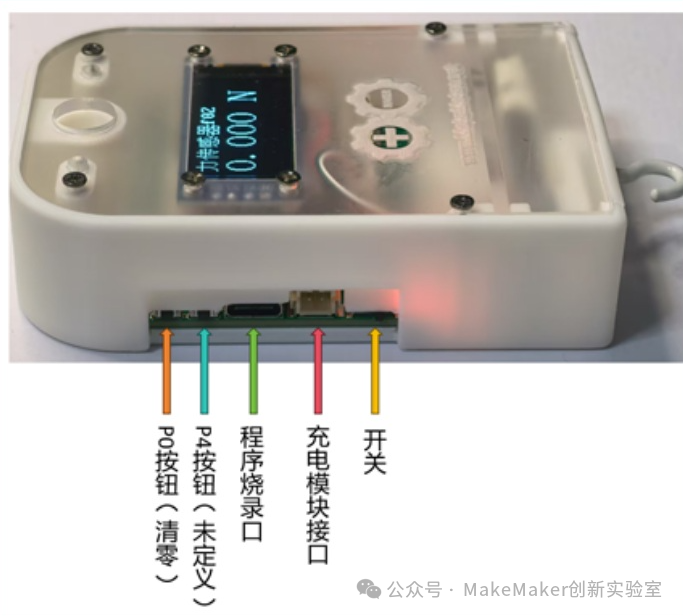 If it is a pressure sensor, to prevent damage during shipping, a plastic sheet is usually placed under the sensor, which needs to be removed after receiving it.2. Battery Level After turning it on, the LCD screen will first display the battery level, with a maximum value of 9. However, it is important to note that this battery level display may not be very accurate; it is just an approximation because it essentially measures the battery voltage at startup and then calculates an approximate battery level based on the voltage value. Since the sensor cannot measure a voltage higher than the power supply voltage, I used two resistors in series connected to the positive and negative terminals of the battery, and then the sensor measures the voltage between the two resistors. Normally, because the resistors are equal, this voltage should equal half of the power supply voltage, but in reality, the two resistors marked with equal resistance values may not actually be equal, and each mainboard’s resistors may differ, so using the same program to calculate battery level based on voltage is obviously inaccurate. I made a rough calibration when shipping, but it is not accurate. I also provided a battery level calibration scheme on the online programming page, which requires the battery to be fully charged before proceeding.3. Zeroing After displaying the battery level, it will enter the automatic zeroing process, during which the force sensor needs to remain still. After that, it will display specific values, and you can gently pull the hook to see the changes in the readings or measure with an object of known mass. During the measurement process, you can alsopress the P0 button for manual zeroing.4. Connect to Phyphox for Force-Time Graphing First, install phyphox on your phone; for iPhones, search for phyphox directly in the App Store to install it; for Android, you can download it from the file download section on the website www.makemaker.net and install it yourself. If accessing from a phone, click the menu in the upper right corner to open it, then click on file download: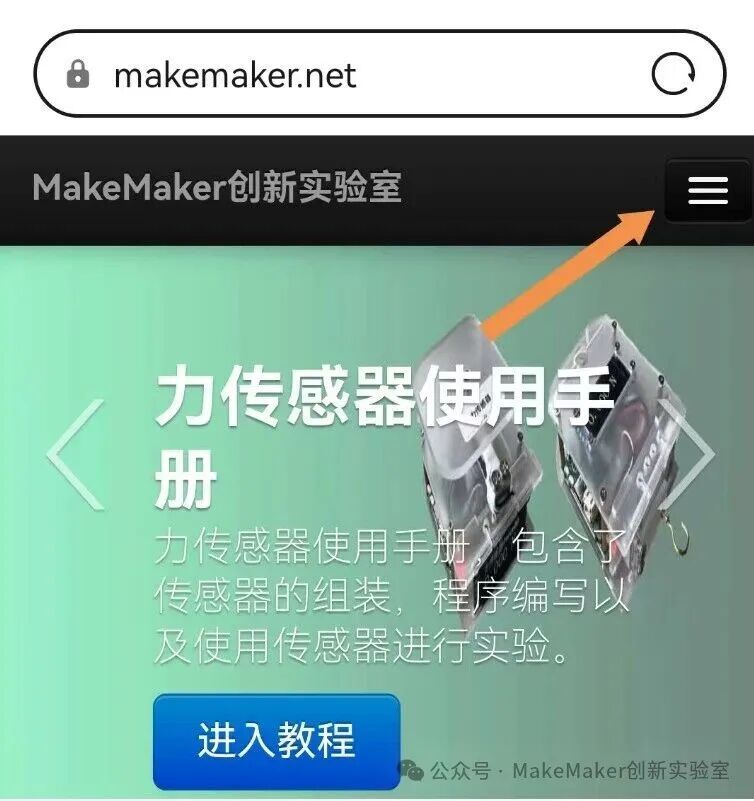
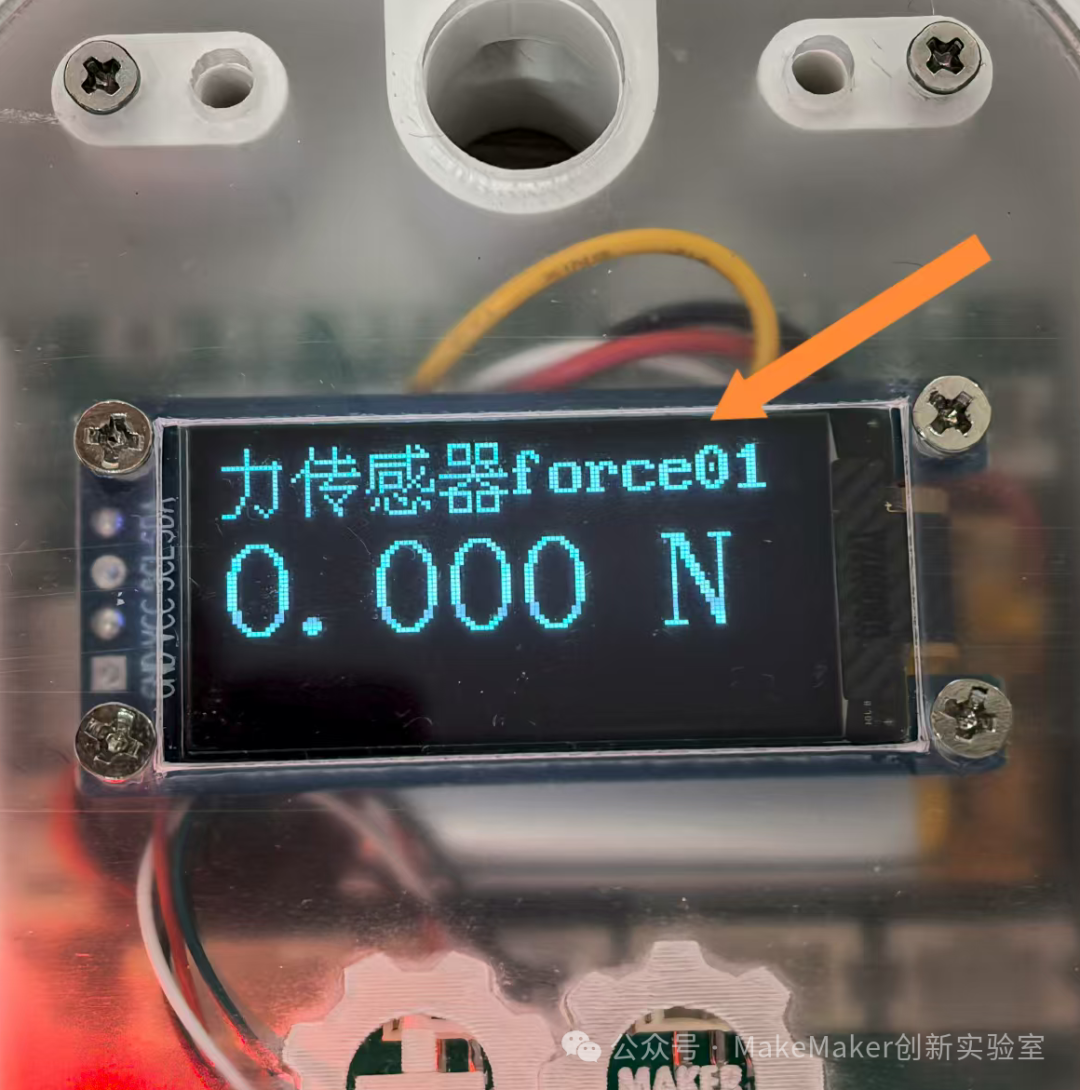
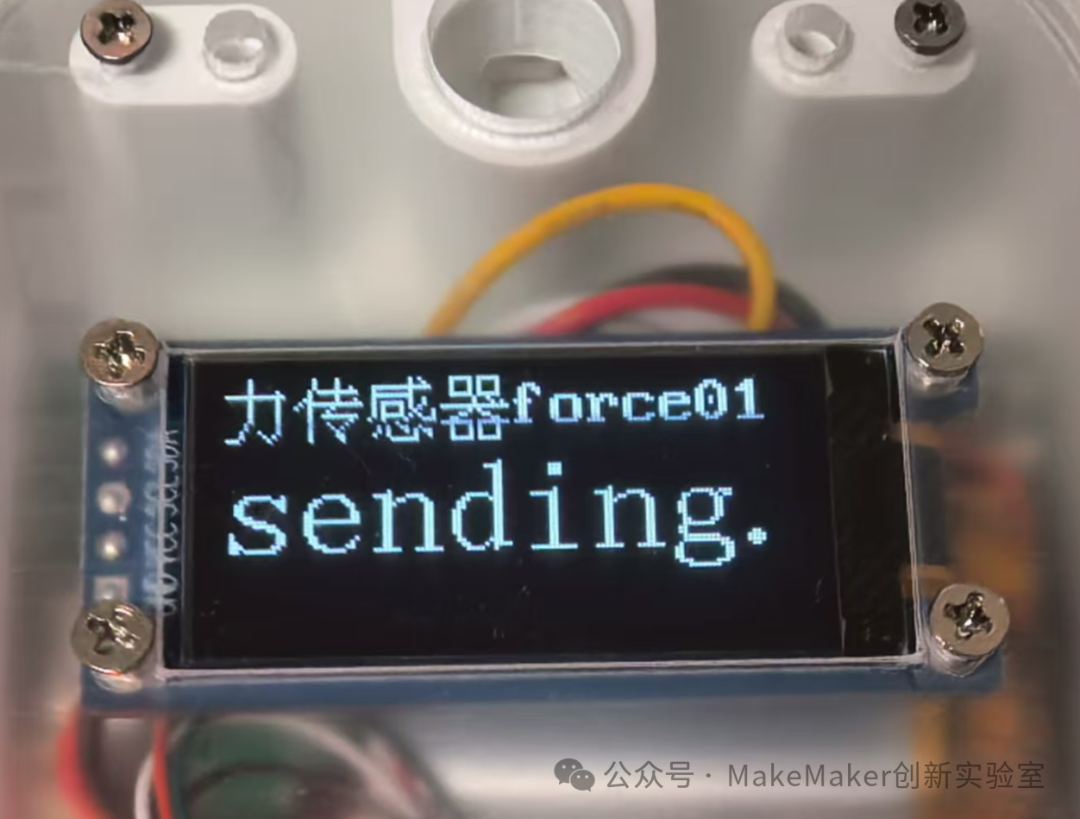
 After installing phyphox (on Android, it is named “Mobile Physics Workshop”), you also need to open the dedicated phyphox page for the force sensor. This page can be downloaded by logging into the QQ group (766081530) on your phone, clicking on files, and selecting to open the file with phyphox on your phone. Once opened, you can enter the phyphox interface for the force sensor, which will automatically search for the attached Bluetooth name. Select the corresponding Bluetooth name for your device, which is usually displayed on the top line of the screen, for example, in the image below, the corresponding Bluetooth name is “force01”:
 Then select the corresponding one in phyphox:
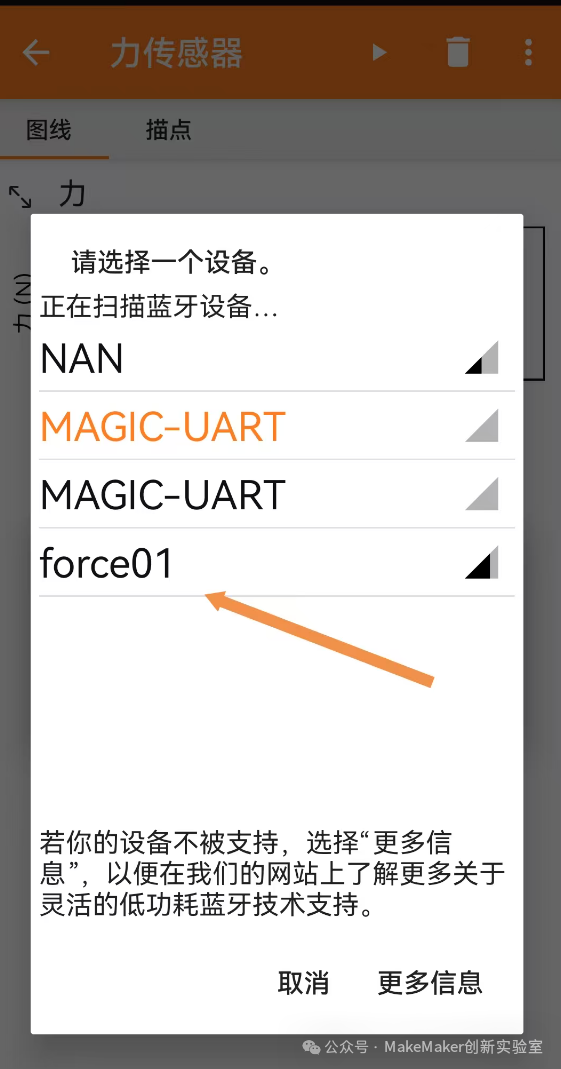 After clicking, the connection will be successful. Please note that at this time, your device’s screen will no longer display specific values, but will only show “sending..”. This is because the screen display slows down the measurement speed, so the screen display is disabled for faster measurement frequency. However, due to a program issue, after exiting the Bluetooth connection and reconnecting, the screen will still display data, but the data will be static. I am currently working on resolving this issue, and it may not be a problem in the future.
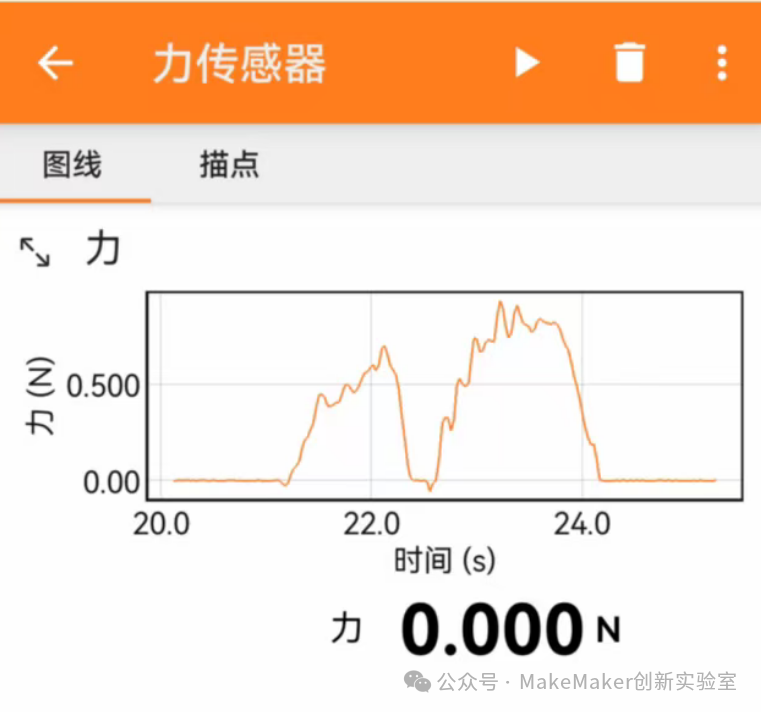
 After connecting, click the start measurement button in phyphox to draw the force-time graph.
 5. Use the Web-based DIS for Experiments In addition to using Phyphox to receive data and draw graphs, you can also use my web-based DIS page by logging into www.makemaker.net (requires the latest Chrome or Edge browser, and the computer operating system must be at least Windows 10). It can also be used on mobile phones; Android users can download the mobile version of the Edge browser, and iPhone users can downloadBluefy browser.
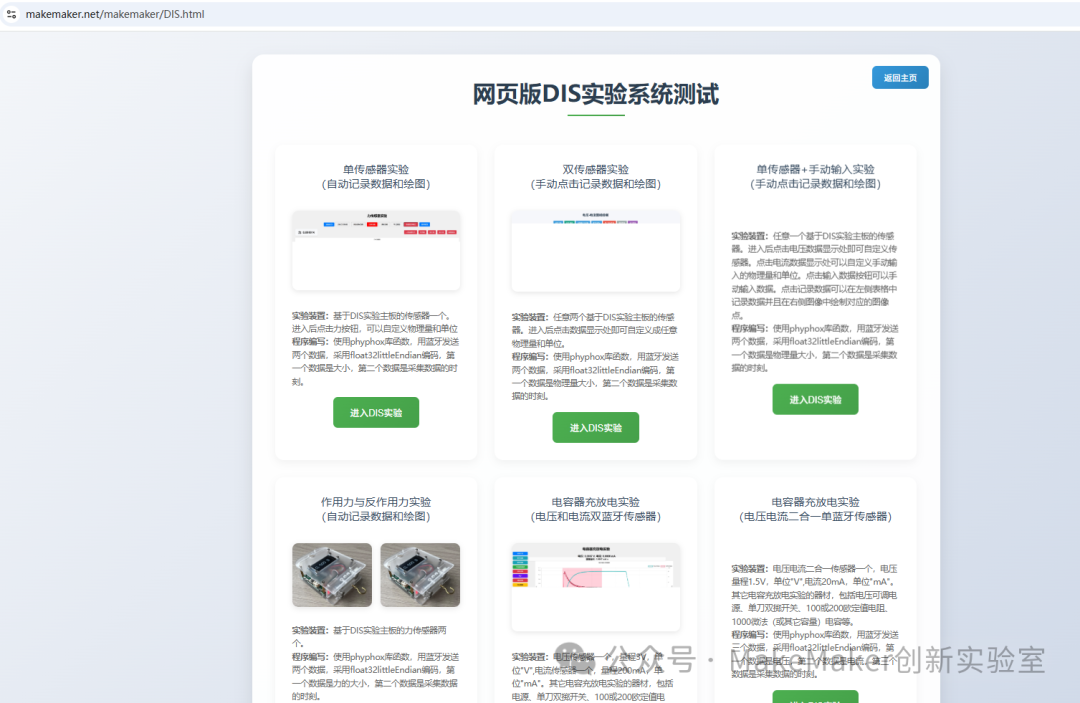 A single force sensor can choose a single sensor experiment; click the experiment button to enter the experiment interface:
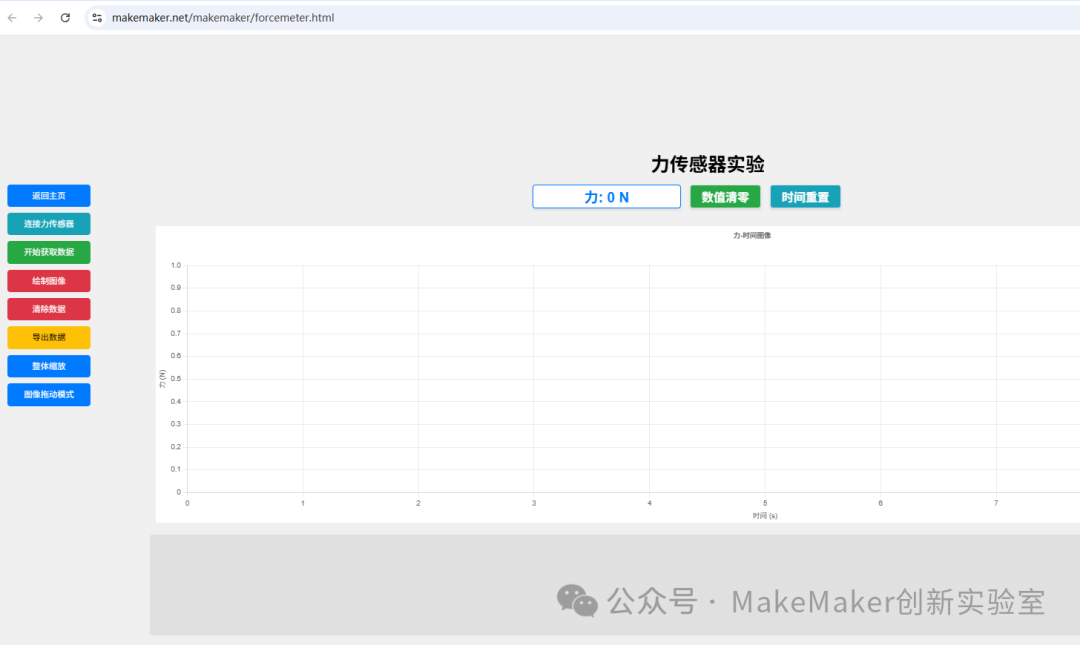 Click the connect force sensor button to open the Bluetooth connection bar, and similarly select the corresponding device Bluetooth name to connect.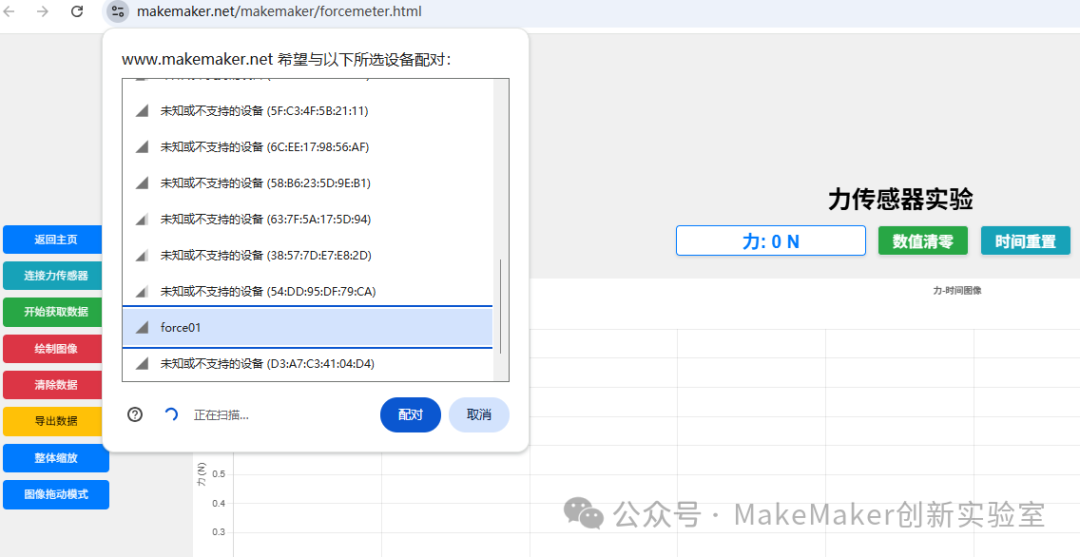
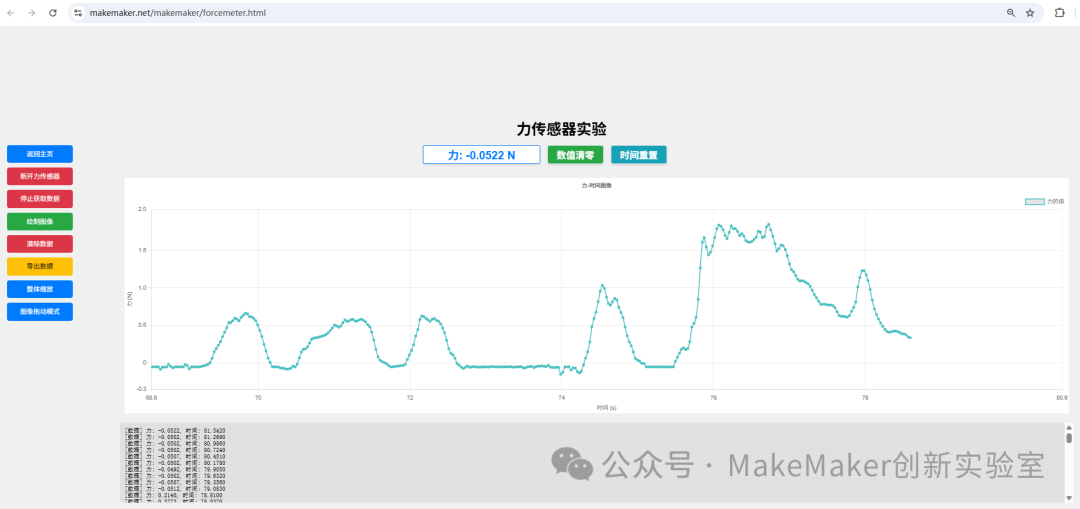 You will understand the specific usage after using it yourself, so I will not elaborate further. Of course, this page is written by me, and if you have any suggestions, please let me know, and I can modify it later. The above is about the basic operations after receiving the finished force sensor. If it is a kit, you can follow the video tutorial to assemble and program it, and the usage after assembly is the same as that of the finished force sensor.