The configuration software for Mitsubishi touch screens is: GT Designer3
This is the screen creation software used for the GOT2000 series and GOT1000 series.
This software allows for project creation, simulation, and data transfer between the GOT and other devices.
Here, we will directly explain the editing of the configuration interface.
1. Create a button
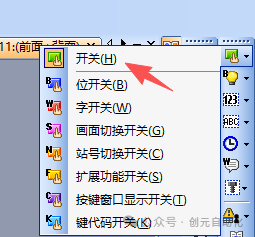
Select the switch, left-click to drag and release in the window, adjusting to an appropriate size, as shown below:
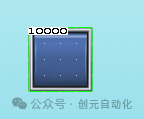
The switch is used to control a state; here we add a bit register to this switch and assign an action to it. Double-clicking the button on the interface brings up the following screen:
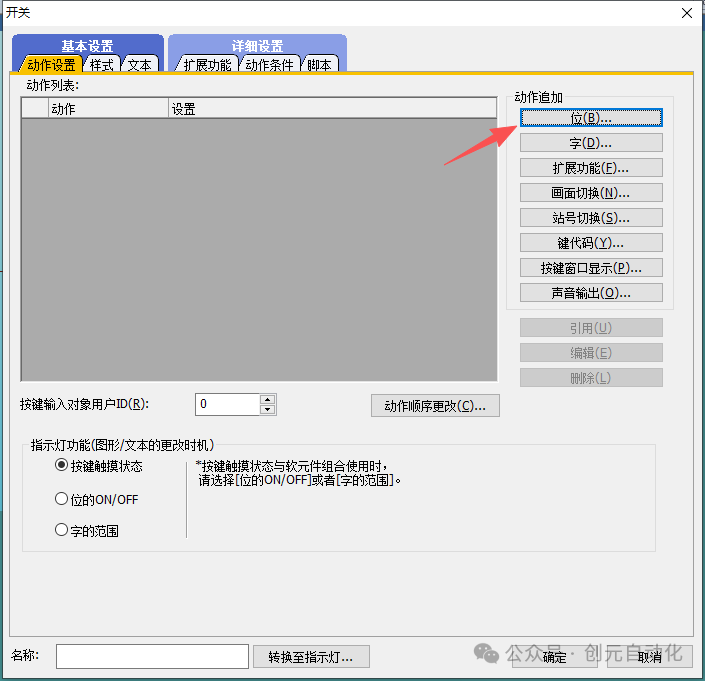
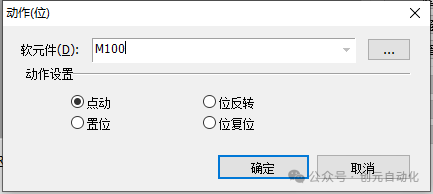
The bit register we added is M100 (we assume the linked device is a Mitsubishi PLC), and the action assigned to the button is a momentary action.
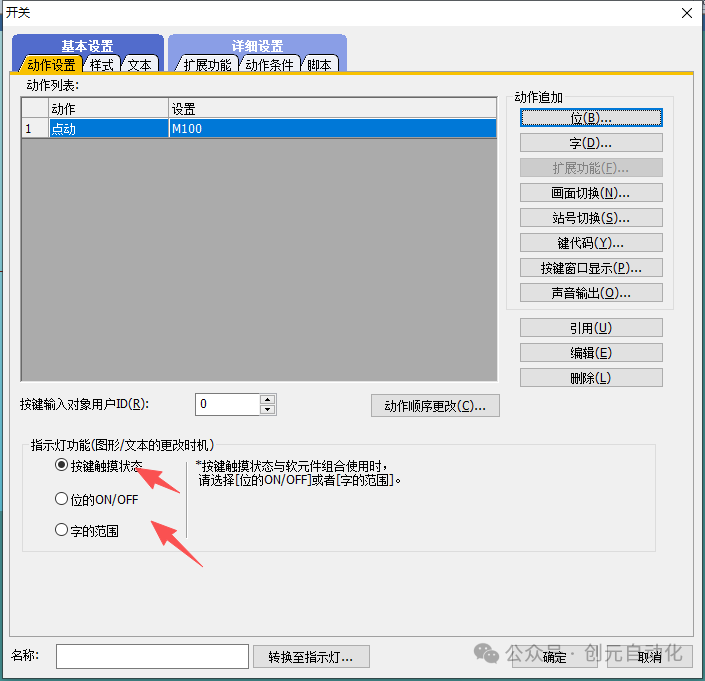
What does this mean? ↑
The touch state of the button indicates whether the button’s background shows pressed or not pressed.
The ON/OFF state of the bit means that when the button is pressed, the button displays the state of the register we set.
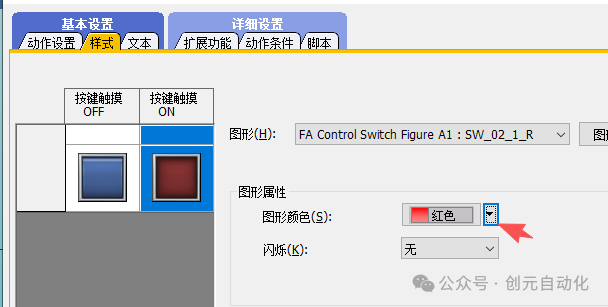
Change the color of each state, as shown above ↑, and the switch is now complete.
Of course, we can also add advanced features to this button, such as adding security levels, where different user levels display different content.
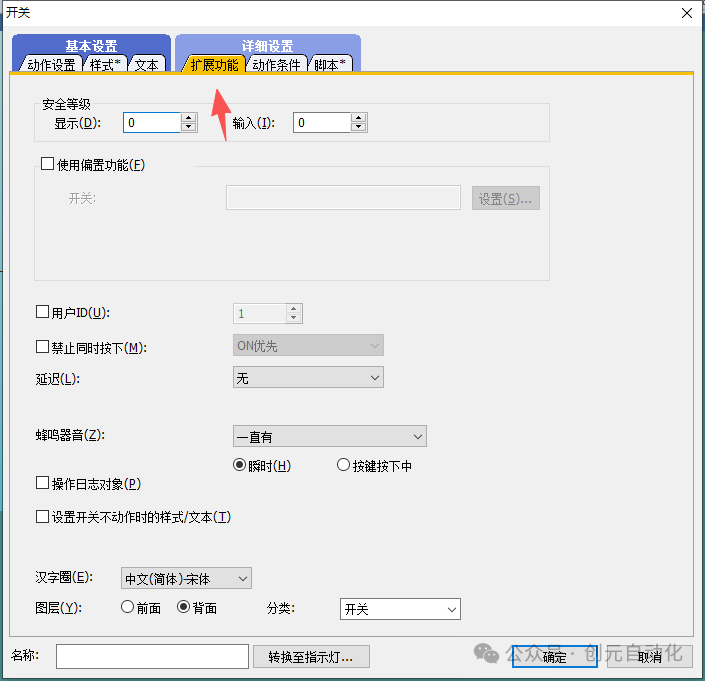
2. Create a button to switch screens
Again, we add a switch as before, but this time the action we add is to switch screens.
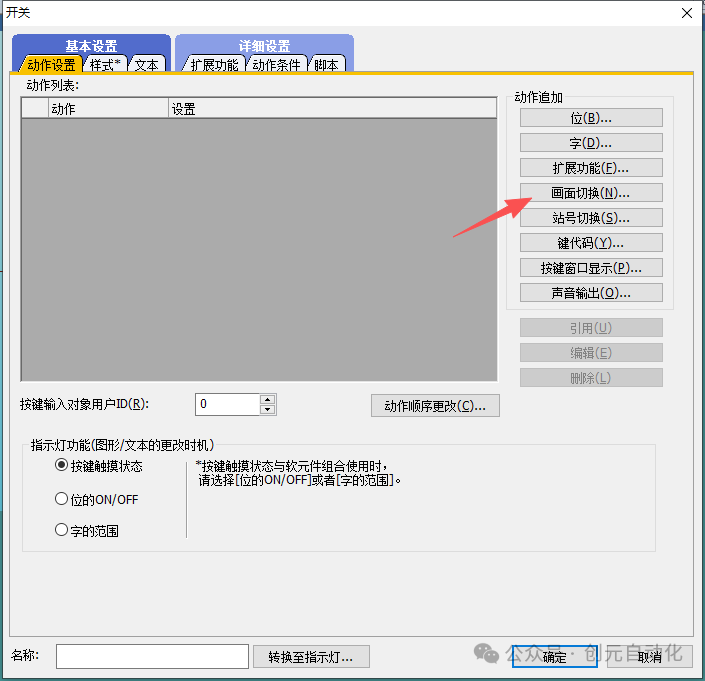
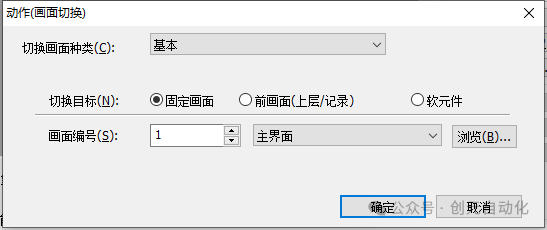
Select the screen number and click OK. When this button is clicked, the interface will switch.
3. Add a status indicator light
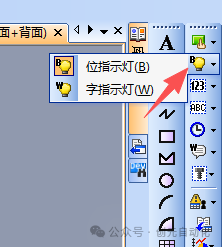
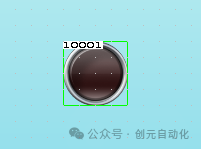
Drag and drop it onto the interface, just like configuring the switch button, double-click the status indicator light:
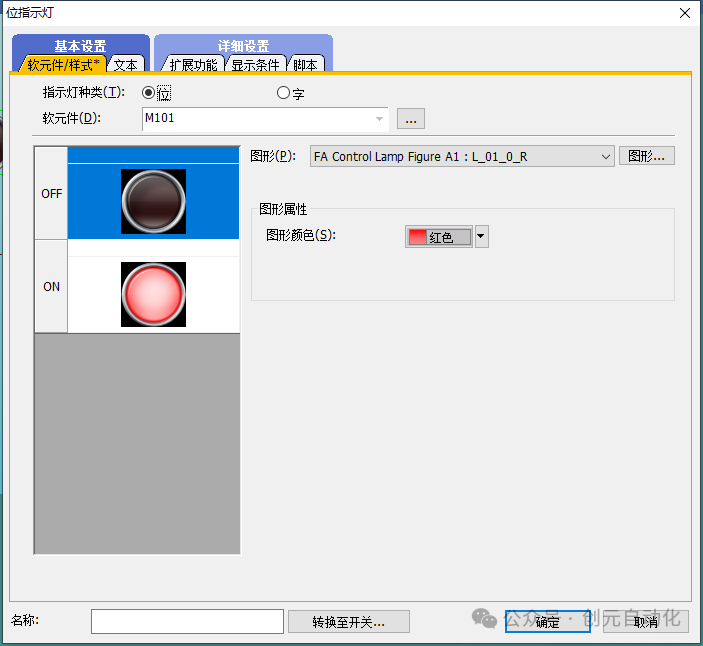 Add a bit soft component for the indicator light, and assign different colors for the ON/OFF states.
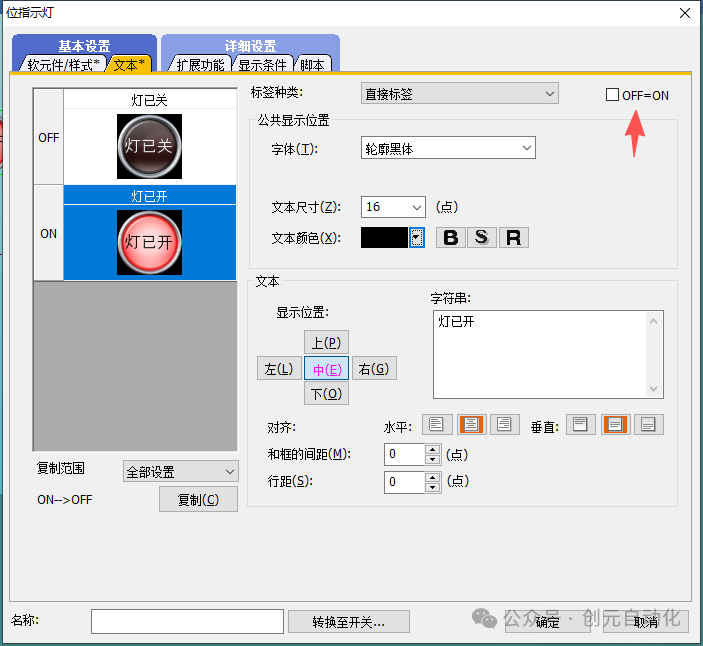 When OFF=ON is checked, the text on the light remains the same for both OFF and ON states. When unchecked, you can set different texts for OFF and ON states independently. This interface also allows you to change the size and color of the text, as well as the alignment style. The extended functionality is similar to that of the button, also used for setting permissions.4. Arrange these buttons and status lights
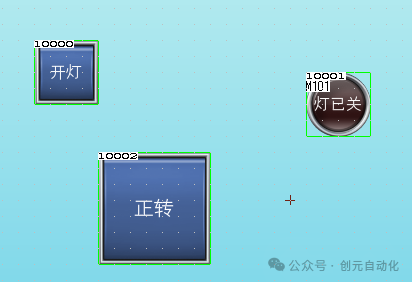 First, we set these three objects to a uniform size.Select the objects to adjust:
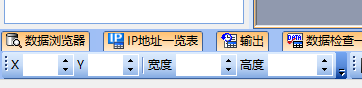 In the lower left corner, there is a parameter box for size and position. Here, we only need to adjust the width and height.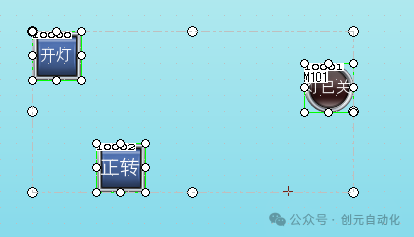
 Set both width and height to 50.Then, arrange these three objects. Again, select all three objects and right-click:
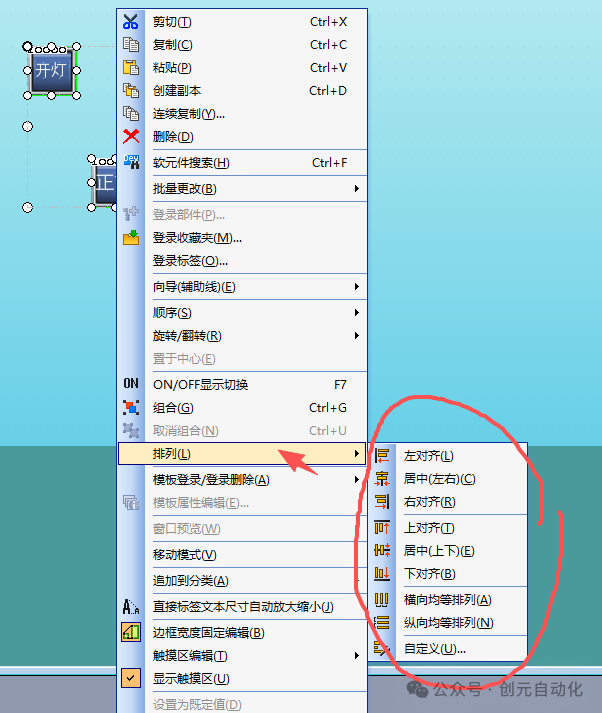 At this point, we can choose the appropriate alignment method as needed.5. Add a numeric input box
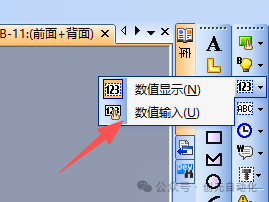 Double-click the input box that has been dragged and dropped to bring up the following interface, where you can select the input register and the format of the value, as well as set the color of the value, etc.
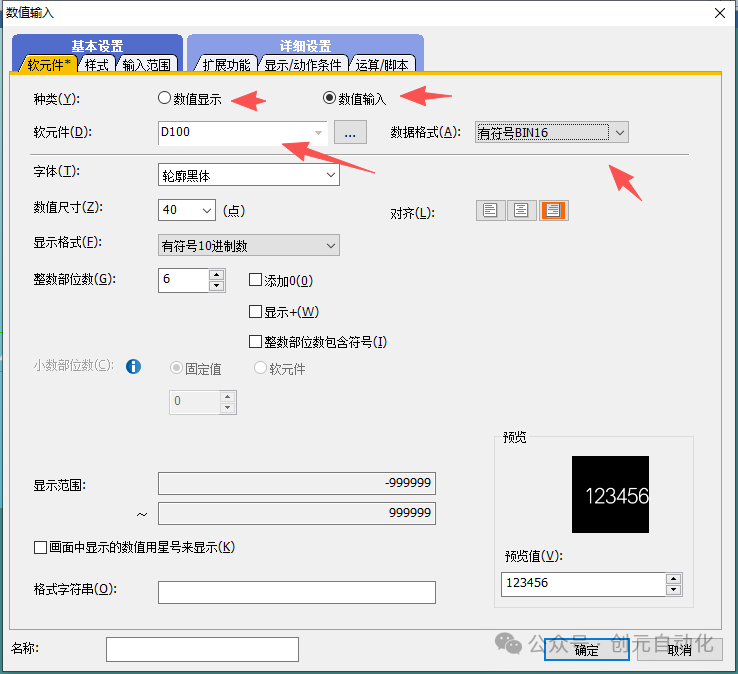 Alright, today we introduced several common functions of the Mitsubishi touch screen. You can practice more based on your needs.Previous popular articles:How to output PWM waveforms with Mitsubishi FX5UHow to create a project containing S7-1200 PLC and WINCC touch screen using Siemens Portal30 questions on industrial robot theoryStepper motor selection caseIntroduction to stepper motor principles – closed-loop and open-loop stepper motorsHow to solve the ERR light flashing or staying on the CPU module of Mitsubishi FX5U