In this article, you will learn:
1. What Morse code is
2. How to create a functional transmitter using micro:bit
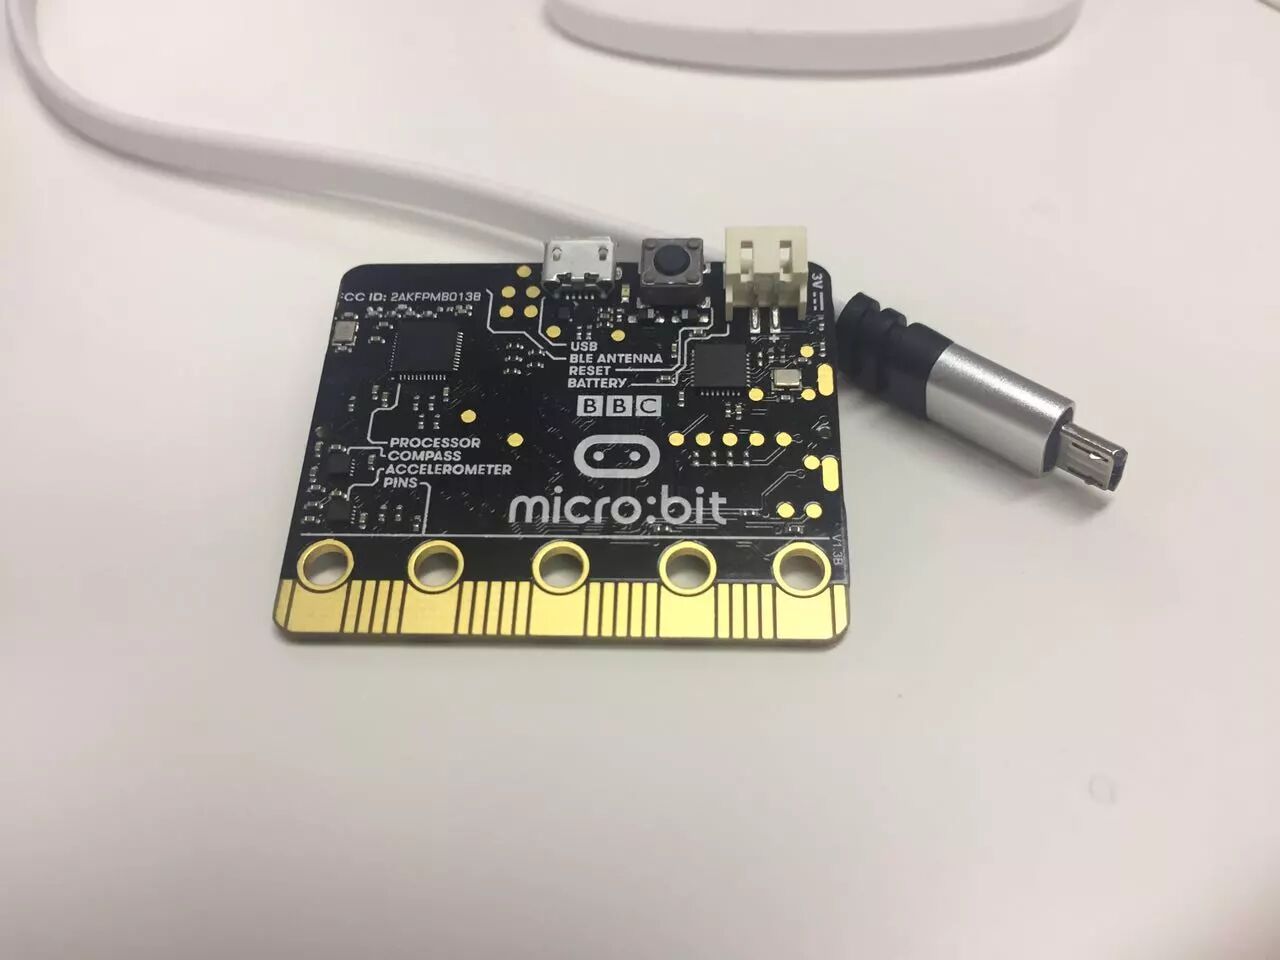
The micro:bit is a microcontroller developed by the BBC in collaboration with various companies, designed to allow every child to easily access computer programming without needing to learn any programming language. It connects to a computer via USB. For more information, you can refer to our previous article on creating a functional compass with micro:bit.
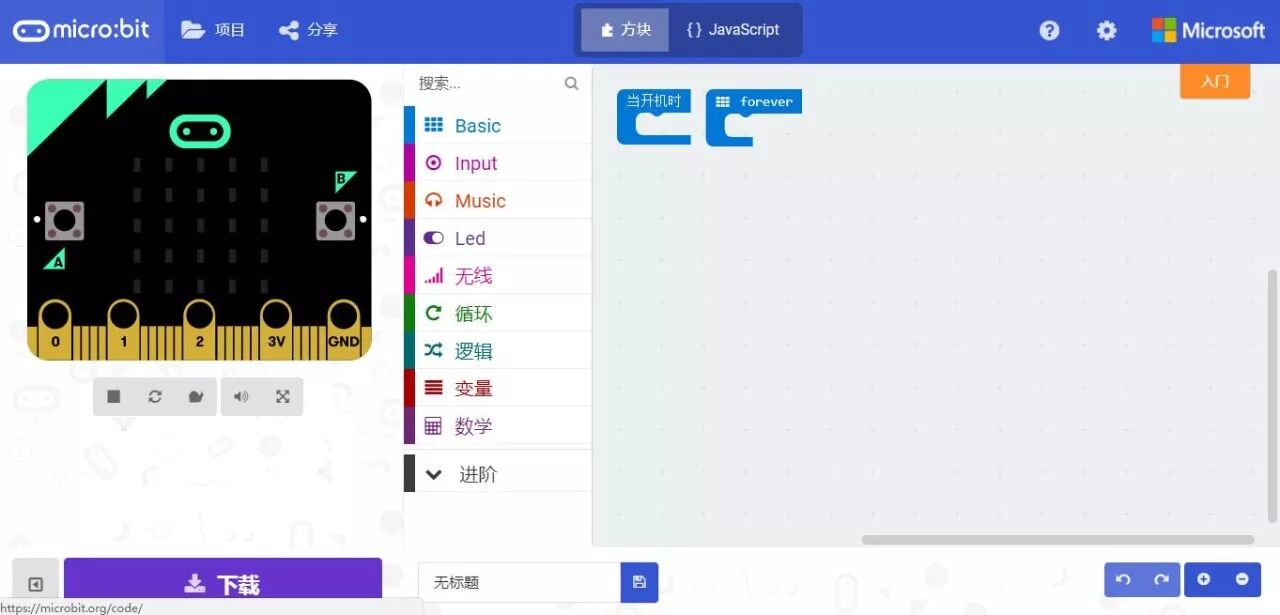
We typically access the website https://makecode.microbit.org for web-based programming. After writing the code, we can download it to the micro:bit drive or copy the hex file to the drive.
This time, we will use micro:bit to create a small transmitter.
Morse code is a method of encoding text characters as sequences of dots and dashes, invented in 1836. The International Morse Code is still in use today.

Image source: wiki
Materials and Tools List
-
Micro:bit main control board
-
Data cable
-
Makecode online website https://makecode.microbit.org
-
3D printer and materials
Writing the Program
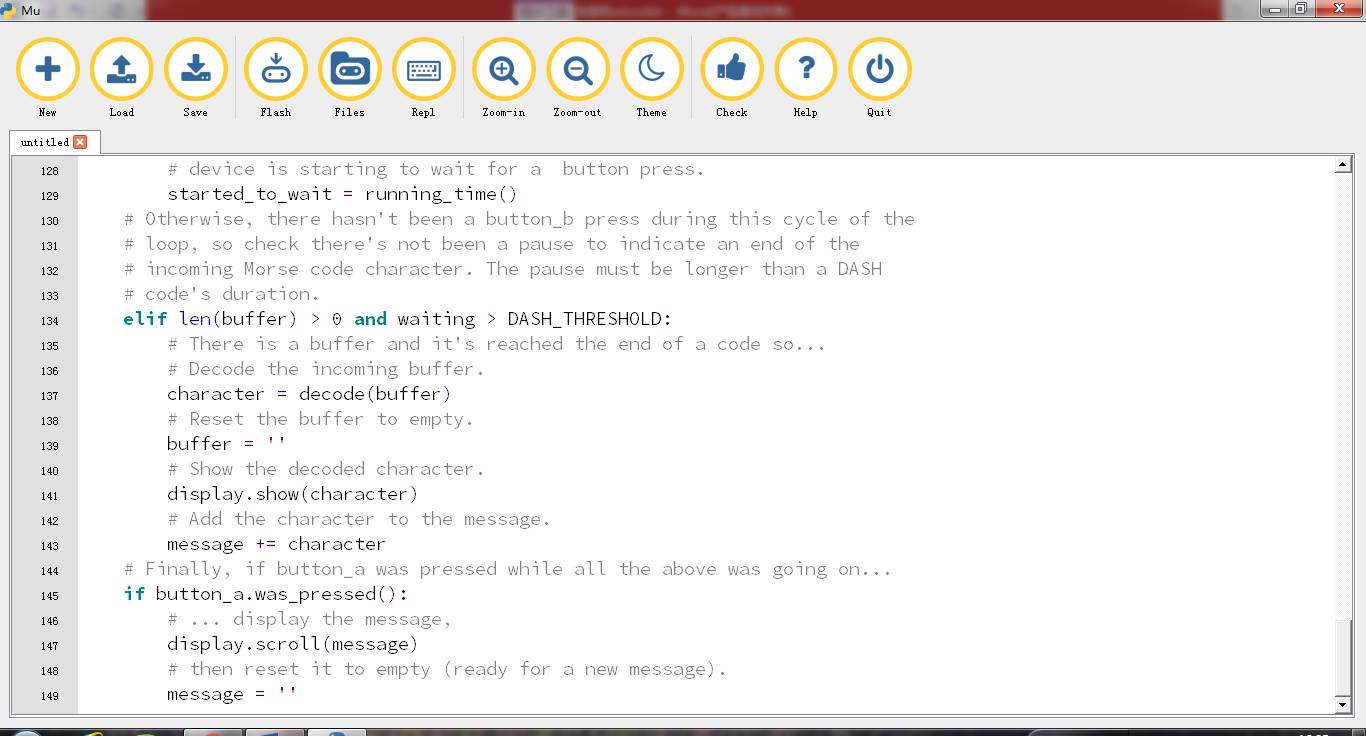
The code we used is primarily based on existing examples from microbit-micropython.readthedocs.io, with slight adjustments. The programming language is Python, capable of displaying the 26 letters from a-z and numbers. The basic programming logic is that a key press within 220 milliseconds is counted as a short signal • (dot), while a key press between 220-440 milliseconds is counted as a long signal – (dash).
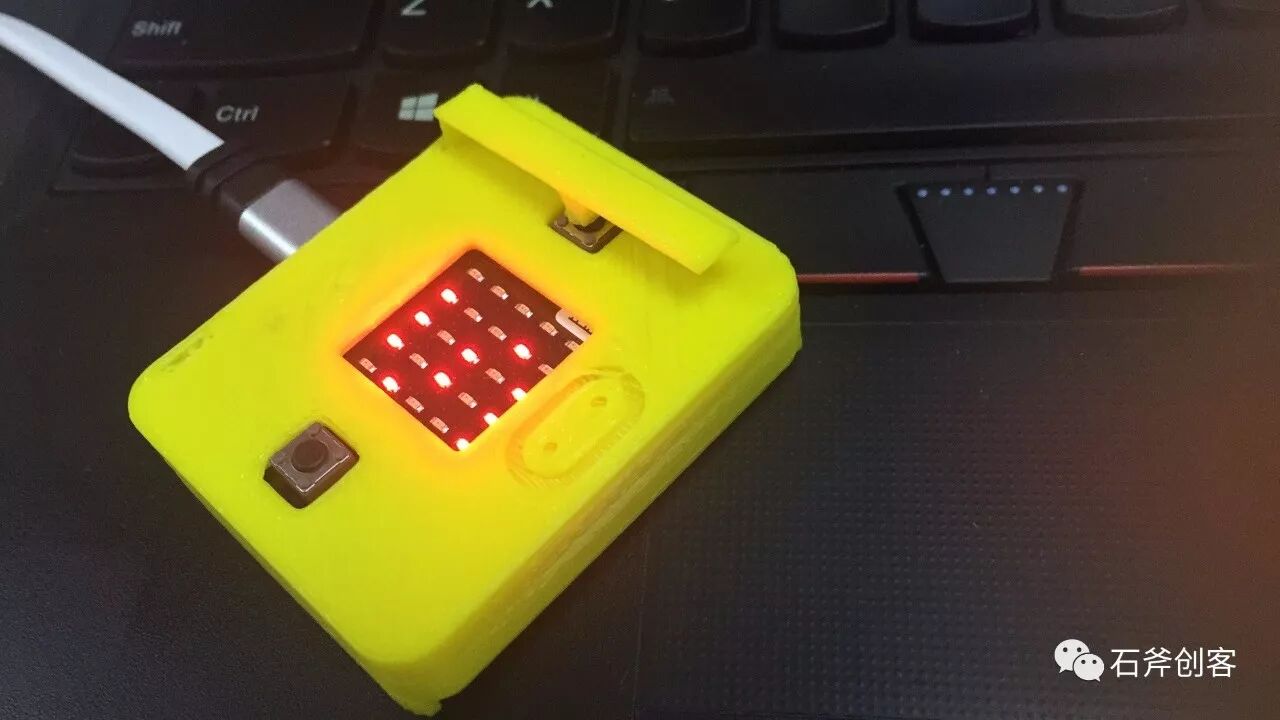
When pressing • (dot) and – (dash), different patterns will be displayed on the screen, and the program will determine the interval time. If the waiting time exceeds 440 milliseconds without input, it is considered that the current input is complete. After input completion, the current letter or number will be displayed.
The screen will always show the last inputted letter or number. If the input signal combination does not correspond to a recognizable letter or number, a dot will be displayed on the screen. All input letters and numbers will be stored in a buffer.
After continuously inputting some information, pressing the A key will display all the letters and numbers that have been inputted and reset the buffer.

Dot signals are displayed as vertical lines on the screen, while dash signals are displayed as horizontal lines.
Future Improvements
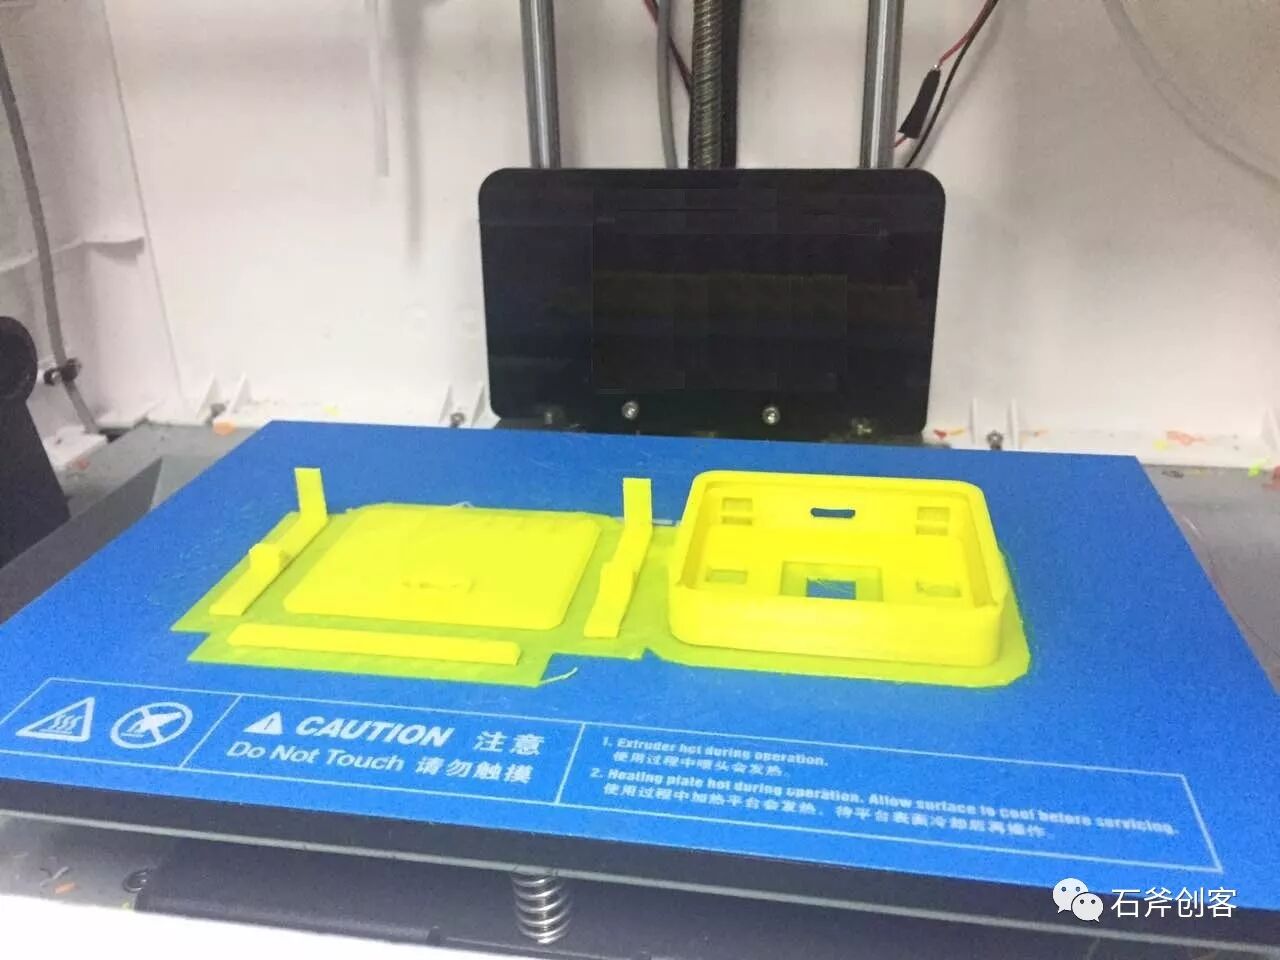
You can use 3D printing to create a case for the transmitter to house the micro:bit. For example, the micro:bit section on https://www.myminifactory.com has shared 3D printing source files for transmitters.
The STL file model provided on this site is slightly smaller; if printed at the original size, the micro:bit board will not fit. When using 3D printing software, scaling the model to 108% is more suitable. Since only the left nozzle was used, we printed a solid color transmitter case, which is yellow. Additionally, the shared transmitter handle model has a bent section that may break during 3D printing, so it is best to modify it to make that part straight.

Finally, we provide the Python source code and the modified STL model file (you can view it by clicking the original link). You can use the mu editor (https://codewith.mu/) to compile it.
Stone Axe Maker
The stone axe (Handaxe) may be one of the earliest tools made by humans. From stone tools to 3D printing, let us joyfully create things like our ancestors.