September18,2025
1. Introduction: Why Can Professional Players’ Prints Be So Realistic? The Secret Lies in Post-Processing!
Recently, I saw someone share a comparison image: on the left was their freshly printed FDM dinosaur skeleton model—its surface had obvious layer lines, and there were remnants of support at the joints; on the right was the finished product after some “tinkering”: the layer lines were sanded smooth like porcelain, the joints were painted with metallic paint shining with a cold light, and even the teeth were detailed with paint using a toothpick. The comments were filled with exclamations: “Is this really the same model? It looks just like a museum exhibit!”
This is the most fascinating “hidden level” of 3D printing—post-processing is not just an embellishment, but a crucial leap from “usable” to “stunning.” Whether it’s FDM plastic parts, UV-cured resin parts, or industrial-style nylon components, mastering the right post-processing techniques can directly “upgrade” the texture, color, and details of your work.
Today, we will break down the “complete process secrets” of 3D printing post-processing, from the basics of cleaning and removing supports to advanced techniques like sanding, painting, and assembly, ensuring that every print you create has “collectible-level” aesthetics.
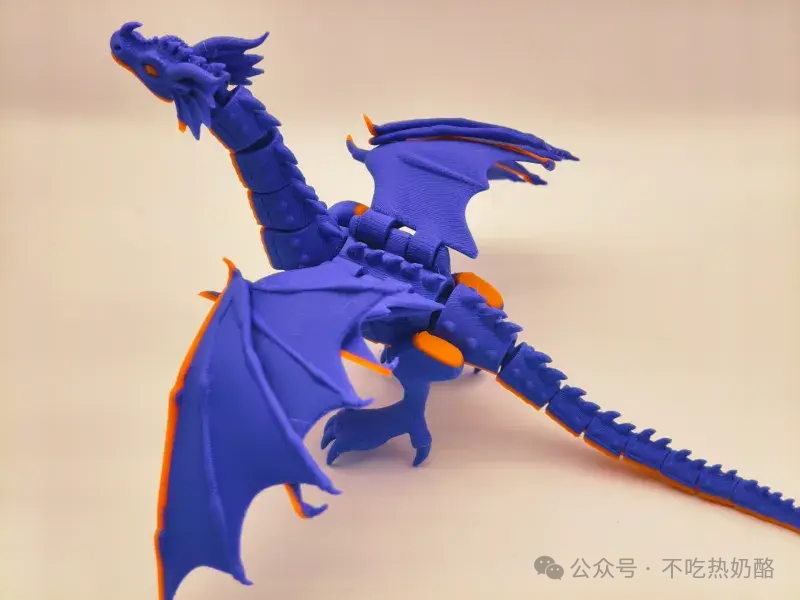
2. Basic Post-Processing: Cleaning, Support Removal, and “Rescuing Failed Models”
1. Cleaning: Never Skimp on the First Step!
No matter the material, the first thing to do after printing is to “clean it up”—residual materials can affect subsequent operations (for example, uncleaned resin can lead to uneven coloring, and FDM support debris can make sanding more difficult).
– FDM Printer: Use a stiff brush (or an old toothbrush) to gently brush off the support debris from the model’s surface (PLA supports are relatively brittle, so avoid excessive force to prevent scratching the model). Stubborn debris can be blown away with a hairdryer on the cool setting (hot air may cause PLA to deform). If you used a non-stick spray (like painter’s tape substitute) during printing, wipe the surface residue with an alcohol wipe.
– UV-Curing Printer: This is the most critical step! The surface and crevices of resin models will retain uncured, sticky resin, which must be soaked or rinsed with alcohol of 95% concentration or higher (ordinary medical alcohol is only 75%, which is less effective). Method: Place the model in a sealed bag, pour in alcohol until fully submerged, seal it, and gently shake for 1-2 minutes, then pour out the alcohol (this can be repeated 2-3 times until the liquid is clear); you can also use an ultrasonic cleaner (water level above the model, frequency 40kHz, clean for 3-5 minutes) for a more thorough effect. After cleaning, be sure to dry the surface moisture with a paper towel or blow dry with a hairdryer on the cool setting (do not expose to direct sunlight!).
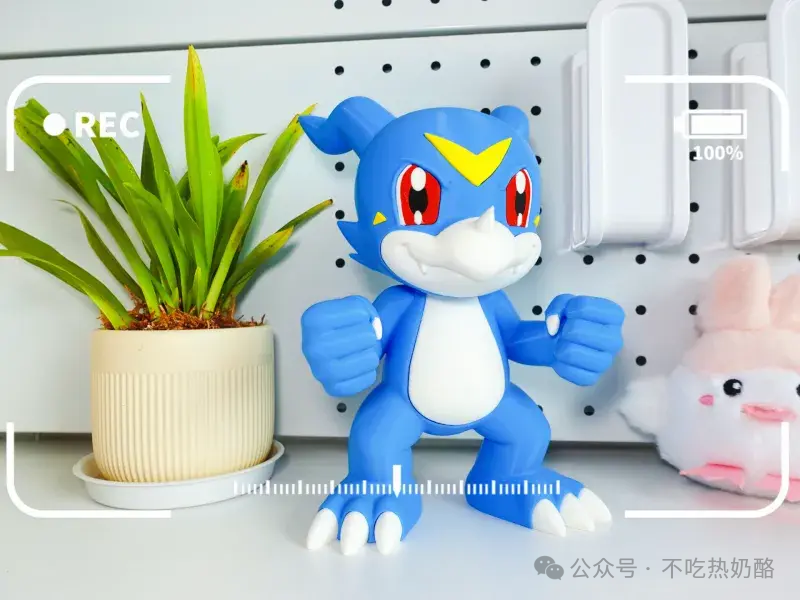
2. Support Removal: Carefully “Disassemble” for Perfect Details
Supports on UV-cured models must be removed (the tree-like supports of FDM can be left until after sanding), but forcibly breaking them can cause surface dents or fractures in the model.
– UV-Cured Supports: Use a “support removal knife” (or a thin guitar pick) to insert at the connection point between the support and the model, gently prying it—be careful to match the angle to the connection point, avoiding vertical force (which can easily damage the model). For delicate areas like small fingers or antennae, first use nail clippers to cut the support at the base, then use tweezers to slowly pull out the end of the support. If the support is too firmly attached (for example, if high-toughness resin was used), soak it in hot water (around 50°C) for 10 minutes to soften the resin before attempting to pry it off.
– FDM Supports: PLA supports are relatively easy to remove (especially tree-like supports), use scissors or needle-nose pliers to cut along the boundary between the support and the model, and sand down any remaining small fragments (see the sanding steps later). ABS supports are harder, so it is recommended to use a heat gun (on low) to heat the connection point between the support and the model, allowing the PLA to soften for easy removal.
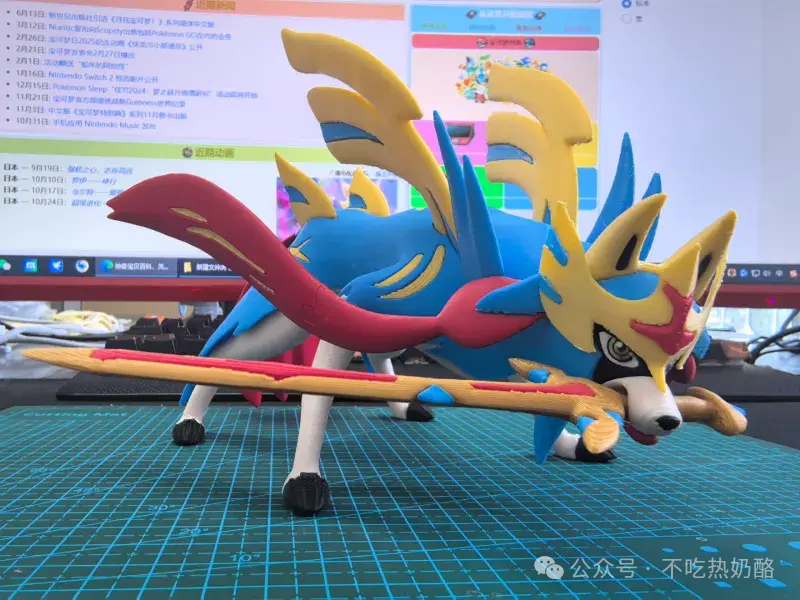
3. Rescue Techniques: These Tips Can “Save” Failed Prints
– Issue 1: Model Edges Warping/Breaking → Use 502 glue (super glue) or epoxy AB glue for repairs (first clean the broken surface, apply glue, and press for 10 seconds to cure); if there is a large area missing on an FDM print, you can use matching color PLA filament to “print” a layer over the break (print the missing part separately using slicing software, then glue it on).
– Issue 2: Surface Scratches/Dents → First sand with fine sandpaper (around 800 grit) to smooth it out, then cover with subsequent painting or polishing (see later steps).
– Issue 3: Uneven Color (for example, yellowing in parts of the resin) → Gently rub with toothpaste (which contains fine abrasive particles) mixed with water, or spray with a dedicated plastic refurbishing agent.
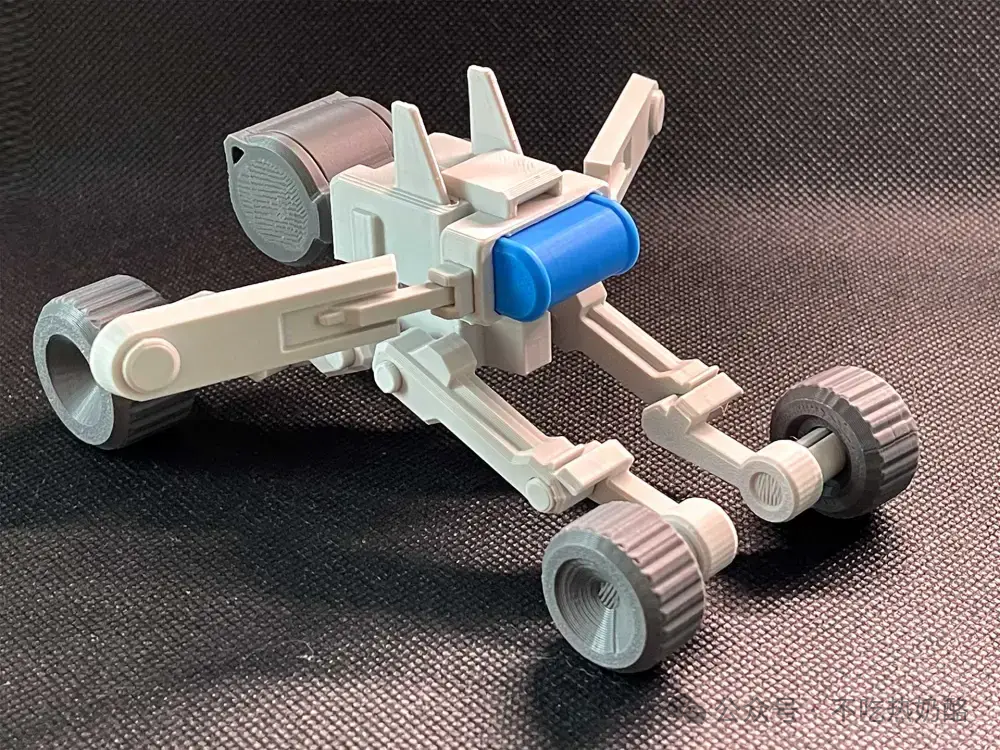
3. Advanced Post-Processing: Sanding, Polishing, and “Texture Upgrade”
Cleaning and support removal are just the basics; to achieve a smooth, mirror-like surface with clear details, sanding and polishing are essential—especially for the layer lines of FDM and the “orange peel effect” of UV-cured resin (slight unevenness on the resin surface), both of which need physical sanding to improve.
1. Sanding: A “Patience Game” from Coarse to Fine
– Tool Selection:
– FDM Plastic Parts: Use sandpaper from coarse to fine (recommended 800 grit → 1200 grit → 2000 grit → 3000 grit), along with a sanding block (to prevent localized excessive wear on the sandpaper);
– UV-Cured Resin Parts: Start with 1000 grit sandpaper to remove the sticky feel and minor flaws, then transition to polishing with sandpaper of 2000 grit or higher (resin is softer than plastic, so avoid using too coarse sandpaper directly).
– Operation Tips:
– Sand along the texture of the model (for example, cylindrical shapes along the axis, facial features along the muscle direction), avoiding lateral force that leaves scratches;
– Start with large flat areas before addressing detailed parts (like the eyes of a character or grooves in a weapon);
– Each time you switch to a finer grit, wipe the model surface with a damp cloth (to avoid coarse sandpaper debris mixing into the fine sanding process).
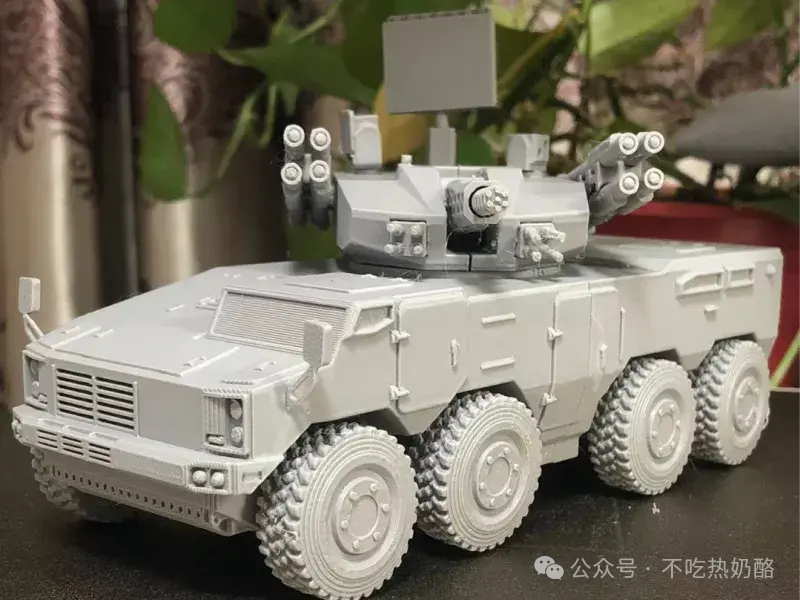
User Case: Hobbyist@ Xiao Yu printed a “vintage camera model”; after printing with FDM, the surface layer lines were obvious. She used 800 grit sandpaper to sand down the main lines, then polished the edges with 2000 grit sandpaper, and finally wiped the entire body with toothpaste (containing calcium carbonate abrasive), making the finished product look like a plastic shell of an “old Leica.”
2. Polishing: Making the Surface “Shiny Enough to Reflect”
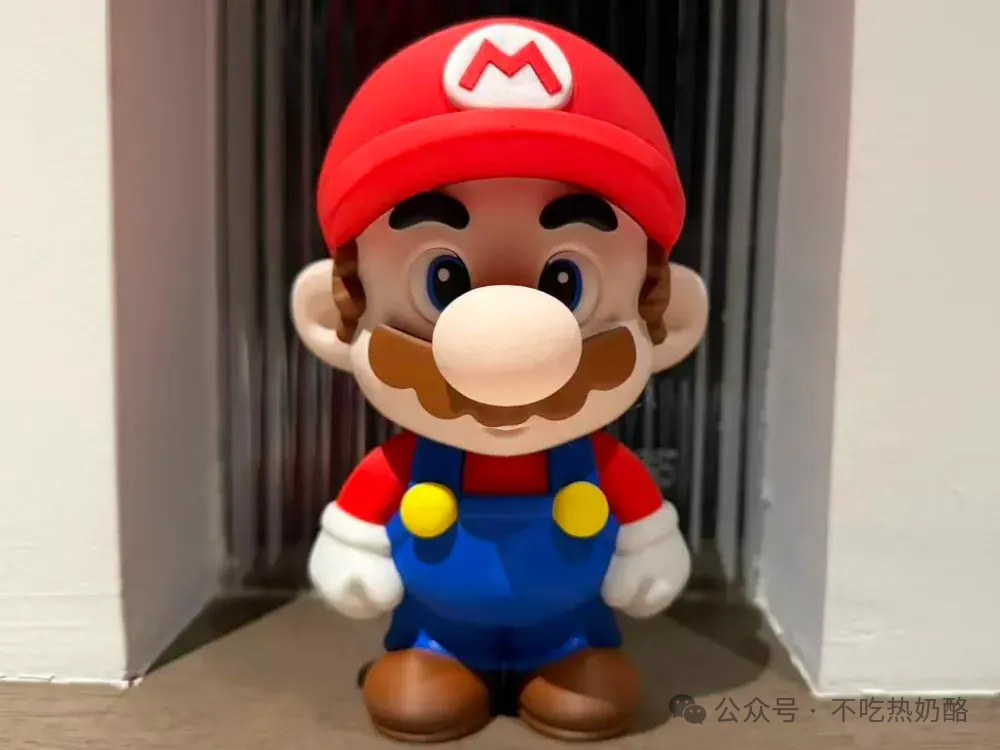
If you pursue a mirror effect (for example, resin jewelry or display-grade models), polishing is required after sanding:
– FDM Plastic Parts: Use polishing paste (like coarse wax used for car waxing) with a soft cloth or wool wheel (on a low-speed electric sander), gently applying it to the model surface; you can also use “aluminum oxide polishing agent” (finer) for detailed areas.
– UV-Cured Resin Parts: Use dedicated resin polishing agents (or toothpaste + water), applying with a cotton swab or soft brush to repeatedly rub high-gloss areas (like gems or metal decorations); more advanced users may use the “flame polishing method” (only for high-temperature resistant plastics like PLA/ABS!)—quickly pass a lighter over the model surface (at a distance of 5-10cm, not exceeding 1 second), using high temperature to melt the surface molecules to rearrange them smoothly (this method carries high risk, so beginners should be cautious).
4. Advanced Techniques: Coloring, Painting, and “Creative Transformation”
The ultimate realm of post-processing is to bring models “to life” through color and decoration—whether painting a gradient skin on a figurine or spraying an industrial-style coating on tool parts, it can give the work a unique personality.
1. Basic Coloring: From “Single Color Spraying” to “Gradient Effects”
– Tool Preparation:
– Basic Tools: Airbrush (or spray can, easier to handle), masking tape (for section coloring), sandpaper (above 1500 grit, to ensure a smooth surface), primer (to improve paint adhesion);
– Paint Selection: Model-specific acrylic paint (cheap and easy to use), water-based paint (environmentally friendly and odorless), enamel paint (high-temperature resistant, suitable for metallic effects); for UV-cured models, it is recommended to use “resin-specific paint” (ordinary paint may not adhere well).
– Operation Steps:
1. Spray Primer: Evenly spray gray or white model primer over the entire model (to seal material pores and prevent subsequent paint penetration), spraying 2-3 layers, with 5-10 minutes between each layer (wait for complete drying before spraying the next layer);
2. Official Coloring: For single color, directly spray evenly with the airbrush (at a distance of 15-20cm, thin sprays multiple times are more even than thick sprays once); for gradient colors (like from blue to purple), first spray a light color as a base, then overlay a darker color on the edges or designated areas (use masking tape to protect areas that do not need coloring);
3. Detail Painting: Use an extremely fine brush (size 00 or finer) to dip into the paint, manually painting small areas like eyes or patterns (for example, adding highlights to the pupils of a figurine or coloring the inscriptions on a weapon).
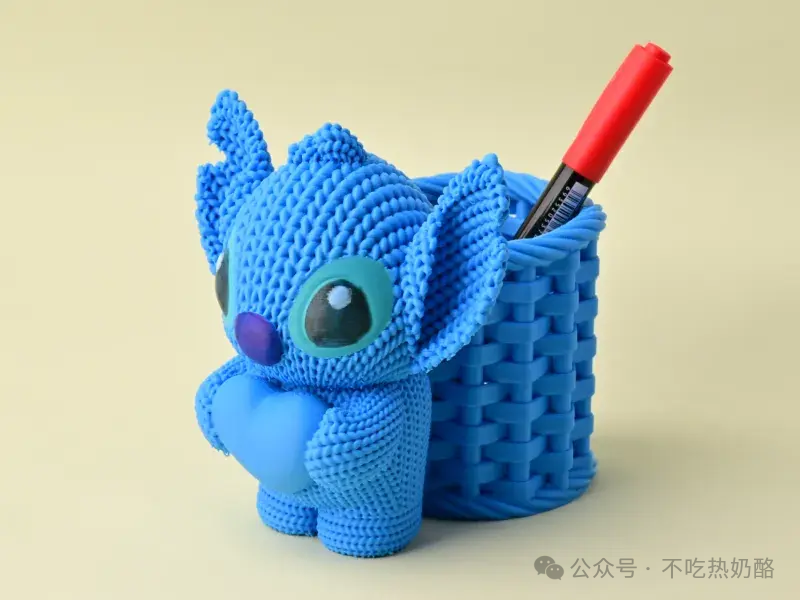
User Case: Anime Fan@ A Zi printed a “Hatsune Miku” clay-style figurine, first using white primer as a base, then spraying light pink for the hair and skirt, and finally using a fine brush dipped in blue paint to add highlights to the eyes, resulting in a finished product so cute that fans chased her for the link.
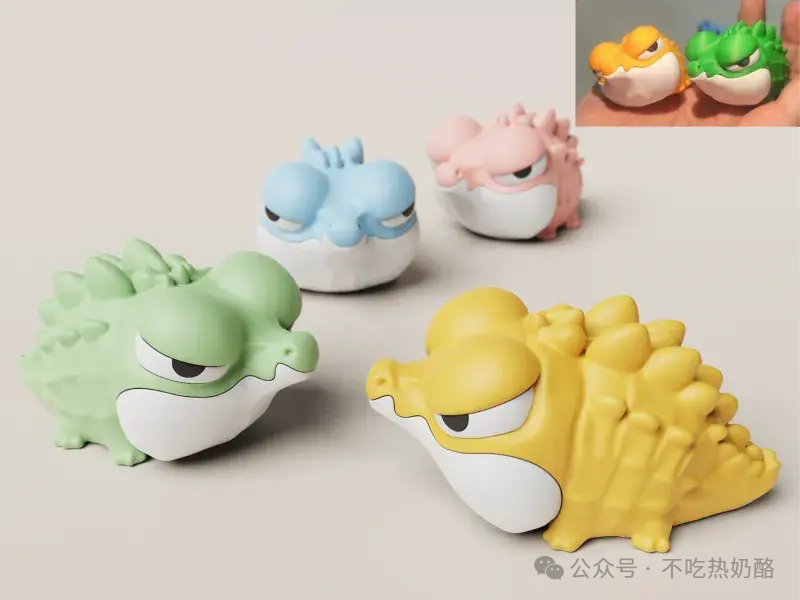
2. Creative Transformation: Giving Models “Soul”
– Adding Accessories: Use glue (like epoxy AB glue) to attach small parts (like adding LED lights to a robot model or attaching real gemstone clasps to jewelry models);
– Surface Texture: Use a carving knife to engrave patterns on the surface of plastic/resin (like inscriptions on weapons or folds in clothing), or use a heat gun to soften PLA parts and manually shape them (like creating wavy edges for a flower pot);
– Function Upgrade: Wrap printed tool parts (like wrench handles) with anti-slip tape, or install magnets inside the model (for detachable assembly).
5. Conclusion: The Significance of Post-Processing is to Make “Creation” More Meaningful
From the “mechanical output” of the printer to the hand-polished and painted “handcrafted sculpture,” the post-processing process is actually a time for the creator to converse with the work—you are not just sanding away surface flaws, but also expressing your dedication to perfection; every stroke of color you apply is a tangible expression of your imagination.
As one reader said: “What I print is not just a model, but a story. Post-processing adds details to this story, allowing it to be seen and remembered.”
Next time you finish a print, don’t rush to end it—pick up sandpaper, paint, and tools, and transform your work from “usable” to “collectible,” from “my creation” to “others’ amazement.”
(Next Issue Preview: “3D Printing × Life Inspiration: How to Transform Home with Printed Items? From Storage Solutions to Personalized Gifts, These Cases Are Super Practical!”—Follow me to unlock the infinite possibilities of 3D printing in daily life!)
Interactive Topic: Have you used post-processing techniques to “revive” prints or make them “aesthetic explosion”? Share your work photos and operation steps; the reader with the most likes will receive a custom 3D printing gift!