
1. Two Python Development Paths
The ESP8266 runs Python mainly through two methods; understand the differences before getting started:
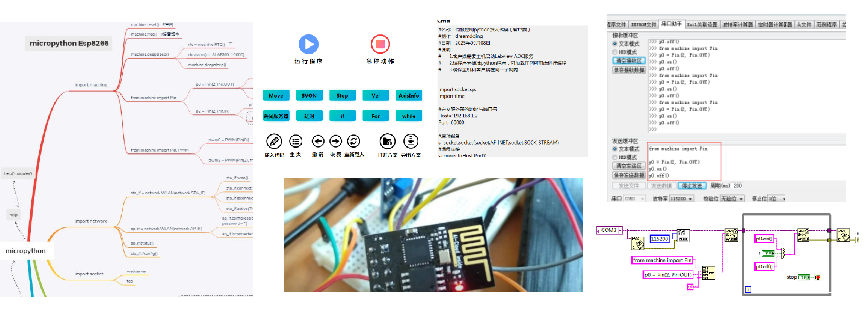
- MicroPython Firmware: Burn a lightweight version of Python directly into the module, allowing it to run Python code independently (suitable for local control);
- Remote Control: The ESP8266 runs a server, and a computer/mobile device sends commands using Python (suitable for multi-device interaction).
Today, we will focus on the more commonly used MicroPython method, with complete code and steps included.
2. Flashing MicroPython Firmware
To make the ESP8266 recognize Python, you need to install the “Python system”—MicroPython firmware, which can be done in 3 steps:
1. Prepare Tools and Files
Hardware: ESP8266 module (e.g., NodeMCU), USB data cable (must support data transfer); Software: Download MicroPython firmware: the official firmware for the corresponding model (choose the latest stable version, file name similar to esp8266-20240105-v1.22.1.bin); Install the firmware flashing tool: install esptool on your computer (enter the command pip install esptool in the command line).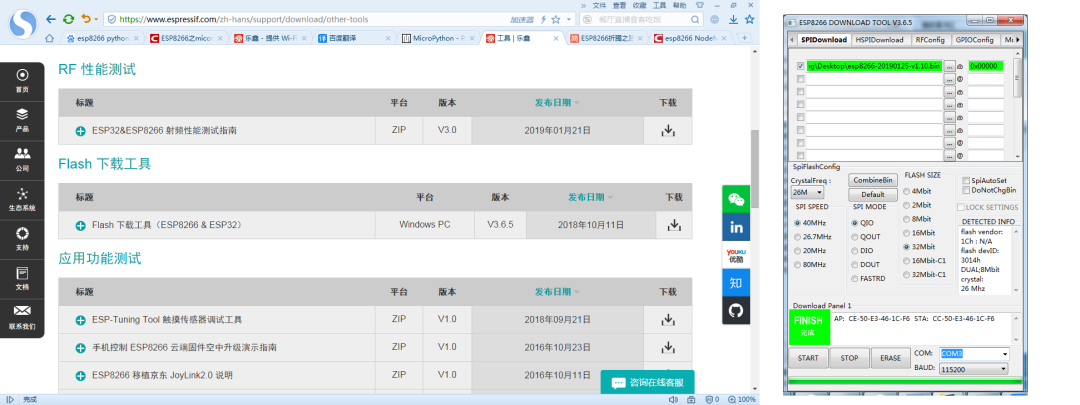
2. Erase Existing Firmware: Connect the ESP8266 to the computer with a data cable, and find out the COM port number (Windows: check “Device Manager” → “Ports”, e.g., COM3; Mac: check ls /dev/tty.usb*);
Open the command line and enter the erase command (replace COMx with your COM port number):
esptool.py --port COMx erase_flash
If you see “Erase completed successfully,” it was successful.
3. Flash MicroPython Firmware
Continue in the command line to enter the flashing command (make sure to replace the COM port number and firmware path):
esptool.py --port COMx --baud 460800 write_flash --flash_size=detect 0 your_firmware_file_name.bin
Wait for the progress bar to finish, and when you see “Write completed successfully,” the firmware is installed!
4. Connect Development Environment and Write Your First Line of Python Code
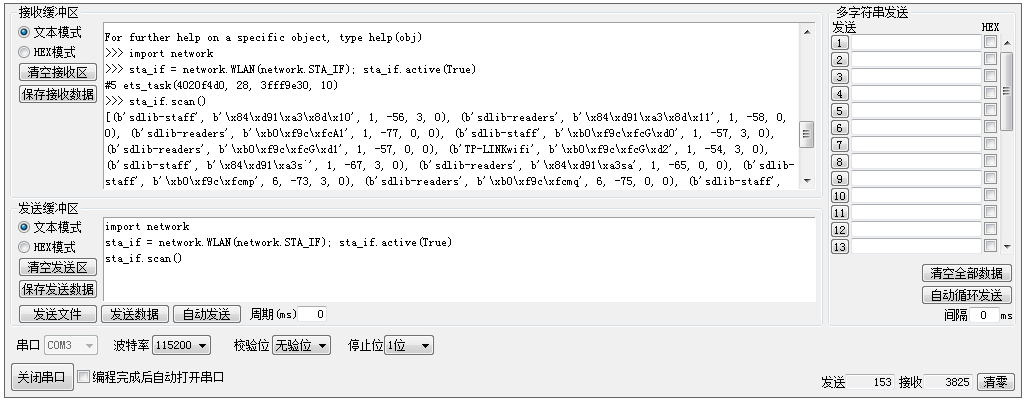
After flashing the firmware, you need to connect to the ESP8266 to write code. It is recommended for beginners to use Thonny IDE (simple and easy to use, supports real-time debugging):
Open Thonny, click on the “Interpreter” in the lower right corner → select “MicroPython (ESP8266)”; choose the corresponding COM port number, click “OK,” and Thonny will automatically connect to the ESP8266: once connected successfully, the lower left corner will display “MicroPython on ESP8266,” and you can start writing code.
3. Core Functionality Practice: GPIO/PWM/ADC
The following three examples are the most commonly used functions of the ESP8266, and the code can be directly copied into Thonny to run; remember to modify parameters as per the comments.
1. Control GPIO: Light Up the Onboard LED
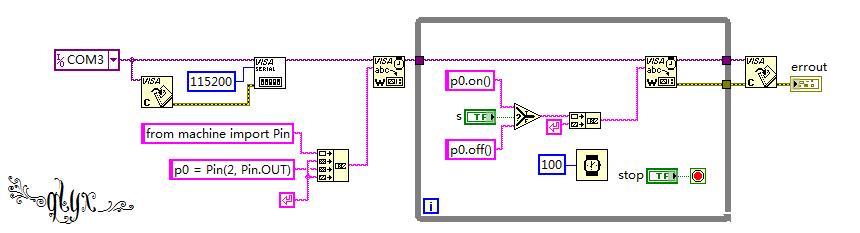
The onboard LED of the ESP8266 is usually connected to GPIO2 (low level lights up, high level turns off), and the code is very simple:
# Import necessary modules
import machine
import time

# Configure GPIO2 as output
led = machine.Pin(2, machine.Pin.OUT)

# Make the LED blink (cycle through levels)
while True:
    led.value(0)  # Light up LED (low level effective)
    time.sleep(0.5)  # Light for 0.5 seconds
    led.value(1)  # Turn off LED
    time.sleep(0.5)  # Off for 0.5 seconds
Running Method: Click the “Run” button in Thonny, and the onboard LED will start blinking; to stop it, press the “Stop” button.
2. Output PWM: Adjust LED Brightness
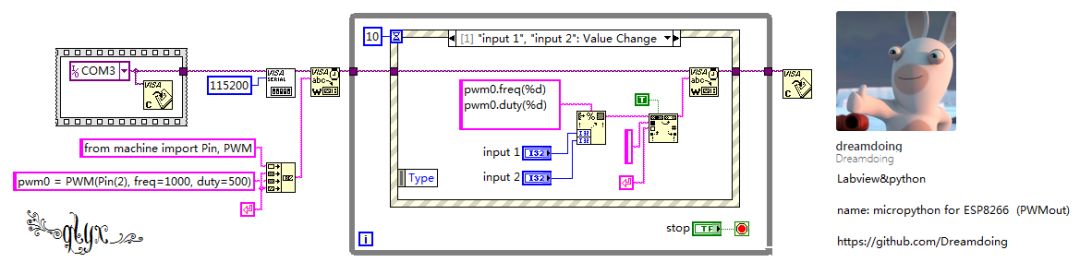
PWM (Pulse Width Modulation) can achieve “gradual brightness” and “motor speed control”; most GPIOs on the ESP8266 support PWM, taking GPIO4 as an example:
import machine
import time

# Configure GPIO4 as PWM output
pwm = machine.PWM(machine.Pin(4))

# Set PWM frequency (1000Hz, common frequencies: 1000-5000Hz for LEDs, 50Hz for motors)
pwm.freq(1000)

# Gradually adjust brightness (duty cycle 0-1023, 0 is dimmest, 1023 is brightest)
while True:
    # Brightness from dim to bright
    for duty in range(0, 1024, 5):  # Step size 5, to avoid changes being too fast
        pwm.duty(duty)
        time.sleep(0.01)  # Interval of 0.01 seconds for smoother changes
    # Brightness from bright to dim
    for duty in range(1023, -1, -5):
        pwm.duty(duty)
        time.sleep(0.01)
Effect: The LED connected to GPIO4 will slowly fade in and out; if connected to a servo/motor, you can adjust the frequency to 50Hz to control angle/speed.
3. Collect Internal ADC: Read Voltage Value
The ESP8266 has only 1 internal ADC channel (ADC0), corresponding to pin A0; note thatthe maximum input voltage can only reach 1V (exceeding this will burn the module!), suitable for measuring low voltage signals:
import machine
import time

# Initialize ADC0 (A0 pin)
adc = machine.ADC(0)

# Loop to read ADC value and convert to voltage
while True:
    adc_value = adc.read()  # Read raw ADC value (range 0-1023)
    voltage = adc_value * (1.0 / 1023.0)  # Convert to actual voltage (1V full scale)
    print(f"ADC raw value: {adc_value} | Actual voltage: {voltage:.2f}V")
time.sleep(1)  # Read once per second
View Data: The “Shell” window at the bottom of Thonny will display the ADC value and voltage in real-time; if you want to measure higher voltages (like 3.3V), you need to connect a voltage divider circuit (e.g., two 10kΩ resistors for voltage division).
4. Supplement: Remote Control Method (suitable for multi-device interaction)
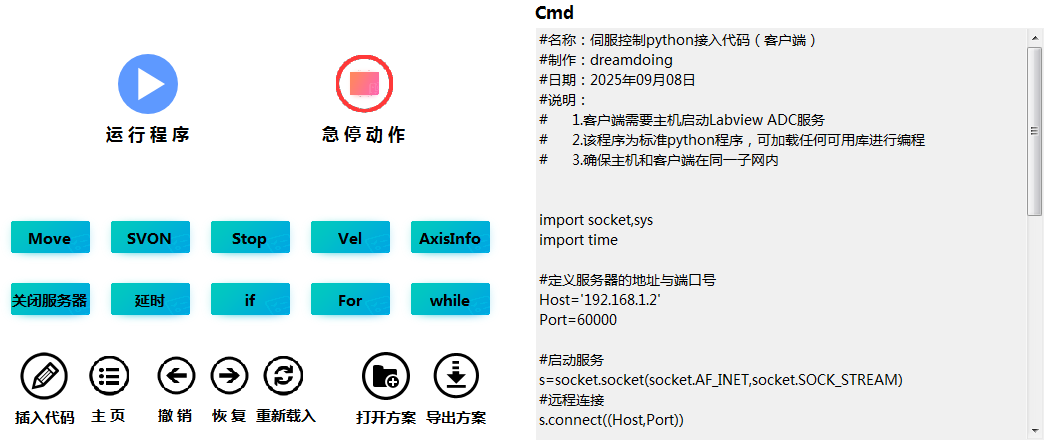
If you need to remotely control the ESP8266 from a computer/mobile device, you can use the “ESP8266 as a server + Python client” method, with a simple example below:
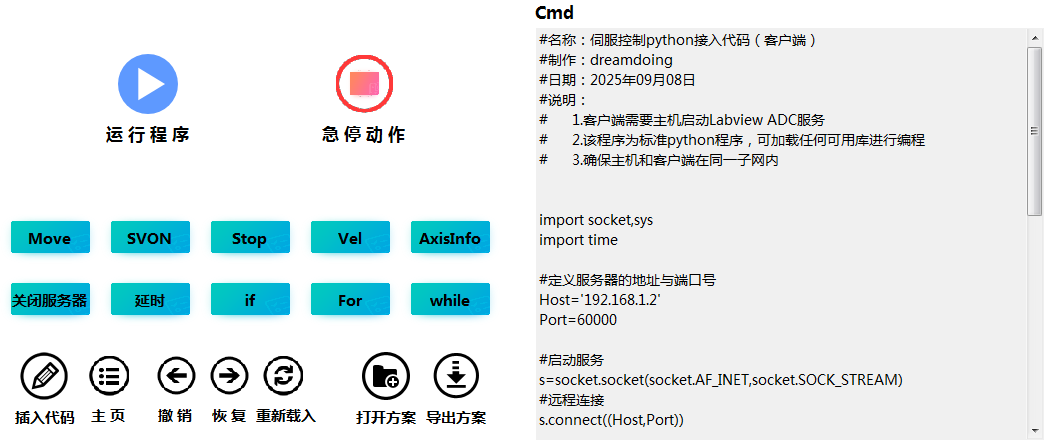
1. ESP8266 Side (running TCP server, written in Arduino)
First, flash the Arduino firmware onto the ESP8266 and write a simple TCP server to receive GPIO control commands:
#include <ESP8266WiFi.h>
const char* ssid = "Your WiFi Name";
const char* password = "Your WiFi Password";
WiFiServer server(80);  // Port 80

void setup() {
    pinMode(2, OUTPUT);  // Configure GPIO2 as output
    WiFi.begin(ssid, password);
    while (WiFi.status() != WL_CONNECTED) {
        delay(500);
    }
    server.begin();  // Start server
}

void loop() {
    WiFiClient client = server.available();
    if (client) {
        String cmd = client.readStringUntil('\n');  // Read command
        // Command format: GPIO,pin number,state (e.g., "GPIO,2,0" means GPIO2 low level)
        if (cmd.startsWith("GPIO")) {
            int pin = cmd.substring(5, cmd.indexOf(',',5)).toInt();
            int state = cmd.substring(cmd.lastIndexOf(',')+1).toInt();
            digitalWrite(pin, state);
            client.println("Executed: " + cmd);  // Reply to client
        }
        client.stop();
    }
}
2. Computer Side (Python client, sends control commands)
import socket
# ESP8266's IP after connecting to WiFi (can be seen in Arduino Serial Monitor)
ESP_IP = "192.168.1.100"
ESP_PORT = 80

def control_esp_gpio(pin, state):
    """Send command to control ESP8266's GPIO"""
    with socket.socket(socket.AF_INET, socket.SOCK_STREAM) as s:
        s.connect((ESP_IP, ESP_PORT))  # Connect to server
        cmd = f"GPIO,{pin},{state}\n"  # Construct command
        s.sendall(cmd.encode())  # Send command
        response = s.recv(1024).decode()  # Receive reply
        return response

# Control GPIO2 to light up (state 0)
result = control_esp_gpio(2, 0)
print("ESP Reply:", result)
5. Core Functionality Diagram(High-Definition Image)
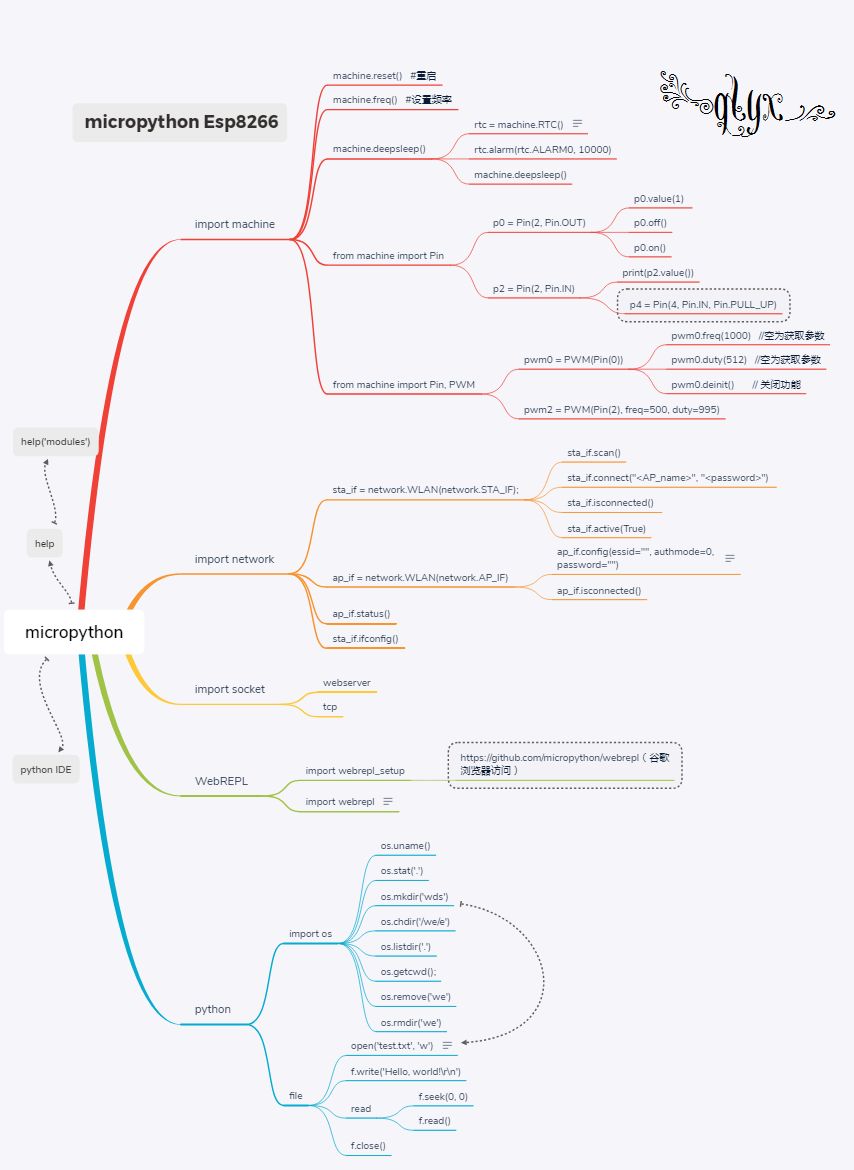
To make the use of the ESP8266 Python programming language more intuitive, below is a classification diagram of the ESP8266 Python programming control language commands:
 6. Disclaimer01. The code and images in this tutorial are original, and the copyright belongs to the Qianli Youxuan Teaching Base;02. The content discussed in this tutorial is generated with AI assistance + manual adjustments; please judge the correctness yourself;03. This tutorial is for technical sharing,applied in the teaching field, and the related code technical content is for reference only;04. Note: You can browse relatedhigh-definitionimages using the mobile WeChat client;