Welcome to the installation article for the Proteus 8.0 software. As old users know, I previously shared the classic version of Proteus 7.8 on the platform, which received positive feedback from most users for its stability and user-friendly interface. However, some users encountered various issues during installation. To address this, I provided some explanations in the background, but some questions went unanswered in a timely manner. Due to the limitations of the public account, I couldn’t respond to messages older than 24 hours. To solve these issues, I recently found a more advanced version, 8.0, online, which runs quite smoothly. You can choose between version 7.8 and 8.0 based on your preference.
Here’s the link:
Link: https://pan.baidu.com/s/10i_2ImAjqG0xpIbzqh1g3A
Password: zl08
1. File Extraction Overview
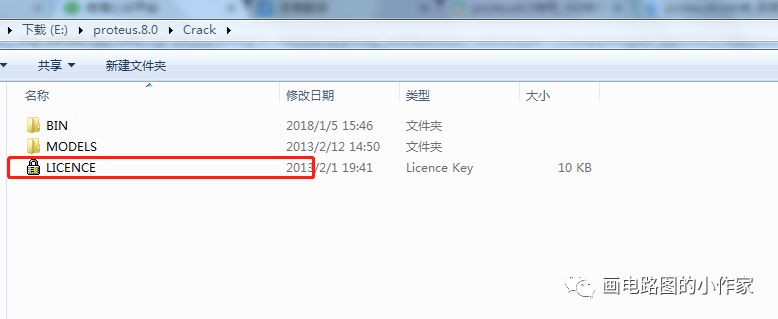
The interface after extraction looks like this:
 In the middle is the installation package, and on the right is the crack file package. Overall, this installation process is relatively simple, familiar to those who often install software. The following sections will highlight the installation and cracking process.
2. Installation Steps
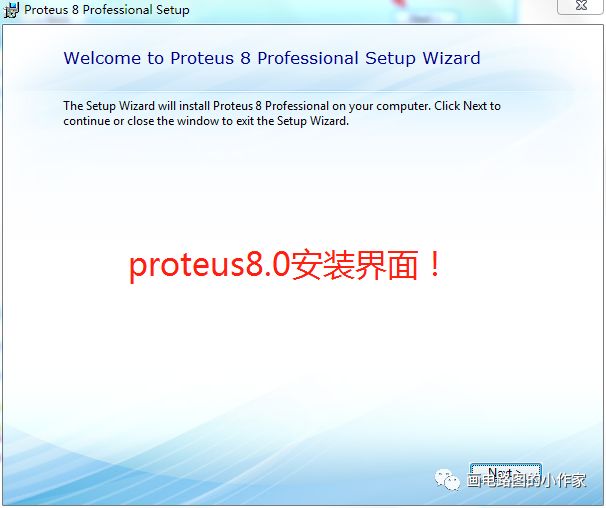
1. First, open the installation package to enter the official installation wizard interface.
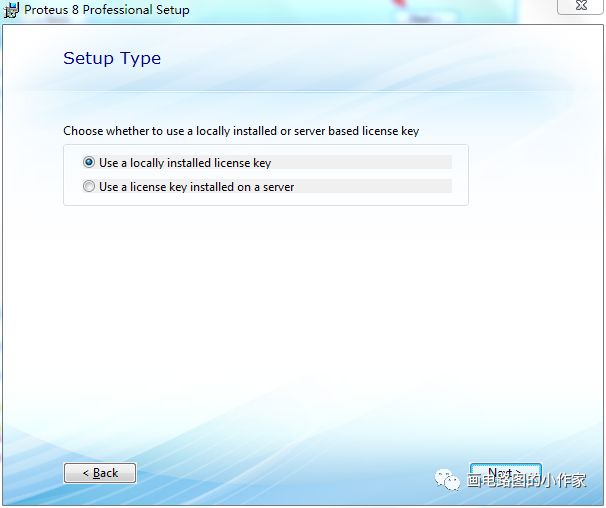
2. Click next to see this interface, select our local license file, which has been generated in the CRACK folder. So we choose “use a locally installed license key” and continue.
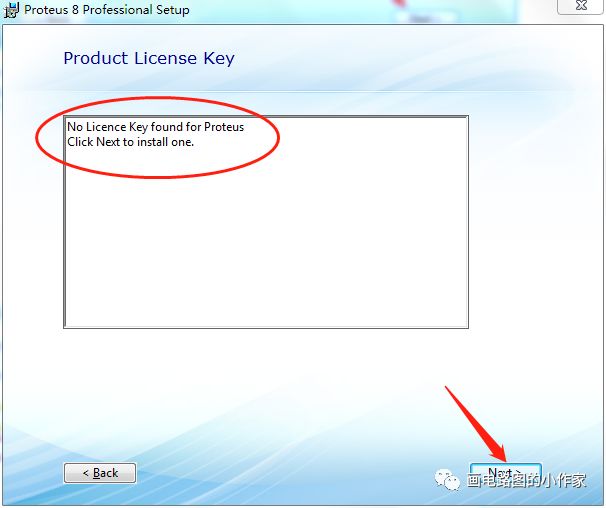
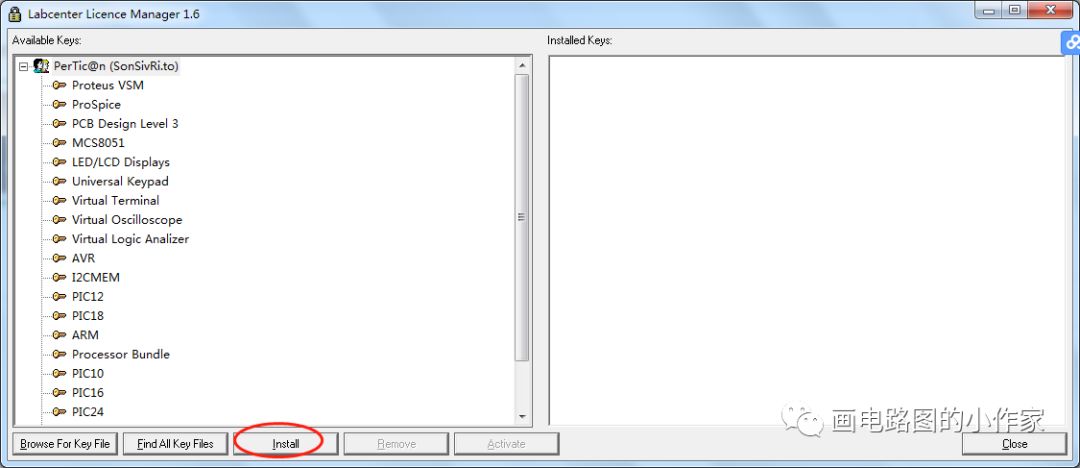
3. This is where we add the license file, so click browse for keyfile.
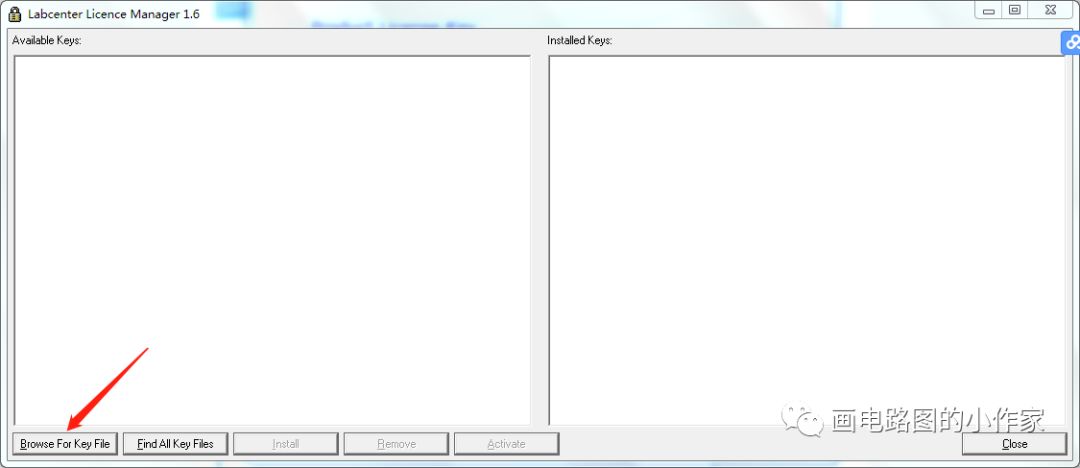
4. Then locate the required license file and install it.
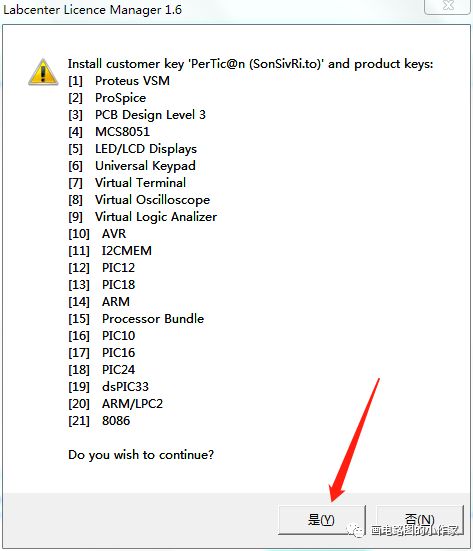
5. After adding, this dialog box will pop up for confirmation, then close it.
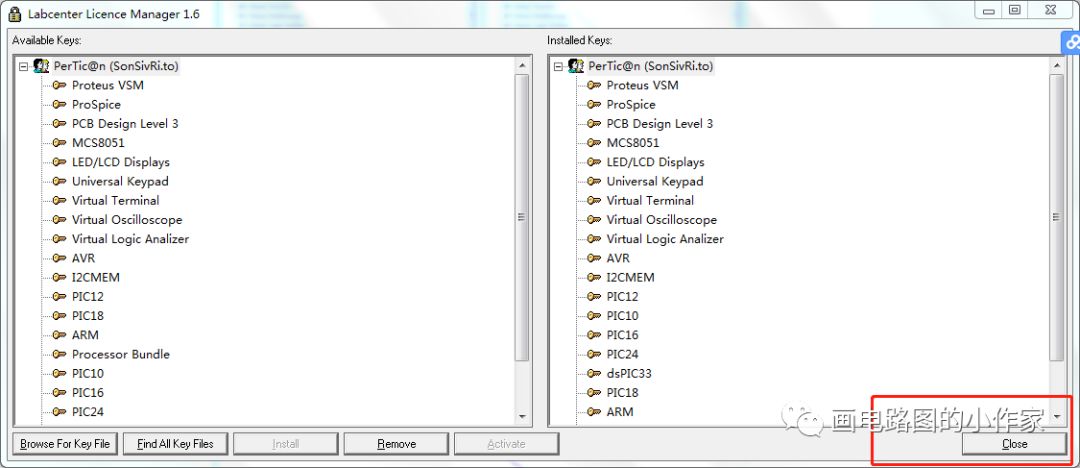
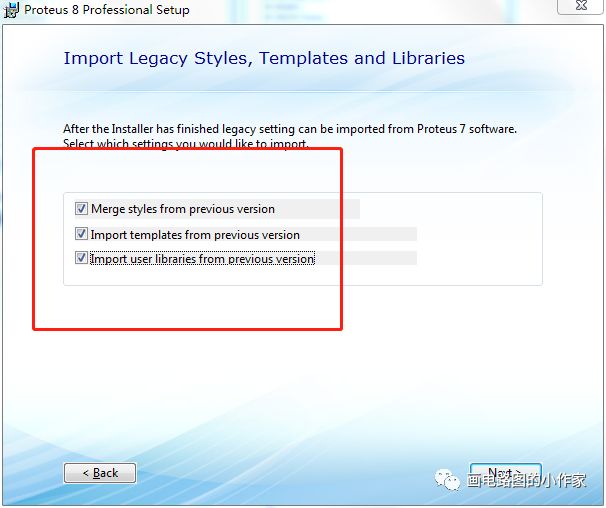
6. After closing, this interface asks whether to import the accessory files from Proteus 7. We select all three options and continue.
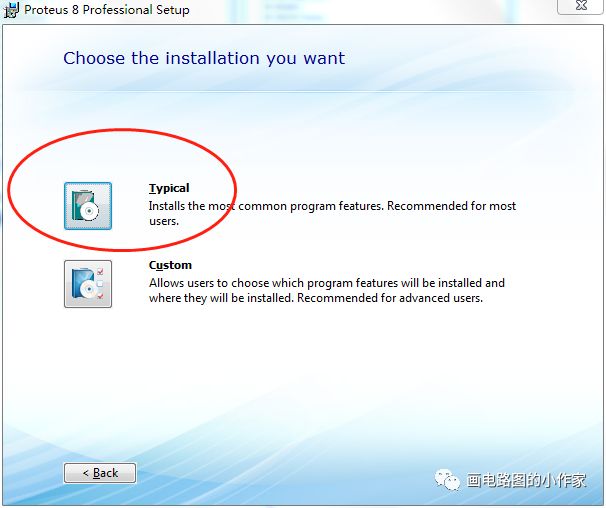
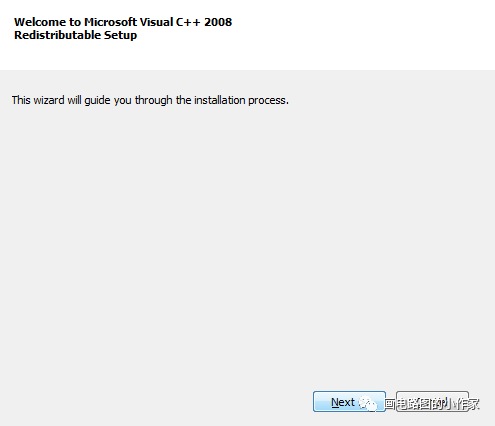
7. Choose the typical installation mode. When I chose to continue, this installation interface popped up, but I wasn’t sure what it was, so I just installed it directly (later I learned that Proteus 8.0 or later versions come with a source code editor and compiler, which might just be an installation plugin for the compiler, so feel free to install it).
3. Cracking Steps
For the cracking part, you only need to do these two steps:
1. Find and copy these two files in the CRACK folder.
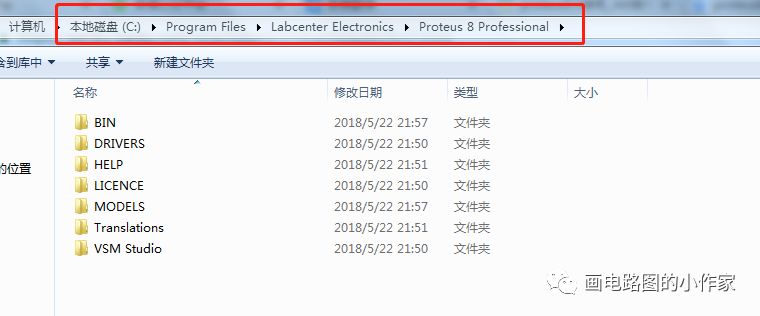
2. Locate the installation path “C:\Documents and Settings\All Users\Application Data\Labcenter Electronics\Proteus 8 Professional” and replace the original files with the copied ones (note this).
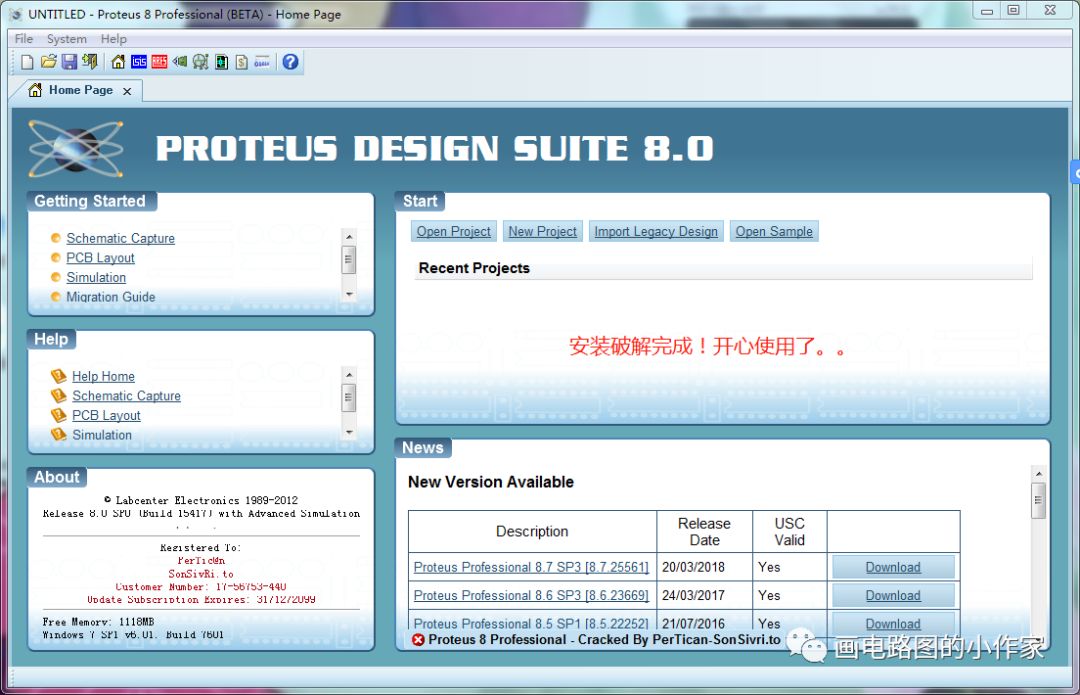
Once this is done, you can happily use the software.
Conclusion: Even though this article presents seemingly simple installation steps, it took the author a long time to gather information and optimize the process. In the end, it was quite complex to organize. In the next article, I plan to introduce another simulation tool developed by National Instruments, Multisim, which is similar to Proteus but has significant differences. Unlocking the correct way to use it. Given the effort put in by the author, why not give them a thumbs up?
A Heartfelt Farewell