1. Key Knowledge Points:1. Microcontrollers and their internal structure;2. Microcontroller application systems and development processDifficulties: The concepts of microcontrollers and microcontroller application systemsRecommended Learning Method: Light up an LED with a microcontroller, using the Keil C51 development environment to write the program.2. Learning Tasks: 1. Learn to use the Keil C51 development environment for developing 51 microcontrollers, including software startup, creating project files, adding source files, configuring project properties, saving, and compiling. After familiarizing yourself with the process, you can learn about modular programming, which is beneficial for function calls and improves program readability. 2. Understand microcontrollers. To use a microcontroller, you first need to know what it is, what structures it has, and what its functions are like.3. Task Implementation: 1. Using the Keil C51 software: Operation Steps: First, on the desktop of the computer where the Keil software is installed, double-click the shortcut icon of the software to start the software. After opening the software, the interface will look like the image below (since I have already opened a project, it will display directly; normally, no files exist).
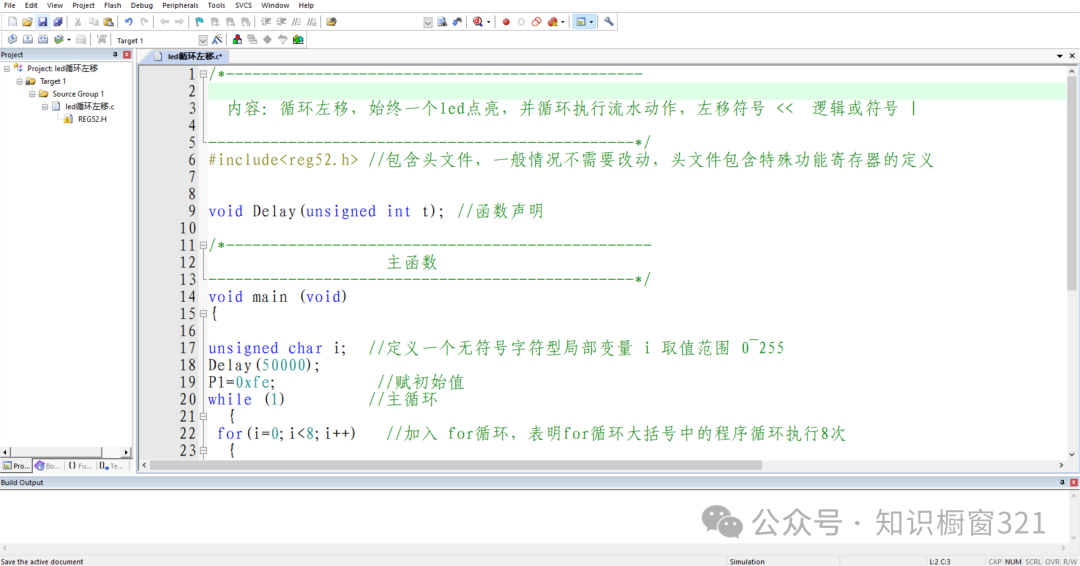 2. Create a project file: Click “Project” — “New uVision Project” to create a new project. This project is like a big house, a framework, where all other files are placed in different rooms, each with different functions.
 3. After creating the project file, it needs to be saved. It is recommended to store it on a drive other than the system drive.
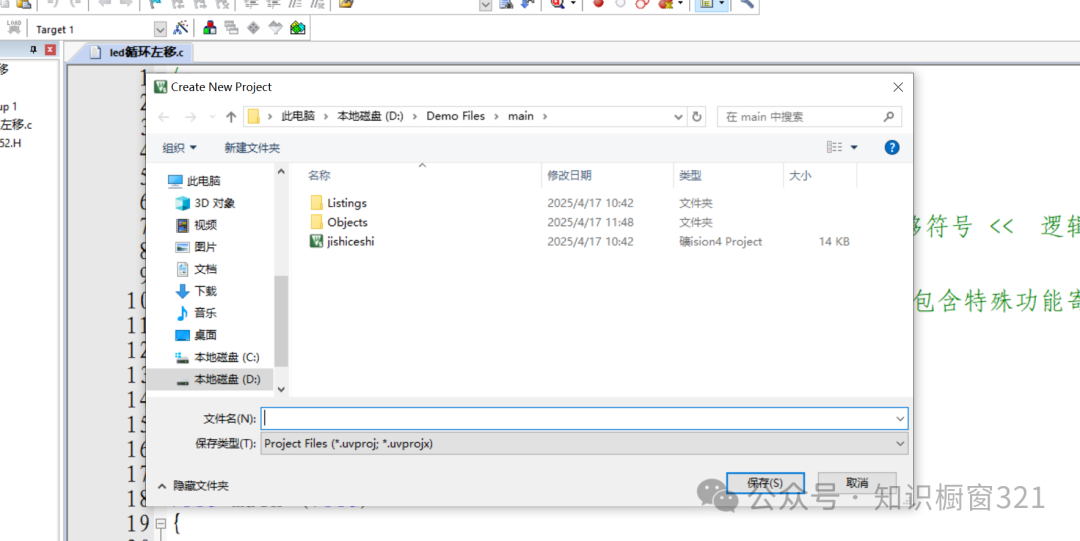 4. After saving the file, the software will prompt you to select the required chip. For beginners who are not yet familiar with microcontrollers, if time permits, you can start with the 51 microcontroller. In the options provided by the software, the default is AT89C51. Sometimes we need to select STC, but the software does not have this model and requires additional addition, which will be mentioned in future documents. After selecting the chip model, we can choose ‘Yes’ (Y) for the code startup prompt.5. Create and add source files: Click File — New File to edit the source file. Generally, we choose to edit in C language. After editing, you can save the file by clicking File — Save As…
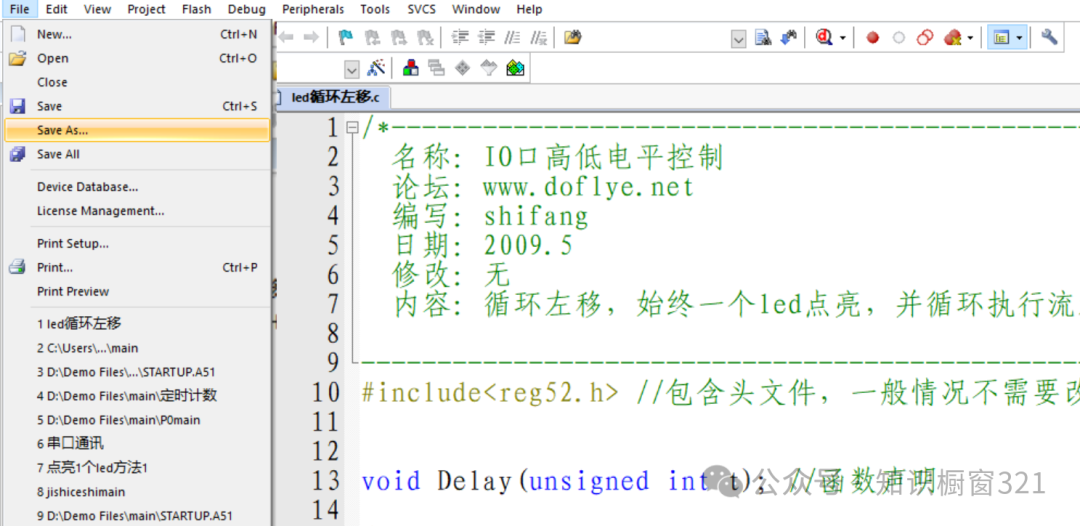 Note: At this point, we are saving the file where we want, but the development environment does not know where we stored the file, so we need to manually add the saved source file to the project (In simple terms, although we have a toy gun and successfully created a magazine, we still cannot use it without putting the magazine into the gun).
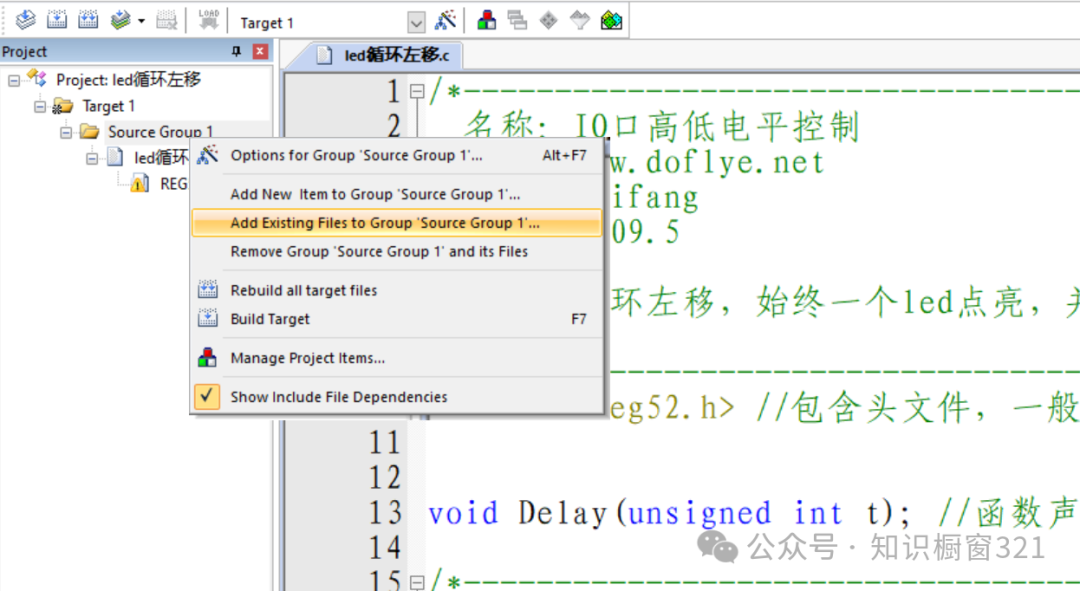 Right-click on Source Group, select Add Files to Group ‘Source Group’, choose the file type, which is C source file (*.c), and select the file we saved to add it to the project files.6. Configure Properties: Select “Options for Target”, choose Output, select “Create HEX File”, and click OK.
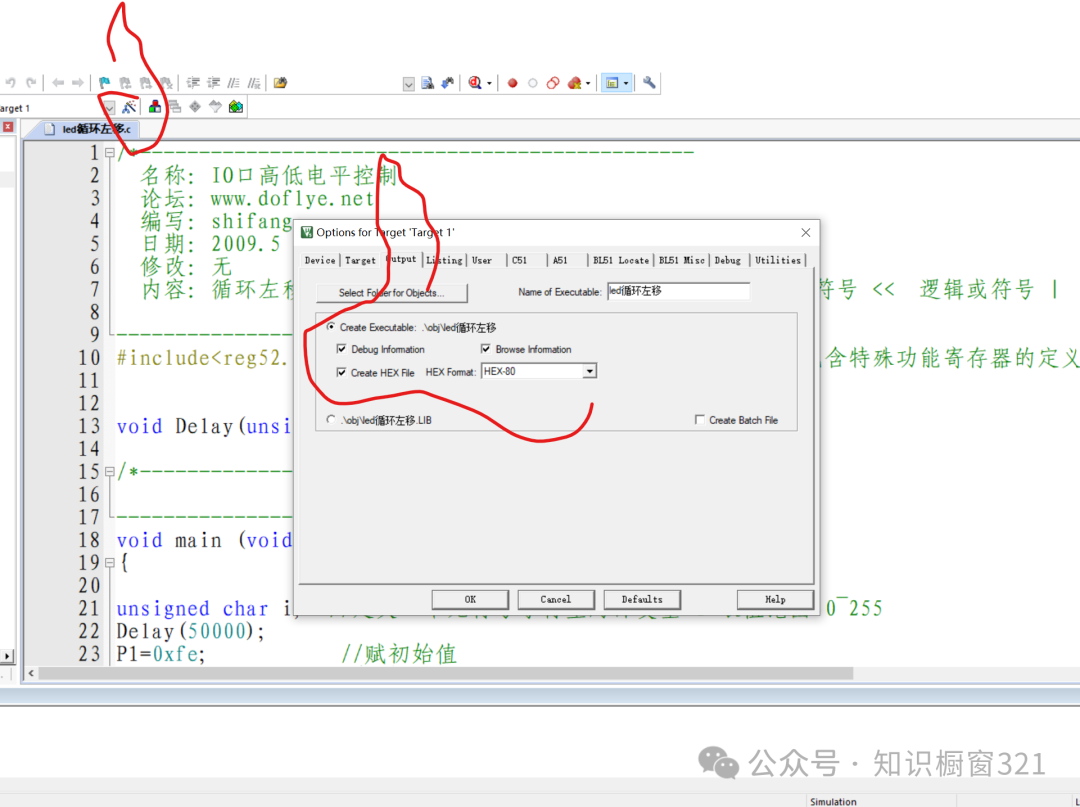 7. Compile the project: Use the shortcut key to select full compile; only the translated language can be recognized by the computer.
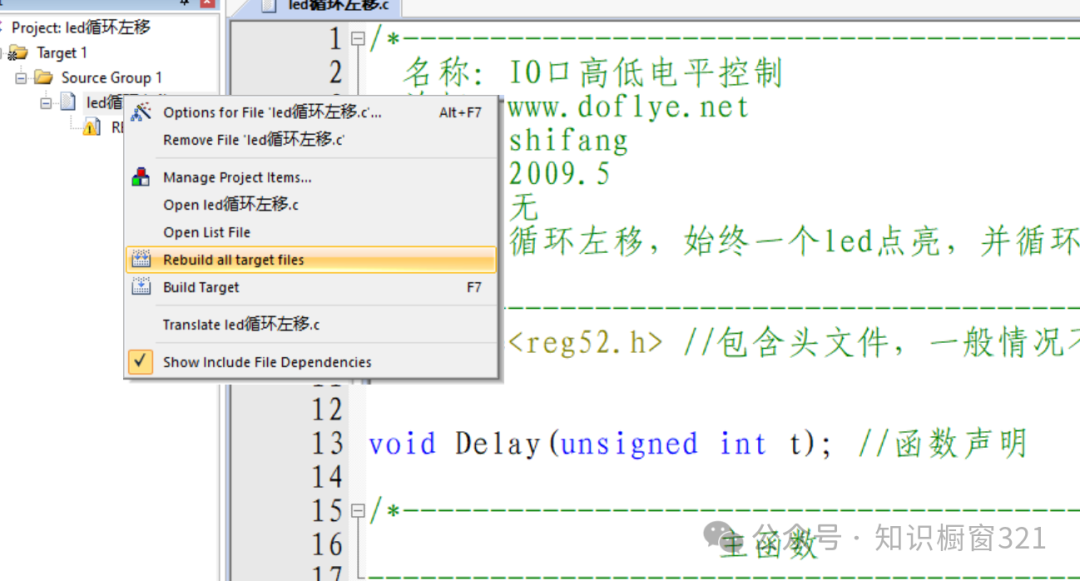 –End–For those who need the complete document, you can message me, and there are also video tutorials available. I can answer questions.