Author: diaozhe
Source: Dragon Fish Forum
I previously posted about my DIY fully automatic water change and refill system on the forum. Later, many fish enthusiasts contacted me through QQ or phone to inquire about the production method. I have compiled all the responses and am posting again to share with everyone, hoping it will help those in need!
From conception, drawing, sourcing materials, fabrication, debugging, to normal use, it has been nine months. I adjusted the water change frequency from once a week to twice, three times, and now four times a week (currently changing water four times a week) and it has remained very stable. The only issue was once when it failed to change water automatically at the scheduled time, which was caused by a faulty old relay. This old relay had been in my home for over ten years, left from when I worked as a mechanic, so I replaced it with a new one and resolved the issue. During these nine months, I went on business trips twice, each lasting over ten days. I only needed to remind my family to feed the fish, and there was no need to trouble the leaders with water changes, which saved me a lot of worry.
No more talking, here are the compiled records.
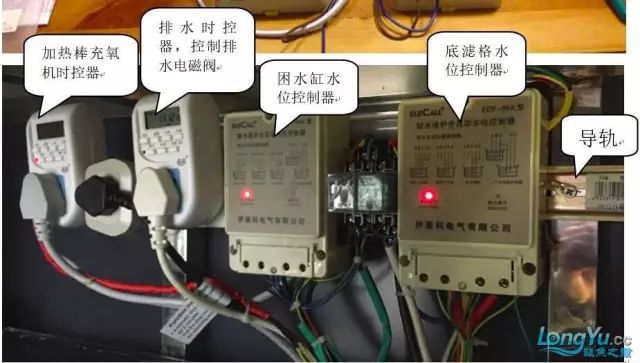
1. Two timers: Timer 1 (controls the electromagnetic valve for draining water) controls how many times and how much water to drain each week. You can look for better brands of timers, but they must have the functionality to set days of the week and specific times. Timer 2 (controls heating and oxygenation of the water storage tank, can freely set operation time, energy-saving and environmentally friendly).
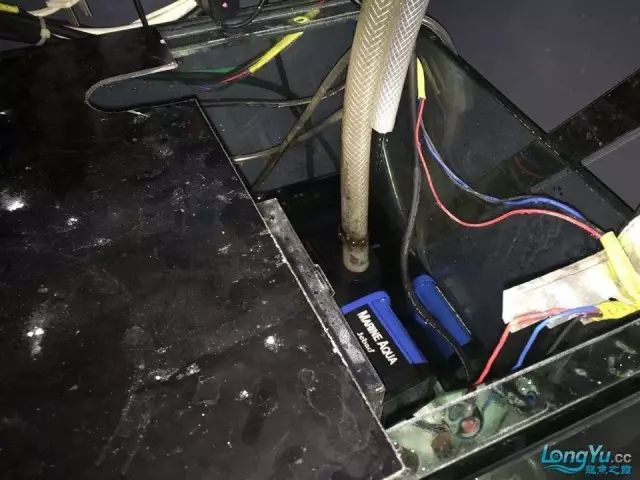
2. Two 220V normally closed electromagnetic valves (for water intake and drainage).
Select the appropriate fittings based on the size of your home plumbing; I used 6 points, so I also had to buy 6-point fittings. You can clarify this before purchasing.
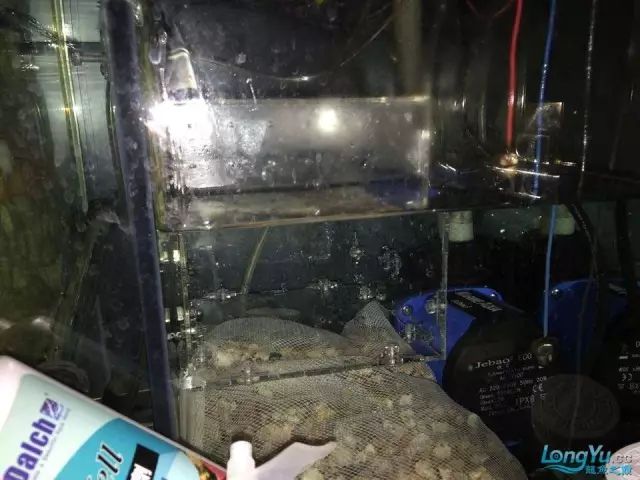
3. Two water level controllers (to control the water level of the water storage tank and the bottom filter tank), buy rail type + 3 probes.
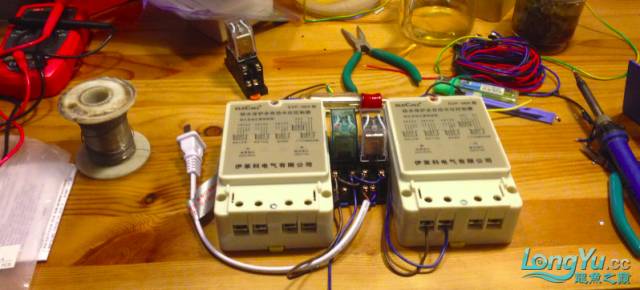
4. Two relays and relay sockets (mainly used for circuit switching), you can also buy a couple more as spares.
5. Heat shrink tubing (for wire connections), just a few meters will do.
6. Zip ties, a small amount (for organizing wires).
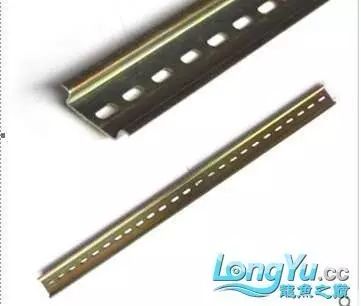
7. One 50CM long rail (for installing relays, water level controllers, etc.) Install it with screws on the bottom cabinet, then clip all controllers onto this rail for neatness.
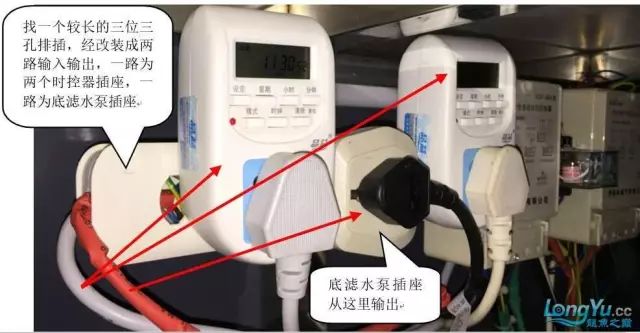
Basically, these are the items needed. Wires can be obtained from discarded power strips at home, and small items like water pipes can be purchased from nearby hardware stores.
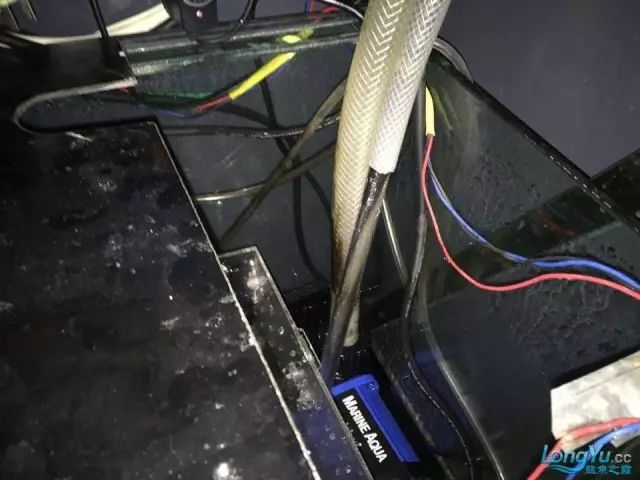
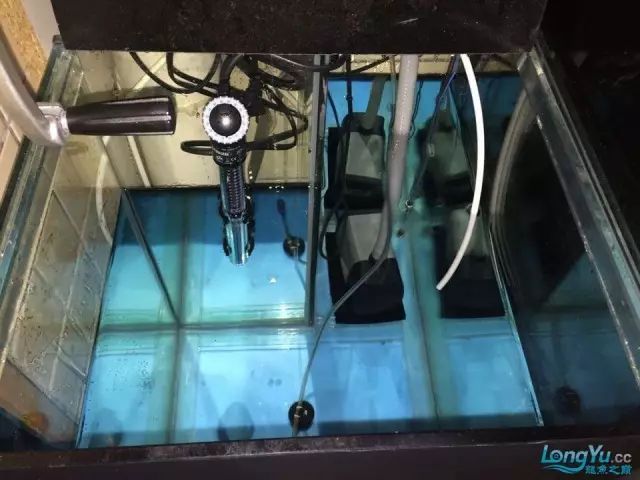
1. Install the rail with screws at a suitable position on the bottom cabinet, and after connecting the electrical devices according to the diagram, clip them onto the rail, as shown below:
2. Make a bracket for the water level probe. Find two thin aluminum sheets and cut them to make a bracket that can be clipped onto the glass edge, allowing the probe to hang in a suspended state. You should be able to find these at an aluminum window processing place.
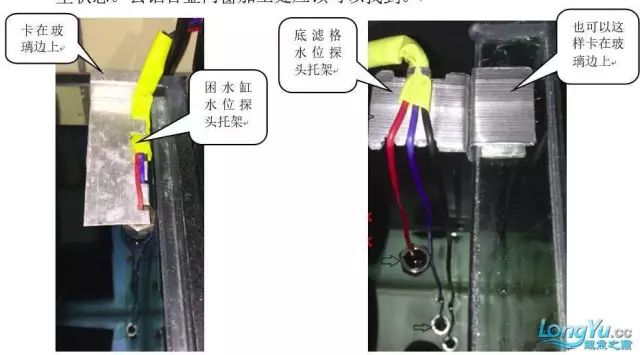
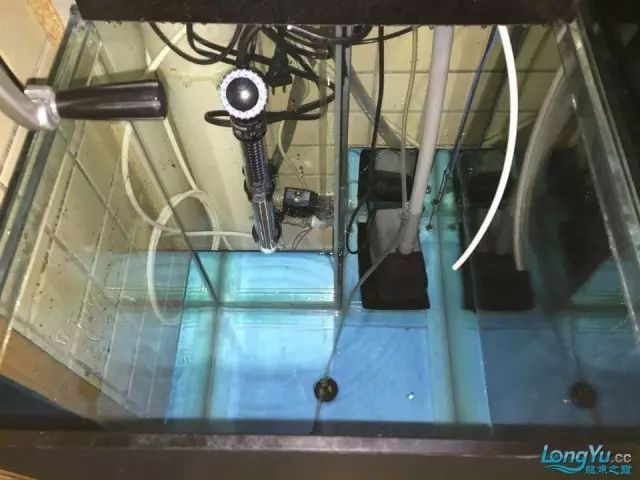
3. Water level probe suspension position diagram
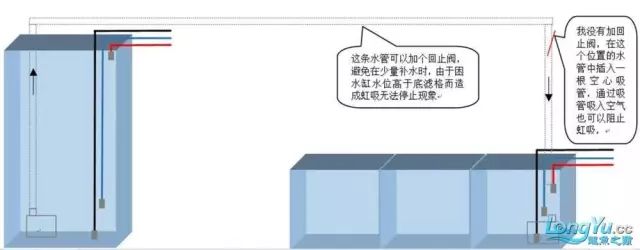
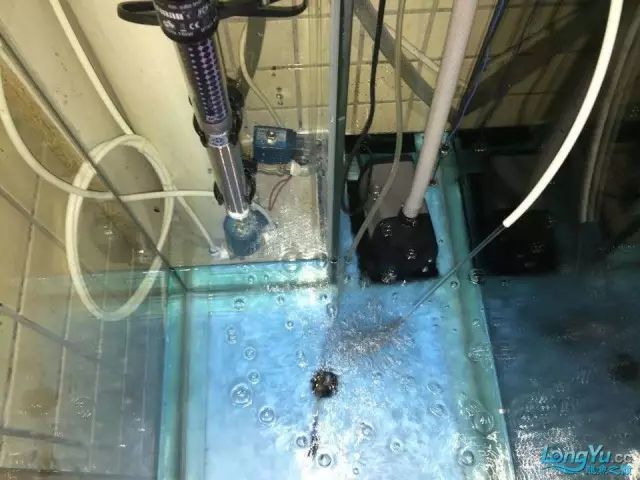
4. Hollow suction pipe to prevent siphoning, you can use any hollow pipe, as shown below:
5. Aquarium siphon drainage diagram:
1. When the scheduled water change time arrives, the main tank automatically starts draining, and the water pump for the bottom filter stops running.
2. Once drainage is complete, the drainage electromagnetic valve closes, and the water pump starts running automatically.
3. The water pump in the water storage tank automatically runs to refill the bottom filter.
4. The water level in the main tank continues to rise.
5. The water level in the water storage tank continues to drop.
6. The main tank is now full.
7. The bottom filter’s water level has also reached the standard level.
8. The water pump in the water storage tank automatically stops refilling.
9. The water storage tank automatically refills after running low on water.
10. The water storage tank stops refilling automatically after it is full, completing the entire water change process.
1. Adjust the two timers’ days and times to match Beijing time (24-hour format).
2. Set the water change time and duration for the electromagnetic valve controller. The weekly water change frequency and times can be set arbitrarily, e.g., every week on 1, 3, 5; 2, 4, 6; 1, 2, 3, 4, 5, 6; 1, 2, 3, 4, 5, 6, 7, etc. The start time for the water change can also be set to any time. For example, I currently set the time to “Tuesday, Thursday, Saturday, Sunday” for four water changes a week, with the duration set to 19:00 (start) – 19:07 (stop). This 7 minutes is actually the time required for draining water. The drainage duration is based on the amount of water changed and the capacity of the water storage tank. Generally, the amount of water changed should not exceed the water storage capacity. My water storage tank capacity is 100 liters, so I should not change more than 100 liters of water each time. If it exceeds 100 liters, for safety reasons, the water storage tank will automatically refill with new tap water to ensure the fish tank has enough water for normal circulation.
3. Set the heating rod and oxygenation machine in the water storage tank to operate in advance for a specified time and duration. For example, I currently set the time to “Tuesday, Thursday, Saturday, Sunday” for four water changes a week, with the water change time starting at 19:00. I set it to heat (in winter) and aerate 12 hours in advance, which is “Tuesday, Thursday, Saturday, Sunday morning 7:00 (start) – 19:00 (stop).” You can also set the appropriate duration based on the power of the heating rod and oxygenation machine, and your timer can set the heating rod and oxygenation machine for different durations. This flexible setting is beneficial for energy conservation and environmental protection.
4. Water Change Process
➤ When the water level in the water storage tank drops to the lowest point, the water level controller automatically activates, and the tap water electromagnetic valve opens to inject new water into the water storage tank. When the water level reaches the highest probe, the water level controller stops, and the electromagnetic valve closes to stop the water injection. For safety reasons, the heating rod and oxygenation machine’s timer is powered off during water shortage or injection to prevent them from running without water, which could damage the heating rod.
Explanation of the positions of the three water level probes in the water storage tank controller: The black line probe is the ground line, suspended at the bottom of the tank;
The red line probe is the highest water level probe, which should be suspended at the safety drain hole at the top of the tank, but it must be able to contact the water;
The blue line probe is the lowest water level probe, adjusted to the appropriate position. The appropriate position means that each water change must allow the water level to drop below the blue line probe, triggering the water level controller to automatically run and inject new water into the water storage tank. For safety reasons, when the water storage tank is low on water, the entire water change process will not be executed to prevent the fish tank from draining old water while the water storage tank has no water to refill, which would cause the bottom filter to be unable to circulate.
➤ The heating rod and oxygenation machine’s timer will activate to heat (in winter) and aerate at the set start time;
➤ The heating rod and oxygenation machine’s timer will stop heating (in winter) and aerating at the set stop time;
➤ The drainage timer will activate the drainage electromagnetic valve at the set start time, draining the old water from the fish tank using the siphon principle. At the same time, the bottom filter pump and bottom filter water level controller will automatically power off and stop running;
Explanation of the positions of the three water level probes in the bottom filter controller:
The black line probe is the ground line, suspended at the bottom of the tank;
The blue line probe is the lowest water level probe, suspended slightly above the pump body. This is to consider that a large amount of water evaporates daily; if the water change cycle is too long, the water level in the bottom filter will gradually decrease to a point where it cannot cover the pump, causing a water shortage or dry running that could damage the pump. If the blue line probe is above the pump body, when the water level drops below the blue line probe, the system will automatically refill the bottom filter to prevent this issue;
The red line probe is the highest water level probe, suspended about 10-20CM above the blue line probe, but be careful not to exceed the water flow surface of the bottom filter partition.
➤ The drainage timer will stop the drainage electromagnetic valve at the set stop time, completing the drainage. At the same time, the bottom filter pump will turn on;
➤ As the bottom filter pump runs, the water level in the bottom filter gradually drops below the blue line probe, triggering the bottom filter water level controller, and the water pump in the water storage tank starts running to refill the bottom filter. Since the flow rate of the bottom filter pump must be greater than that of the water storage tank pump, the bottom filter pump will run for a while in a low water state, slowly drawing new water from the bottom filter into the fish tank. At this time, the water level in the fish tank rises slowly, while the water level in the water storage tank gradually decreases.
➤ When the water level in the fish tank rises to the overflow area and is about to flow into the bottom filter, the water level in the water storage tank just drops to the blue line probe. This is why the blue line probe must be adjusted to the appropriate position; the purpose is to trigger the water storage tank water level controller to activate the tap water electromagnetic valve and refill the water storage tank.
If the blue line probe is adjusted too high, it will refill the water storage tank too early, causing a small amount of tap water to be drawn into the bottom filter; if the blue line probe is adjusted too low, the water level in the water storage tank will not drop to the blue line probe, and the water level controller will not trigger to refill the water storage tank.
➤ When the water level in the fish tank rises to the overflow area and is about to flow into the bottom filter, the water level in the bottom filter is still low. The water storage tank pump continues to run to refill the bottom filter. When the water level in the bottom filter rises to the red line probe, it will trigger the bottom filter water level controller and stop the water storage tank pump. At this point, the water levels in both the fish tank and the bottom filter are in a normal circulation saturated state.
When the water level in the water storage tank rises to the red line probe, it will trigger the water storage tank water level controller and stop the tap water electromagnetic valve. At this point, the water storage tank is full and waiting for the next water change. The entire automatic water change process ends.
That’s about it. Fish enthusiasts who enjoy DIY can try it out; it’s quite fun.
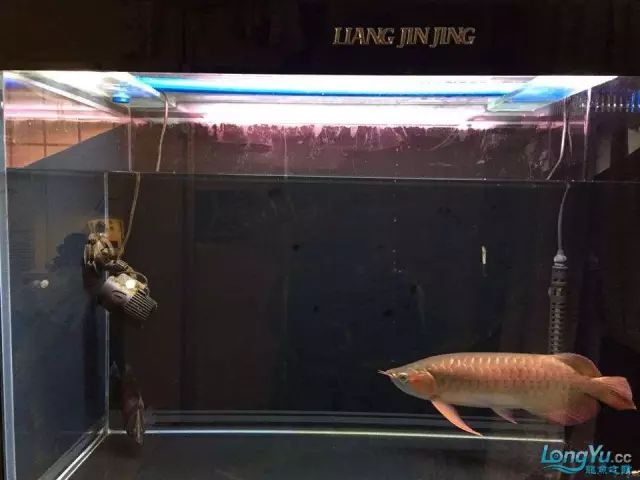
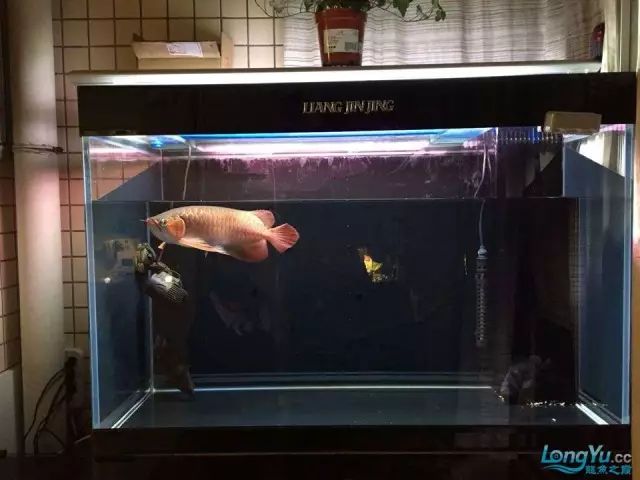
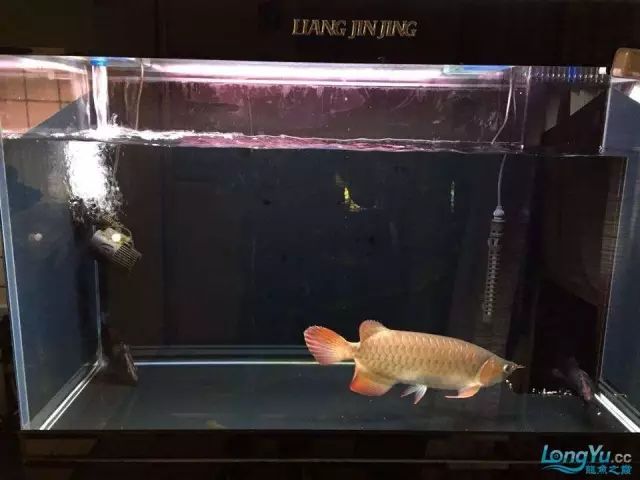
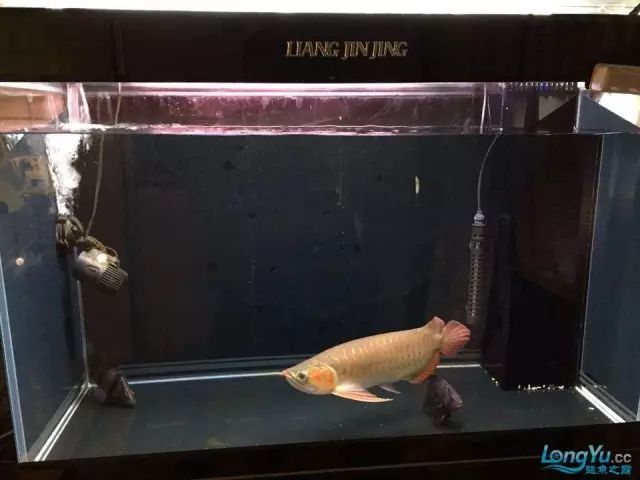
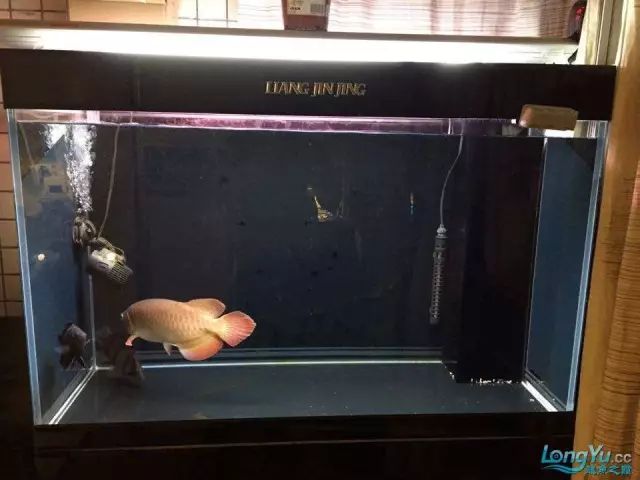
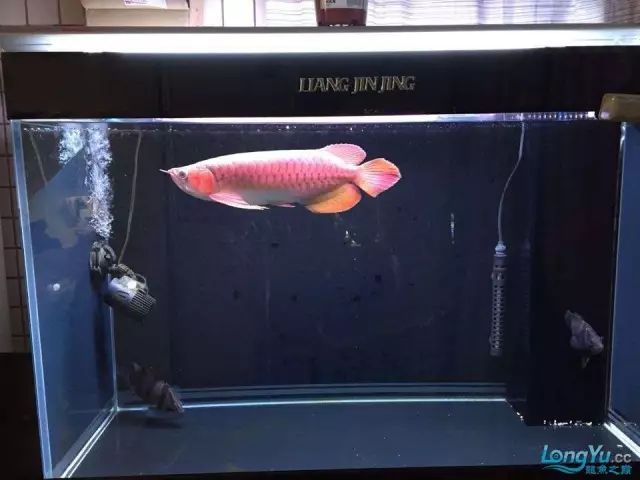
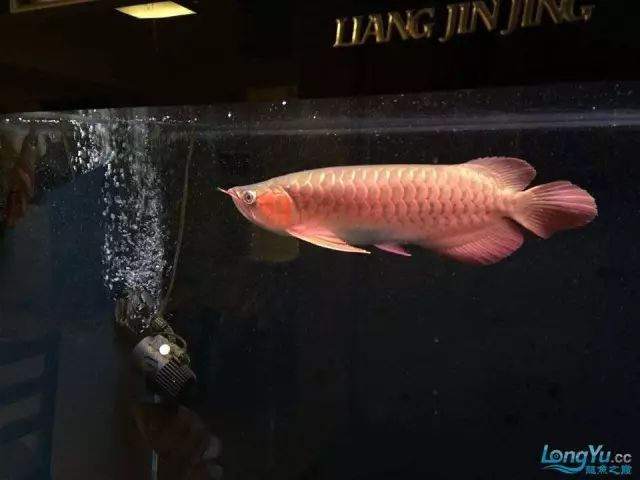
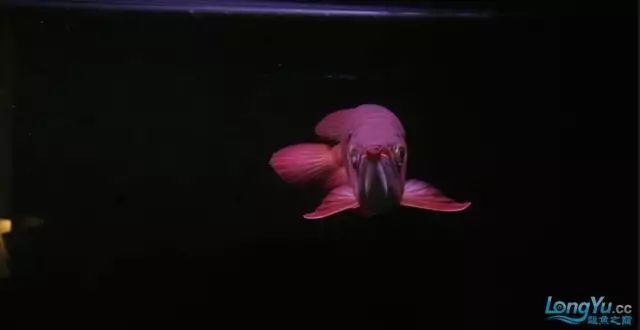
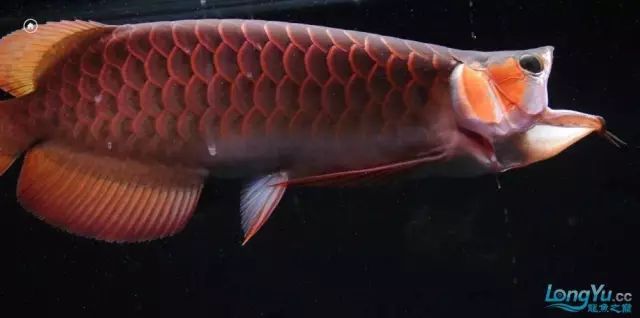
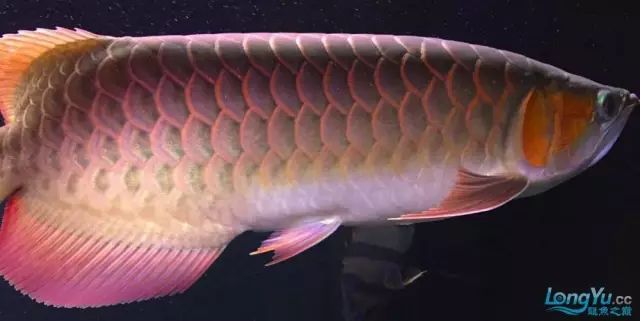
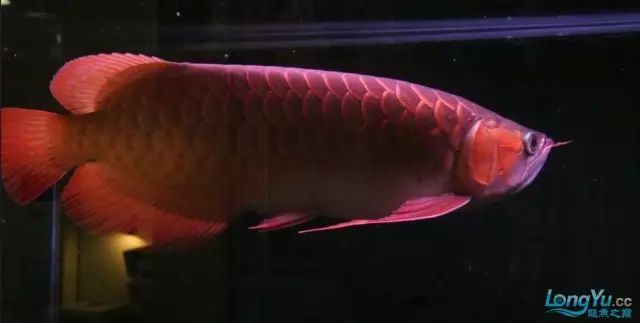
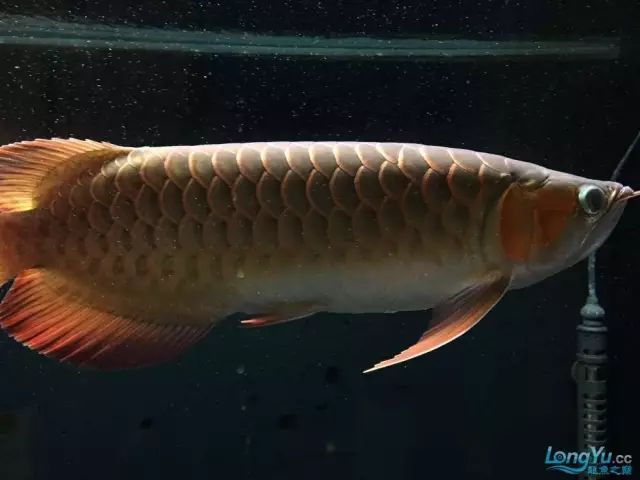
Finally, here are a few pictures of my dragon fish, which has been home for exactly nine months today.
Two NEC white tube photos

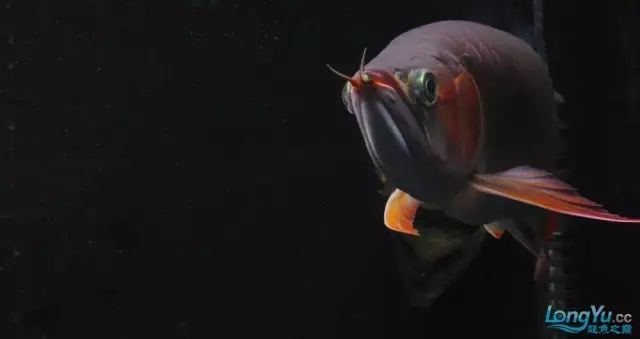
One TFC tube photo
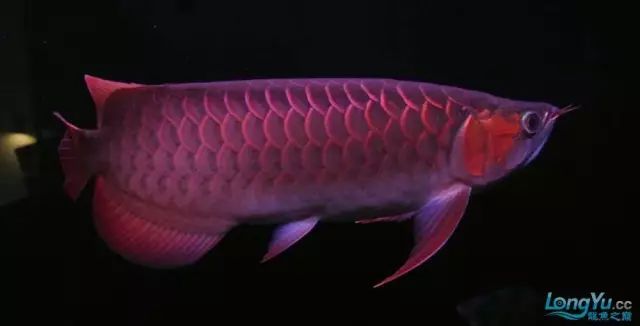
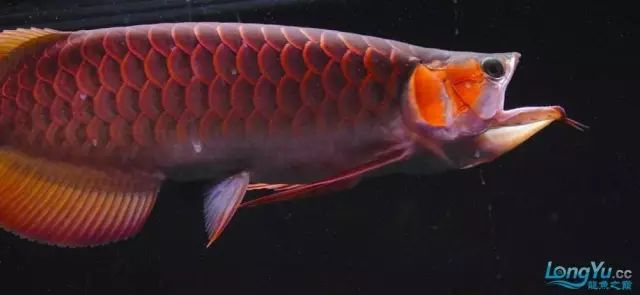
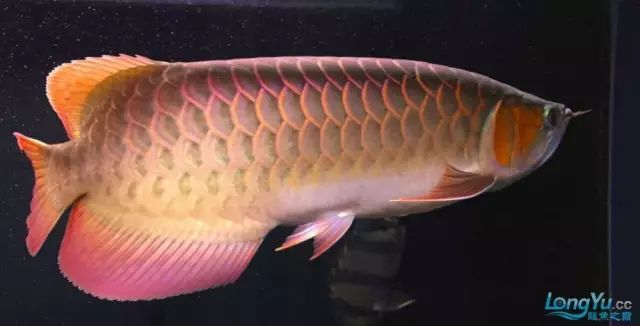
The fish isn’t very red, and its body isn’t particularly beautiful, but I have always been dedicated to caring for it!