After the previous basic tutorials, have you gained a preliminary understanding of the Micro:bit? In the upcoming lessons, we will use our Micro:bit to implement various creative applications. Understanding these applications will help you expand your creativity and learn some programming skills along the way.

Without further ado, today we will implement our first application with the Micro:bit, the breathing light.
 1Let’s take a look at the effect of this application.
 Doesn’t it look like a heart beating?2We need to prepare the following items:
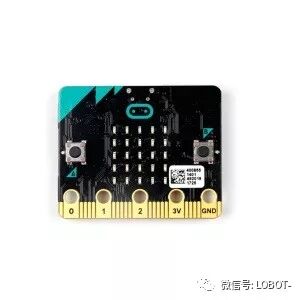
Micro:bit mainboard
USB data cable
 A computer3Program
1. First, let’s start our first step on the programming webpage by selecting to display a heart-shaped icon when powered on, as shown in this gif.
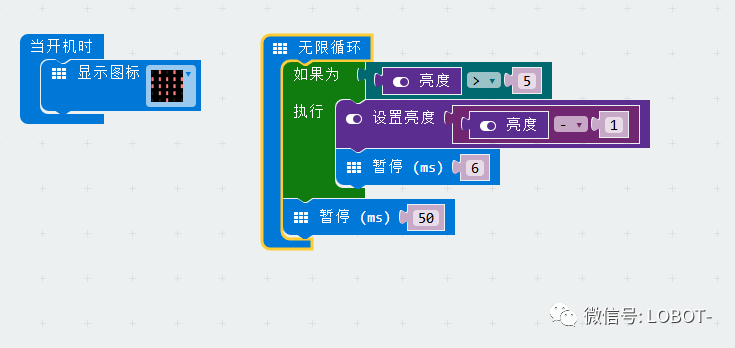
2. We need to implement a program that makes an LED light dim. The brightness varies from 0 to 255. When the brightness is greater than 5, it will continuously execute brightness -1, gradually changing the brightness from 255 to 5. At this point, the program exits this loop. We will see the heart shape gradually dimming.
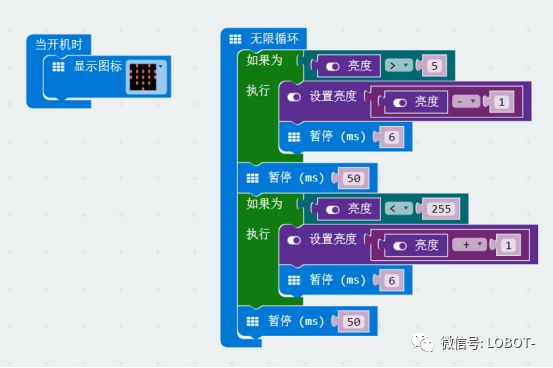
3. After gradually dimming, we also need to make the LED gradually brighten again. So after exiting the previous loop, we enter this loop, executing brightness +1 while the brightness is less than 255, until the brightness changes to 255 and exits this loop. We will see the heart shape gradually brightening.
After an infinite loop, we will see a breathing light that resembles a heartbeat.
Download the program to the Micro:bit, and our goal is achieved. Isn’t programming simple? Its functionality is also quite powerful.
4Final Thoughts
If you’re interested, feel free to follow our official online store!