Let’s talk about something different. Have you ever done circuit simulation? In the past, working with microcontrollers meant a lot of hands-on practice, and I burned countless boards. But ever since I discovered Proteus, life has been much easier. I can tinker in the software first, and then implement it on the board, saving a lot of unnecessary expenses.
Installing the Software Has Its Tricks
I must tell you about the installation process, or else you might get stuck. Proteus has two core components: ISIS (for drawing schematics) and ARES (for PCB design). When installing, make sure to select both.
Installation Steps:
1. Download the installation package and double-click to run
2. Choose the installation path; the default C drive is recommended
3. On the component selection page, make sure to check ISIS and ARES
4. After installation, copy the crack file to the installation directory
Friendly reminder: After installation, don’t rush to run the program; first, turn off your antivirus software, or it may mistakenly delete the crack file.
Drawing Schematics Is Like Playing with Blocks
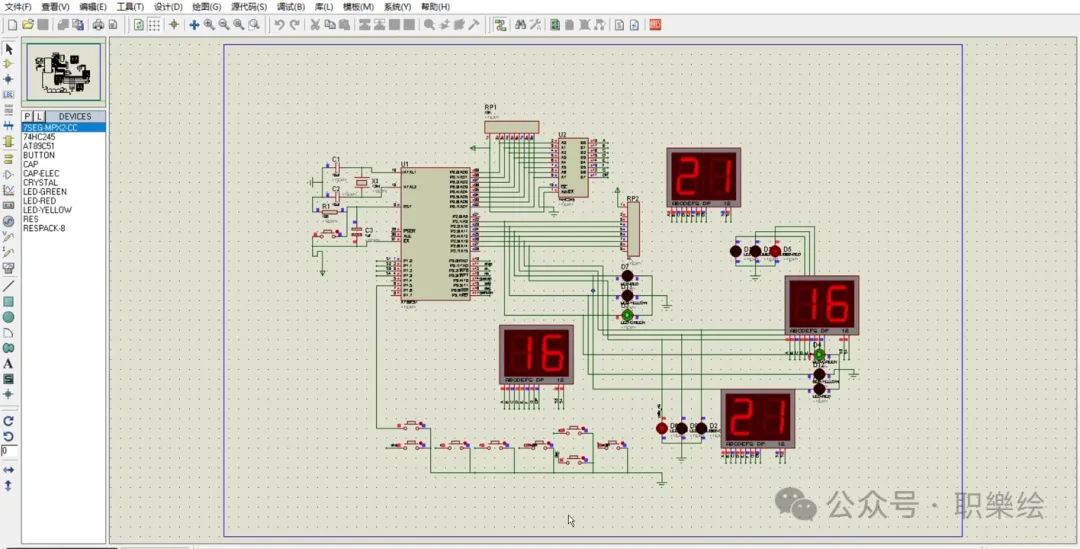
When you open ISIS, the interface may look intimidating, but it’s just like arranging building blocks. The component library is on the left, the toolbar is at the top, and the drawing area is in the middle.
// Draw an LED blinking circuit
1. Place the microcontroller -> search for "89C51"
2. Place the LED -> search for "LED-RED"
3. Place the resistor -> search for "RES"
4. Connect wires -> click on the Terminal Mode tool
If you can’t find a component, you can quickly open the library by pressing P. Just type the first letter of the component you’re looking for, for example, type “res” for resistors or “led” for LEDs.
Simulation Has Some Tricks
After drawing the schematic, we need to add some code to make it run. Proteus supports many types of microcontrollers, including 89C51 and STM32.
// LED blinking code example
#include <reg51.h>
void delay(unsigned int t) {
   while(t--);
}
void main() {
   while(1) {
       P1 = 0x00;  // LED on
       delay(50000);
       P1 = 0xFF;  // LED off
       delay(50000);
   }
}
Click the green run button in the upper right corner, and you will see the LED blinking. If there’s no response, check if the code compiled correctly or if the components are connected properly.
Mastering PCB Design
Once you’ve designed the schematic in ISIS, click the ARES button in the bottom right corner to enter PCB design. PCB design is like drawing a map; you need to place the components reasonably. Wiring tips:
- Signal lines should be at 45-degree angles
- Power and ground lines should be thicker
- High-frequency signals should use short lines
- Analog and digital should be separated
Friendly reminder: The first time you draw a PCB, it can be a bit chaotic, so it’s recommended to start with a simple LED circuit to get familiar with the operation.
Some Cool Tricks
Proteus can also do animated simulations, like displaying on a digital tube or rotating a motor, which is quite fun. It can also measure voltage and current, just like using a multimeter.
// Add a virtual oscilloscope
1. Open the Instruments menu
2. Select Virtual Instruments
3. Drag in the Oscilloscope
Sometimes the simulation can be particularly slow, so you may need to adjust the simulation settings. In the System menu, change the DSIM engine to SIM to speed things up. During debugging, you can set breakpoints and step through with F11, which is similar to debugging code. If you want to see the register values, just right-click on the component. Converting PCB to 3D view is also quite interesting; you can visually see what the board will look like when made. However, this feature can be demanding on your computer, so be cautious if your configuration is low. To really understand Proteus, practice is key. I also messed up several projects before getting the hang of it. Now, for project designs, I always test in the software first, and once I’m sure it’s correct, I go ahead and make the board, which saves a lot of hassle. Next time, I’ll tell you about some interesting module libraries in Proteus; those are really fun.