Proteus 8.7 has powerful simulation capabilities that allow users to simulate circuit designs to verify their functionality and identify potential issues. It also supports PCB (Printed Circuit Board) design, enabling users to convert circuits into actual PCB layouts. Additionally, the software comes with a rich component library, including various sensors, integrated circuits, and standard components, allowing users to quickly build circuits.

Download Link: Long press to identify and follow the “I Love Microcontrollers” public account, reply with “proteus”

Main Features of Proteus 8.7:
Electronic Circuit Design: Proteus 8.7 can be used to design and simulate electronic circuits, including analog and digital circuits. Users can create, edit, and modify circuit schematics using the software.
Simulation Functionality: The software has powerful simulation capabilities that allow users to simulate their designed circuits to verify functionality and find potential issues. This helps identify and fix design errors before manufacturing physical circuits.
PCB Design: Proteus 8.7 also supports PCB (Printed Circuit Board) design, allowing users to convert their circuits into actual PCB layouts. The software provides a rich set of PCB design tools, such as auto-router, 3D visualization, and automatic net adjustment, to streamline the design process and improve design quality.
Component Library: The software comes with a rich component library, including various sensors, integrated circuits, and standard components. These libraries enable users to quickly build circuits, reducing design and development time.
Microcontroller Simulation: Proteus 8.7 can also simulate microcontrollers and peripheral devices, achieving a complete process from schematic layout, code debugging to microcontroller and peripheral circuit co-simulation. This allows users to test and verify the functionality and performance of microcontroller systems in a software environment.
Software Installation Steps:
-
Download and extract the software installation package (before downloading the software installation package, be sure to turn off antivirus software and firewall to avoid deleting the cracked patch or keygen). After downloading the software installation package to your local computer, right-click the installation package to use extraction tools to extract (Note: If extraction requires a password, please use a different extraction tool, no password required).

-
Run the software installer: Right-click on Proteus8.7_Sp3.exe and run as administrator

-
Welcome to the software installation wizard, click Next

-
Check to accept the software license agreement: Accept the software license agreement, check “I accept…”, and then click Next

-
Select the first installation type, then click Next

-
Product license key, click Next directly

-
Click Browse For Key File option

-
In the pop-up window, find the LICENCE.lxk file in the Patch directory of the extracted package and click open

-
After opening, click Install to install the listen file

-
Click Close to close this window

-
Select all, then click Next

-
Click Custom, select the second installation type

-
Select the installation directory, you can directly change it in the path (Note: Changing the installation location cannot include Chinese or special symbols), it is recommended that both paths are the same, then click Next, this installation is set to D drive.

-
Click Next to proceed

-
Preparing to install, click Install

-
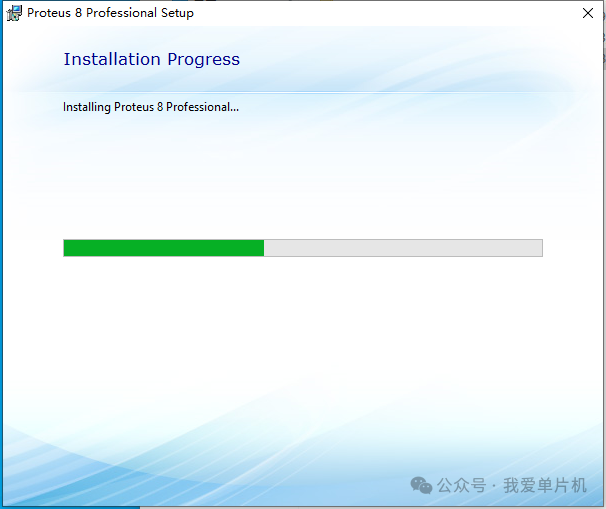
The software is installing, please wait
-
In the pop-up dialog, click Import

-
Click YES to agree.

-
The software installation was successful, click CLOSE

-
Find the software on your desktop, right-click to open the file location to enter the software installation directory

-
Backtrack to the largest path folder

-
Open the installation package folder, copy the BIN and MODELS folders inside to the previously backtracked location to replace the target files

-
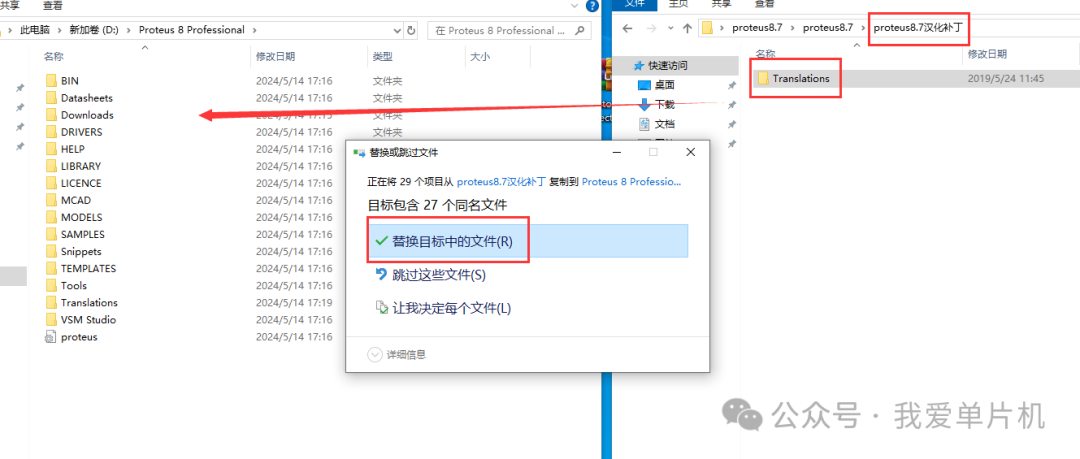
Then open the Proteus 8.7 localization patch folder, select Translations and copy it to the previously backtracked location to replace the target files
-
Return to the desktop, the installation is now complete, open the software, loading…
