Want to build your own custom drone? This comprehensive guide from design to test flight will help you avoid pitfalls and efficiently complete your project. From functional positioning to safe takeoff, key parameters and operational techniques are organized for easy understanding, even for beginners.
1. Understand First: Define Requirements and Set Parameters
The first step in DIY is not buying parts, but clarifying the purpose—this directly determines the core configuration:
-
Aerial Photography Drone: Must have a gimbal and shock-absorbing structure, prioritize a lightweight body.
-
Agricultural Drone: The core is a payload spraying system, with a tank capacity of ≥5L, and spray nozzle particle size controlled between 200-300μm.
-
Racing Drone: Extreme lightweight design, frame made of carbon fiber, wheelbase < 250mm.
Recommended design tools include CAD software like Fusion 360, focusing on optimizing the body layout and center of gravity during modeling. Core parameters should be fixed: small drones with a wheelbase of 300-450mm, large agricultural drones can choose 700mm×550mm; the payload must cover the total weight of the battery, camera, etc., and endurance can be estimated by “battery capacity ÷ total power consumption”.
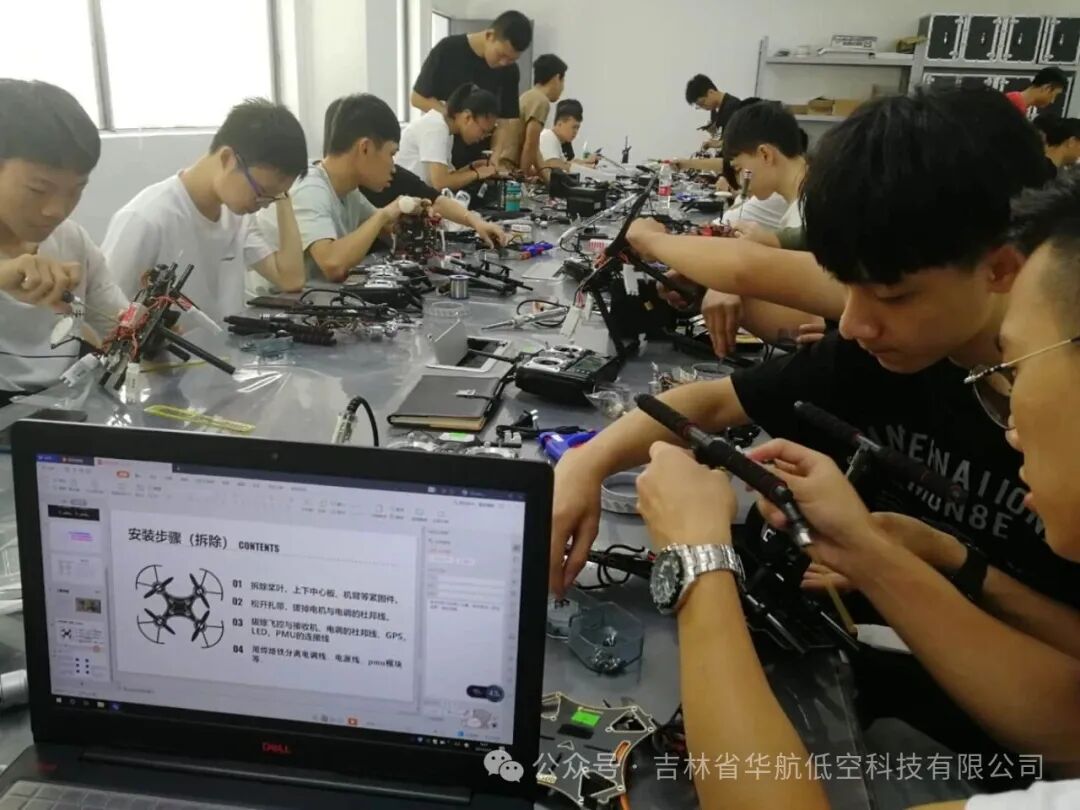
2. Material Preparation and Assembly: The Frame is Fundamental, Precision is Key
3. Debugging and Test Flight: Thorough Ground Checks, Stable Airborne Start
Whether a drone can fly safely depends on the debugging phase, which must not be skipped and should be approached in three steps:
1. Ground Testing: Short-circuit the ESC signal line to confirm that the motors can rotate according to the remote control commands; use Mission Planner software to calibrate the accelerometer and compass, and do not take off if data is abnormal.
2. Parameter Adjustment: The core is PID tuning—if the P value (proportional gain) is too high, it can cause oscillation, gradually increase until the body stabilizes; the I value (integral gain) is used to correct wind speed drift; the D value (derivative gain) can suppress high-frequency jitter. For the first test flight, choose an open area, and hover for 1-2 minutes to test endurance and stability.
3. Function Debugging: For aerial photography drones, focus on testing the gimbal stabilization effect; the image must be stable to qualify; for agricultural drones, adjust the nozzle pressure to ensure uniform atomization; for creative models like wall-climbing drones, debug the ESP8266 module and custom app interaction.
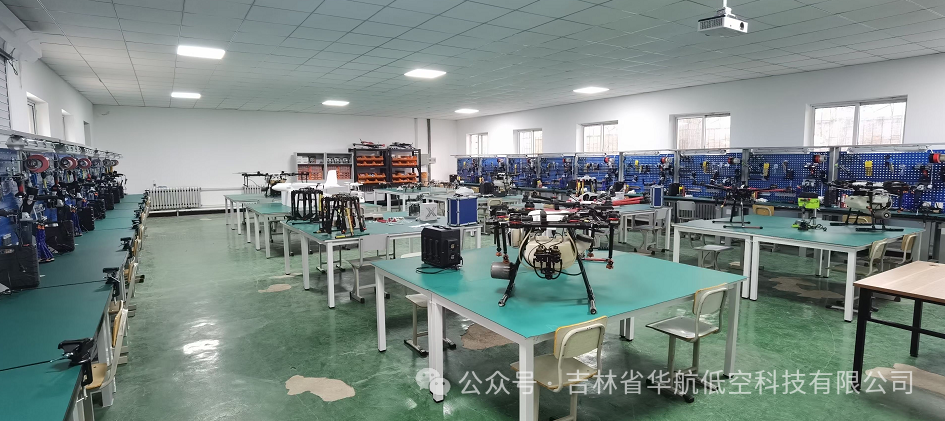
2. Power and Control Systems: Correct Installation is Essential, Accurate Tuning is Core
Motors and ESCs: Fix the motors at the end of the arms and connect them to the ESCs using 3.5mm banana plugs. Be sure to use BLHeli software for phase calibration; diagonal motors must rotate in opposite directions, otherwise, the drone will spin upon takeoff.
Flight Control Integration: The flight control board should be placed at the center of the body, away from the motors to reduce vibration interference. Wiring should follow the order of “ESC → Flight Control → Receiver”; after completion, channel mapping must be configured. The GPS module should be kept away from the motor’s magnetic field, and the gyroscope should be soft-damped.
Power Supply Optimization: The main power supply should preferably use an XT60 connector, with a distribution board responsible for stabilizing voltage to each module; agricultural drones need to power the spraying system separately, using a buck ESC to drive the pump for safety.
Basic materials should adhere to the principle of “strength + compatibility”, including carbon fiber tubes, metal connectors, PLA/ABS filaments, etc. Frame construction can be done in two ways: 3D printing can use PLA or ABS materials to print arms and bases, with ready-made model files available on open-source platforms; manual assembly requires cutting carbon fiber tubes and securing them with metal parts, with the key being to ensure symmetry, and the error must be controlled within 2mm.