[Introduction] I often watch flight videos on MK ‘s website. The stability of quadcopters is amazing, simply cool. Eventually, I couldn’t resist the temptation and impulsively decided to make one myself. I gathered information online and started from scratch. After several months of ups and downs, I have completed the brushless ESC, quadcopter frame, multi-channel modification of the remote control, IMU module, and the design and production of the flight control board. Now I have some results to share and communicate with everyone for improvement.
Due to my limited skills, I am only familiar with and use 51 architecture MCUs, and all system modules are based on C8051F architecture. However, the principles and control theories involved in quadcopters are the same, so I hope everyone can generously guide me, thank you!!!
Two hard drives bought from a flea market
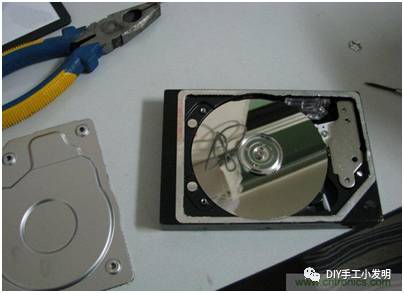
After a lot of effort, I finally modified a screwdriver for disassembling phones, and got it done.
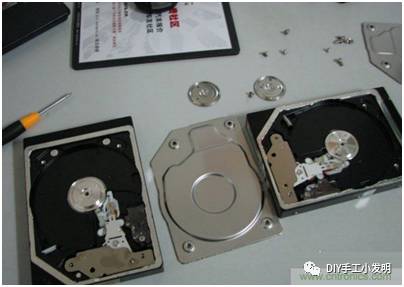
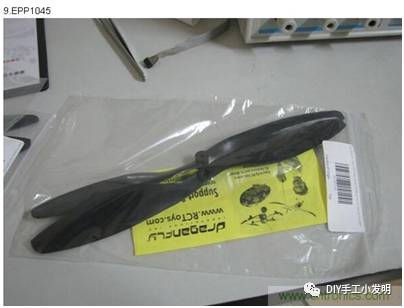
The frame is planned to use the existing electric tail tube and tube seat combined with hard disk pieces, with a new motor 2212 KV930, and two clockwise and counterclockwise propellers from the reputable German brand EPP1045 .
The seat for fixing the electric tail tube is quite expensive!
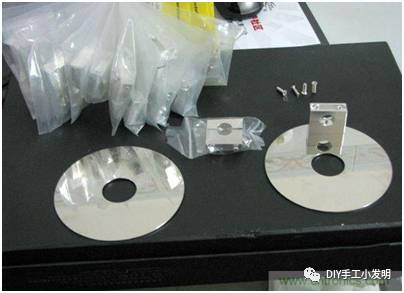
And a photo with the motor and tail tube I received.
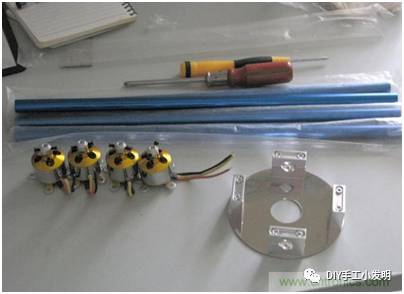
Four motor mounts processed externally.
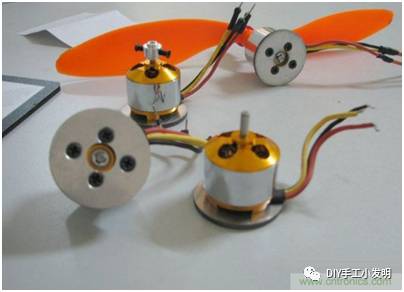
Main body parts completed.
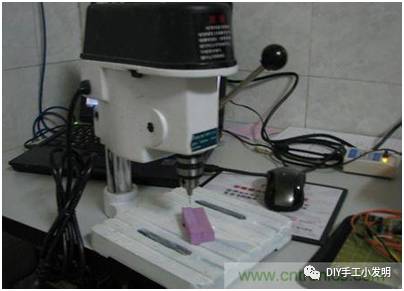
Powerful tool for processing the frame.
EPP1045
One clockwise and one counterclockwise.
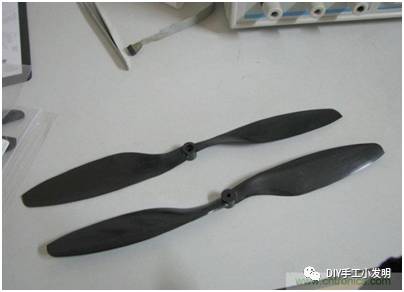
Comparison with the propeller sold in the market for 3 yuan each.
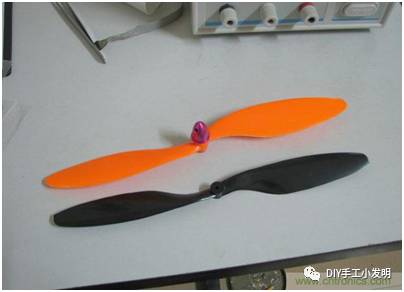
Using the motor’s original propeller protector to secure the two-blade propeller.
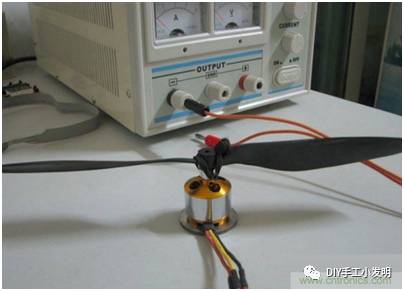
Soldered on banana plugs, it feels quite heavy, took a picture before disassembly.
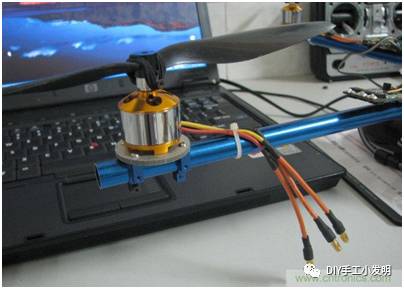
Motor installation fixing method.
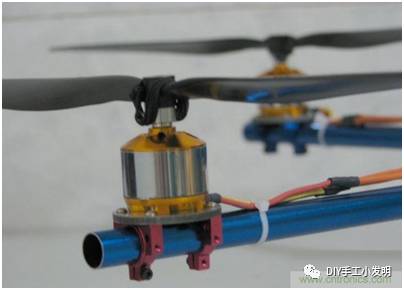
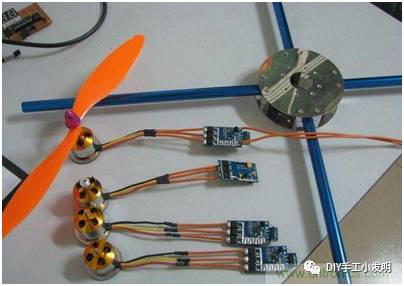
Overall structure of the frame.
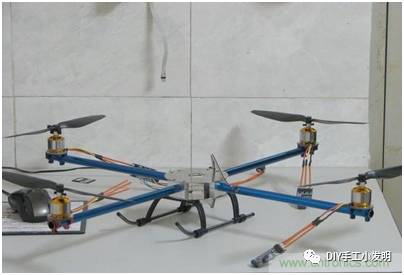
Level view, looks quite stylish!
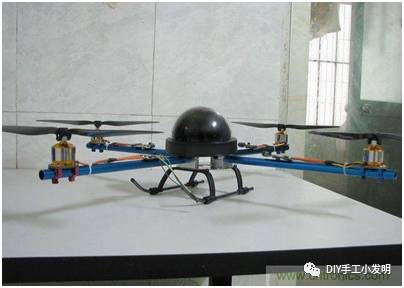
Completed effect diagram of the whole machine.
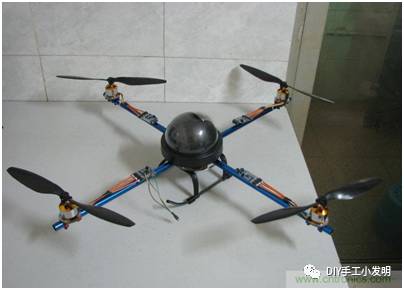
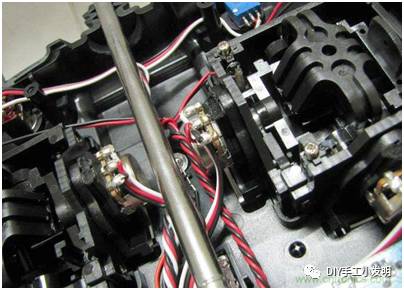
Alright, the frame is completed. Next is the modification of the remote control, I bought a cheap and large FT06-C, and I plan to modify the 6 channels to 8 channels, adding two proportional channels, and equip it with an LCD screen to display relevant parameters of the control. The high-frequency head of the control will still be used, and the entire PPM encoding board will be replaced.
Preparing to mess around with the Tian Di Fei.
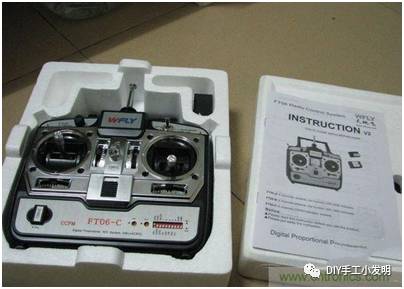
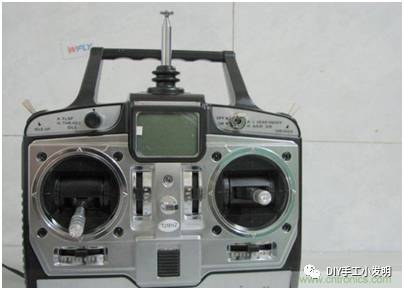
Internal structure of FT06-C.
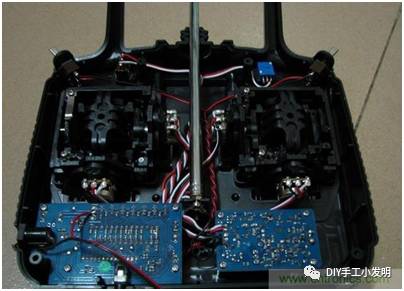
Add an LCD screen at this position.
The sample returned, this way saves money.
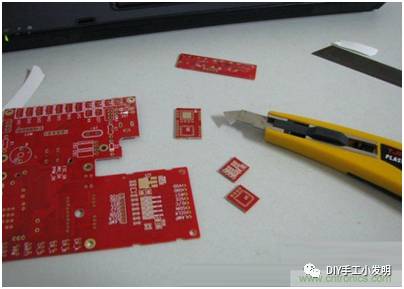
Spent over an hour, got it done!
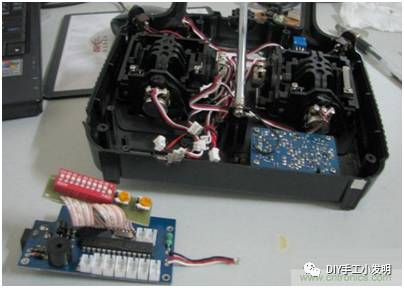
Disassembled the original PPM board of FT06-C.
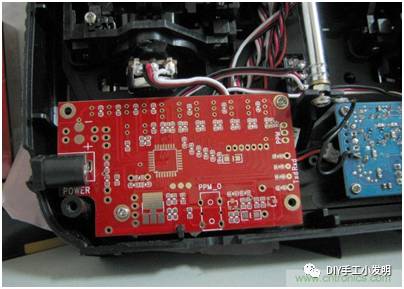
Compared position, very precise :).
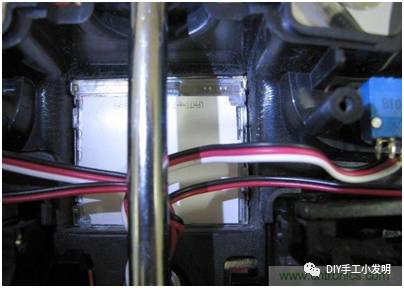
This position of FT06-C just fits a 5110 screen.
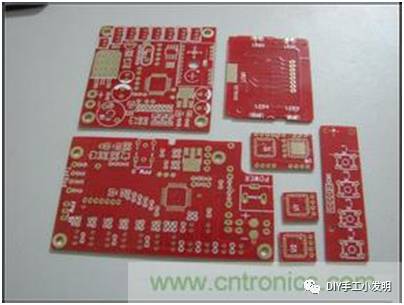
PCB board of the LCD screen.
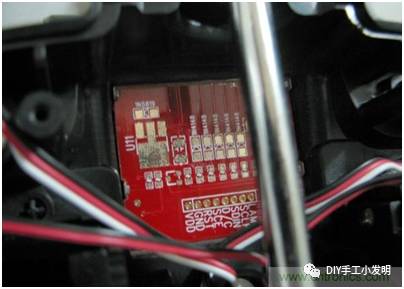
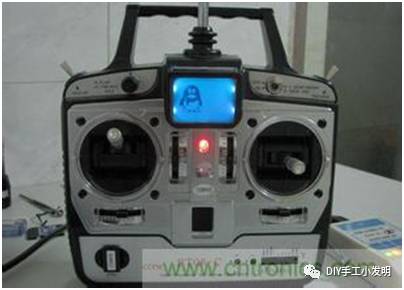
Expected effect.
PPM control board soldering completed.
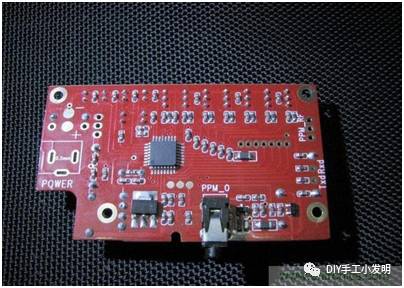
Looking at the back. The bottom power routing was misplaced when the factory made the board.E.
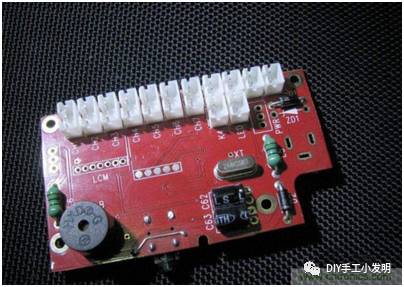
Newly arrived 5110LCD screen.
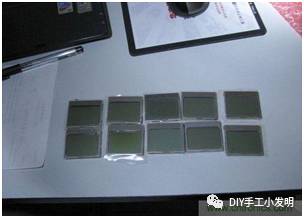
Did not pay attention during wiring, reversed the direction of the LCD:– (
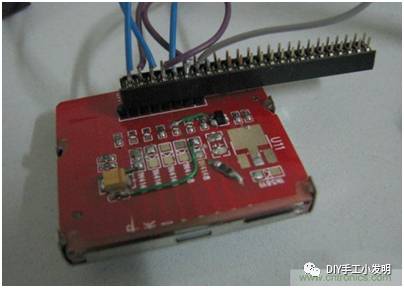
LCD screen successfully lit up.
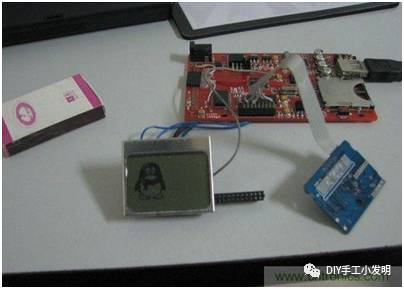
How’s the effect : )
Installing the right potentiometer.
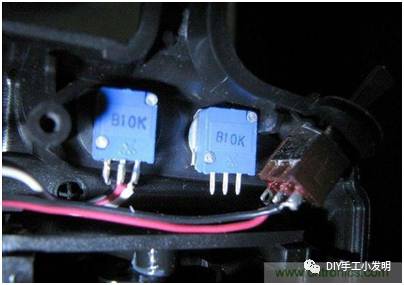
The right side
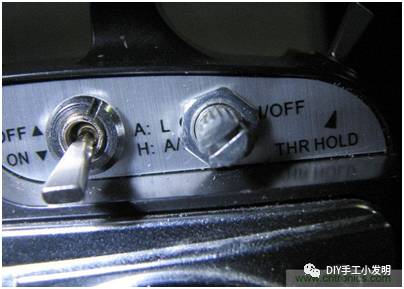
Installing the left potentiometer.
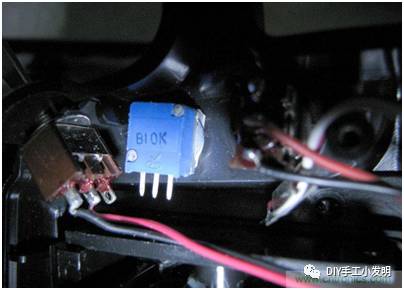
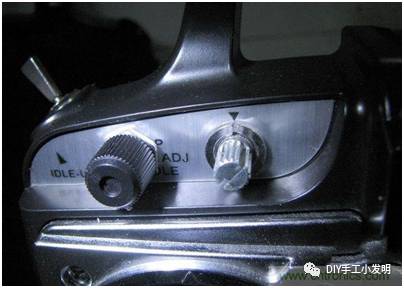
The left side
Wiring for the LCD and potentiometers.
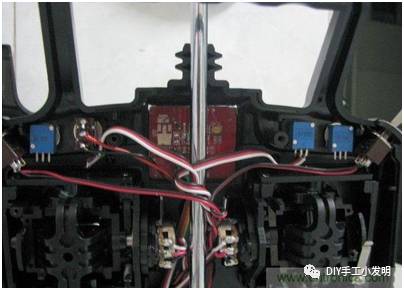
Two additional potentiometers.
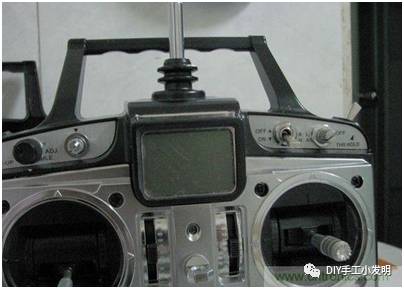
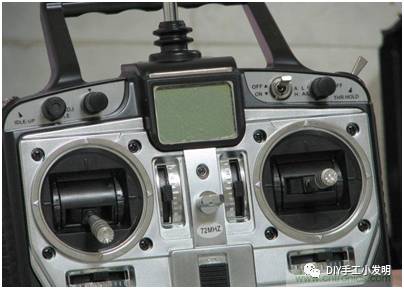
Appearance of the installed knobs
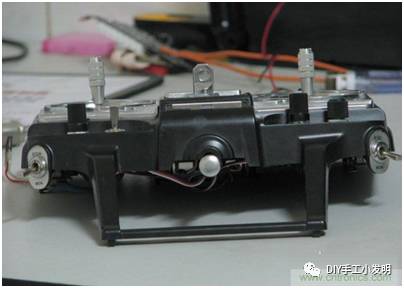
Height of the added potentiometer knobs.
Engineering mode, calibrating the joystick neutral point.
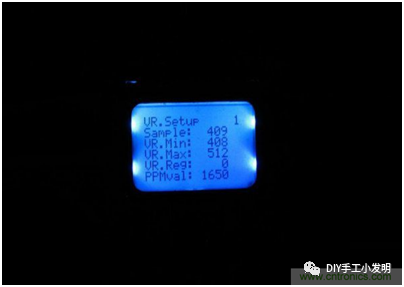
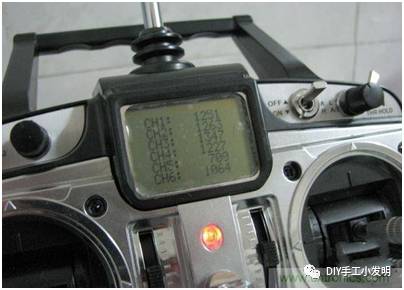
During operation, displaying the effective values of the first 6 channels of PPM .
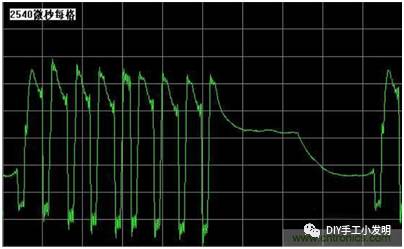
Measured PPM waveform of the 8 channels output from the receiver.
Test flight in G3.5 .
When flying, safety must be taken into consideration. The cost of damaging the aerial photography device is one aspect, and on the other hand, if the aerial photography device fails and crashes, it can cause serious danger to people. Compared to helicopters with more mechanical parts and failure points, multi-rotor aerial photography devices have fewer mechanical parts, mostly electronic devices for control. After flying, maintenance should be noted. “There is airflow interference between the propellers, and under high-frequency vibrations, propellers are prone to breakage, leading to a situation called “propeller loss”; the broken propeller flies out, causing little damage like a leaf. However, the aircraft will lose balance, resulting in a crash.” If “propeller loss” is detected at a higher altitude, throttle can be pushed immediately to reduce the descent speed of the aircraft due to the force effect.