
Say Goodbye to WiFi Dead Zones
A Step-by-Step Guide to Setting Up Two Routers
Read Now
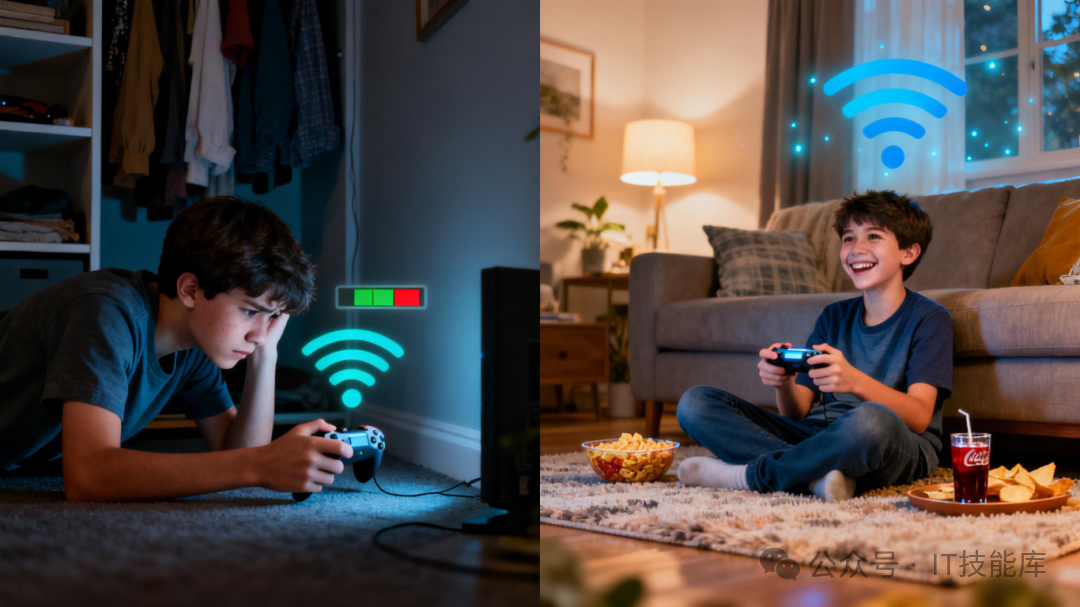
Friends ask me, I have a router installed in the living room, and the network speed is great there, but it slows down in the bedroom and balcony. Is there any solution? Have you also encountered these frustrating moments?
👉 In the study, video conferences are smooth, but as soon as I enter the bedroom, the signal drops to one bar, and watching a short video buffers like a PowerPoint presentation…
👉 Watching high-definition movies on the smart TV, but as soon as my phone and tablet connect, the whole family’s internet speed feels like “traffic jam”…
👉 Always worried that the smart cameras and speakers at home connected to the same network might pose security risks?
Don’t worry, these issues can actually be perfectly solved by connecting two routers to one broadband line! Today, I will guide you step-by-step in simple terms, helping you easily become a “home network engineer”!
1. Why do we need two routers?
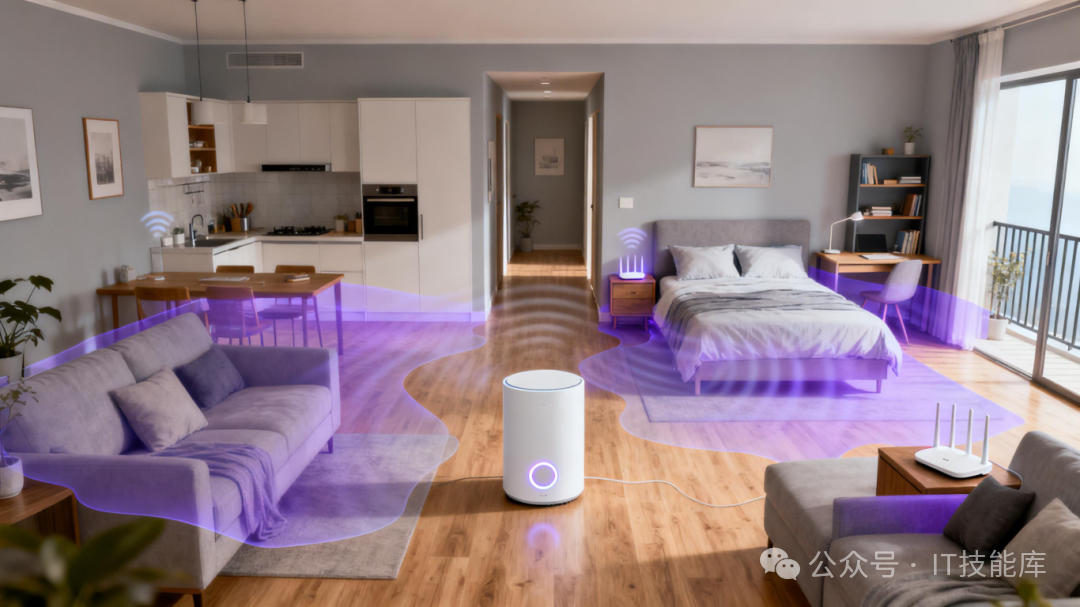
You might think one router is enough, but it actually acts like a “signal lighthouse” at home, with a limited coverage area. Adding a second router has many benefits:
Expand Coverage, Eliminate Dead Zones: Especially for large homes, villas, or those with many load-bearing walls, a second router acts like a “signal amplifier” for your Wi-Fi, ensuring full signal in the bathroom, balcony, and bedroom corners.
Share the Load, More Stable Speeds: With so many smart devices at home—phones, computers, TVs, cameras—one router can easily become overwhelmed. Adding a helper to share the connection tasks allows everyone to surf the internet more smoothly.
Separate Networks, Enhanced Security: You can reserve the main network for your computers and phones, while using the second router specifically for guests or smart home devices. This way, even if IoT devices pose risks, they won’t affect your core devices, like installing a “network access control” at home.
2. Step-by-Step Tutorial: Two Connection Methods to Choose From!
Prepare your main router (the one connected to the optical modem) and the secondary router (the one you plan to add, even an old one will do). We have two classic connection methods:
Method 1: Independent Operation, Secure Isolation (suitable for guests/smart devices)
This method allows the two routers to manage different “homes” without interference.
Connection Steps (Super Detailed):
Preparation: Ensure your main router is set up and can access the internet.
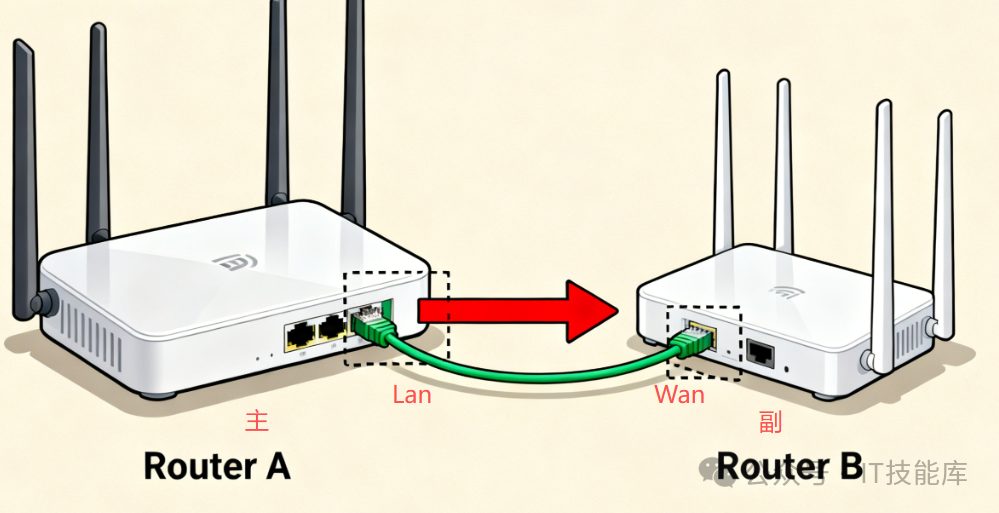
Wiring: Take an Ethernet cable, plug one end into the gray LAN port of the main router (usually there are multiple, any will do), and the other end into the blue WAN port of the secondary router (usually only one).
Set Up the Secondary Router:
Connect to the Wi-Fi of the secondary router using your phone or computer (the password is on the label at the bottom of the router).
Open a browser and enter the management address (usually 192.168.1.1 or 192.168.0.1, also found on the bottom label).
Change the “Address”: In the “LAN Settings”, change the IP address of the secondary router. For example, if the main router is 192.168.1.1, change the secondary router to 192.168.1.2 to avoid “conflicts”.
Select “Internet Connection Type”: In the “Internet Settings”, choose “Obtain IP Automatically” or “DHCP”. This way, the secondary router can “receive” internet access from the main router.
Set Wi-Fi Name and Password: It is recommended to set a different name from the main network, such as “My Wi-Fi_Living Room” and “My Wi-Fi_Bedroom” for easy distinction.
Image Description:
Method 2: Unified Operation, Seamless Switching (suitable for simply expanding signal)
This method merges the two routers into one “large local area network”, allowing devices to freely “visit” each other.
Connection Steps (Note the Order):
Set Up First, Then Wire: First, connect the secondary router to a computer for setup.
Set Up the Secondary Router:
Log into the management interface of the secondary router (same as above).
Change the “Address”: Similarly, change the LAN IP to one that does not conflict with the main router, such as 192.168.1.2.
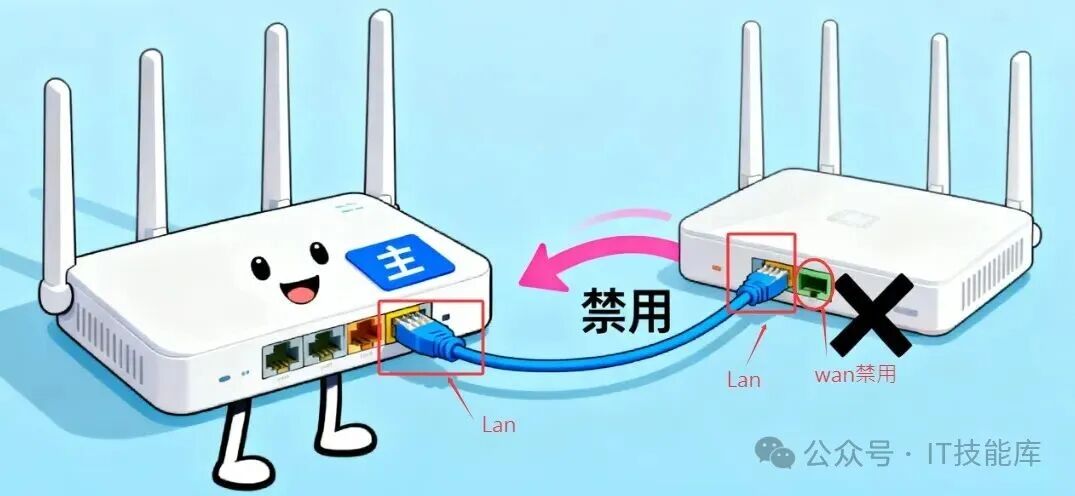
Disable DHCP: Find the “DHCP Server” option and select “Disable” or “Not Enabled”. This is very important! This way, all IP addresses in the home will be uniformly assigned by the main router, preventing chaos.
Wiring: Take an Ethernet cable, plug one end into the gray LAN port of the main router, and the other end into any gray LAN port of the secondary router. Note: The blue WAN port of the secondary router will be unused this time!
Set Wi-Fi: It is recommended to set the Wi-Fi name and password of the secondary router to be exactly the same as the main router. This way, your phone and tablet can automatically connect to the stronger signal, achieving nearly seamless switching!
3. Ultimate Lazy Solution: Mesh Networking
If you find the above two methods a bit complicated, or if you pursue the ultimate experience of “strong signal wherever you go”, then consider a Mesh distributed router.
What it is: You can think of it as a set of “smart streetlight systems”. Multiple Mesh nodes automatically form a smart network, sharing the same Wi-Fi name.
Benefits: As you walk from the living room to the bedroom, your phone will seamlessly switch to the nearest node, ensuring video calls do not lag and games do not disconnect. Setup is extremely simple, usually done via a mobile app.
Recommendation: If you are renovating or have high demands for network quality, investing in Mesh is the best choice for peace of mind and ease.
Selection Guide
| Your Needs | Recommended Solution | One-Sentence Interpretation |
| Want to set up a dedicated network for guests or smart devices | Method 1 (LAN to WAN) | Two independent networks, securely isolated |
| Just want to expand the signal, devices can access each other | Method 2 (LAN to LAN) | One large local area network, smoother switching |
| Not short on budget, pursuing ultimate seamless roaming | Mesh System | Simple setup, best experience, all-in-one |
After reading this tutorial, do you feel like you have a solution to your home network issues? Go check if you have any idle old routers and let them “get back to work” to say goodbye to signal dead zones tonight!

#Home Network Transformation #WiFi Full Signal #Router Bridging Tutorial #Say Goodbye to Lag #Smart Home
 IT Skills Library
Follow Me
Learn a skill every day

 Reposting is a form of motivation; sharing is a virtue
 Click here to “Read More” for more content