Software Introduction
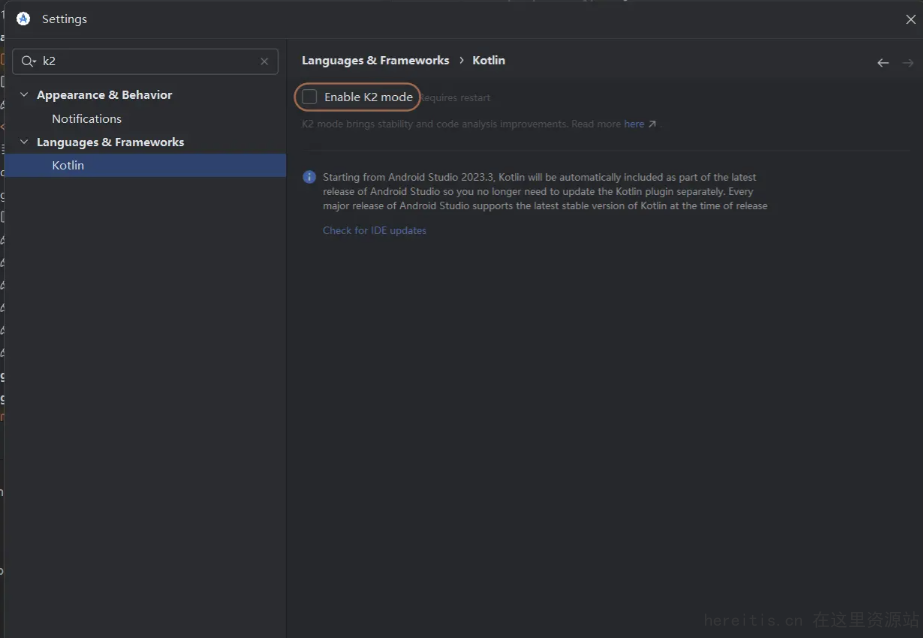
Android Studio 2025.1.1, codenamed Narwhal, is a significant update. This update primarily follows IntelliJ IDEA 2025.1 and introduces the K2 mode, which is an internal version of the K2 Kotlin compiler included in the Kotlin plugin for code analysis. The K2 mode brings up to a 94% increase in compilation speed and a 488% speed improvement during the initialization phase, significantly optimizing Kotlin code analysis, completion, and navigation speed.
Additionally, Android Studio 2025.1.1 has restructured the terminal architecture, enhancing compatibility and consistency, and introduced Gemini, an AI-assisted tool that supports multi-mode image and file attachments. Gemini allows developers to directly attach images and files to prompts within Android Studio, seamlessly integrating the visual environment into the AI-assisted workflow, thereby improving development efficiency and creativity.
The new version also improves the Compose preview feature, including dynamic resizing, enhanced navigation support, and instant visual feedback, accelerating UI iteration and optimization speed. Meanwhile, the Layout Inspector has added features such as horizontal scrolling and automatic scrolling during selection, enhancing the efficiency of layout inspection and debugging.
Android Studio 2025.1.1 also supports backing up settings to cloud storage using Google or JetBrains accounts, enabling cross-machine synchronization of IDE styles and settings. Furthermore, the XR simulator is now launched by default through the embedded state, allowing developers to use Jetpack XR to build immersive experiences.
Overall, Android Studio 2025.1.1 is a comprehensive update that provides developers with a more efficient and intelligent development experience.
Installation Guide
1. After downloading, right-click the [Android Studio 2025] compressed package and select [Extract Here]. 2. Open the extracted folder, right-click [Setup], and select [Run as Administrator]. 3. Click [Next]. 4. Click [Next]. 5. Click [Next]. 6. Modify the first character of the path address from C to change the installation location (e.g., change C to D to install the software on drive D), then click [Next]. 7. Click [Install]. 8. Installation in progress… 9. Click [Next]. 10. Click [Finish]. 11. Click [Don’t send]. 12. Click [Cancel], then click [Next]. 13. Select [Custom], then click [Next]. 14. Modify the SDK location: ① Click the [Folder Icon] ② Select the disk where you want to install the software (e.g., drive D) and create a new [SDK] folder ③④ Click [OK] ④ Click [OK]. 15. Click [Next]. 16. Choose the SDK License according to your needs, check [Accept], and click [Finish]. 17. Downloading and installing… 18. Click [Finish]. 19. Click [New Project]. 20. Select a template, then click [Next]. 21. Choose the save location and select the programming language (e.g., Java), then click [Finish]. 22. Installation complete.