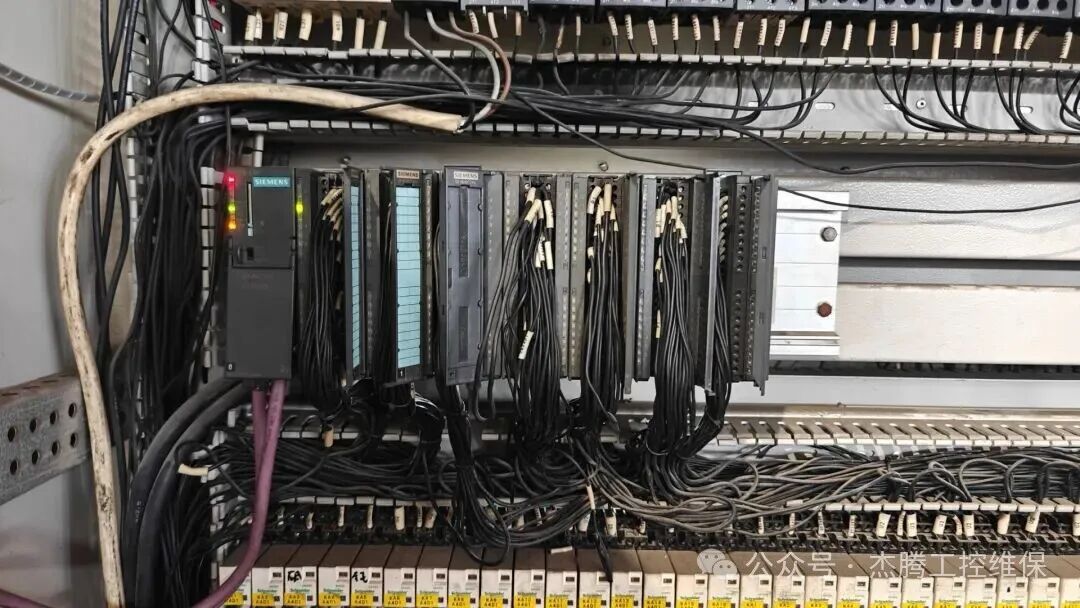
After many years in industrial control maintenance, I can tell you that there are actually three common faults with PLCs: all indicator lights are off, a certain input point has no output (manifesting as a specific action failing), and communication issues. Next, let’s look at how to troubleshoot these three problems (applicable to all brands of PLCs, such as Mitsubishi PLC, Omron PLC, Siemens PLC, Delta PLC, etc.).
Fault 1: PLC Indicator Lights Are Off
When we power on the PLC, if we find that all the lights, including the power (PWR/POWER) light, are off, the entire PLC seems dead! Let’s perform the following checks:
1. Check the External Power Supply
Is there power? First, use a voltage tester or multimeter to check if there is power at the supply to the PLC (for example, at the input of the circuit breaker). Sometimes, it could be a simple issue like the circuit breaker tripping or the plug not being properly connected.
Is the voltage correct? Use a multimeter to measure the voltage. For example, if your PLC is powered by 220V and you measure only a few tens of volts, that is definitely not acceptable. Ensure the voltage is within the allowable range (e.g., 220V ± 15%).
2. Check PLC Wiring
Are the live and neutral wires connected correctly? Carefully compare with the wiring diagram on the side of the PLC to see if the live wire (L), neutral wire (N), and ground wire (PE) are connected correctly and securely. Especially for the ground wire, it must be firmly connected to prevent interference.
Is the fuse blown? Many PLC power modules have a small fuse at the front. Remove it and check if the filament inside is broken. If it is broken, do not replace it directly; generally, PLCs do not blow fuses for no reason. If you replace it without finding the cause, it may lead to damage to a part of the PLC circuit board. The best approach is to send it out for repair.
3. Check the PLC Internals
If everything above is normal, it is likely that the internal power components of the PLC are faulty, and you should send it out for repair.
Fault 2: PLC Communication Issues If the computer, touch screen (HMI), or upper-level software cannot connect to the PLC, cannot upload/download programs, and cannot monitor, even if it seems connected, all functions are unresponsive and unusable! The problem may lie in the “signal” and “settings.” Troubleshooting communication issues can be more complicated (from software to hardware): 1. Check Physical Connections (Hardware)
Is the communication cable damaged? Communication cables are consumables, especially USB to serial cables, which are very prone to damage. If possible, replace it with a known good communication cable to test; this is the quickest method.
Are the connectors securely plugged in? Check the PLC’s communication port and the computer/touch screen’s interface for looseness. Are the pins bent?
Is the port selected correctly? In the programming software on the computer (such as STEP 7-MicroWIN, GX Works2, etc.), you need to select the correct communication port (COM port). Check in the computer’s “Device Manager” which COM port corresponds to the communication cable you are using, and ensure it matches what is selected in the software.
2. Check Communication Parameters (Software)
Are the “secret codes” matched? Communication is like matching secret codes. The PLC’s communication parameters (baud rate, data bits, stop bits, etc.) must exactly match the settings in the computer software. These parameters can be found in the PLC’s hardware configuration or system block; just set them accordingly.
Is the driver installed correctly? If using a USB programming cable, its driver must be installed separately; otherwise, the computer will not recognize it.
3. Check for Interference and Hardware Issues
Is there interference? Do not run communication cables alongside power cables (such as motor cables), as high voltage can cause interference, leading to unstable communication. It is best to use shielded cables and ensure the shield is grounded.
Is the communication port damaged? If all the above checks are fine and it still does not work, the PLC’s communication port may be physically damaged. This also requires professional repair! Additionally, sometimes the external touch screen’s communication may fail, which can also lead to PLC communication issues, so if you have a similar screen, swapping it out for testing is also a good idea.
Fault 3: An Input Point Has No Output
For example, when you press a button (input signal X0 lights up), but the corresponding control relay (output signal Y0) does not activate, and the output light does not turn on! The problem may lie in the program, wiring, or the PLC itself. This fault is relatively easy to troubleshoot (logical troubleshooting): 1. First Step: Online Monitoring with Programming Software
If communication is normal, immediately connect to the programming software and find the “monitoring” or “online” function to see if the corresponding input point (e.g., I0.0, X0) changes to “ON” (usually turns green or highlighted) when you press the button.
Also, check if all the conditions in the program that control this output are met. Is there something else that interrupts it? Is there an interlock? Has the timer not reached its set time?
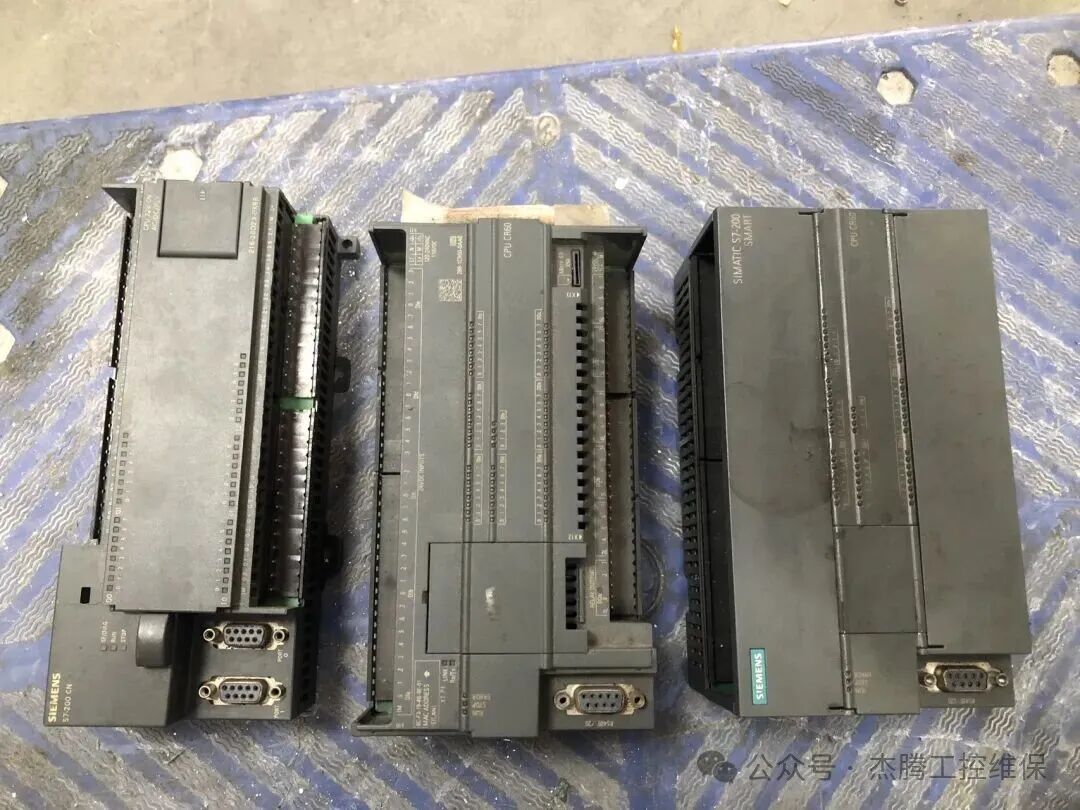
Important!! If all conditions in the program are met but the output point does not activate, it is very likely that the PLC output point hardware is damaged! At this point, you need to mark the location and inform the repair company; we help customers replace many output points every month.
2. Second Step: Force Output (Caution)
In monitoring mode, the programming software usually has a “force” function. You can bypass the program logic and directly force the output point (Y0) to ON.
Safety Warning!! Before forcing, ensure that the equipment is in a safe state and that sudden activation will not cause injury or damage to the equipment!
If after forcing, the output light turns on and the device activates, it indicates that the output point and peripheral circuit are good, and the problem is 100% in your program logic; go back and check the program carefully.
If after forcing, the output light turns on but the device does not activate, it indicates that the PLC output point is good, and the problem lies in the wiring from the PLC output point to the external device (such as relay, contactor).
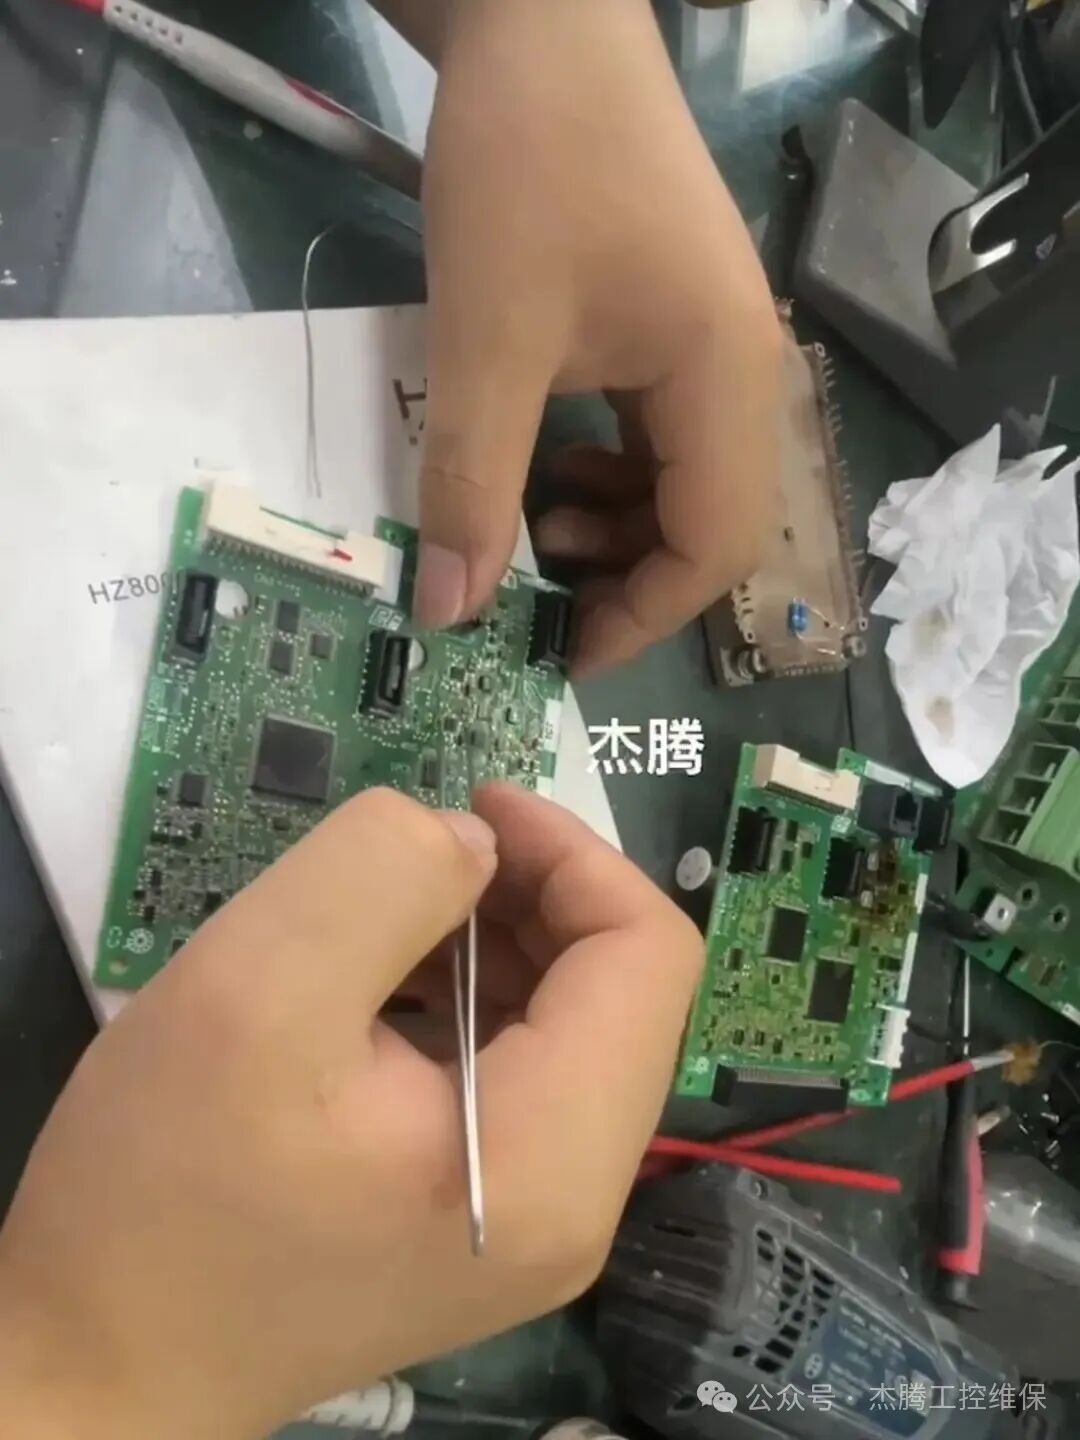
If after forcing, the output light does not turn on, it can be concluded that the PLC output point hardware is damaged; remember the location for easy repair.
3. Third Step: Check Peripheral Circuits
If the forced output light is on but the device does not move, use a multimeter to measure the voltage between this output point (Y0) and the common terminal (COM) during output. Check if the wiring from the output point to the external relay is broken or loose. Also, check if the external relay/contact is functioning properly. Remember these three common issues, and you will be able to solve most PLC faults yourself without panic! Always remember, safety first; if uncertain, disconnect the power before checking.