Follow our WeChat public account for Java insightsDelivered promptly
Source: http://blog.csdn.net/update7
Introduction to Docker
Docker is a platform for software developers and system administrators to build, run, and share applications using containers. Containers are processes that run in isolated environments, operating on their own filesystem built from Docker images. An image contains everything needed to run an application (compiled code, dependencies, libraries, etc.). Images are defined using a Dockerfile.
The terms dockerization or containerization are commonly used to define the process of creating Docker containers.
Containers are popular for the following advantages:
-
Flexibility: Even the most complex applications can be containerized. -
Lightweight: Containers share the host kernel, making them much more efficient than virtual machines. -
Portability: Build locally and run anywhere. -
Loose coupling: Containers are self-contained; replacing or upgrading one container does not disrupt others. -
Security: Containers impose strict limitations and isolation on processes without requiring user configuration.
In this article, I will focus on how to optimize Docker images to make them lightweight. Additionally, all Docker series tutorials have been organized; you can search for Java Tech Stack on WeChat for online reading.
Optimization Process
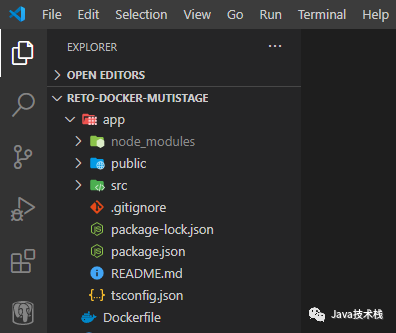
Let’s start with an example where we build a React application and containerize it. After running the npx command and creating the Dockerfile, we obtained the file structure shown in Figure 1.
npx create-react-app app --template typescript
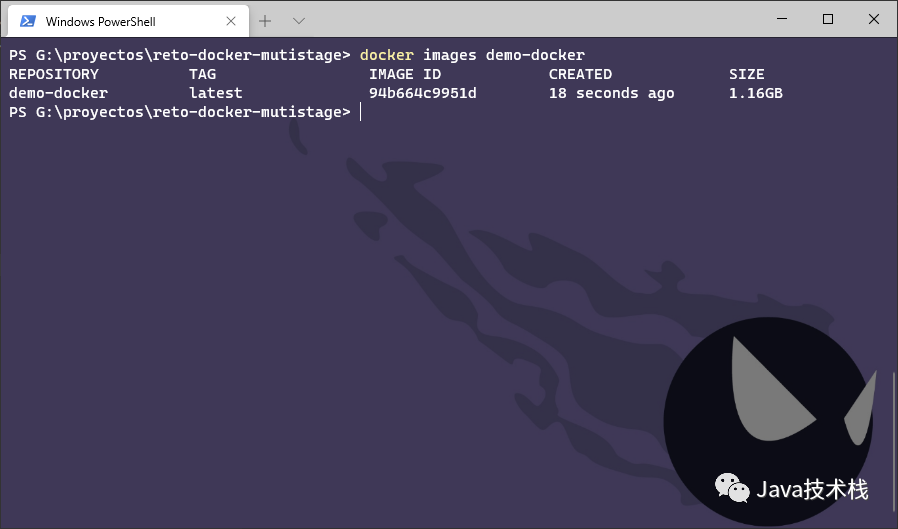
If we build a basic Dockerfile (as shown below), we end up with a 1.16 GB image:
FROM node:10
WORKDIR /app
COPY app /app
RUN npm install -g webserver.local
RUN npm install && npm run build
EXPOSE 3000
CMD webserver.local -d ./build
Step 1 Optimization: Use Lightweight Base Images
There are several images available for download on Docker Hub (the public Docker repository), each with different characteristics and sizes.
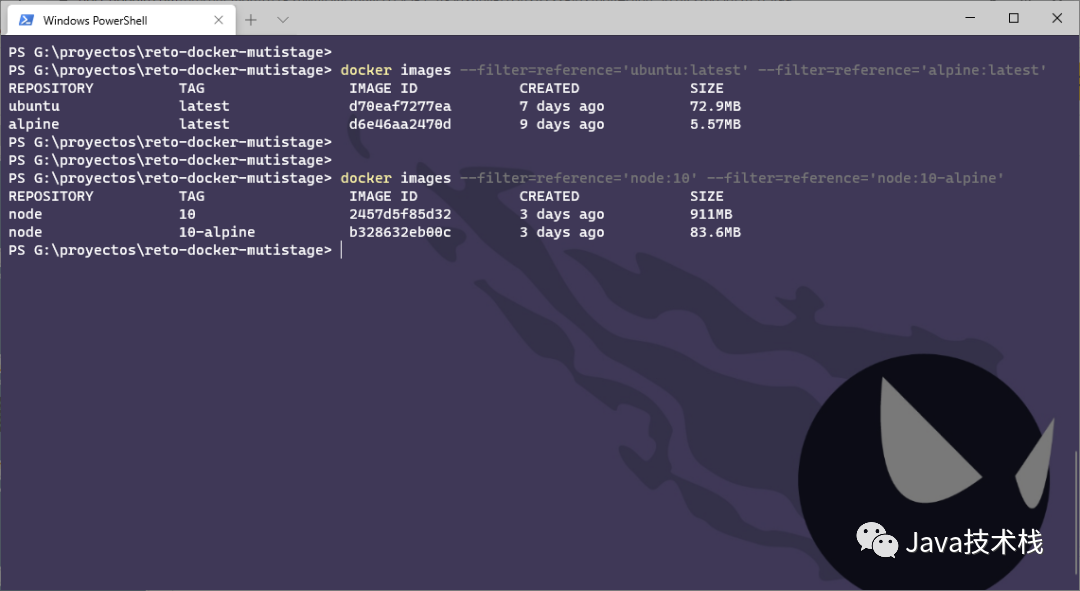
Generally, images based on Alpine or BusyBox are much smaller compared to those based on other Linux distributions (such as Ubuntu). This is because Alpine images and similar images are optimized and contain only the minimal required packages.
In the image below, you can see a size comparison between Ubuntu, Alpine, Node, and the Alpine-based Node images.
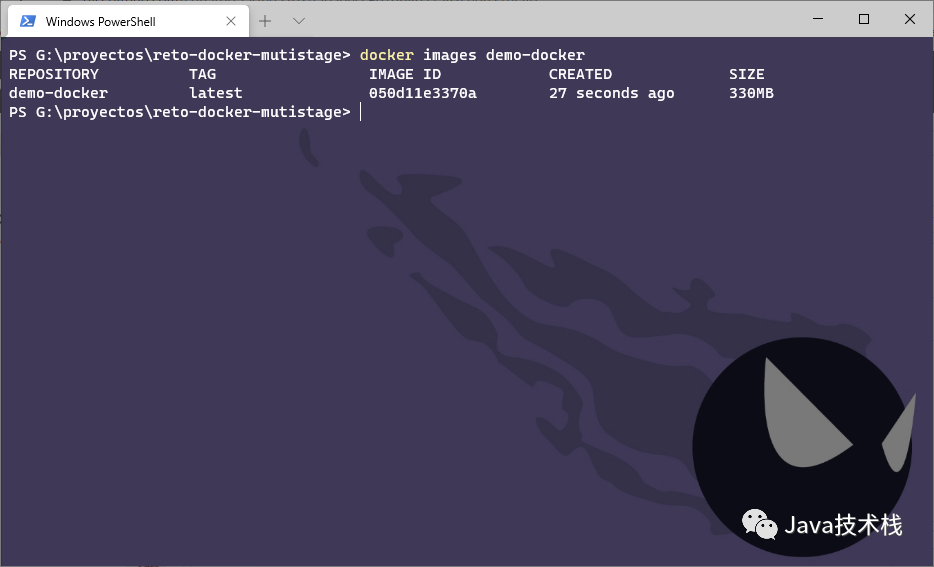
By modifying the Dockerfile to use Alpine as the base image, our final image size is 330MB:
FROM node:10-alpine
WORKDIR /app
COPY app /app
RUN npm install -g webserver.local
RUN npm install && npm run build
EXPOSE 3000
CMD webserver.local -d ./build
Step 2 Optimization: Multi-Stage Builds
With multi-stage builds, we can use multiple base images in the Dockerfile and copy compiled products, configuration files, etc., from one stage to another, allowing us to discard unnecessary items.
In this example, what we need to deploy the React application is the compiled code; we do not need the source files, nor the node_modules directory or package.json file.
By modifying the Dockerfile as shown below, we end up with an image size of 91.5MB. Note that the image from the first stage (lines 1-4) will not be automatically deleted; Docker keeps it in cache, allowing for faster builds if the same stages are executed in another build process. Therefore, you must manually delete the first-stage image.
FROM node:10-alpine AS build
WORKDIR /app
COPY app /app
RUN npm install && npm run build
FROM node:10-alpine
WORKDIR /app
RUN npm install -g webserver.local
COPY --from=build /app/build ./build
EXPOSE 3000
CMD webserver.local -d ./build
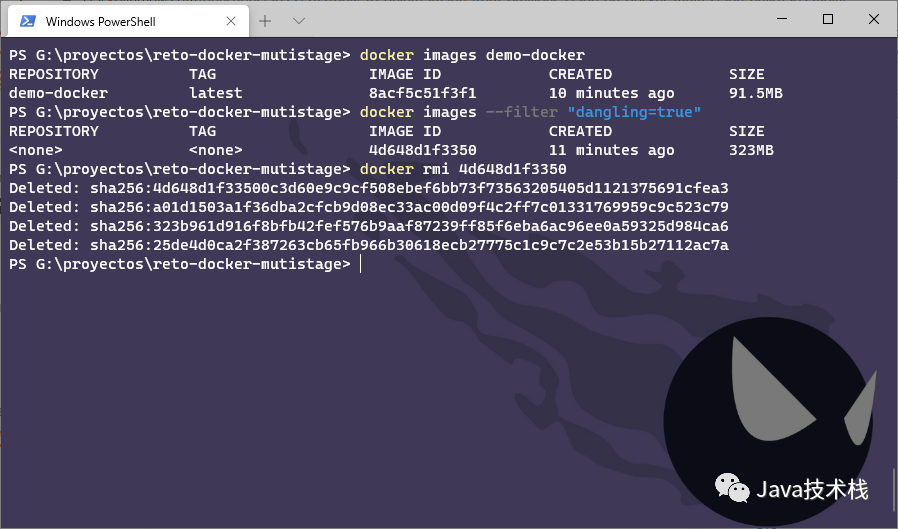
Now we have a Dockerfile with two stages: in the first stage, we compile the project, and in the second stage, we deploy the application on a web server. However, the Node container is not the best choice for serving web pages (HTML, CSS, JavaScript files, images, etc.); a better choice is to use a service like Nginx or Apache.
In this example, I will use Nginx. Additionally, all Nginx interview questions and answers have been organized; you can search for Java Tech Stack on WeChat and send: interview for online reading.
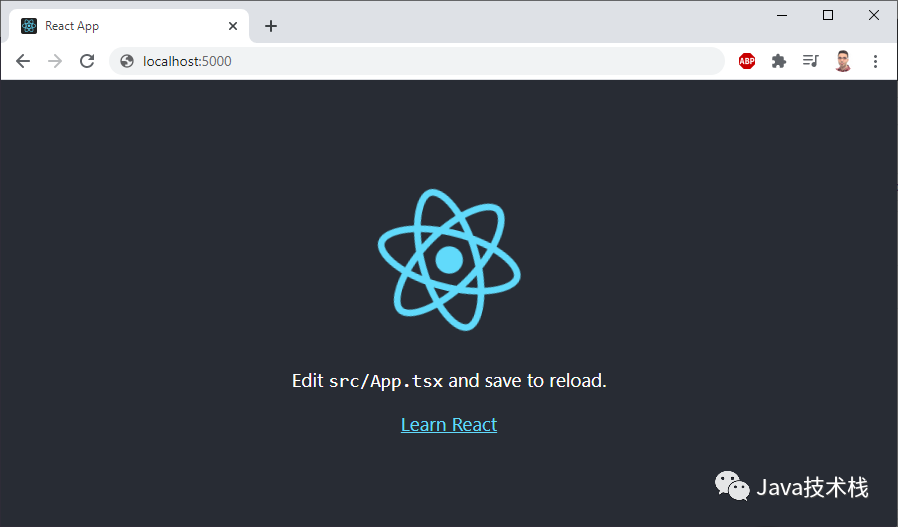
By modifying the Dockerfile as shown below, our final image size is 22.4MB. If we run this container, we can see that the web page works normally without any issues (Figure 7).
FROM node:10-alpine AS build
WORKDIR /app
COPY app /app
RUN npm install && npm run build
FROM nginx:stable-alpine
COPY --from=build /app/build /usr/share/nginx/html
EXPOSE 80
CMD ["nginx", "-g", "daemon off;"]



Follow Java Tech Stack for more insights

