In the previous issue, we discussed the tutorial on setting up PPPoE dialing in OpenWRT. In bridge mode with the optical modem, if PPPoE dialing is not configured, OpenWRT cannot access the internet properly.
- Tutorial on setting up PPPoE dialing in OpenWRT
However, many newly installed broadband connections are set to router mode by the technician for convenience. If you connect an external router, it can only function as a secondary router (in automatic IP acquisition mode).
If it is a regular router, the setup tutorial is generally quite simple, for example, the Mercury router used for demonstration:
- Resetting the old router & setting up the new router tutorial | Suitable for PPPoE dialing
- Resetting the old router & setting up the new router tutorial | Suitable for automatic DHCP acquisition mode
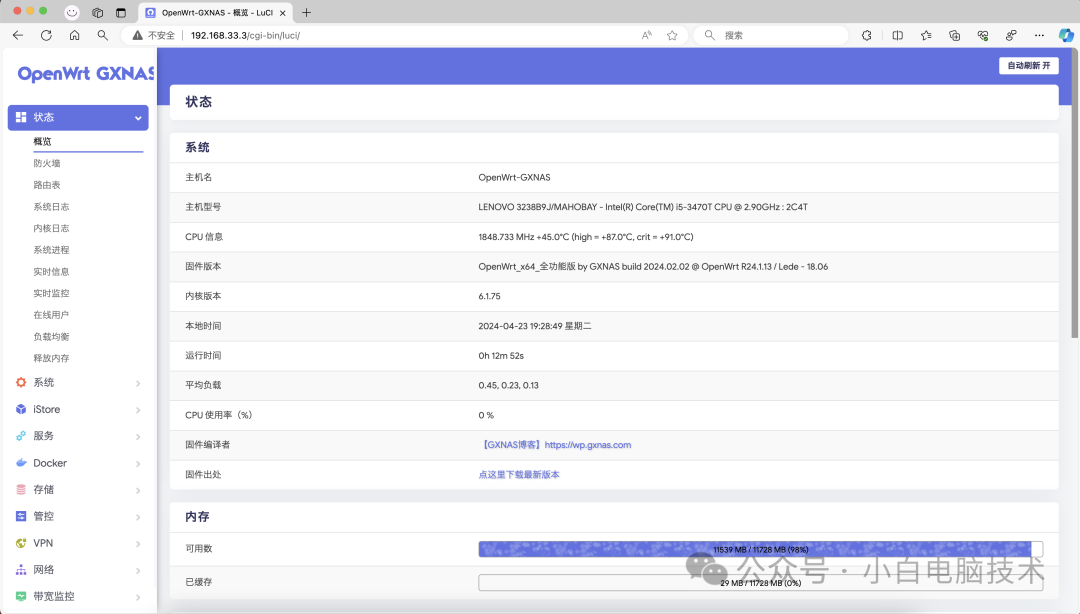
If you want to use the OpenWRT soft router system, but your optical modem is still in router mode, you need to set OpenWRT to automatic IP acquisition mode. Note: This tutorial is suitable for x86 hosts with two network ports. Start of the main text First, we previously set the management IP of OpenWRT to 192.168.33.3. If the optical modem is in router mode, its default IP range is generally 192.168.1.1 (with some exceptions, but not many). If OpenWRT is used as a secondary router, it is recommended to avoid the 192.168.1.0/24 subnet. Tips: 192.168.1.0/24 can be simply understood as the IP range from 192.168.1.1 to 254, with a subnet mask of 255.255.255.0. Here, the demonstration primary router’s IP range is 192.168.33.0/24, so the secondary router should avoid this subnet. Let’s access the management page of OpenWRT at 192.168.33.3.
Click on 【Network】 – 【Interfaces】

Find 【Lan】 and click 【Edit】

Change the IP to something other than 192.168.33.1. If the upstream router’s default gateway is 192.168.1.1, set it to an IP other than 192.168.1.1. I set it to 192.168.34.1.
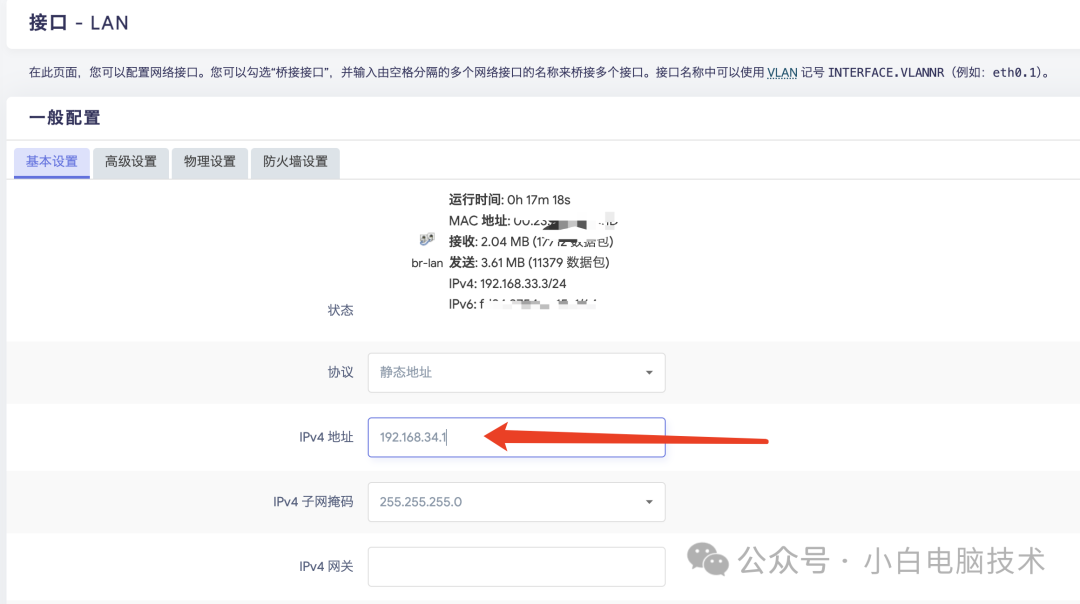
Then click 【Save & Apply】

Next, access the IP you just set, which is 192.168.34.1.
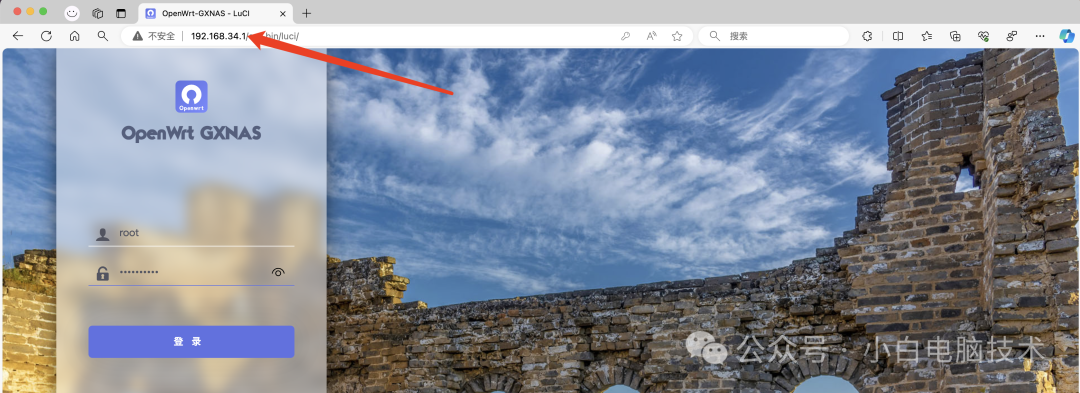
After logging in, go to 【Network】 – 【Interfaces】
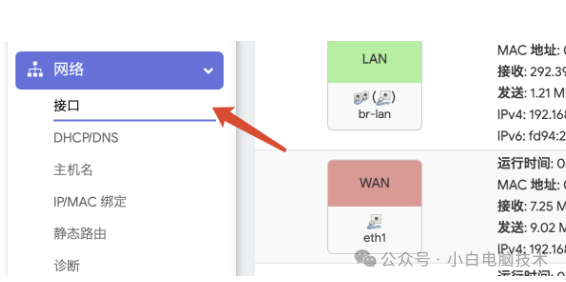
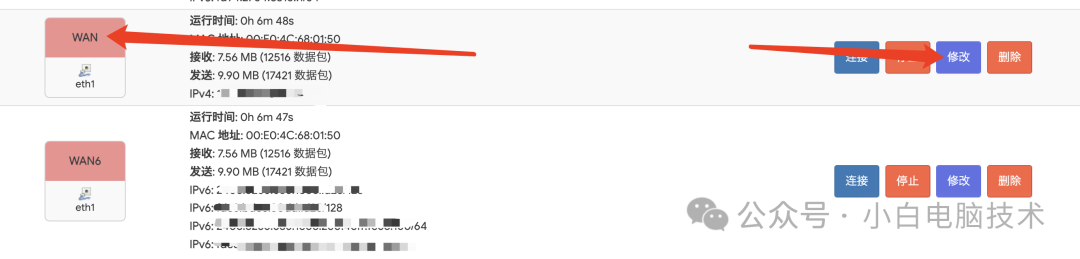
Find 【WAN】 and click 【Edit】. If there is no 【WAN】 port, click 【Add new interface】. If there are two WANs, find the one named 【WAN】, not 【WAN6】.
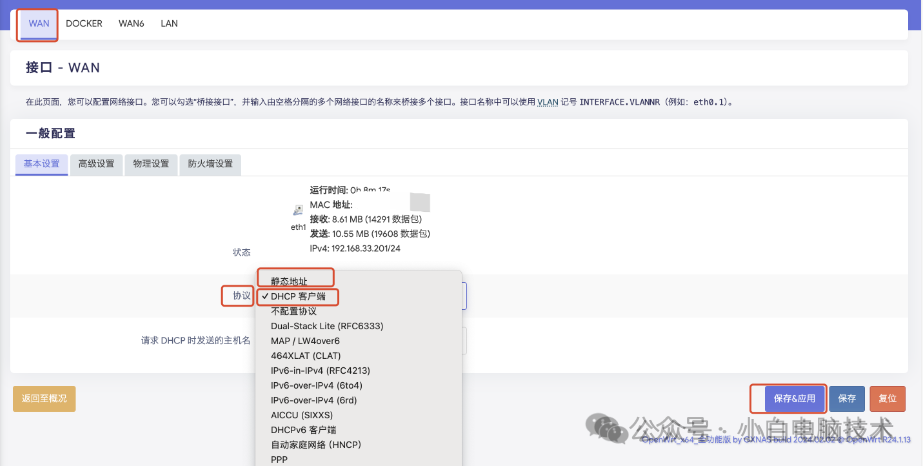
Click 【Protocol】 and select 【DHCP Client】 to automatically acquire the IP assigned by the upstream router. Of course, you can also set it to a static address, but if the IP you set has already been assigned in that network, it will cause network paralysis. Finally, click 【Save & Apply】.
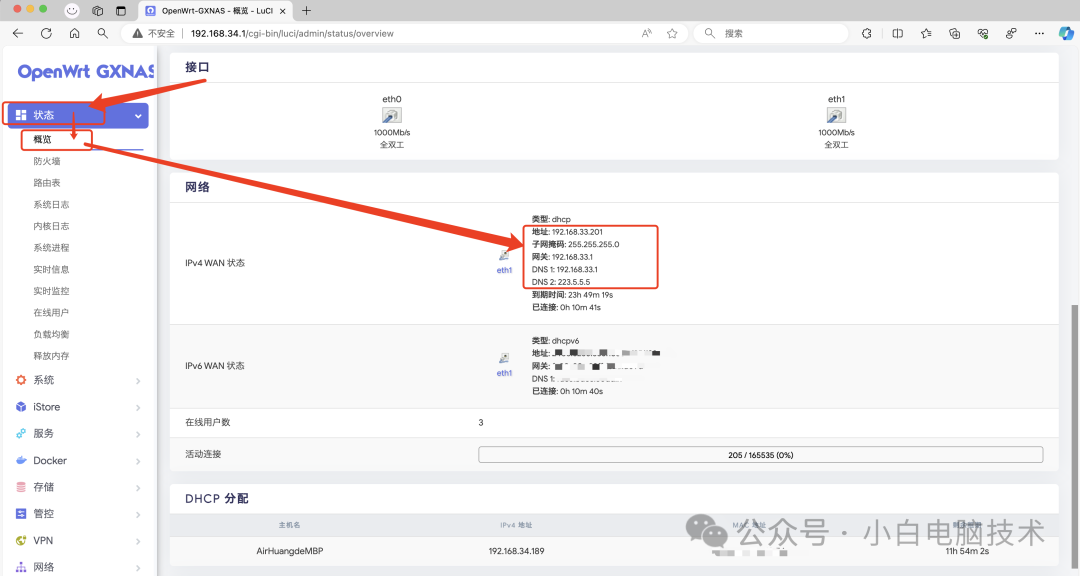
Return to 【Status】 – 【Overview】. If the IPv4 WAN status shows that it has acquired an IP, it means the setup was successful.
–End– Recently, some friends have asked: Is it really necessary to tinker with OpenWRT? This question can be divided into three situations: 1. When there are many devices connected to the router, a regular router may experience packet loss. The reason is that the performance of a regular router is insufficient, leading to inadequate device capacity or poor data processing capability. Using a soft router is likely to alleviate this situation. For example: 30 computers and 30 mobile phones accessing the internet simultaneously. In this case, tinkering with OpenWRT is quite practical. 2. The rich features of OpenWRT Most friends will find that after installing OpenWRT, it has many features available. This includes SMB file sharing provided by regular routers, ad-blocking features, and activating system functionalities. The richness of features enhances the enjoyment of tinkering. 3. Situations where tinkering is unnecessary If the network works fine and you do not care about the extended features on the router, then there is really no need to tinker; just buy a more expensive router instead.