Installing and Configuring Tailscale on OpenWrt
What is Tailscale
Tailscale is a networking tool based on WireGuard that allows for peer-to-peer connections between nodes without the need for a public IP address, utilizing a decentralized approach. It is easy to configure and supports various platforms and clients.
Advantages of Tailscale
Compared to ZeroTier and WireGuard, Tailscale is easier to connect to the official relay servers, has a simpler web UI, making it suitable for beginners, and allows for one-click updates without requiring a public IP.
ZeroTier can easily fail to connect to the official relay server without IPv6, leading to device disconnections.
WireGuard requires a public IP, has a complicated configuration, and needs to restart the WireGuard interface every time the public IP changes.
Tailscale’s Derp configuration is straightforward and can be set up directly in the official backend, unlike ZeroTier’s moon, which requires manual addition.
Configuring Tailscale on OpenWrt
Download Software
Download the Tailscale package to a specified directory. Go to the Tailscale GitHub releases page, find the latest package, and download it locally.
Then use the WinSCP tool to upload the downloaded software to the /tmp directory of OpenWrt, or find the download link and use the wget command to download it directly.
Example command:
wget https://github.com/adyanth/openwrt-tailscale-enabler/releases/download/v1.60.0-e428948-autoupdate/openwrt-tailscale-enabler-v1.60.0-e428948-autoupdate.tgz
Extract:
tar x -zvC / -f openwrt-tailscale-enabler-v1.60.0-e428948-autoupdate.tgzInstall Dependencies
opkg update
opkg install libustream-openssl ca-bundle kmod-tun
Set to Start on Boot and Verify Success
/etc/init.d/tailscale enable
ls /etc/rc.d/S*tailscale*
Start Tailscale
/etc/init.d/tailscale startGet Login Link and Configure Routing
tailscale up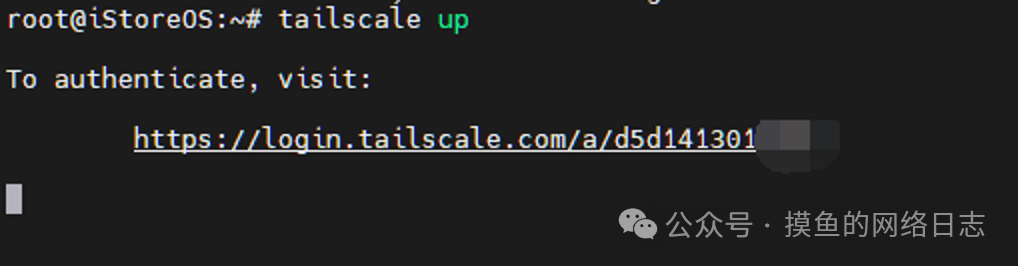
Copy the displayed address and open it in a browser. Use a Google or Microsoft account to log in to the Tailscale management homepage for verification. It is not recommended to use a Google account, as you need to enable a VPN to log in to the Google account before connecting to the Tailscale app outside.
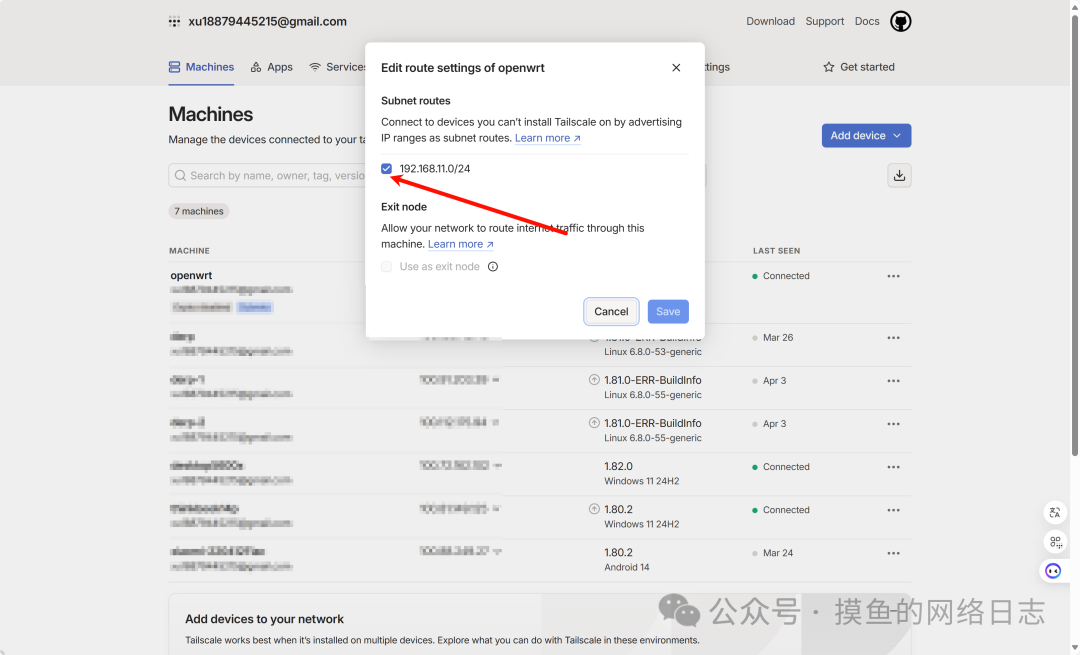
Enable Subnet Routing
Enter the following command on OpenWrt to enable local subnet routing. The subnet address is the LAN network of OpenWrt. 192.168.11.0/24 is my subnet; do not blindly copy mine!!!!!
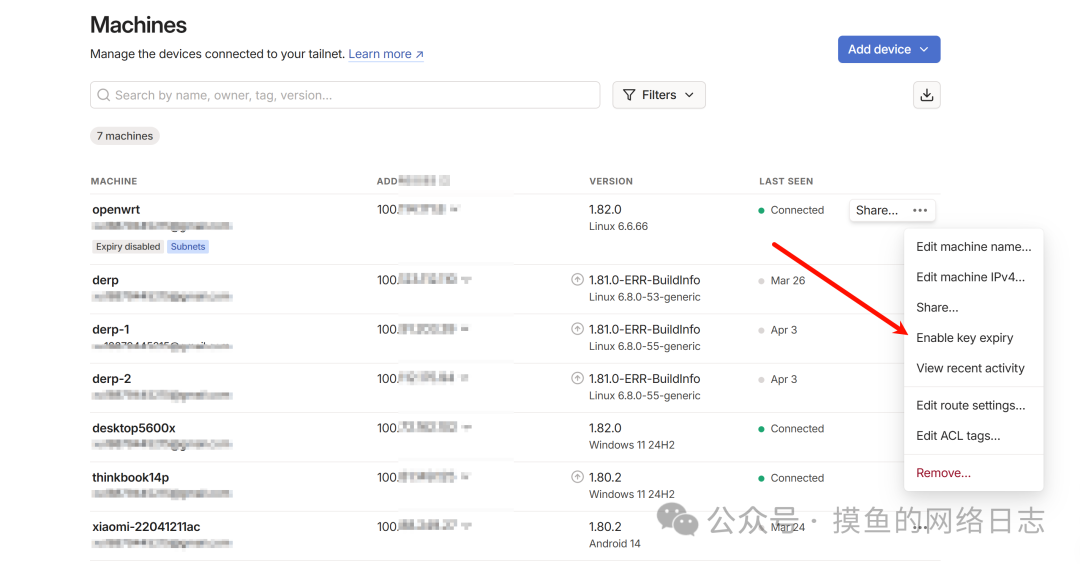
tailscale up --accept-routes --accept-dns=false --advertise-routes=192.168.11.0/24On the Tailscale management page, click the more icon on the right side of the device list, disable key expiration, and enable subnet routing.
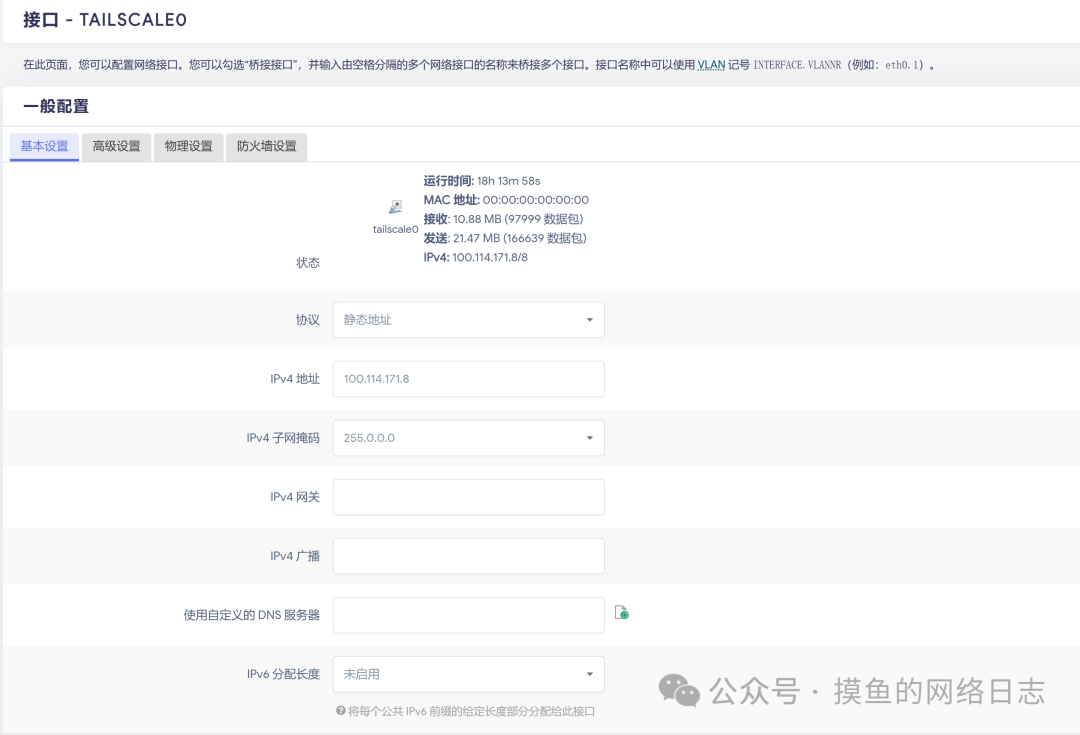
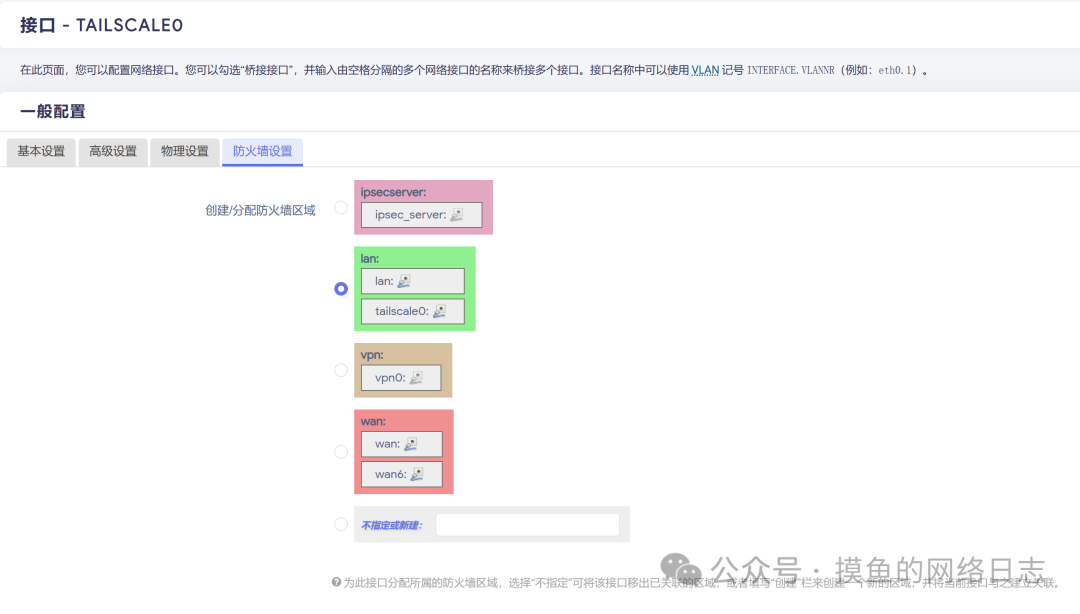
Add Tailscale Interface
Now you can ping other Tailscale nodes from OpenWrt, but other nodes cannot connect to the OpenWrt node yet; you need to add the Tailscale interface on OpenWrt.
Create a new interface on OpenWrt, select static address for the protocol, choose tailscale0 for the device, and set the address to the one assigned on the Tailscale management page, with a mask of 255.0.0.0. Select the LAN zone for the firewall area.
Testing
Access http://192.168.11.1 from another device. If you can access it, the configuration is successful. Note: The 192.168.11.1 here is my OpenWrt IP address; do not blindly copy mine.