Allwinner T113-S3 Development Board: Flashing Firmware to TF Card and Booting

  1. Firmware:<span>tina_t113-bingpi_m2_uart3.img</span>
  2. TF Card Flashing Tool:<span>phoenixcard4.2.8</span>
  3. Serial Port Tool:<span>putty.exe</span>
Allwinner T113-S3 Development Board: Flashing Firmware to TF Card and Booting
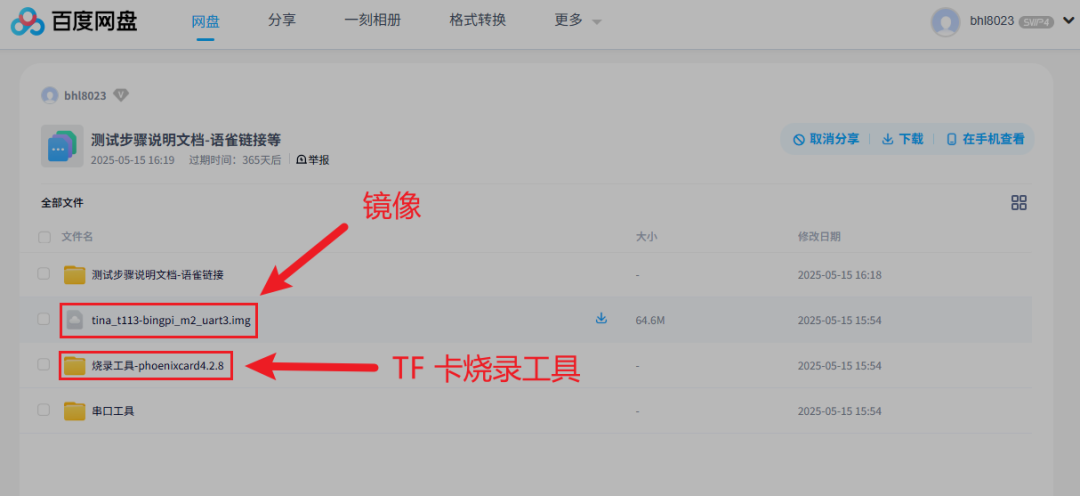
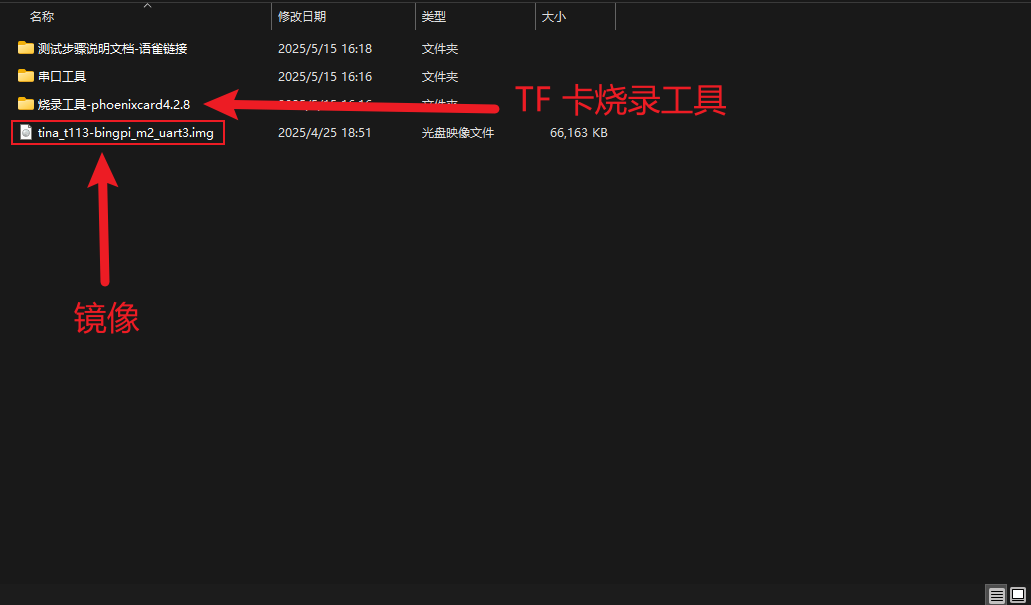
Files shared via cloud drive: tina_t113-bingpi_m2_uart3.img and 4 other files
Link: https://pan.baidu.com/s/1Ms8jQKene7fEaAiAaKxA6A?pwd=skke Extraction code: skke
Allwinner T113-S3 Development Board: Flashing Firmware to TF Card and Booting

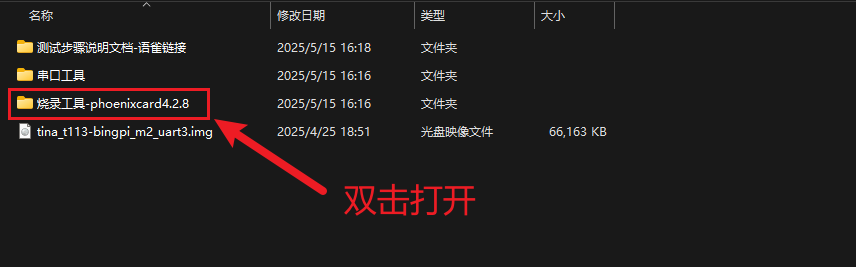
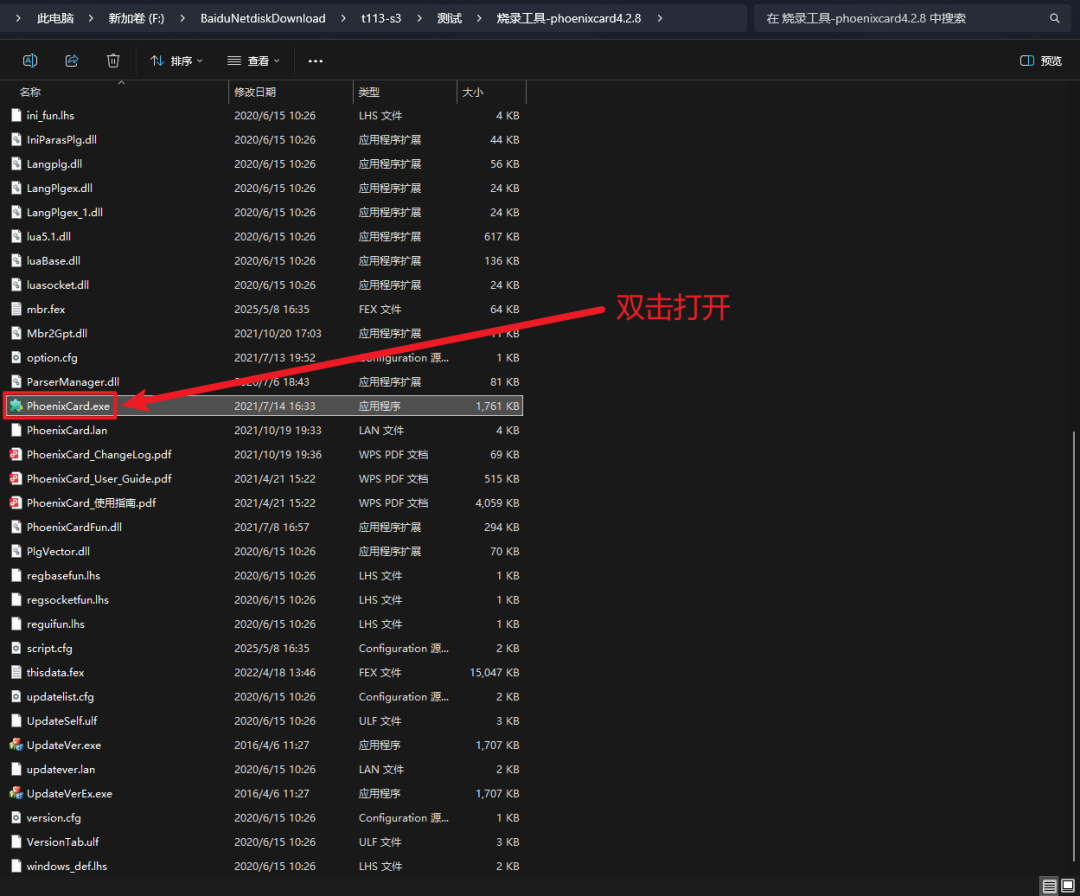
Here are the flashing steps

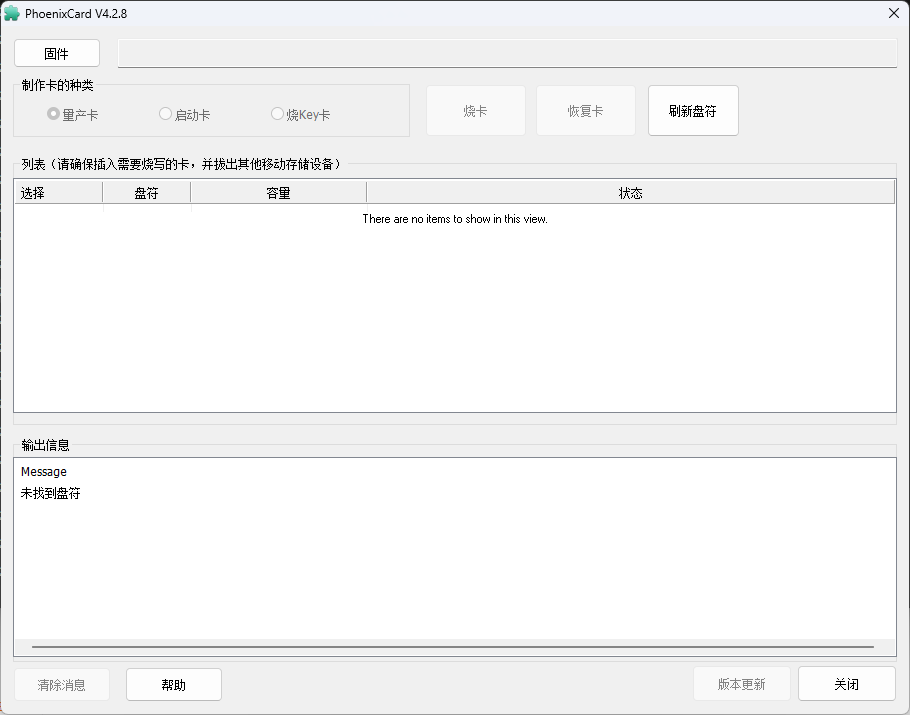
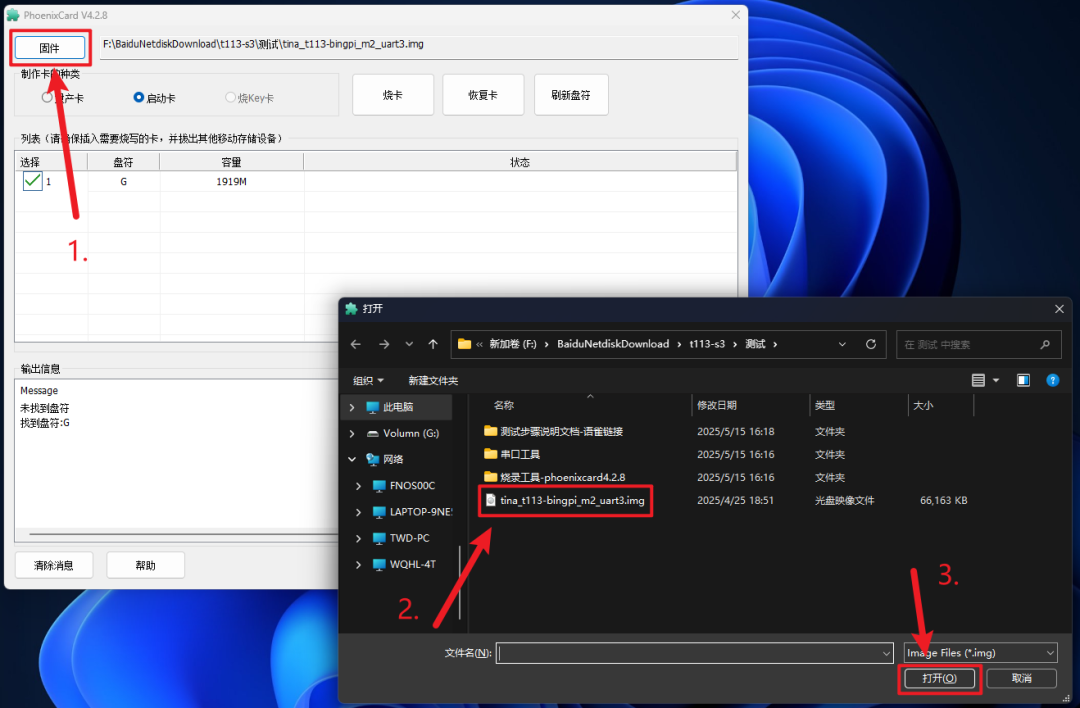
  • Double-click to open the flashing tool:<span>PhoenixCard.exe</span>
Allwinner T113-S3 Development Board: Flashing Firmware to TF Card and Booting
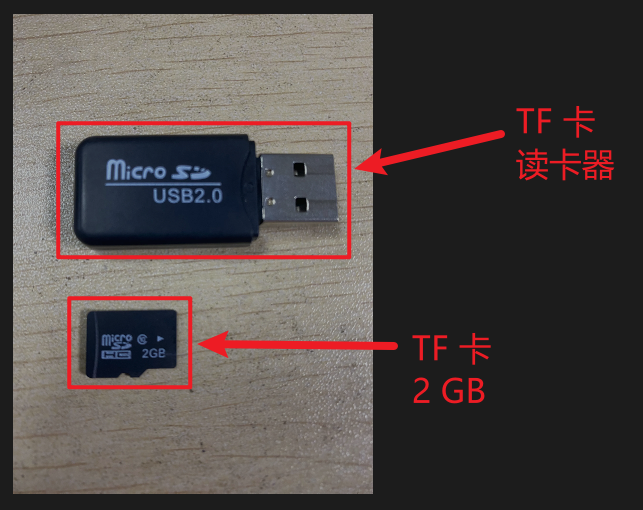
  • Next, connect the TF card to the computer
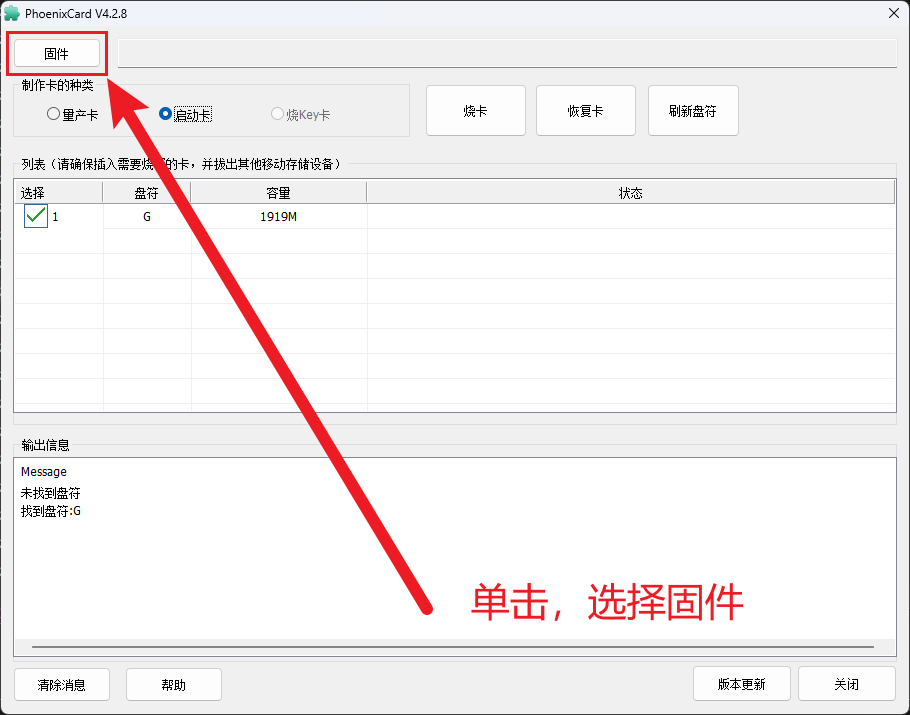
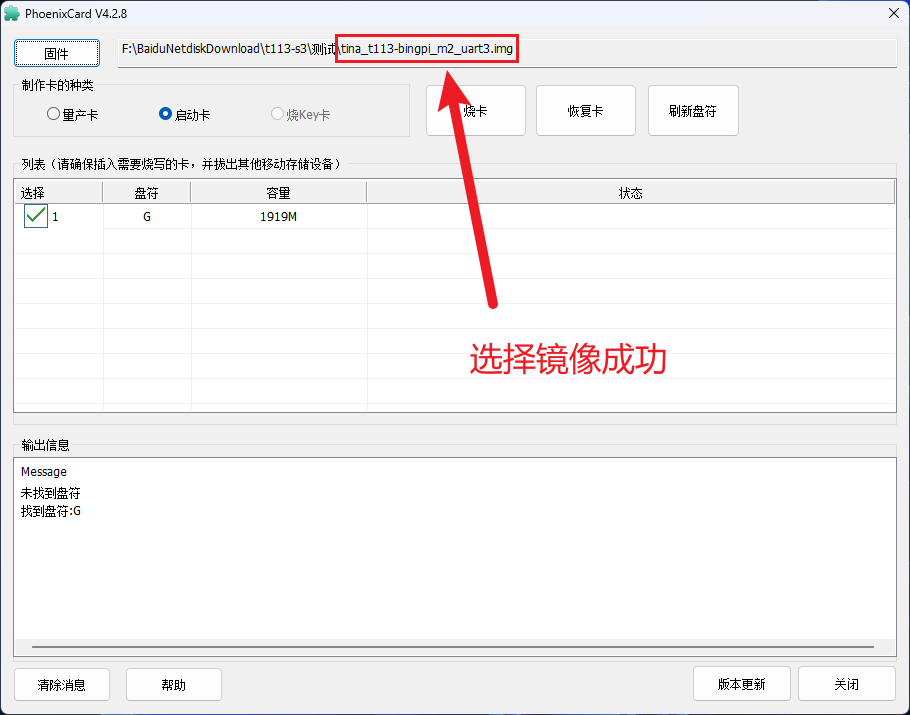
Allwinner T113-S3 Development Board: Flashing Firmware to TF Card and Booting
  • Select the firmware
Allwinner T113-S3 Development Board: Flashing Firmware to TF Card and Booting
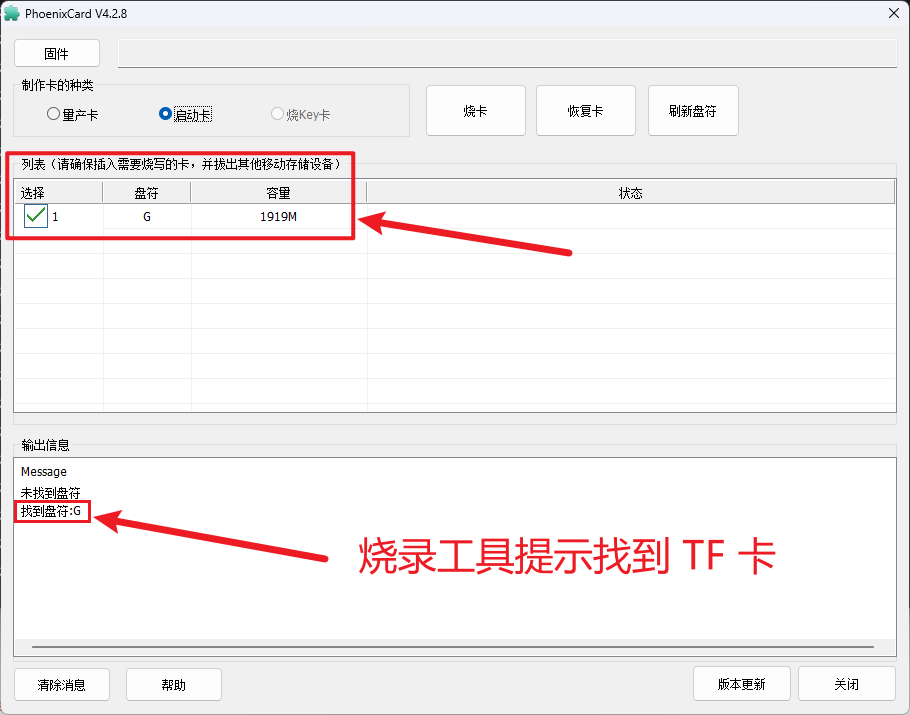
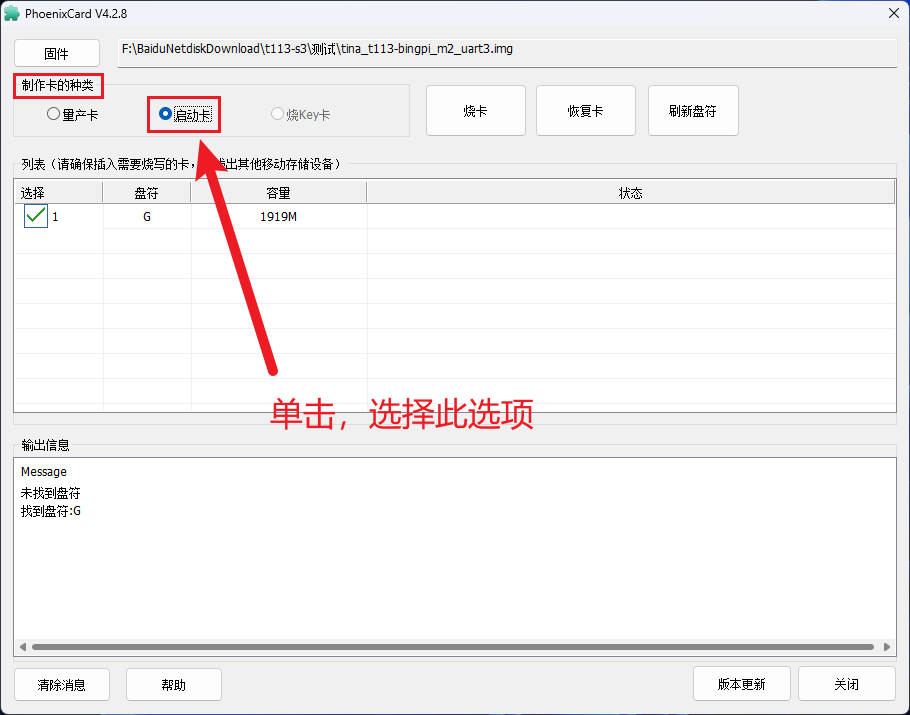
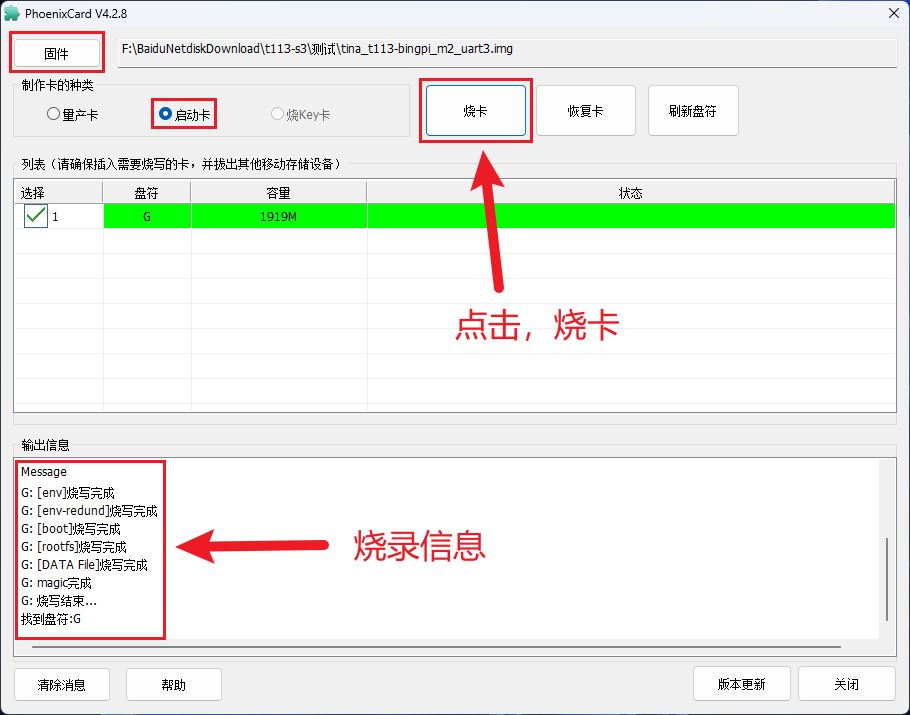
  • Type of card to create, select “<span>Boot Card</span>
Allwinner T113-S3 Development Board: Flashing Firmware to TF Card and Booting
  • Eject the TF card
Allwinner T113-S3 Development Board: Flashing Firmware to TF Card and Booting
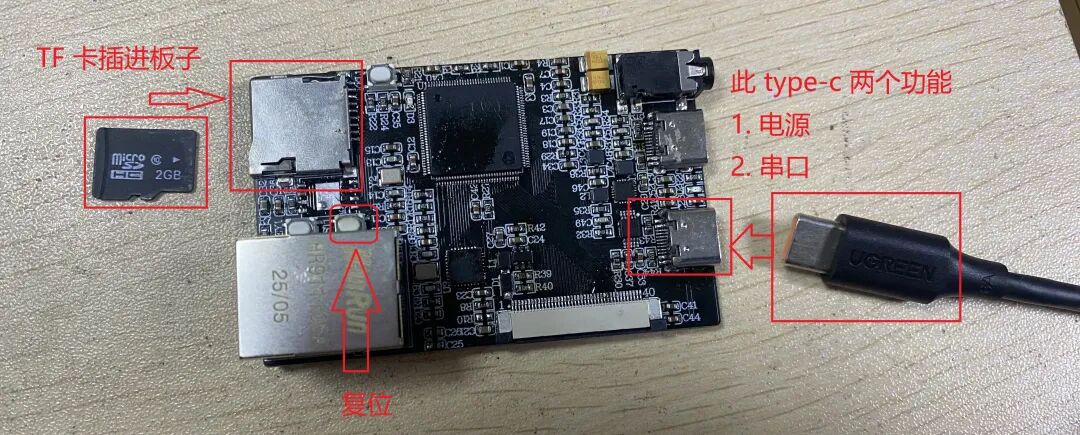
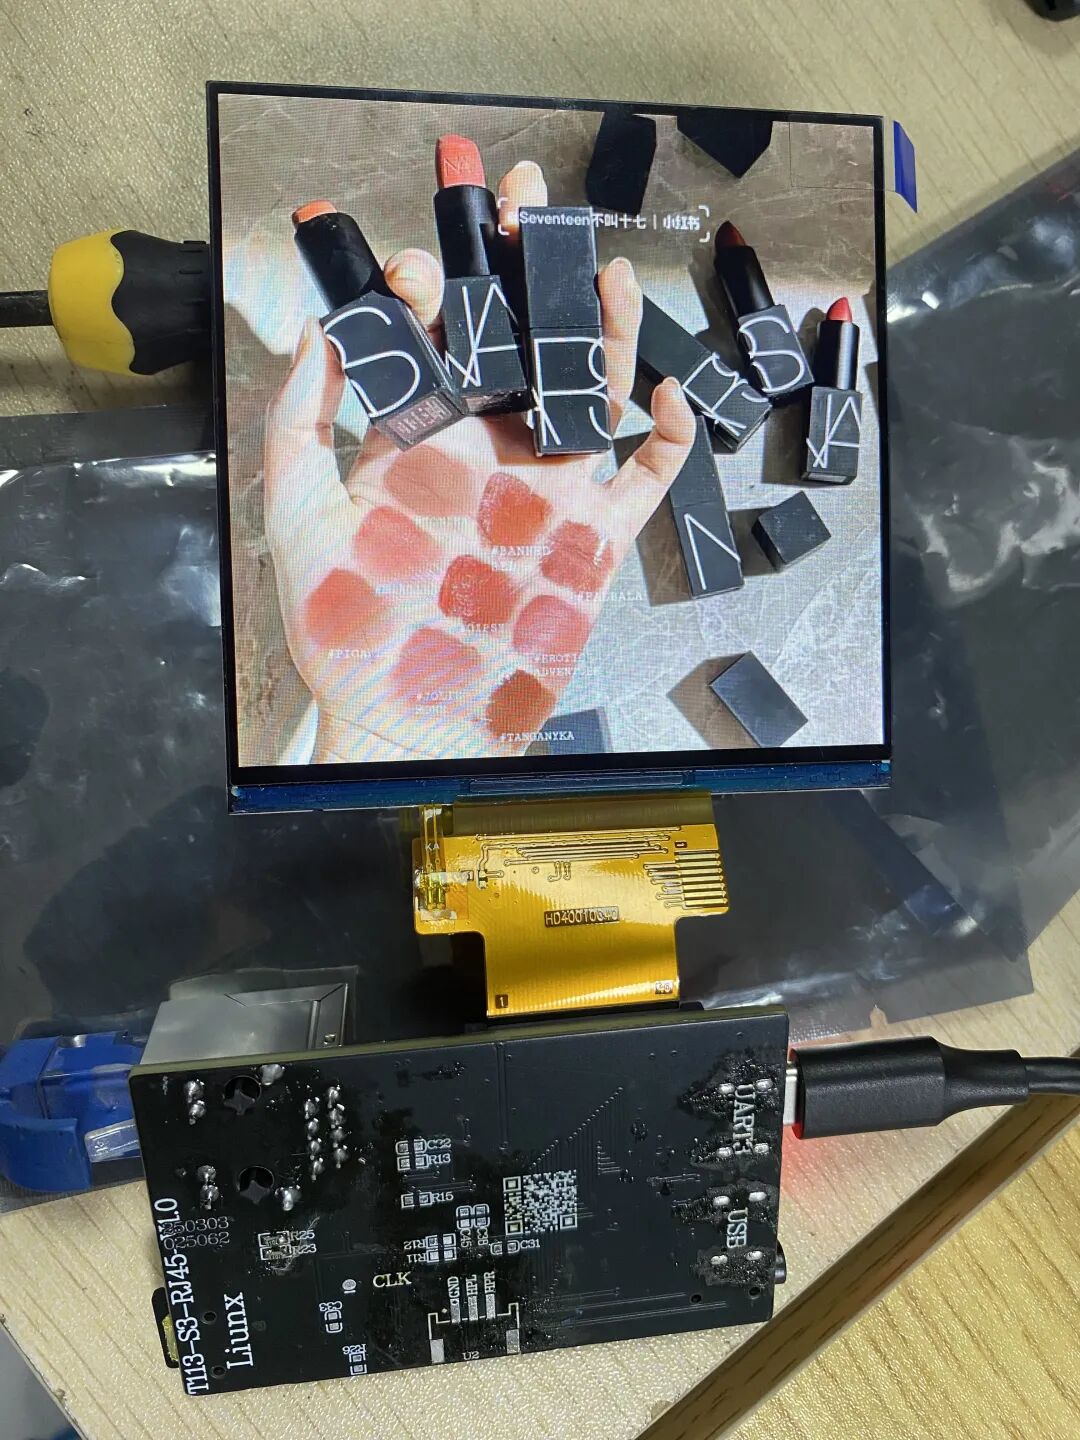
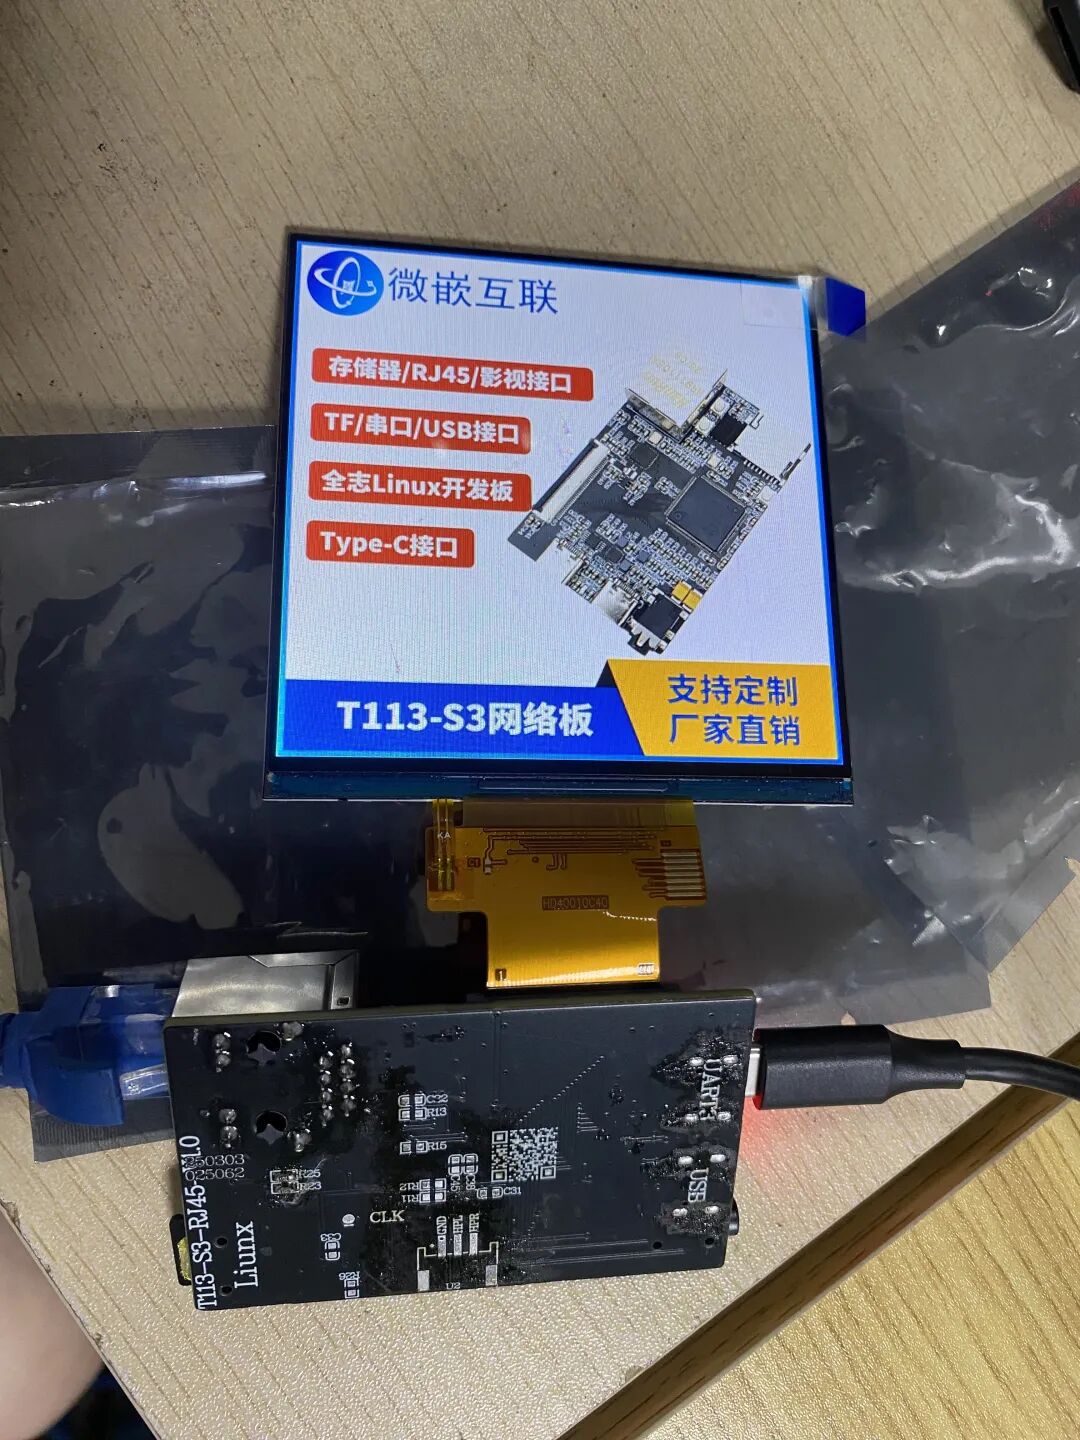
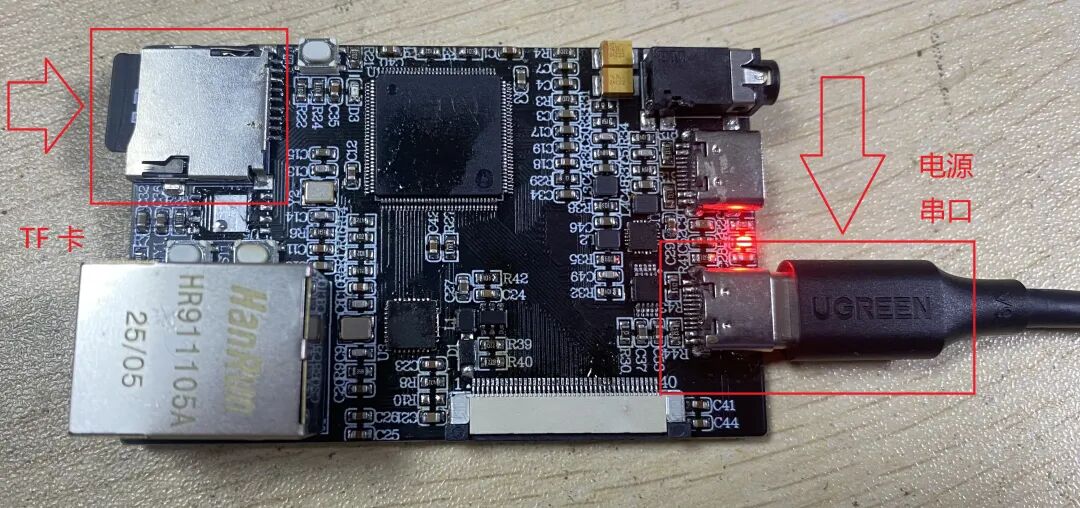
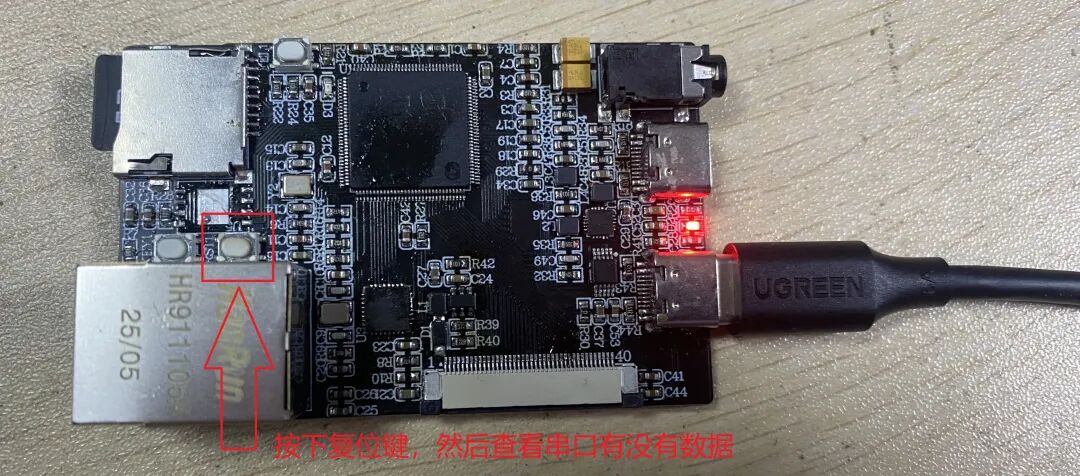
  • Insert the TF card into the board, power on, and press the reset button
  • Power on, can be powered by the computer USB
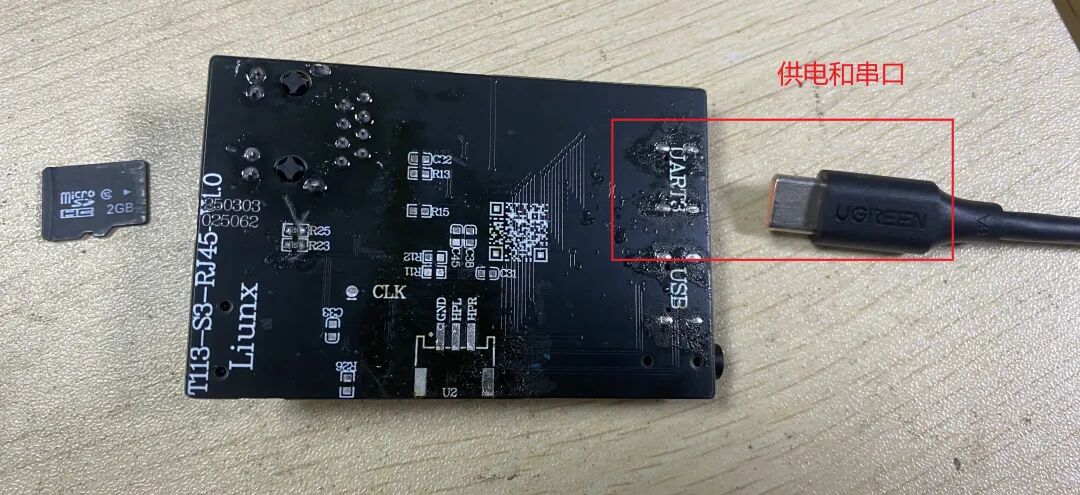
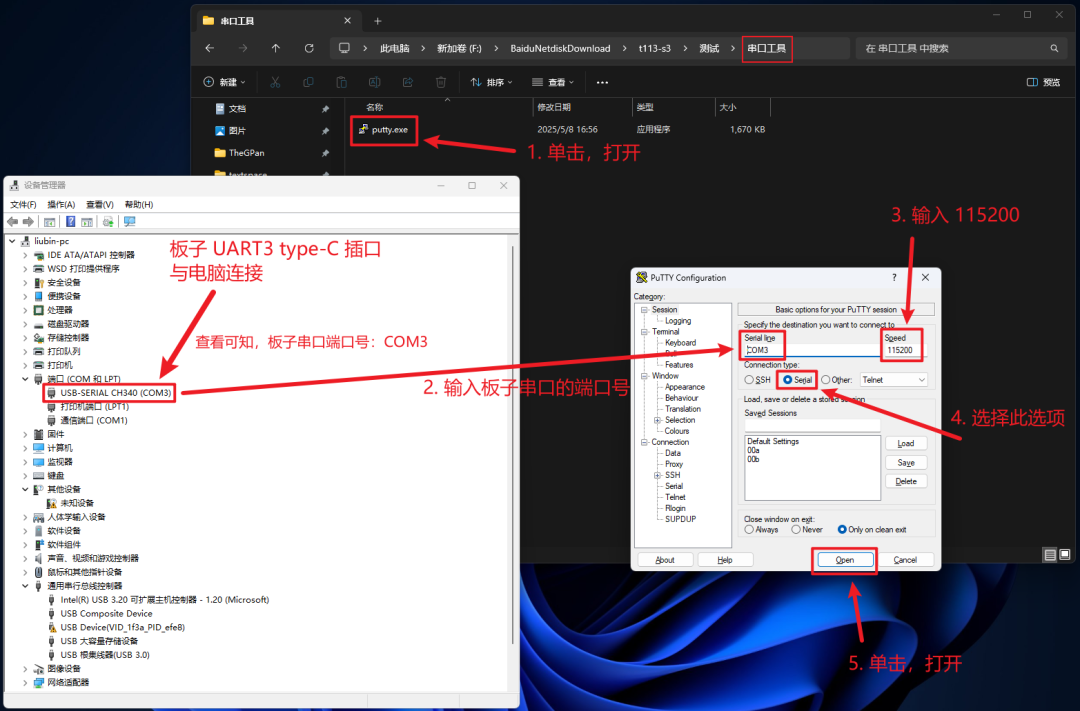
  • The board’s UART3 type-C port connects directly to the computer USB
  • The board’s UART3 type-C port serves two functions:
  1. Power supply via USB
  2. Serial communication via UART3
  • That is, a single USB cable from the computer can provide power and serial communication to the board
  • Allwinner T113-S3 Development Board: Flashing Firmware to TF Card and Booting

    Allwinner T113-S3 Development Board: Flashing Firmware to TF Card and Booting

    Allwinner T113-S3 Development Board: Flashing Firmware to TF Card and Booting
    • Power on, connect the board to the computer
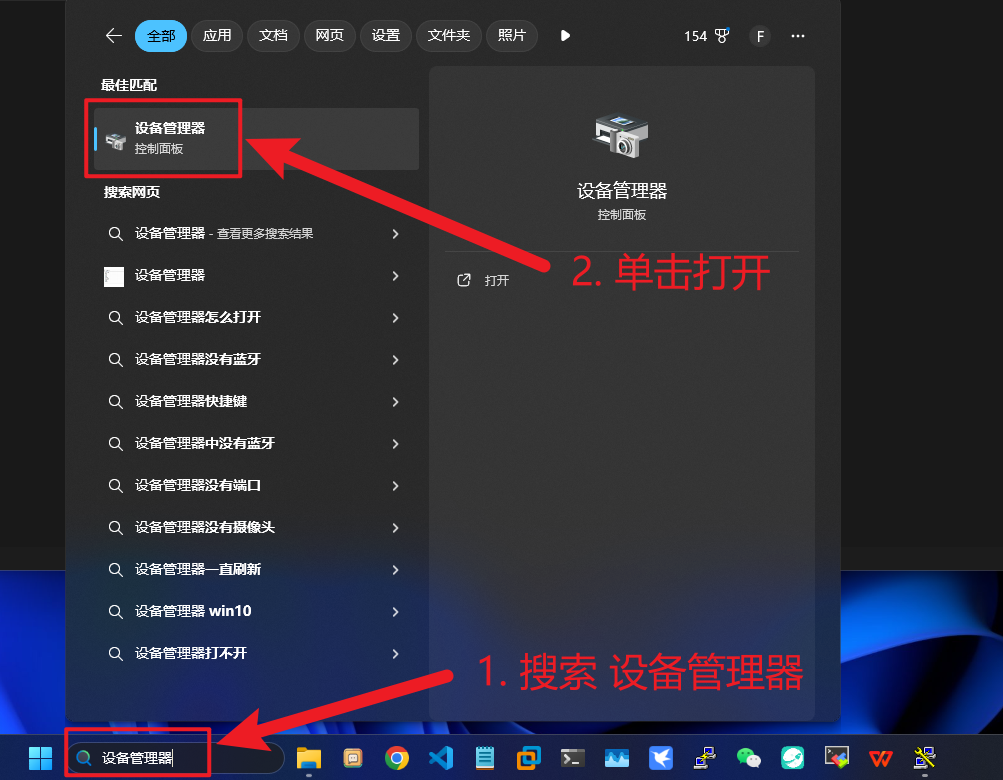
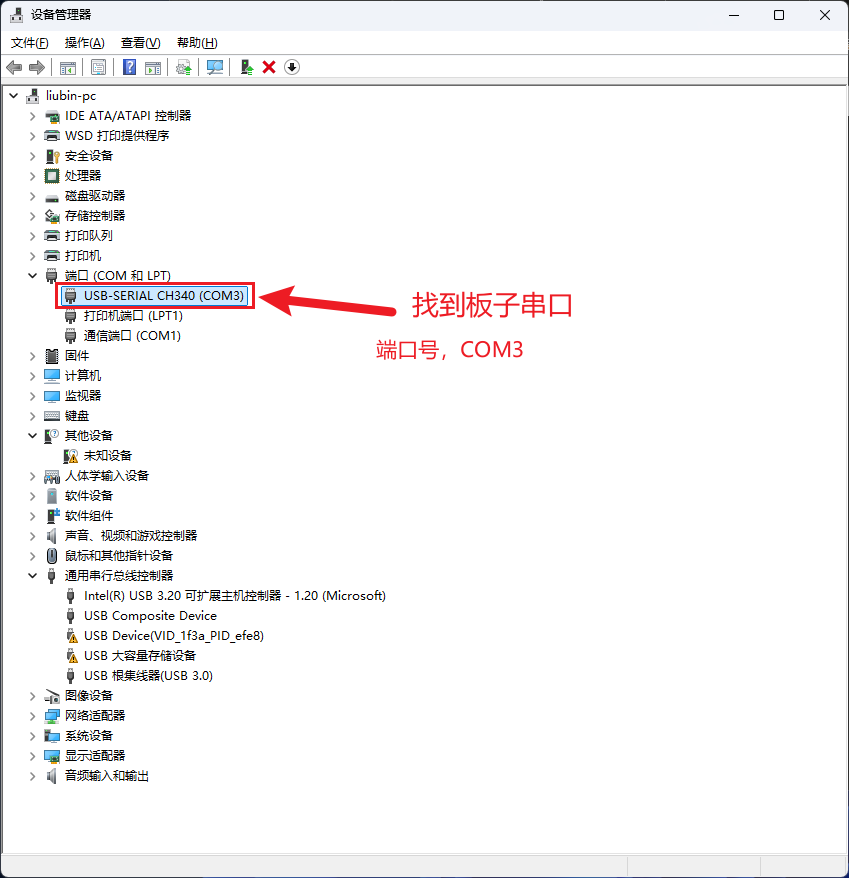
    • First, check the port number of the board’s serial port
    Allwinner T113-S3 Development Board: Flashing Firmware to TF Card and Booting
    Allwinner T113-S3 Development Board: Flashing Firmware to TF Card and Booting
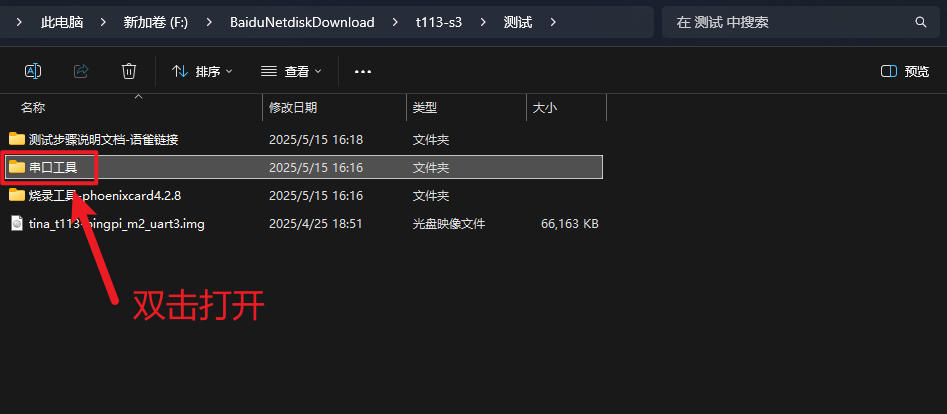
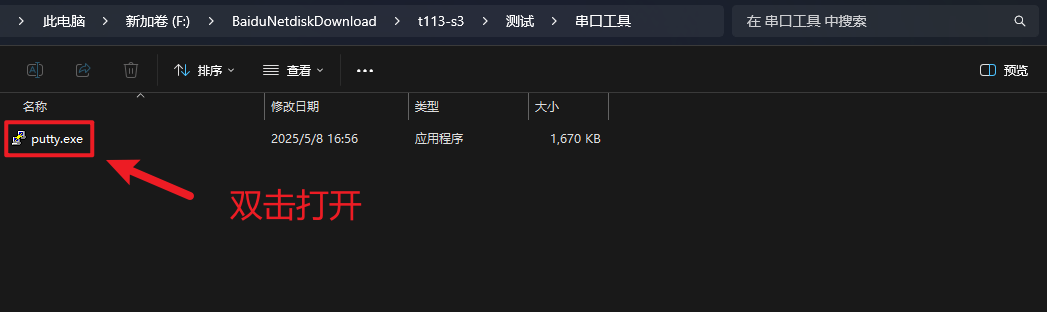
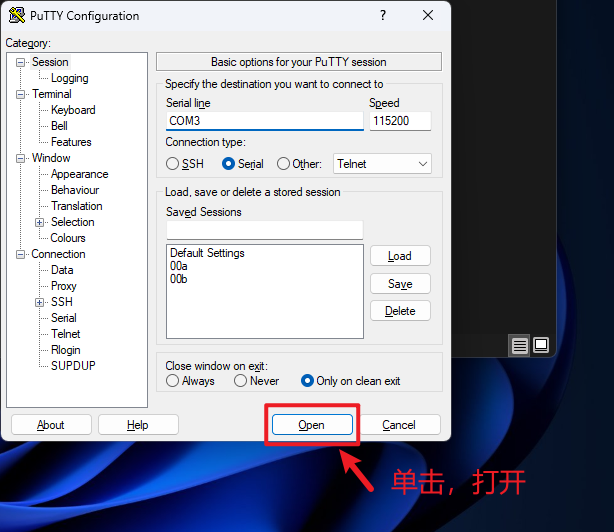
    • Next, open the serial port tool
    Allwinner T113-S3 Development Board: Flashing Firmware to TF Card and Booting
    Allwinner T113-S3 Development Board: Flashing Firmware to TF Card and Booting
    Allwinner T113-S3 Development Board: Flashing Firmware to TF Card and Booting
    Allwinner T113-S3 Development Board: Flashing Firmware to TF Card and Booting
    Allwinner T113-S3 Development Board: Flashing Firmware to TF Card and Booting
    Allwinner T113-S3 Development Board: Flashing Firmware to TF Card and Booting
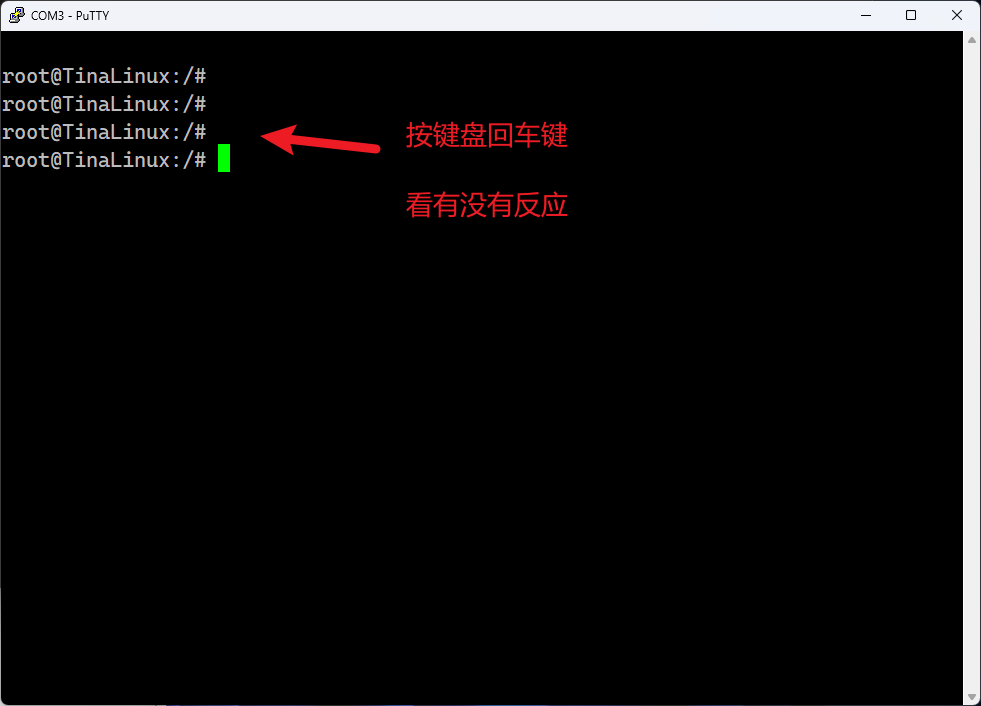
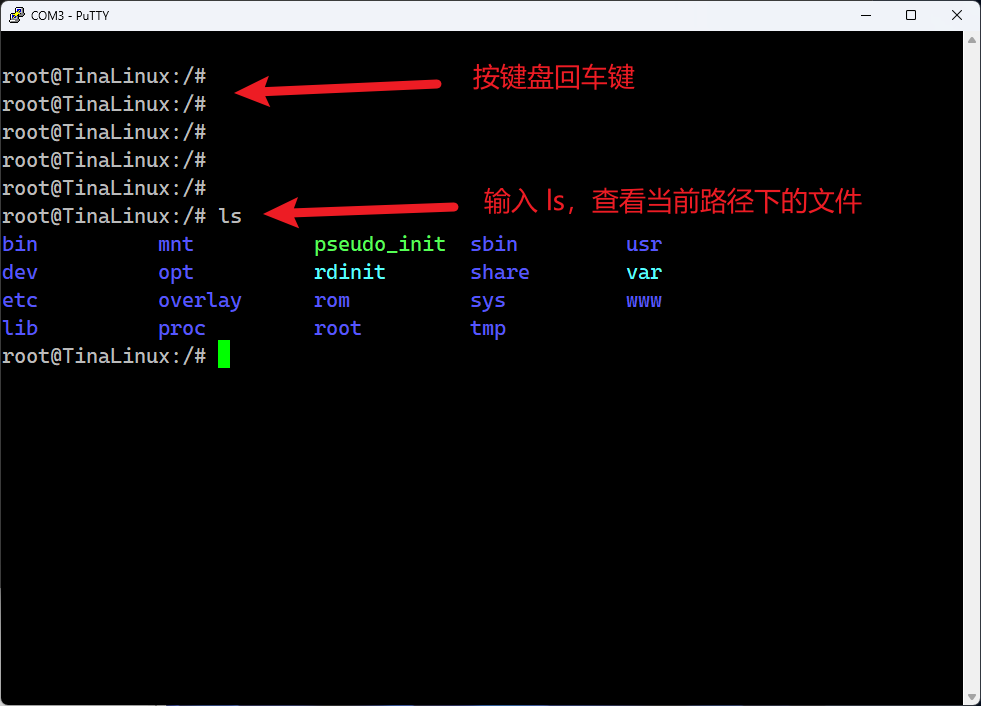
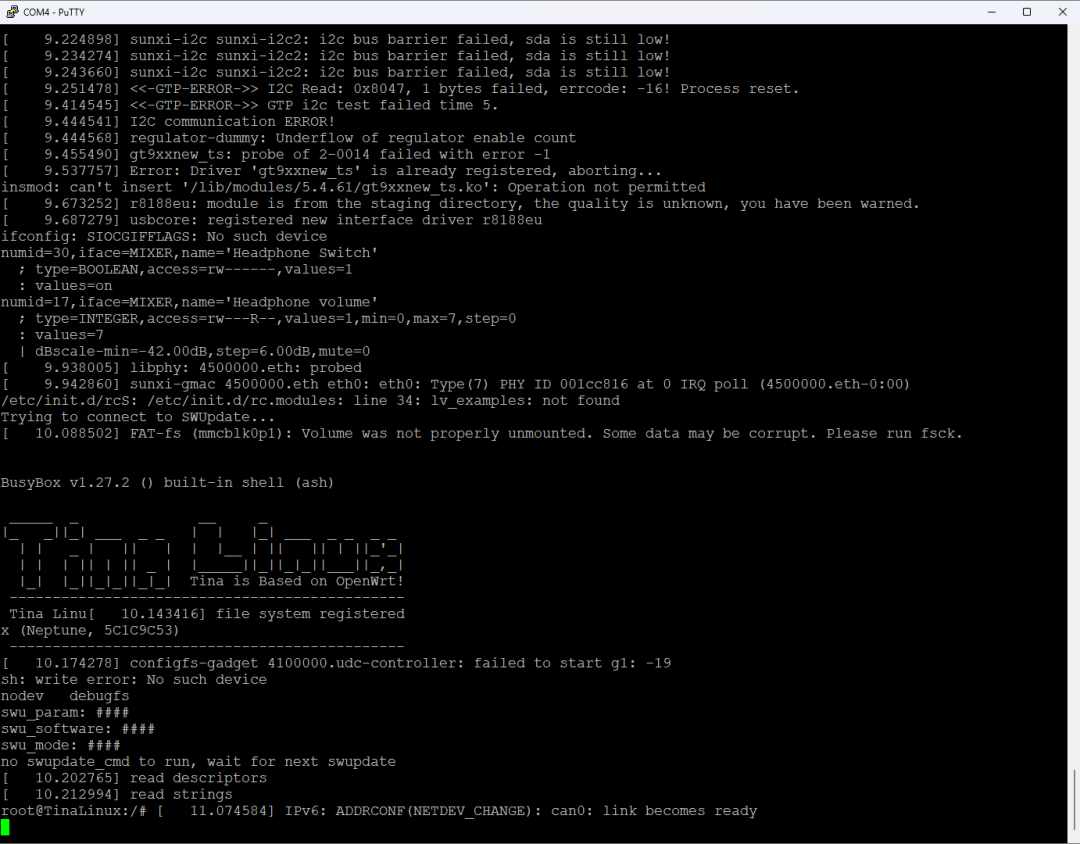
    • Press the reset button, then check if there is any data in the serial port
    Allwinner T113-S3 Development Board: Flashing Firmware to TF Card and Booting
    Allwinner T113-S3 Development Board: Flashing Firmware to TF Card and Booting
    • If the shell command line appears, the boot is successful

    End

    Leave a Comment