September 16, 2025
1. Introduction: Why do others print the same model like a “work of art”, while yours looks like a “defective product”?
Recently, someone complained to me: “I spent 5000 yuan on a resin printer, but the anime figurines I printed either have missing arms and legs or a rough surface, while the blogger’s prints with the same machine are full of details and as smooth as a mirror—could it be that my machine is faulty?”
The problem is not with the machine, but with the “hidden setting details”.3D printing is like cooking: the same ingredients (materials), the same cookware (printer), but different people produce vastly different flavors (results). The key lies in the heat (parameters), steps (operations), and seasoning (post-processing).
Today, we will break down the “advanced secrets” of 3D printing—from the key parameters in slicing software to pre-print preparations, and common problem solutions, helping you progress from “just printing” to “printing well”, ensuring every creative idea is perfectly realized.
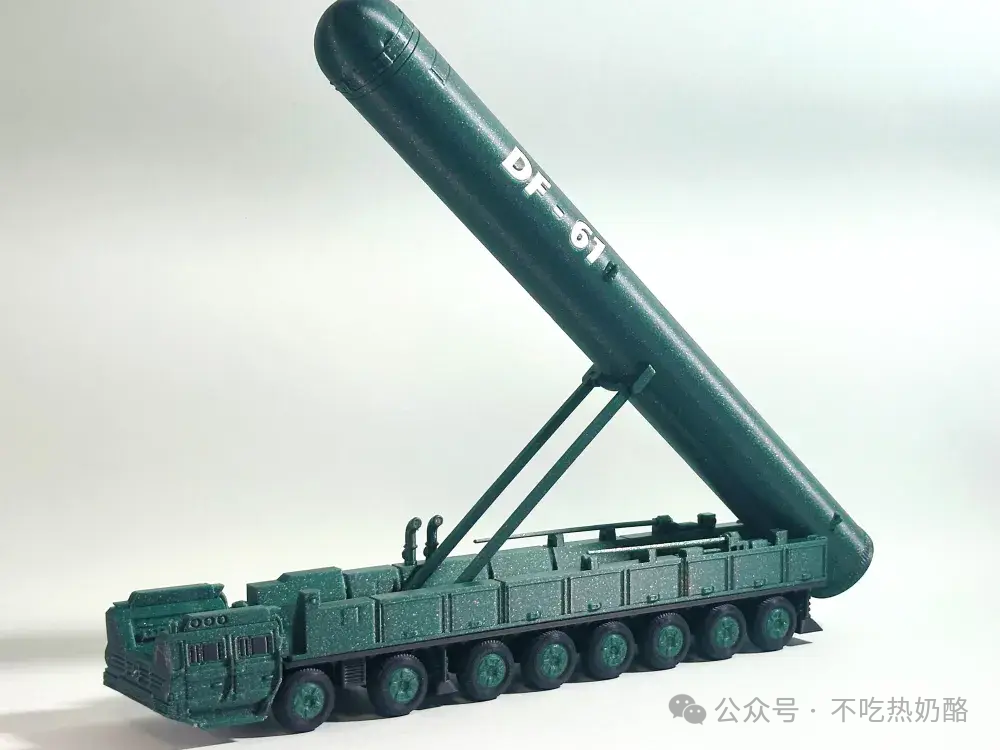
2. Core Parameter Settings: The “Golden Formula” in Slicing Software
Slicing software (such as Cura and Chitubox) serves as the bridge that converts 3D models into the “language” of the printer, and every parameter here directly affects the print quality. Here are the 5 settings that beginners often overlook but are crucial:
1. Layer Height—The Key to “Clarity”
– Principle: The smaller the layer height, the less noticeable the “stair-step effect” on the model’s surface (like using finer brush strokes in painting), but the printing time will increase exponentially.
– Recommended Values:
– FDM printers: 0.2mm (balancing speed and quality) / 0.1mm (for high precision needs, such as gear teeth);
– Resin printers: 0.05mm (for extreme detail, such as jewelry textures) / 0.1mm (for everyday models, more efficient).
– Avoid Pitfalls: The layer height should not be less than the physical limits of the printer nozzle / resin printer (for example, FDM nozzle diameter of 0.4mm, layer height recommended to be ≥0.12mm, otherwise it may easily clog).
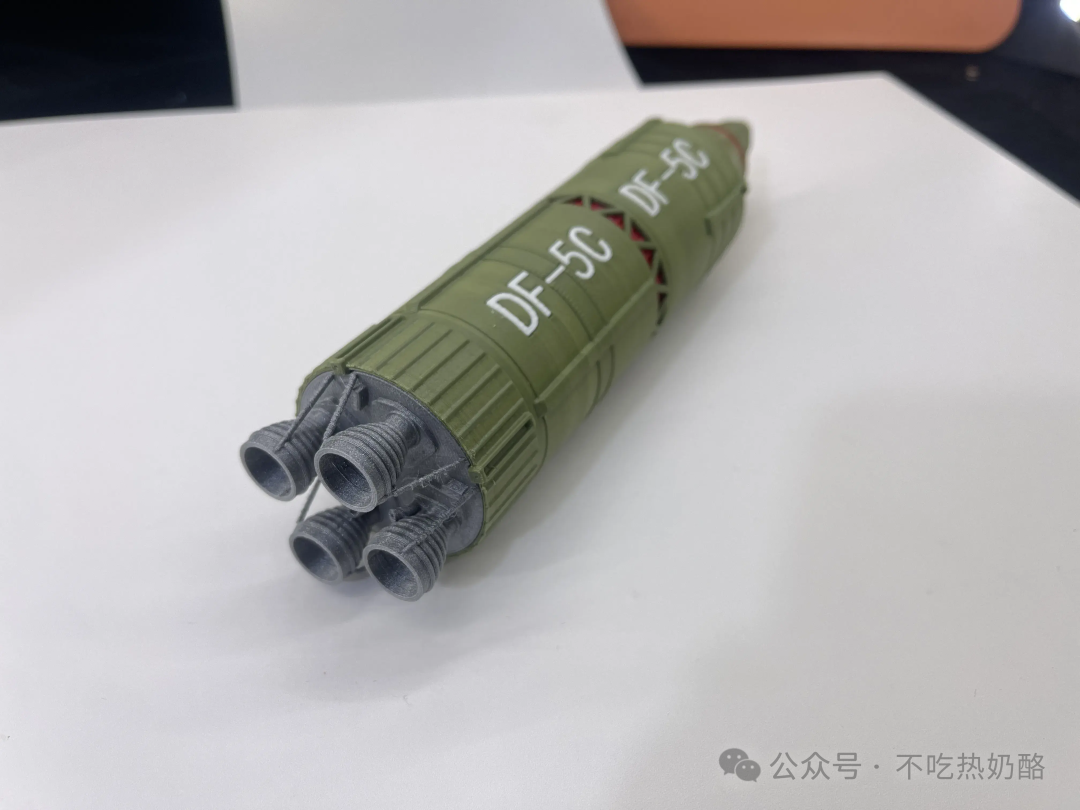
2. Infill Density—Balancing “Strength” and “Material Consumption”
– Principle: Infill density refers to the proportion of the “skeleton” inside the model (for example, 20% density means that 20% of the interior is solid material, and 80% is hollow).
– Recommended Values:
– Functional parts (such as tool handles, mechanical components): 30%-50% (to ensure strength);
– Decorative items / display models (such as figurines, ornaments): 10%-20% (to save material and reduce weight);
– Load-bearing structures (such as support frames, fixtures): 50%-100% (even using grid / honeycomb infill to enhance compressive strength).
– Avoid Pitfalls: If the infill density is below 10%, the model may fall apart with a squeeze; if above 70%, the printing time skyrockets and material costs increase.
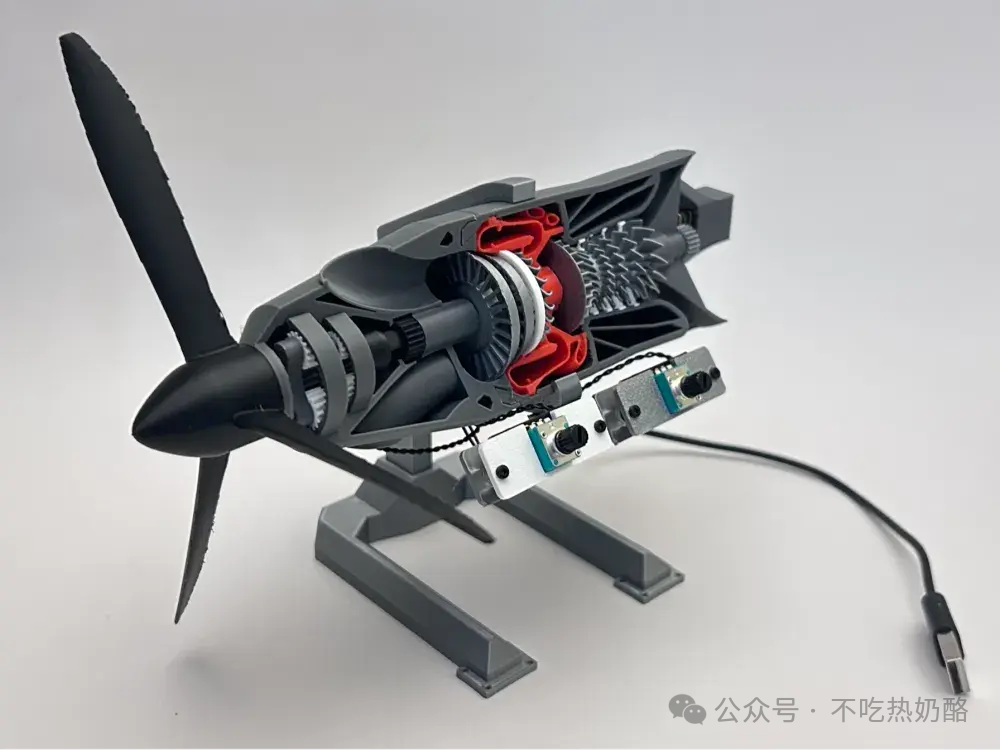
3. Print Speed—The “Stability Game” Between Fast and Slow
– Principle: The faster the speed, the quicker the movement of the nozzle / light source, but it can lead to uneven extrusion (FDM) or insufficient curing (resin printing).
– Recommended Values:
– FDM printers: 40-60mm/s (for everyday models) / 20-30mm/s (for fine details, such as small letters);
– Resin printers: 20-40mm/s (for standard resin) / 10-20mm/s (for high toughness / transparent resin).
– Avoid Pitfalls: Excessive speed can cause “stringing” (FDM), layer separation (resin printing), or jagged edges; beginners are advised to start debugging from 70% of the default speed.

4. Support Structures—The “Invisible Crutch” for Complex Models
– Principle: When a model has overhanging parts (such as an inverted cup or a raised arm), support structures need to be added to hold up the printing area and prevent sagging deformation.
– Key Settings:
– Support Type: FDM commonly uses “tree supports” (saves material, easy to remove); resin printing commonly uses “linear supports” (stronger load-bearing);
– Contact Point Density: Recommended spacing of 3-5mm (too dense is hard to remove, too sparse lacks support);
– Auto-generation: Slicing software usually can intelligently identify overhanging areas (but for complex models, manual adjustment of support positions is recommended).
– Avoid Pitfalls: Forgetting to add supports can lead to the overhanging parts collapsing (for example, when printing the top layer of the “Eiffel Tower”, it may tilt directly); adding too many supports can leave difficult-to-clean marks (especially for resin supports that adhere very tightly).
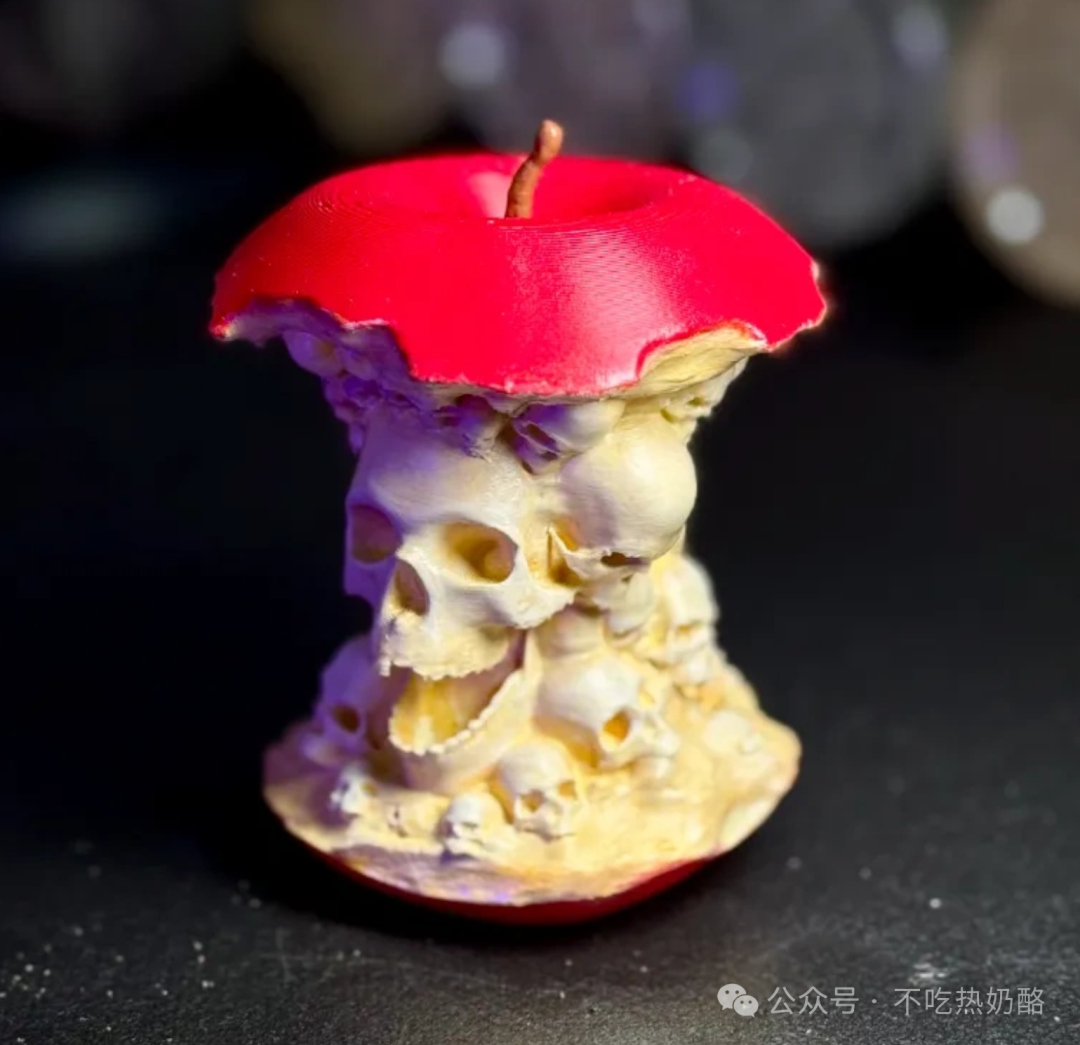
5. Wall Thickness / Shell Count—Determining “Smoothness” and “Durability”
– Principle: Wall thickness refers to the “number of circles” (FDM) or “thickness” (resin printing) of the model’s outer surface, directly affecting the roundness of the edges and impact resistance.
– Recommended Values:
– FDM printers: 1.2-2.0mm (2-3 layers of wall thickness, balancing strength and printing time);
– Resin printers: 0.8-1.2mm (the more shell layers, the smoother the edges, but the longer the printing time).
– Avoid Pitfalls: If the wall thickness is too thin, the model’s edges will be noticeably jagged (for example, when printing a “coin”, the edges may look chewed); if too thick, it will increase material usage and printing time, and may crack due to uneven cooling.
3. The “Hidden Preparations” Before Printing:90% of beginners overlook these details
In addition to slicing parameters, the “basic work” before printing is equally crucial—these seemingly trivial steps often determine success or failure.

1. Platform Calibration:FDM needs to be “firmly adhered”, while resin printing needs to be “smoothly released”
– FDM printers: Before printing, ensure that the heated bed (printing platform) is parallel to the nozzle (test with A4 paper: insert it into the gap between the nozzle and platform, it should be able to be pulled slightly but with resistance). If the platform is not level, the model will warp or partially detach.
– Resin printers: Check if the release film (the transparent film at the bottom of the resin vat) is smooth and free of scratches (scratches can cause the model to stick to the film and be unrecoverable). Clean the film surface with alcohol wipes after each print to avoid residual resin affecting the release effect.

2. Material Condition: Filament should not be damp, resin needs to be filtered
– FDM filament: Materials like PLA/PETG will smoke and clog the nozzle if they absorb moisture (especially in humid southern weather). Unused filament must be stored sealed, and damp filament can be dried in an oven (50°C for 1-2 hours).
– Resin: Opened resin can easily settle or mix with impurities (such as dust or undissolved particles), so filter it before printing using a compatible mesh (usually 40-100 mesh) to avoid clogging the nozzle / resin vat.

3. Environmental Control: The “Balancing Act” of Temperature and Ventilation
– FDM printers: Low-temperature environments (15°C) can cause PLA to become brittle and ABS to have difficulty bonding between layers—it’s recommended to close windows while printing and, if necessary, wrap the printer with an insulation cover.
– Resin printers: Must operate in a well-ventilated environment (resin has an irritating odor), but avoid strong winds blowing directly (otherwise, the resin surface cures too quickly, leading to layer separation).
4. Common Problem Solutions: From “Disaster Scenes” to “Perfect Repairs”
Even with the right parameters, you may occasionally encounter failures—don’t panic, these “first aid techniques” can help you rescue your model:
1. Common Issues with FDM
– Issue 1: Model warping → Solution: Increase the heated bed temperature (PLA to 60-70°C, ABS to 100-110°C), apply painter’s tape / blue tape to the platform to increase adhesion, and use a glue stick to coat the platform surface before printing.
– Issue 2: Layer separation (delamination) → Solution: Reduce print speed (especially in the Z-axis direction), check if the nozzle is clogged (clear it with a needle), and ensure the material is dry.
– Issue 3: Surface stringing / fuzziness → Solution: Enable “retraction feature” (FDM printers do not extrude while moving), adjust retraction distance (usually 3-5mm) and speed (30-50mm/s).
2. Common Issues with Resin Printing
– Issue 1: Model stuck to the bottom of the resin vat → Solution: Check if the release film is damaged (it needs to be replaced if damaged), after printing, soak the container in warm water for 5-10 minutes to soften the resin, then use a spatula to gently pry the edges of the model.
– Issue 2: Surface has particles / is cloudy → Solution: Filter the resin, check if the scraper is clean (residue on the scraper can cause uneven new layers), and reduce print speed.
– Issue 3: Details are blurry (for example, small letters are smudged) → Solution: Reduce layer height (0.05mm to 0.025mm), increase exposure time (adjust according to resin type, default values are usually conservative).
5. Conclusion: The Essence of Printing is the Cultivation of “Patience” and “Details”
The advanced path of 3D printing has no shortcuts—it requires sensitivity to parameters (for example, the difference between layer heights of 0.1mm and 0.2mm), understanding of materials (for example, slowing down the speed when printing TPU), and observational skills for problems (for example, subtle flaws at the edges of the model may stem from an uncalibrated platform).
But once you master these techniques, every print will become a process of “creating surprises”: that model that used to warp finally stands firm, that figurine with blurry details becomes crystal clear, and that custom gift for a friend carries the essence of your careful adjustments…
The meaning of printing has never been just about “creating an object”, but about “bringing the imagination in your mind into reality in the most perfect form”.
(Next issue preview: “The Ultimate Play of 3D Printing: From Model to Physical Object, How to Use Post-Processing to Double the Aesthetic Value of Your Work?”—Follow me to unlock the complete process secrets of polishing, coloring, and assembling!)
Interactive Topic: What is the most bizarre problem you have encountered while printing? (For example, the model suddenly “grew” by 1cm, or printed with rainbow stripes…) Share your “disaster and rescue stories” in the comments!